필자가 맡은 기능 중 하나는 Lectures List를 불러와 화면에 렌더링하는 부분이 있었다.
Lectures List는 백엔드단에서 Fake.js를 활용하여 만든 더미데이터였고 이를 클라이언트단에서 불러와야했다.
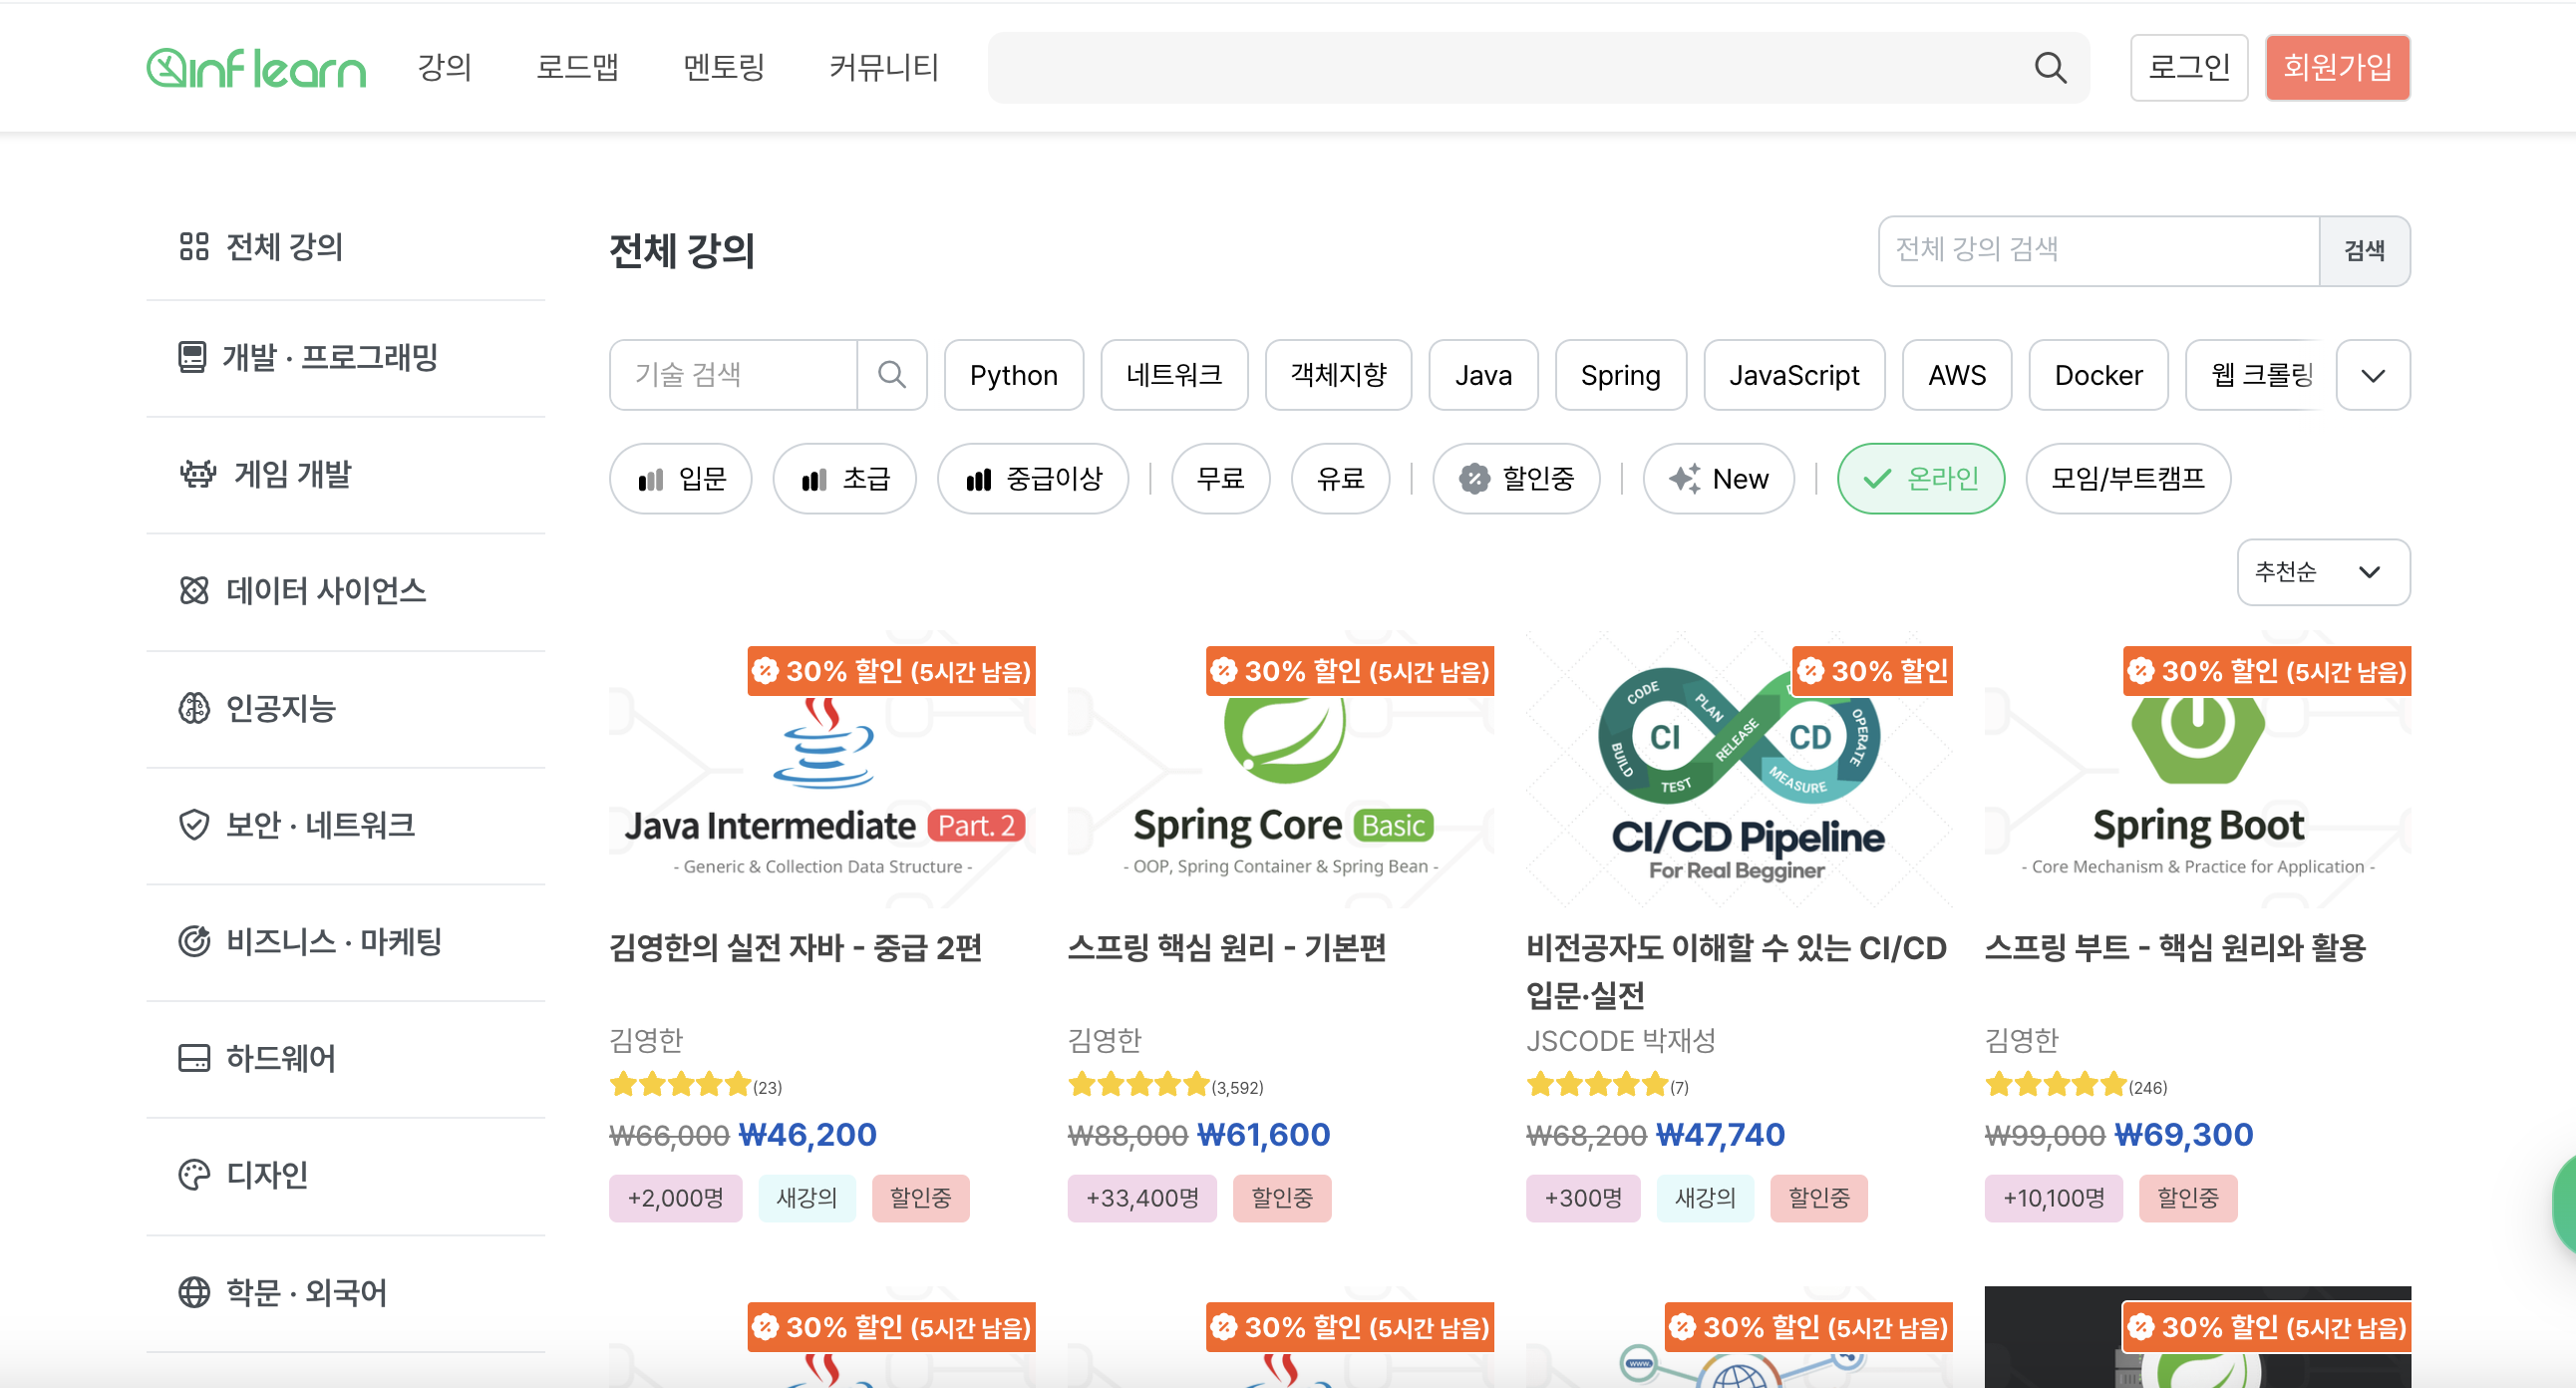
ypg2조는 처음 기획을 할 때 인프런의 강의를 참고하였다.
이렇게 각 카테고리 별로 query string을 달리하여 데이터를 패칭해오는 것이다.
로직은 다음과 같다.
- useSearchParams Hook을 사용하여 현재의 url에서 query string을 변경한다.
- 이때 category=?, limit=?, page=? 로 3가지의 key-value를 통해 데이터 페칭 제한 조건을 둔다.
- custom Hook을 만들어 의존성 배열에 Location 즉, query string을 넣는다.
- query string이 변할 때 마다 useHook은 새로운 데이터를 페칭하게된다.
여기서 query string이란 Url에서 ?뒤에 나오는 부분을 의미한다.
즉, http://localhost/path?category=1&limit=6&page=2 라고 했을 때
query string에 해당하는 key-value는 {category:1, limit:6, page:2}가 된다.
query string을 사용해서 좋았던 점 🧐
이렇게 데이터를 패칭했을 때의 느낀 장점이 있다.
전역상태관리처럼 다양한 데이터를 컴포넌트간 공유하지 않아도 되네 ❗️
필자가 느낀 장점은 이와 같다. 결국 url은 서비스 수준에서 알게되는 정보이다.
이게 무슨 말이냐면 반대로 생각해서 만약 Query string을 사용하지 않고 위 3가지의 제약조건(limit, category, page)를 고려하여 데이터를 패칭한다면 어떻게 해야했을까?
먼저 limit를 담당하는 컴포넌트에서 해당 limit가 변경될 때 state를 통해 해당 limit 데이터를 변경해주어야한다.
그리고 해당 limit 데이터를 fetching을 하는 컴포넌트에 props나 전역상태로 보내졌어야한다.
그럼 이렇게 3가지의 조건이 모두 각각 이동을 하거나 전역을 통해 관리되어야한다.
그런데 Query string을 사용하면 이렇게 state가 이동하지 않아도 된다.
url의 query string에 해당 정보(limit, category, page)를 담아주게 되면 상태를 공유하지 않아도 해당 데이터를 페칭해오는 즉, lectureList를 패칭하는 함수만 querystring이 변할 때마다 데이터를 새롭게 패칭해오면된다. 이때 패칭된 데이터는 state에 담겨지면 state를 참조하여 Renderingg하는 컴포넌트는 다시 실행이 될 것이고 그럼 새로운 데이터를 담은 페이지가 렌더링 되는 것이다.
정리하면 다음과 같다.
props나 전역상태관리를 통해 각 제한조건을 state로 컴포넌트간 공유하지 않아도 된다.
구성한 코드 ❗️
// Home.tsx
export default function Home() {
  const { lectures, totalSize } = useLectures();
  return (
    <HomeStyle>
      <LecturesFiliter />
      <LecturesLimit />
      <LecturesList lectures={lectures} />
      <LecturesPagination totalSize={totalSize} />
    </HomeStyle>
  );
}

//useLectures.tsx
export const useLectures = () => {
  const navigator = useNavigate();
  const goHome = () => navigator(`/`);
  const location = useLocation();
  const [lectures, setLectures] = useState<Lecture[]>([]);
  const [totalSize, setTotalSize] = useState(0);

  useEffect(() => {
    const params = new URLSearchParams(location.search);
    const categoryID = params.get(QUERYSTRING.CATEGORY_ID);
    const page = params.get(QUERYSTRING.PAGE);
    const limitPoint = params.get(QUERYSTRING.LIMIT);

    const getLectures = async () => {
      try {
        const { meta, data } = await fetchLectures({
          categoryID: categoryID,
          page: page === null ? "1" : page,
          limit: limitPoint === null ? "4" : limitPoint,
        });
        const { totalSize, size } = meta;
        setLectures(data);
        setTotalSize(totalSize);
      } catch (error) {
        alert("잘못된 요청입니다.");
        goHome();
        // 추가 로직 필요
      }
    };
    getLectures();
  }, [location]);

  return { lectures, totalSize };
};
이 custom hook에서는 url에 대한 정보를 추적한다.
그리고 그 정보가 변한다면 다시 useEffect가 실행되면서 현재의 querystring을 기반으로한 데이터 페칭이 새롭게 일어나게된다.
그럼 해당 state값이 변하게 되고 이를 참조하는 컴포넌트는 새롭게 실행이된다.
세 가지의 조건중 하나의 컴포넌트만 다시 확인해보자.
그럼 만약 Limit를 담당하는 컴포넌트는 그저 Button으로 limit의 값을 받아
useSearchParams로 query string을 변경하면된다.
// LecturesLimit.tsx
export default function LecturesLimit() {
  const [searchParams, setSearchParams] = useSearchParams();
  const limitPointArr = ["4", "8", "12"];

  if (!searchParams.get("limit")) {
    searchParams.set("limit", "4");
    setSearchParams(searchParams);
  }

  const handleClickLimit = (limitPoint: string) => {
    const newSearchParams = new URLSearchParams(searchParams);
    newSearchParams.set("limit", limitPoint);
    newSearchParams.set("page", "1");
    setSearchParams(newSearchParams);
  };

  return (
    <LecturesLimitStyle>
      {limitPointArr.map((limitPoint, i) => (
        <Button
          key={i}
          scheme={
            searchParams.get("limit") === String(limitPoint)
              ? "primary"
              : "normal"
          }
          size="small"
          onClick={() => handleClickLimit(limitPoint)}
        >
          {limitPoint}개씩
        </Button>
      ))}
    </LecturesLimitStyle>
  );
}
어려웠던 부분 🧐
Pagenation에서 어려움이 있었다. 사실 이 전에 무한스크롤 기능은 구현해본 경험이 있지만
이런 pagenation은 처음 구현하다 보니 만났던 기능 오류였던 거 같다.
내용은 이렇다.
pagenation을 할 때 전체적인 데이터의 양은 Limit에 영향을 받는다.
왜냐하면 Limit가 변경이 된다면 전체 데이터의 양은 같지만 페이지의 입장에서 수정이 되어야한다.
그래서 pagenation을 담당하는 컴포넌트는 limit에 대한 정보를 받아와서 이에 맞게 수정이 되어야한다.
사실 이를 마주했을 때 당황해서 그렇지 지금 블로그 글을 다시 작성해보니 그렇게 큰 애로사항은 아니었던 거 같다. 그래도 이를 통해 좀 더 useSearchParams에 대해 이해하고 사용을 해볼 수 있었다.
로직은 다음과 같다.
- Pagenation에서 Limit에 대한 현재의 정보를 가져온다.
이때, 현재의 Limit 정보를 받아오기위해 의존성 배열에 querystring의 limit get 값을 넣는다.
그럼 이제 limit가 변경될 때마다 다음 동작을 할 수 있다.- useEffect를 통해 전체 페이지의 총 갯수를 결정을한다. 이때 limit의 값으로 전체 데이터 양(백엔드 에서 준다.)을 나누어준다. (전체 페이지 양이 나옴)
이때, 의존성배열에 의해 limit는 최신의 값을 가져온다.- 그럼 현재 page와 전체 페이지를 의도에 맞게 가져올 수 있다.
구현한 코드
export default function LecturesPagination({ totalSize }: IPagination) {
  const [sliceStart, setSliceStart] = useState(0);
  const [searchParams, setSearchParams] = useSearchParams();
  const [limit, setLimit] = useState<string | null>("4");
  const [currentPage, setCurrentPage] = useState(1);
  const queryStringLimit = searchParams.get(QUERYSTRING.LIMIT);

  const handleClickPagenation = (i: number) => {
    searchParams.set(QUERYSTRING.PAGE, i.toString());
    setSearchParams(searchParams);
  };
  const handleClickBack = () => {
    setSliceStart((current) => (current - 5 < 0 ? 0 : current - 5));
  };
  const handleClickFront = () => {
    setSliceStart((current) =>
      current + 5 >= paginationLength ? current : current + 5
    );
  };

  const paginationLength = Math.ceil(totalSize / Number(limit));
  const paginationArr = Array.from(
    { length: paginationLength },
    (_, i) => i + 1
  );

  const slicedPaginationArr = formatSlicePagination(sliceStart, paginationArr);

  useEffect(() => {
    const currentLimit = queryStringLimit === null ? "4" : queryStringLimit;
    setLimit(currentLimit);
    setSliceStart(0);
    console.log("limit바뀜");
  }, [queryStringLimit]);

  useEffect(() => {
    if (searchParams.get(QUERYSTRING.PAGE)) {
      setCurrentPage(Number(searchParams.get(QUERYSTRING.PAGE)));
    } else {
      setCurrentPage(1);
    }
  }, [searchParams.get(QUERYSTRING.PAGE)]);

  return (