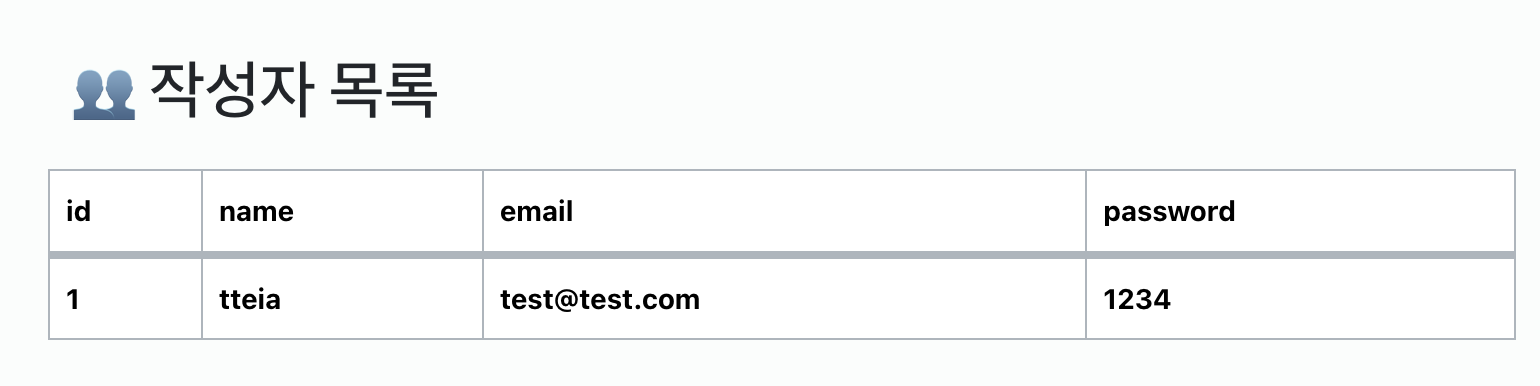
회원가입한 작성자의 목록을 조회할 수 있는 페이지를 구현해보자.
json 에 작성된 값의 수만큼 자동으로 테이블 데이터 값이 증가하며,
모든 작성자가 조회된다.
1. script 안에 함수 작성 후 호출.
<script>
  async function serverData() {
	const response = await axios.get("http://localhost:8081/author/list");
	const allData = response.data;
  }
  // 1. 호출 바로 해주기 !
  serverData();
</script>
async : 함수 앞에 붙여서 해당 함수가 비동기 함수임을 명시. (여러 작업을 동시에 할 수 있게 도와주는 비동기 !)
await : async 함수 내에서만 사용할 수 있으며, 반환값이 발생할 때까지(해결될 때까지) 함수 실행을 일시 정지.
script 종료되기 전 함수를 호출해 작동하게 한다.
2. 데이터가 나타날 tbody에 id 적용.
<div class="page-header"><h2>👥 작성자 목록</h2></div>
      </div>
      <table class="table">
        <thead>
          <tr>
            <th>id</th>
            <th>name</th>
            <th>email</th>
            <th>password</th>
          </tr>
        </thead>
        <!-- 2. bodyData 아이디 써주기 -->
        <tbody id="bodyData">
        </tbody>
      </table>
    </div>
axios : HTTP 요청을 보내기 위한 라이브러리로, JSON 데이터를 가져올 수 있다.
axios를 사용하면 GET, POST 등의 요청을 쉽게 보낼 수 있으며, 서버로부터 응답받은 데이터를 JSON 형식으로 처리할 수 있다 !
테이블 바디 부분에 json 데이터를 삽입하기 위해 script 에서 axios 로 json 데이터를 가져왔고,
tbody에 id를 부여하여 값이 보여질 수 있게 한다.
// id='bodyData' 적용을 위해 getElementById 활용.
let bodyData = document.getElementById("bodyData");
3. tbody에 부여할 id 값 할당.
//3. id 에 각각 값 할당
const id = allData.id;
const name = allData.userId;
const email = allData.title;
const password = allData.body;
처음 함수 작성 시에 json 에서 가져온 값을 response 에 할당해주었다.
const id = response.data.id;위 케이스처럼도 써줄 수 있지만, 간결하게 하기 위해 allData 변수를 설정해 작성하였다.
for문에서도 활용해야 하기 때문에, 변수를 통해 값을 할당하는 것이 좋다.
let bodyData = document.getElementById("bodyData");
// 4. 포문 돌리기
// 5. 테이블 데이터 돌리기
for (let i = 0; i < allData.length; i++) {
	// 처음 지정한 id 값은 주석처리.
	// for 문에 맞춰 코드 변경
	const id = allData[i].id;
	const name = allData[i].name;
	const email = allData[i].email;
	const password = allData[i].password;
	bodyData.innerHTML +=
     `<tr>
    	<td>${id}</td>
        <td>${name}</td>
        <td>${email}</td>
        <td>${password}</td>
     </tr>`;
}
id 값 1번 부터 10번까지 모든 가입자를 조회해줄 것이므로 for문을 돌려준다 !
allData 에 들어있는 값은 아래와 같은 배열이다.
[
  { id: 1, name: "tteia", email: test1@test.com, password: 1234},
  { id: 2, name: "hong1", email: test1@test.com, password: 2345}
]
우리는 value 값만 받아오면 된다! > allData의 길이만큼 돌면서 값 추출.
처음 작성해줬던 id 항목은 주석처리하고, for문을 돌리면서 각각의 id 에 값을 넣어준다.
bodyData.innerHTML += 를 통해 테이블 바디를 유효 데이터 값만큼 추가해준다.
전체 코드
<!DOCTYPE html>
<html lang="en">
  <head>
    <meta charset="UTF-8" />
    <meta name="viewport" content="width=device-width, initial-scale=1.0" />
    <title>👥 작성자 목록</title>
    <link
      rel="stylesheet"
      href="https://cdn.jsdelivr.net/npm/bootstrap@5.3.2/dist/css/bootstrap.min.css"
    />
  </head>
  <body>
    <object data="header.html" type="text/html" style="width: 100%"></object>
    <div class="container">
      <br />
      <div class="page-header"><h2>👥 작성자 목록</h2></div>
      </div>
      <table class="table">
        <thead>
          <tr>
            <th>id</th>
            <th>name</th>
            <th>email</th>
            <th>password</th>
          </tr>
        </thead>
        <!-- 2. bodyData 아이디 써주기 -->
        <tbody id="bodyData">
        </tbody>
      </table>
    </div>
    <script src="https://unpkg.com/axios/dist/axios.min.js"></script>
    <script>
      async function serverData() {
        const response = await axios.get("http://localhost:8081/author/list");
        const allData = response.data;
        // 4. 포문 돌리기
        // 5. 테이블 데이터 돌리기
        let bodyData = document.getElementById("bodyData");
        for (let i = 0; i < allData.length; i++) {
          // 5. for 문에 맞춰 코드 변경
          const id = allData[i].id;
          const name = allData[i].name;
          const email = allData[i].email;
          const password = allData[i].password;
          bodyData.innerHTML += `<tr>
            <td>${id}</td>
            <td>${name}</td>
            <td>${email}</td>
            <td>${password}</td>
          </tr>`;
        }

        // 3. id 에 각각 값 할당
        // const id = response.data.id;
        // const userId = response.data.userId;
        // const title = response.data.title;
        // const contents = response.data.body;
      }
      // 1. 호출 바로 해주기 !
      serverData();
    </script>
    </script>
  </body>
</html>