🖥️ java ver.11 | spring ver.2.7.11
☘️ 스프링 시작

Spring Initiallizr 에서 처음 생성 시
com.beyond.basic 으로 생성됨. 그 하위 패키지에 controller 생성 !
controller : 사용자와 인터페이싱하는 계층. (요청 / 응답)
controller 생성을 위해 controller 패키지(폴더) 추가,
HelloController.java 생성 !
package com.beyond.basic.controller;

import org.springframework.stereotype.Controller;
import org.springframework.web.bind.annotation.GetMapping;
import org.springframework.web.bind.annotation.ResponseBody;

@Controller
public class HelloController {

// 2. getmapping 기능 사용하겠다 선언.
@GetMapping("/hello")

// 3. responsebody 선언.
@ResponseBody
public String helloWorld(){
	return "hello world";
}

// ==== 4. 상단까지 작성 후 실행 > localhost:8080/hello > hello world 출력
}
✔️ Annotation (어노테이션)
-
@Controller: 이건 컨트롤러야! 표시해주기.
@Controller
public class HelloController {} -
@GetMapping: GetMapping 기능 사용할게! 선언.
GetMapping을 통해 get 요청을 처리하고 url 패턴을 명시.
@GetMapping("/hello")
=> localhost:8080/hello 서버에서 확인할 수 있다. -
@ResponseBody: 데이터 return 해줘! 선언.
ResponseBody 를 사용하면 화면이 아닌 데이터를 return 해준다.
만약 ResponseBody 가 없다면 ?
domain 파일 안에 helloworld.html 파일 생성 > return 이랑 똑같은 이름
스프링은 templates 폴더 밑에 helloWorld.html 화면을 찾아 return 해준다.약속된 패턴 ! 화면을 리턴하려면 ResponseBody 를 써 줄 필요가 없다.
그러려면 templates 아래 html 파일이 존재해야 함. 없으면 에러! -
@RequestMapping: 주소에 /hello 가 중복됨 → RequestMapping(”/hello”) 로 묶어줄 수 있음 !
묶어줄 경우 이후에@GetMapping("/")로 수정 !메서드 차원에서도 RequestMapping 사용 가능
@RequestMapping(value="/json", method=RequestMethod.GET) 처럼 활용.
위 메서드 매핑은 ResponseBody 랑 똑같은 역할을 함 → 같이 써주지말기 !
📤 백엔드 데이터 전송 방식 살펴보기
Get요청에 대한 case들 살펴보기 : 사용자가 서버에 데이터를 달라고 요청하는 상황들!
서버에 화면을 요청할 수도, 단순 데이터를 요청할 수도,
json, parameter 형식 등 다양한 데이터를 요청한다.
그 케이스들에 대해 살펴보는 것 !
Case1. 사용자가 서버에게 화면 요청
Case2. @ResponseBody 가 붙을 경우 단순 String 데이터 return(get 요청)
➡️ 위에서 controller 를 살펴보며 실습하였다.
Case3. 사용자가 json 데이터 요청(get)
✔️data 를 return 하되, json 형식으로 return.
✔️method 명은 helloJson, url 패턴은 /hello/json
domain : 클래스(객체) 접근 계층.
클래스 생성은 domain 패키지에 해준다 !
package com.beyond.basic.domain;

public class Hello {
    private String name;
    private String email;

    public String getName() {
        return name;
    }

    public void setName(String name) {
        this.name = name;
    }

    public String getEmail() {
        return email;
    }

    public void setEmail(String email) {
        this.email = email;
    }
}
Hello 객체를 활용해 Case3 구현.
@GetMapping("/json")

@ResponseBody
public Hello helloJson(){
	Hello hello = new Hello();
    hello.setName("hello");
    hello.setEmail("test@test.com");
    return hello;
}
return type 을 Hello 로 생성했다 !
Case4. 사용자가 json 데이터를 요청하되, parameter 형식으로 특정 객체 요청함.
✔️ parameter : ?name=tteia&email=test@test.com 형식. & 으로 여러개 표현.
✔️ url 패턴 : param2 , method 명 : Param2 (Param1 은 단일 객체 실습)
✔️ parameter 2 개 : name, email => hello 객체 생성 후 리턴
✔️ 요청 방식 : ?name=xxx&email=xxx@test.com
@GetMapping("/param2")

@ResponseBody
public Hello Param2(@RequestParam(value = "name") String inputName, @RequestParam(value = "email") String inputEmail){
	Hello hello = new Hello();
    hello.setName(inputName)
    hello.setEmail(inputEmail)
    return hello;
}
hello/mode-param1?name=tteia&email=test@test.com 으로 입력하면 페이지에 parameter 형식으로 출력됨.
parameter에 여러 객체를 담을 때 :
(@RequestParam(value = "name") String inputName, @RequestParam(value = "email") String inputEmail)
Case5. parameter 형식으로 요청하되, 서버에서 데이터 바인딩하는 형식.
✔️ 데이터 바인딩 : 화면상에 보여지는 데이터(View)와 브라우저 메모리에 있는 데이터(Model)를 묶어서(Binding) 서로 간의 데이터를 동기화하는 것.
✔️ 기본 생성자, setter 존재해야함.
✔️ url 패턴 : param3 , method 명 : Param3
✔️ parameter 가 많을 경우(이름, 이메일, 비밀번호, 주소...), 객체로 대체가 가능하다.
✔️ 객체의 각 변수에 맞게 알아서 바인딩(객체 바인딩) 해줌.
✔️ Hello 객체로 가서 password 부터 추가해주기 ! (현재 name, email만 존재)
✔️ ?name=xxx&email=xxx@test.com&password=xxxx
✔️ Hello hello 로 가져오니까 변수명이 다르면 안됨. > setName 에서는 inputName 해줬지만 이 경우에는 불가.
html 파일을 우선적으로 수정해주었다. password 필드 추가와 더불어 lombok 사용!
package com.beyond.basic.domain;

import lombok.Getter;
import lombok.Setter;

// 기존에 설정했던 getter 와 setter 를 전부 지워주고,
// @Getter, @Setter > lombok 어노테이션(annotation) 사용 !
@Getter
@Setter
public class Hello {
    private String name;
    private String email;
    private String password;

    // sout(hello); > 주소가 나옴 > 값이 나오게 하려면?
    // toString 오버라이딩 필요
    @Override
    public String toString(){
        return "이름은 " + this.name;
    }
}
java 파일 작성
@GetMapping("/param3")

@ResponseBody
public Hello Param3(Hello hello){
	return Hello;
}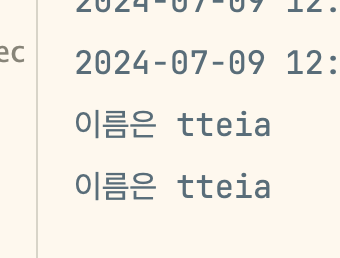
빠른 실습을 위해 html 에서 이름만 toString() 으로 작성해두었기 때문에,
hello/param3?name=tteia -> 인텔리제이 실행창에서 "이름은 tteia" 로 확인 가능했다.
+) lombok 을 통해 getter, setter, toString 등 이 내장된 @Data 어노테이션을 사용하기 !
package com.beyond.basic.domain;

import lombok.Data;

// 기존에 설정했던 getter 와 setter 를 전부 지워주고,
// @Getter, @Setter > lombok 어노테이션(annotation) 사용 !

@Data
// getter, setter, toString 등을 포함
public class Hello {
    private String name;
    private String email;
    private String password;

  }
}
toString() 오버라이딩 해주지 않았는데도 @Data 덕분에 위와 같은 결과물이 나온다✨
+) @NoArgsConstructor / @AllArgsConstructor 어노테이션
@NoArgsConstructor : 기본 생성자 넣어주는 거 !
@AllArgsConstructor : 모든 매개변수를 사용한 생성자를 만드는 어노테이션.
AllArgsConstructor를 쓰면 기본 생성자가 없어짐 !
⇒NoArgsConstructor랑 짝꿍으로 다녀야 함🚨🚨🚨
Case6. 서버에서 화면에 데이터를 넣어 사용자에게 return(model 객체 사용).
✔️ SSR : Server Side Rendering. 서버에서 페이지를 렌더링 한다! → 서버에서 브라우저에 보일 HTML 파일을 미리 준비해 응답해주는 형식.
✔️ case6 에서는 화면을 return 할 것이기 때문에 RestController 이나 ResponseBody 써줄 수 없다 !
✔️ **님, hello world 를 return 하려고 하는 것 !
✔️ url 패턴 : model-param , method 명 : modelParam
✔️ Model: 애플리케이션의 데이터와 비즈니스 로직을 담당.
Model 객체는 Controller 에서 생성된 데이터를 담아 View(화면)로 전달할 때 사용하는 객체.
model.addAttribute("key", "value") 메서드를 이용해 view에 전달할 데이터를 key:value형식으로 전달할 수 있다.
✔️ model 객체에 name 이라는 키값의 value 를 세팅하면 해당 key:value 는 화면으로 전달됨.
✔️ helloworld.html 로 가서 추가 작성 후, model 을 통해 데이터를 화면에 주입했다.
html 파일 우선 수정
<!DOCTYPE html>
<!-- model 객체가 전달해줌 > thymeleaf 사용! -->
<html lang="en" xmlns:th="http://www.thymeleaf.org">
<head>
    <meta charset="UTF-8">
    <title>🐬럭키 아로롱🍀</title>
</head>
<body>
<div style="color : orange">
    <h2>hello world</h2>
    <p><span th:text="${name}"></span>님, hello world !</p>
</div>
</body>
</html>
java 파일 작성
@GetMapping("/model-param")

public String modelParam(@RequestParam(value="name")String inputName, Model model){
	model.addAttribute("name", inputName);
    return "helloworld";
}🚨return "helloworld" 인데 왜 @ResponseBody 가 없을까 ?!🚨
@ResponseBody 를 사용하지 않는 이유는 반환된 문자열이 뷰 이름이기 때문이며, 이 뷰 이름을 통해 뷰 템플릿이 렌더링된다.
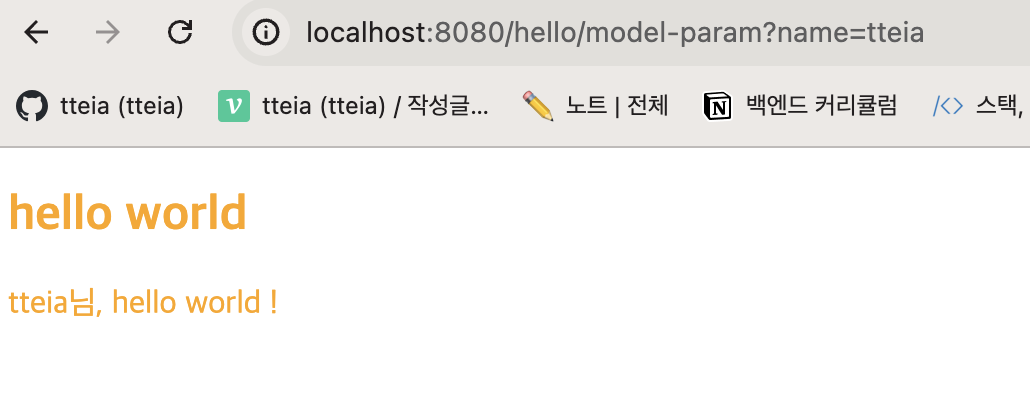
hello/model-param?name=tteia 로 작성해준 결과,
helloworld.html 에 작성해준대로 tteia님, hello world ! 가 나타났다 !
Case7. pathVariable 방식을 통해 사용자로부터 값을 받아 화면 return.
✔️ pathvariable 방식 : hello/model-path/{name} 으로 작성 > /name
✔️ localhost:8080/hello/model-path/1 (1번 사용자 데이터 줘 ! id 값이 되는 것)
✔️ case7 실습 : localhost:8080/hello/model-path/tteia
✔️ pathVariable 방식은 url 을 통해 자원의 구조를 명확하게 표현하므로 좀 더 restful 한 형식이다.
✔️ restful = html + java
@GetMapping("/model-path/{inputName}")
public String modelPath(@PathVariable String inputName, Model model){
	model.addAttribute("name", inputName);
    return "helloworld";
}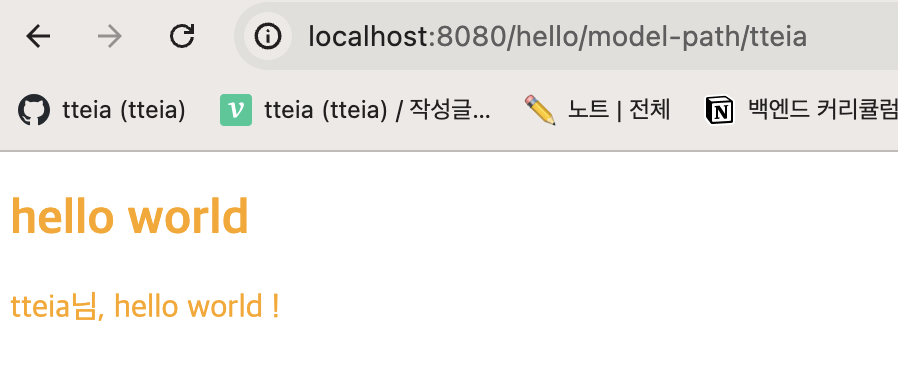
pathVariable 방식을 통해 hello/model-path/tteia 로 작성 시 나타나는 화면 !
get 요청에 대한 case 7개를 실습해보았다 !
다음 포스팅은 post 요청에 대한 case 를 살펴보겠다 🔎

Hello Spring World~! ^^