#2.0 Using Firebase Auth
- router.js를 따로 선언하여 활용하는 이유 : 모듈화 시켜 router로서만 활용할 수 있도록 하고, 추가로 App.js에는 footer, header등 다양한 것들을 추가시킬 수 있도록 하였다.
사용방법
- 먼저 import를 해줘야한다
//firebase.js => fbase.js로 바꿔주었다.
import "firebase/compat/auth"; authService.currentUser를 호출한다. 이는 user가 있을 경우 없으면 null을 반환하는 원리를 이용해 코드를 작성한다.
잡기술
- 절대 경로로 만들어주기 : 아래코드를 가진 파일을 jsconfig를 추가해주면
../../firebase/compat/auth와 같은 상대경로가 아닌 위와 같은 절대 경로로 표현해줄 수 있게 된다.
jsconfig.json
{
    "compilerOptions":{
        "baseUrl": "src"
    },
    "include":["src"]
} - firebase에서 특정함수를 불러주고 싶을때 아래와 같이 추가해주면 import할 때 활용할 수 있다.
export const authService = firebase.auth();
코드 수정 사항 최종 :
//Router.js
import React from "react";
import { HashRouter as Router , Route, Switch} from "react-router-dom";
import Auth from "../routes/Auth";
import Home from "../routes/Home";

const AppRouter = ({ isLoggedIn }) => {
    return(
        <Router>
            <Switch>
                {isLoggedIn ?
                <>
                    <Route exact path="/">
                        <Home/>
                    </Route>
                </>:
                <Route exact path="/">
                    <Auth/>
                </Route>
                }
            </Switch>
        </Router>
    )
};

export default AppRouter;
//App.js
import React, { useState} from "react"
import { authService } from "fbase";
import AppRouter from "components/Router";
function App() {
const [ isLoggedIn, setIsLoggedin ] = useState(authService.currentUser);
return (
<>
<AppRouter isLoggedIn={isLoggedIn}/>
<footer>© {new Date().getFullYear} Nwitter </footer>
</>
);
}
export default App;#2.1 Login Form Part1
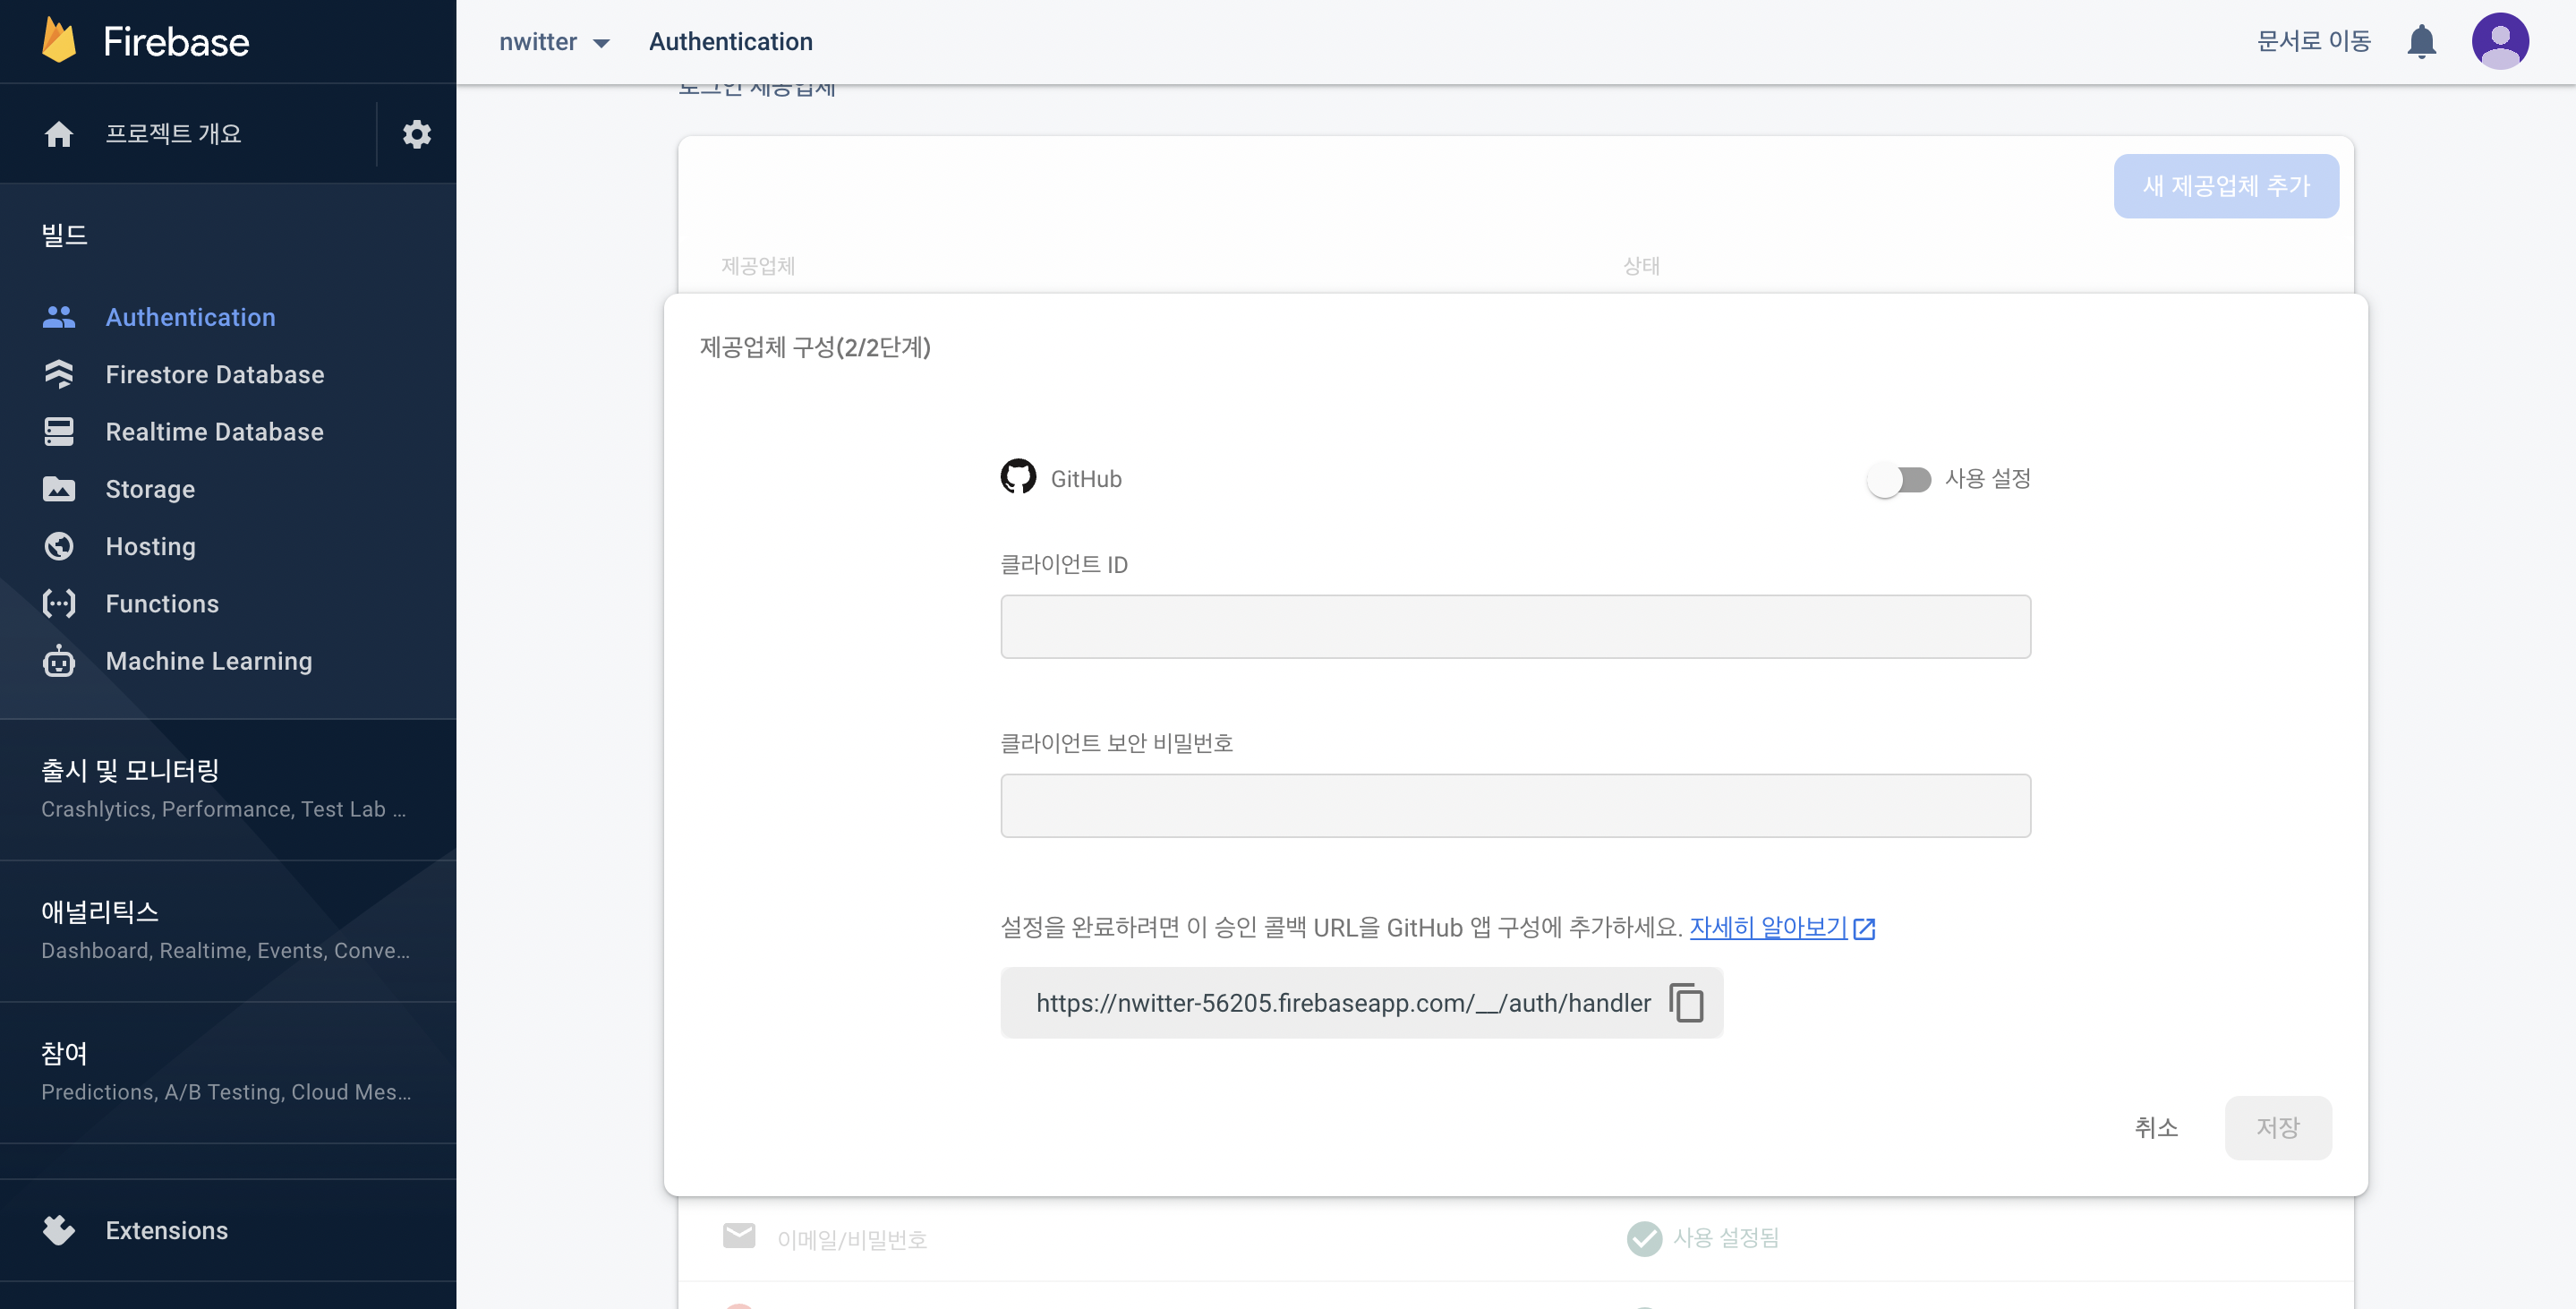
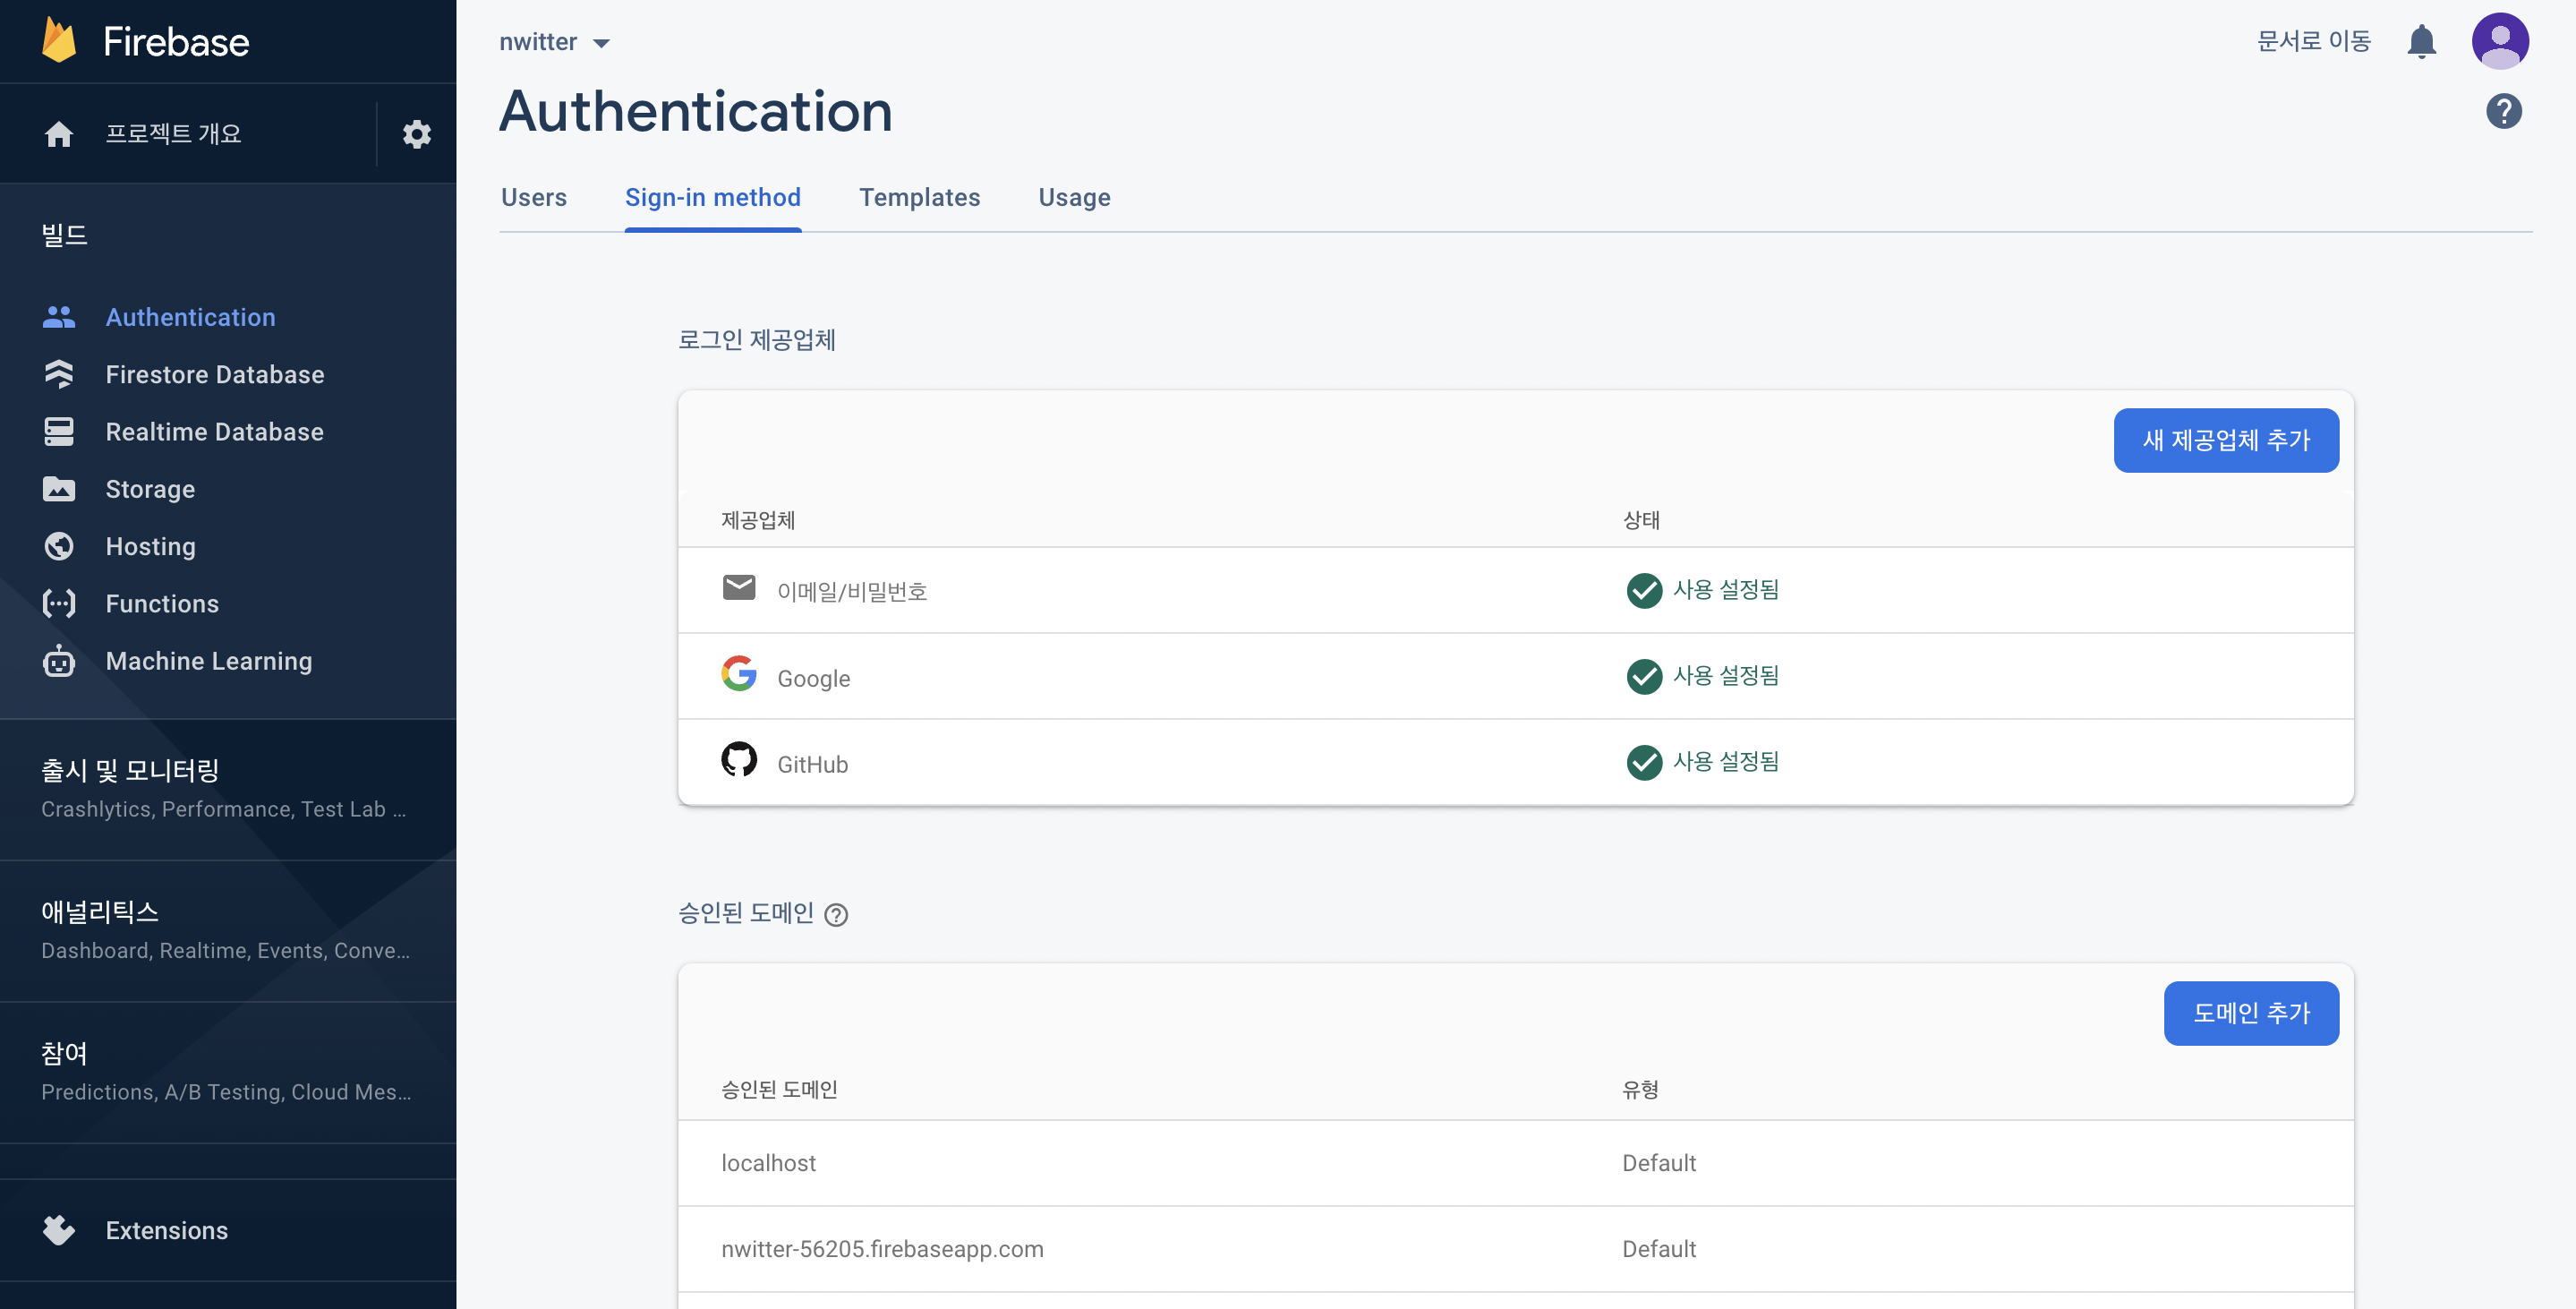
- 미리 가입했던 firebase홈페이지에서 생성된 nwitter 프로젝트에서 authentication을 통해서 이메일 인증, 깃헙인증 등을 추가해줄 수 있다.
- authentification > enable 을 통해 원하는 계정 설정
- github으로 하고 싶을 때에는 app에서 생성해줘야함
- github계정 > setting > developer setting > OAuth App
발급된 Client ID와 Clients Secret을 붙여넣기
- 코드 수정
//Auth.js 수정사항
import React, { useState } from "react";

const Auth = () => {
    const [email, setEmail] = useState("");
    const [password, setPassword] = useState("");
    const onChange = (event) =>{
        const {
            target : { name, value}
        } = event;
        if(name ==="email"){
            setEmail(value)
        } else if (name==="password"){
            setPassword(value)
        }

    };
    const onSubmit = (event)=>{
        event.preventDefault();
    }
    return(
        <div>
            <form onSubmit={onSubmit}>
                <input
                    name = "email"
                    type="text"
                    placeholder="Email"
                    required
                    value = {email}
                    onChange={onChange}
                />
                <input
                    name = "password"
                    type="password"
                    placeholder="Password"
                    required
                    value = {password}
                    onChange={onChange}
                />
                <input type="submit" value = "Log In" />
            </form>
            <div>
                <button>Continue with Google</button>
                <button>Continue with Github</button>
            </div>
        </div>
)};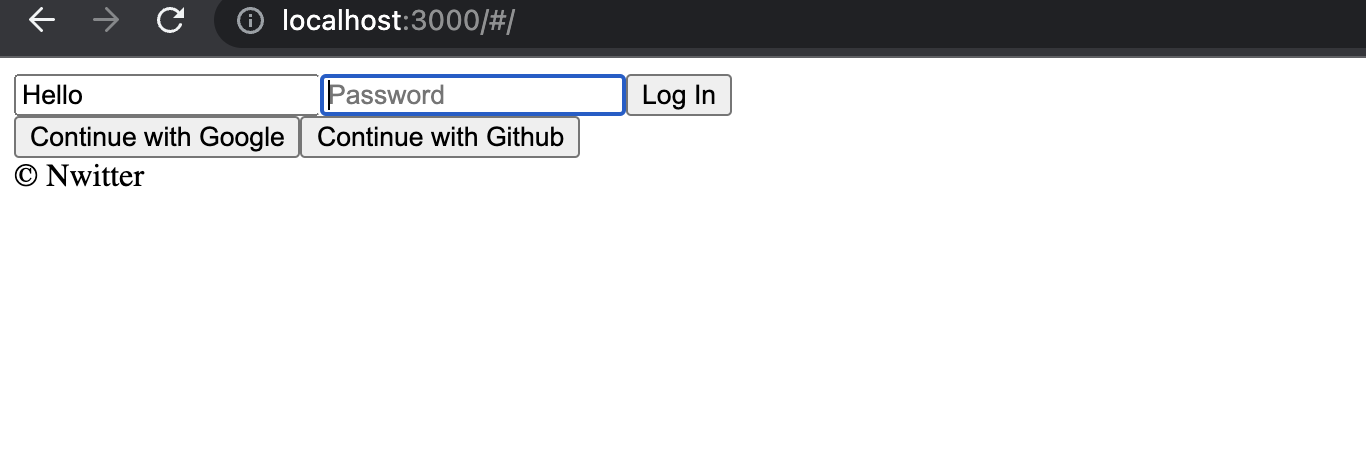
export default Auth- 결과창
#2.2 Recap
코드 설명 :
1. const를 통해서 email, password 변수를 추가하여 사용자가 입력하는 값을 전달하도록 함.
2. onChange 함수는 Hook으로 만든 함수인데 내부에서 입력되는 변수의 모형을 {name:value}에 해당하는 모형으로 바꿔주고 value에 값을 키보드가 입력될 때마다 저장하도록 함.
3. event.preventDefault() : 사용하고 있는 사용자가 아닌 개발자가 관련된걸 컨트롤 할 수 있도록 보호하도록 하는 코드
#2.3 Creating Account
- documentation의 email provider를 활용할 계획임
- promise와 같이 나와있는 것은 await를 사용해야 함.
authService.createUserWithEmailAndPassword를 활용하여 email과 password로 된 계정을 생성할 수 있다.authService.signInWithEmailAndPassword를 활용하여 로그인을 할 수 있다.- 또한 persistance를 설정해주어야 하는데, 이를 통해서 local로 설정하면 계속 로그인되어있고, session으로 설정하면 탭이나 브라우저가 열려있는동안 로그인되어 기억되고, none으로 설정하면 로그인 되어있지않는다.
- 코드 :
//auth.js
import React, { useState } from "react";
import { authService } from "../fbase";

const Auth = () => {
    const [email, setEmail] = useState("");
    const [password, setPassword] = useState("");
    const [newAccount, setNewAccount] = useState(true);
    const onChange = (event) =>{
        const {
            target : { name, value}
        } = event;
        if(name ==="email"){
            setEmail(value)
        } else if (name==="password"){
            setPassword(value)
        }

    };
    const onSubmit = async(event)=>{
        event.preventDefault();
        if (newAccount) {
            // create account
            await authService.createUserWithEmailAndPassword(email, password);
        } else {
            // log in
            await authService.signInWithEmailAndPassword(email, password);
        }
    }
    return(
        <div>
            <form onSubmit={onSubmit}>
                <input
                    name = "email"
                    type="text"
                    placeholder="Email"
                    required
                    value = {email}
                    onChange={onChange}
                />
                <input
                    name = "password"
                    type="password"
                    placeholder="Password"
                    required
                    value = {password}
                    onChange={onChange}
                />
                <input type="submit" value = { newAccount ? "Create Account" : "Log In"} />
            </form>
            <div>
                <button>Continue with Google</button>
                <button>Continue with Github</button>
            </div>
        </div>
)};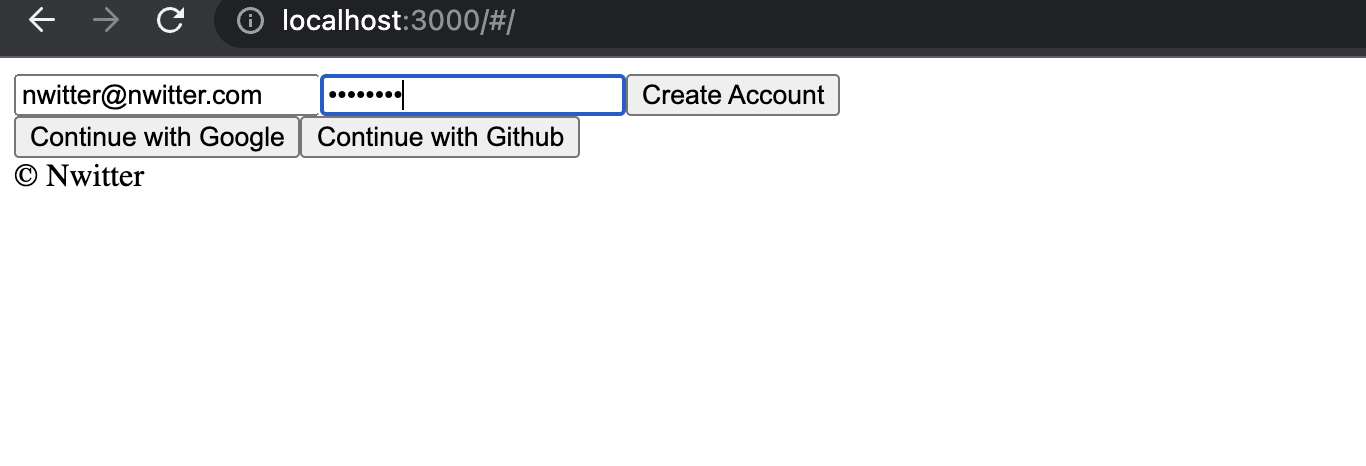
export default Auth- 결과 :

#2.4 Log In
*모르는 내용에 대한 documentation을 검색하고 싶으면 https://firebase.google.com/docs/ 를 통해서 확인할 수 있다
출처: 노마드코더: 트위터 클론 코딩

사회적 가치를 실현하는 프로그래머