안녕하세요, 주니어 개발자 Eon입니다.
vscode에서 제공하는 개발용 컨테이너를 만드는 방법에 대해 소개합니다.
vscode extension; remote-containers
extension 설치
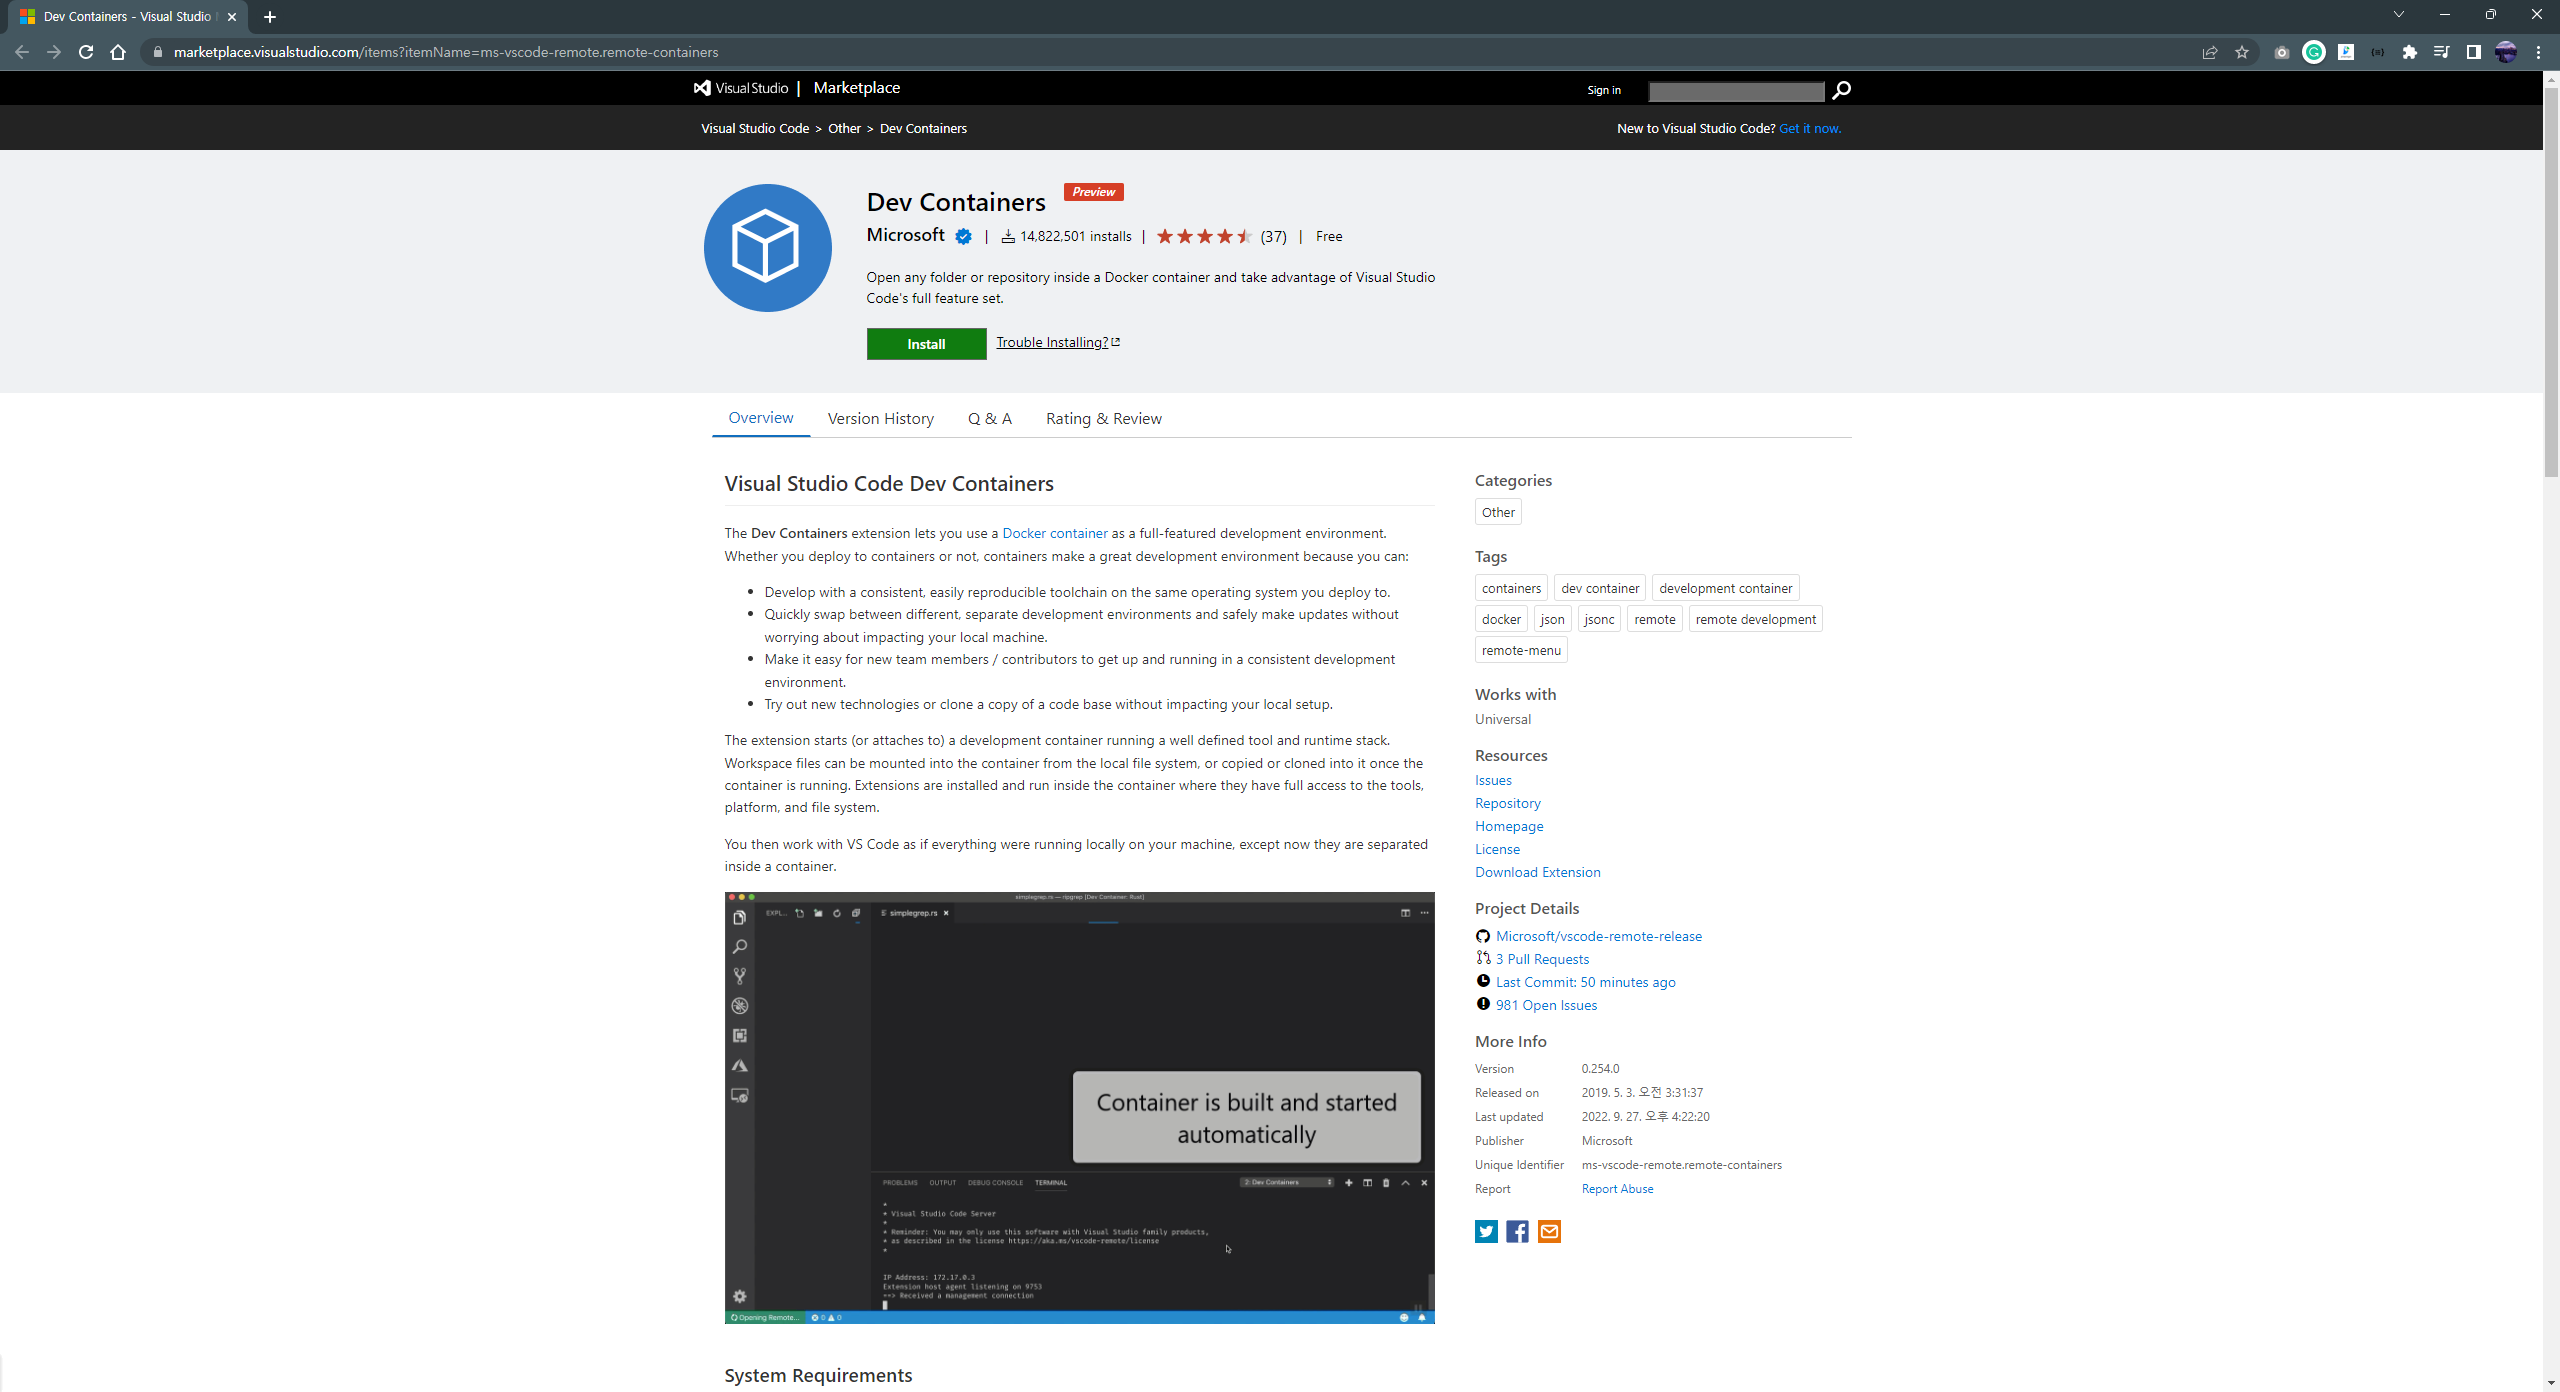
설치 링크 remote-containers
에러 발생 및 docker desktop 설치 진행
위 과정 이전에 Docker desktop을 먼저 설치해도 상관없습니다.
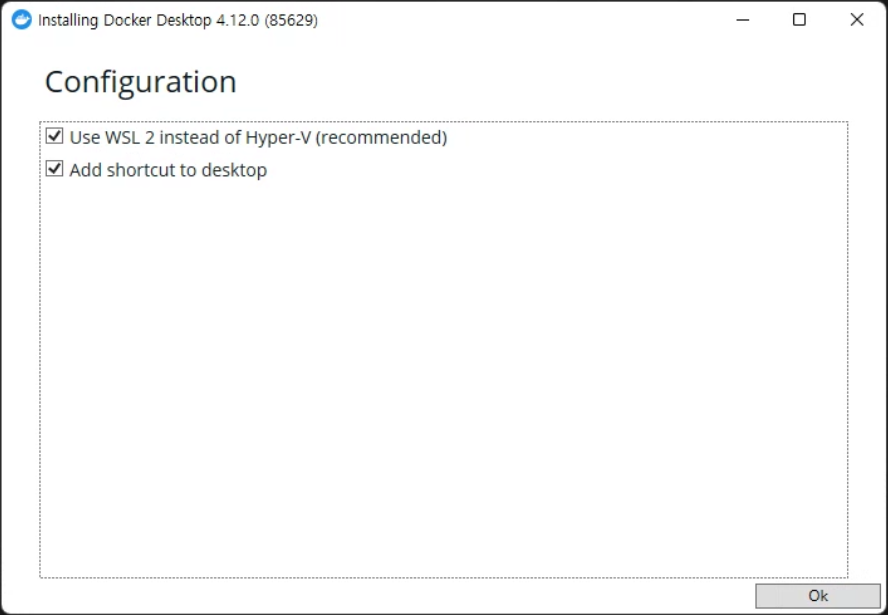
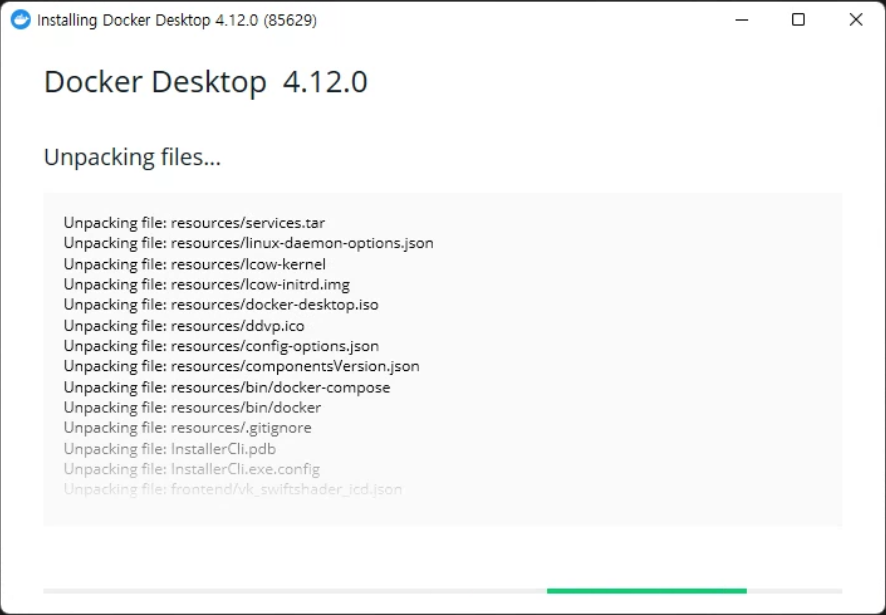

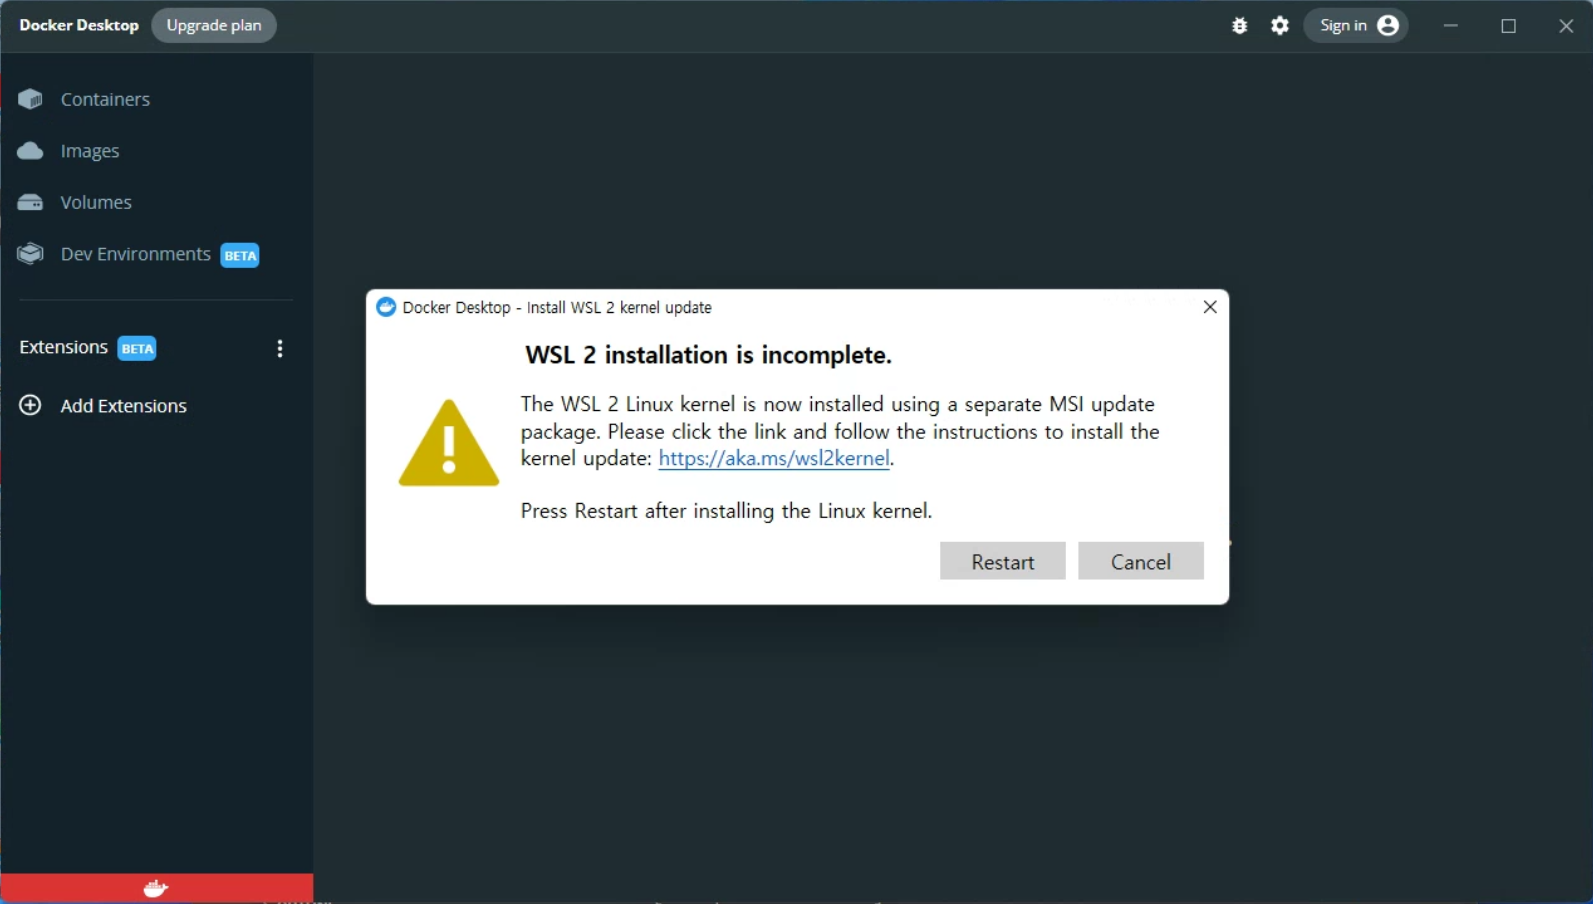
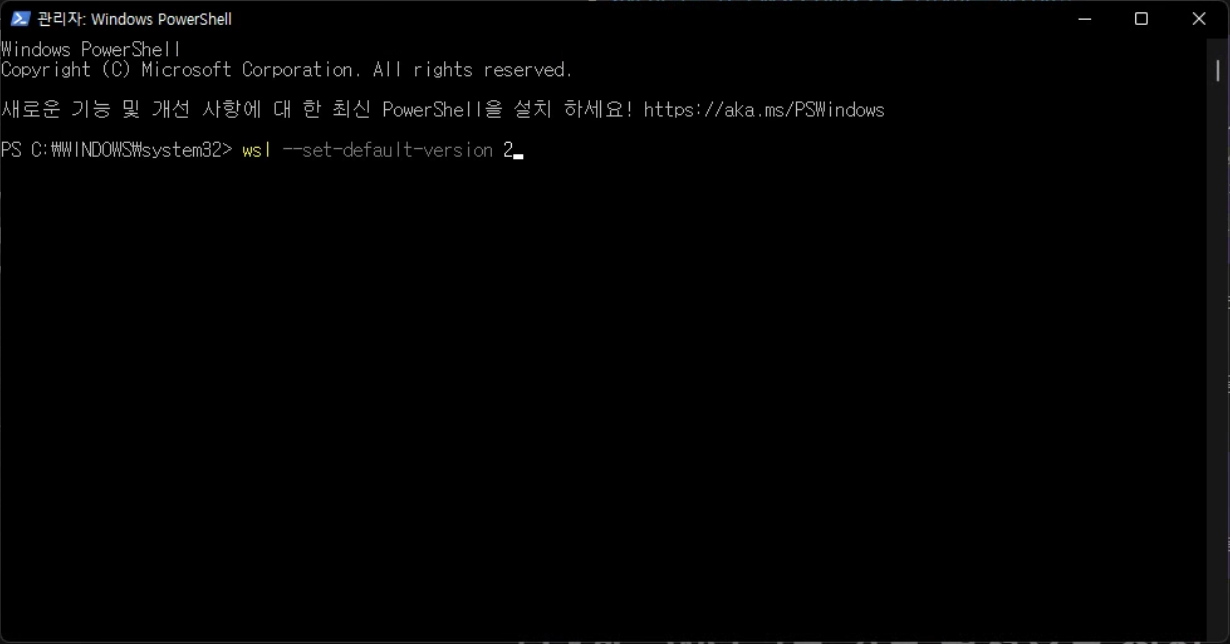
Docker desktop 의존성, WSL2 설치
WSL2 커널 업데이트하라는 문구와 함께 설치를 마치면 Restart를 누르도록 합니다.
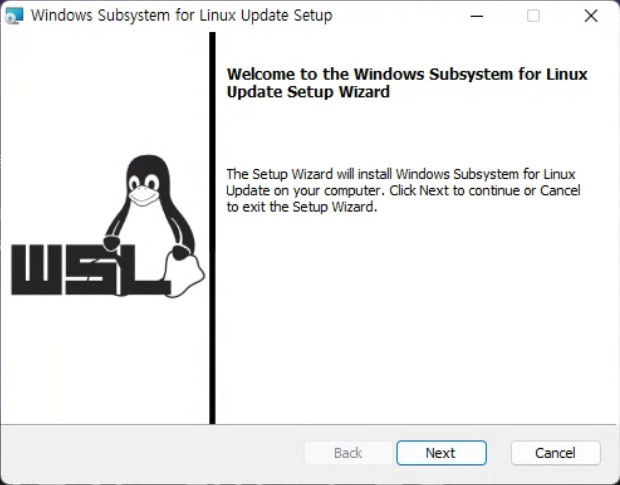
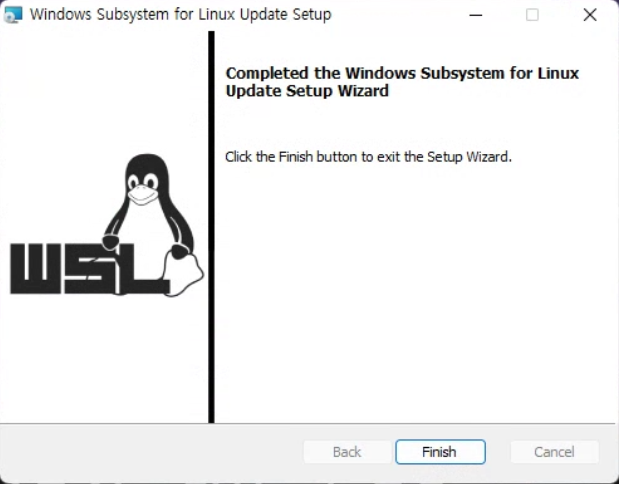
커널 업데이트 링크 누르면 아래 주소로 리다이렉트됩니다.
https://learn.microsoft.com/ko-kr/windows/wsl/install-manual#step-4---download-the-linux-kernel-update-package

볼드체 링크를 누르면 다운로드가 시작됩니다.
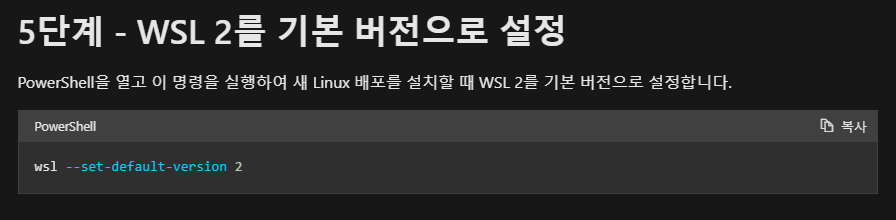
PowerShell 관리자모드로 실행 및 커맨드를 입력합니다.
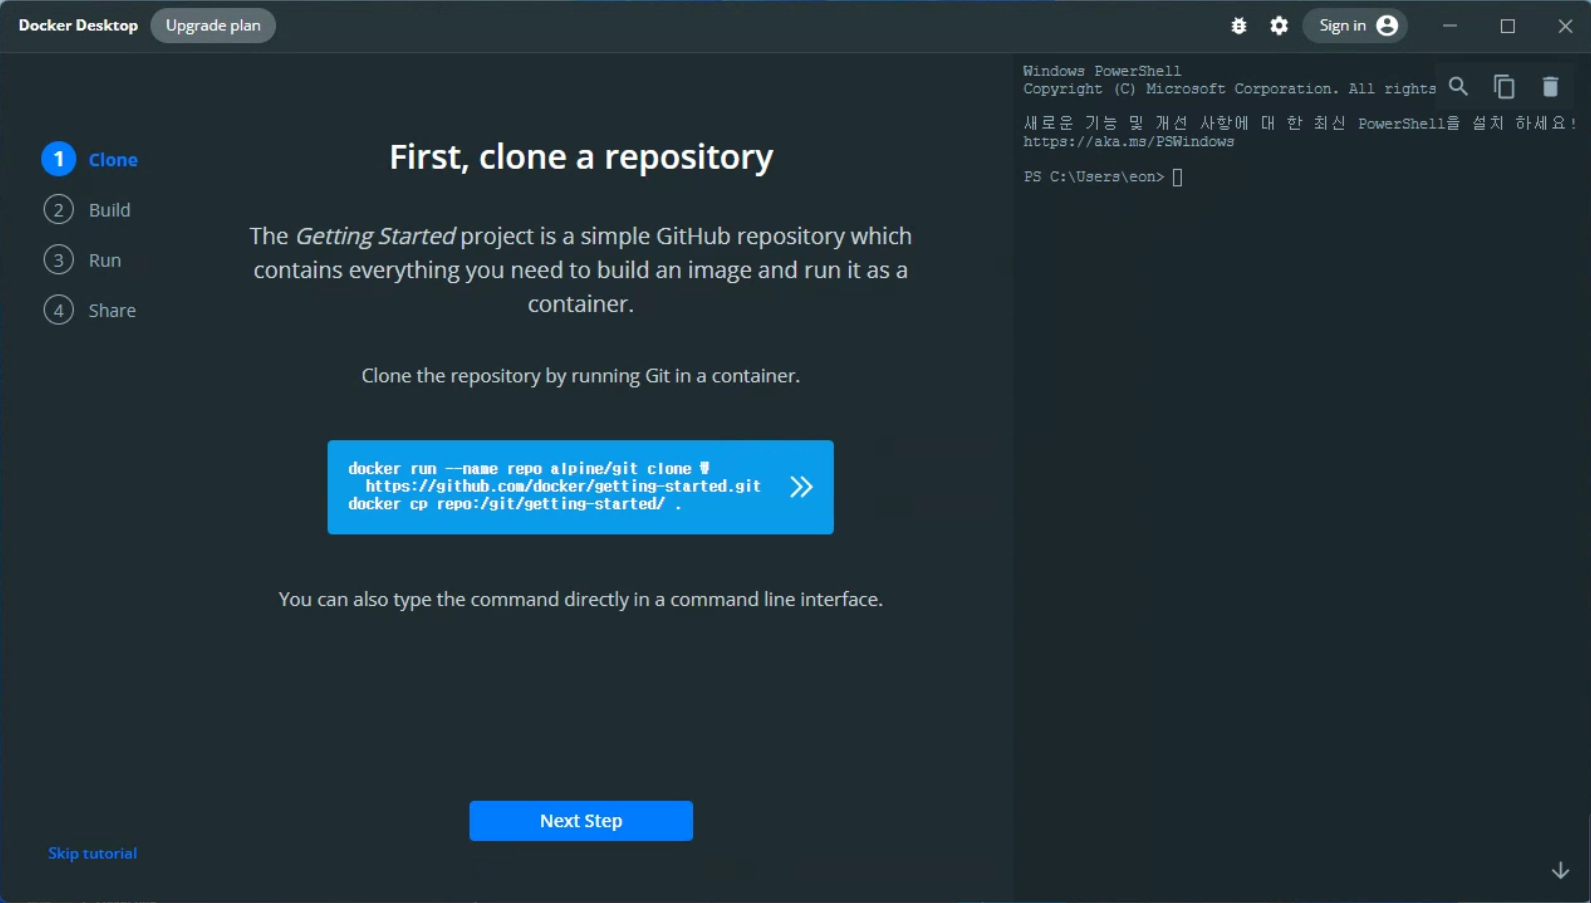
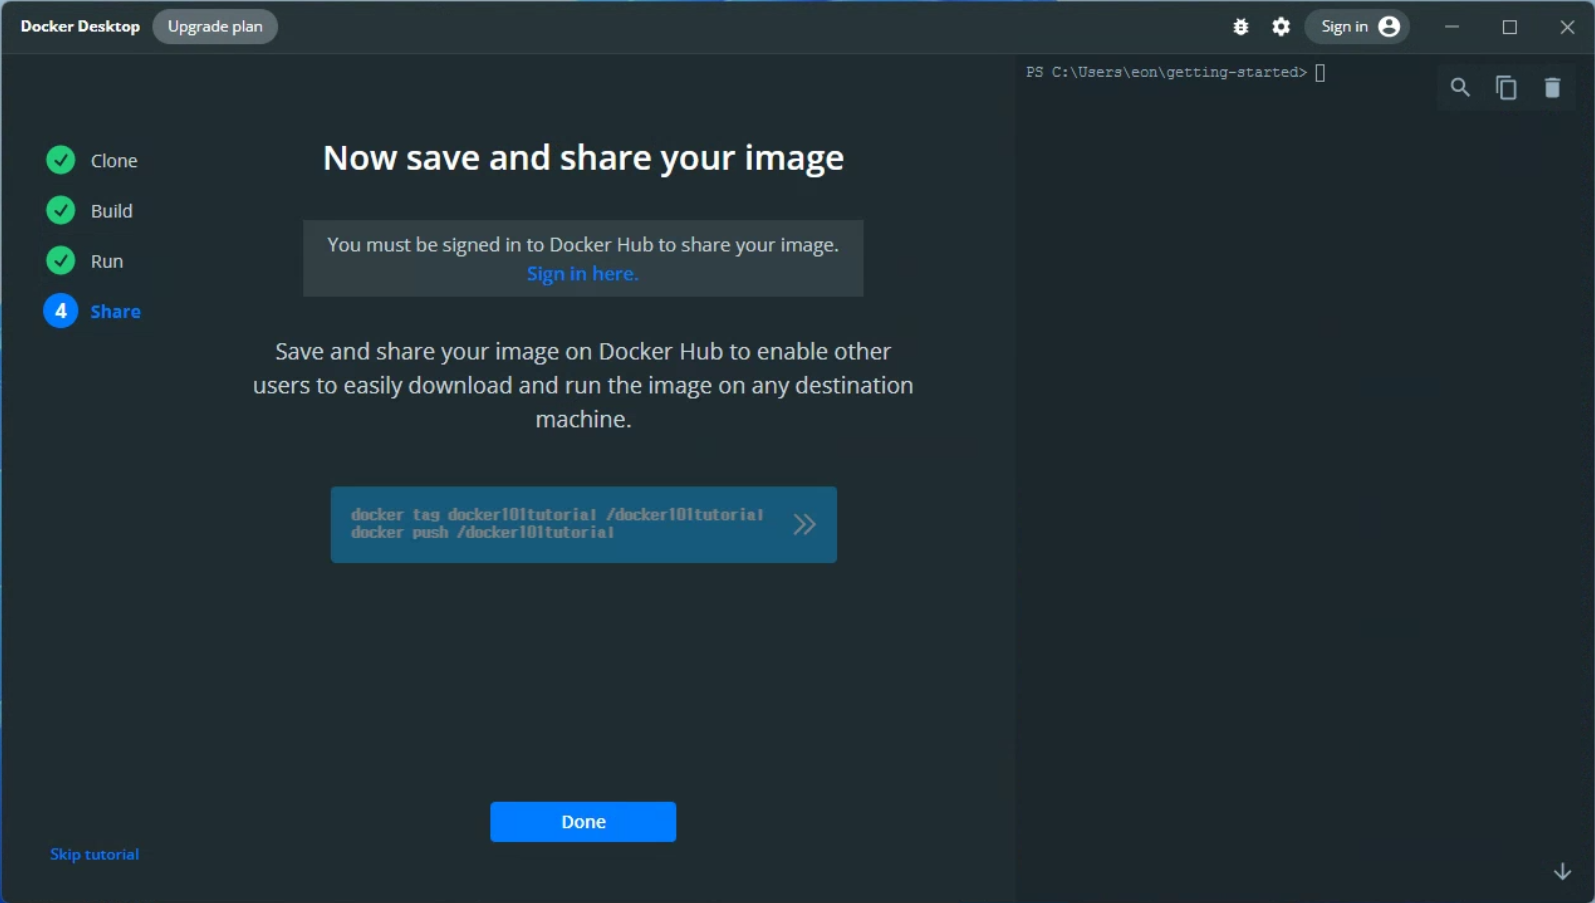
Docker desktop Restart 및 Tutorial
아래는 Docker desktop tutorial 과정입니다.
해당 튜토리얼 과정을 진행해도 좋습니다.
(스킵하시면 ## Docker image build 를 보시면 됩니다.)


Docker image build
컨테이너 환경을 만들기 위해 image를 빌드합니다.
빌드할 베이스 이미지는 microsoft에서 제공하는 우분투로 합니다.
vscode extension; remote-containers를 사용한 이미지 빌드에서는 아래와 같은 file 구조가 필요합니다.
mount_directory
	⨽ .devcontainer
		⊢ devcontainer.json
		⨽ Dockerfile
저는 vamos라는 디렉터리 를 컨테이너에 마운트해서 사용합니다.
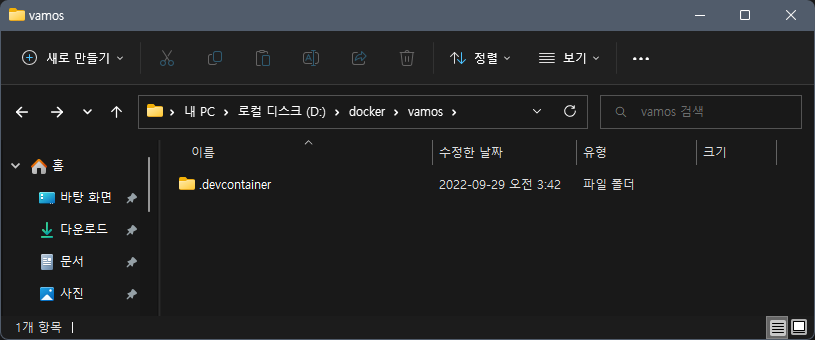
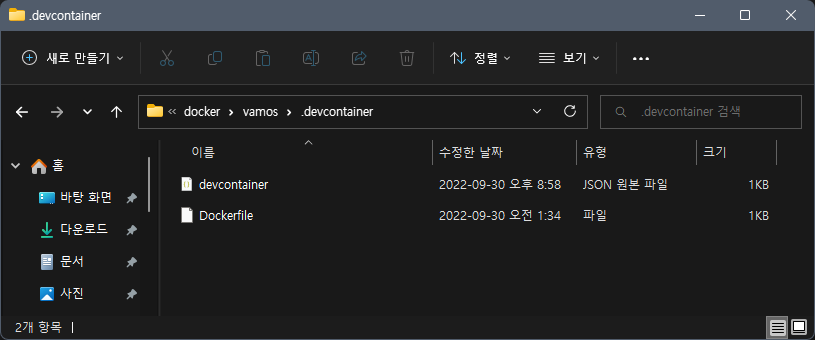
mount_directory 디렉터리에서 우클릭 후, vscode로 해당 디렉터리를 열고 위와 같이 file 구조를 만듭니다.
(vscode에서 mount_directory 열기)
파일 작성
참고 https://code.visualstudio.com/docs/remote/containers#_installation
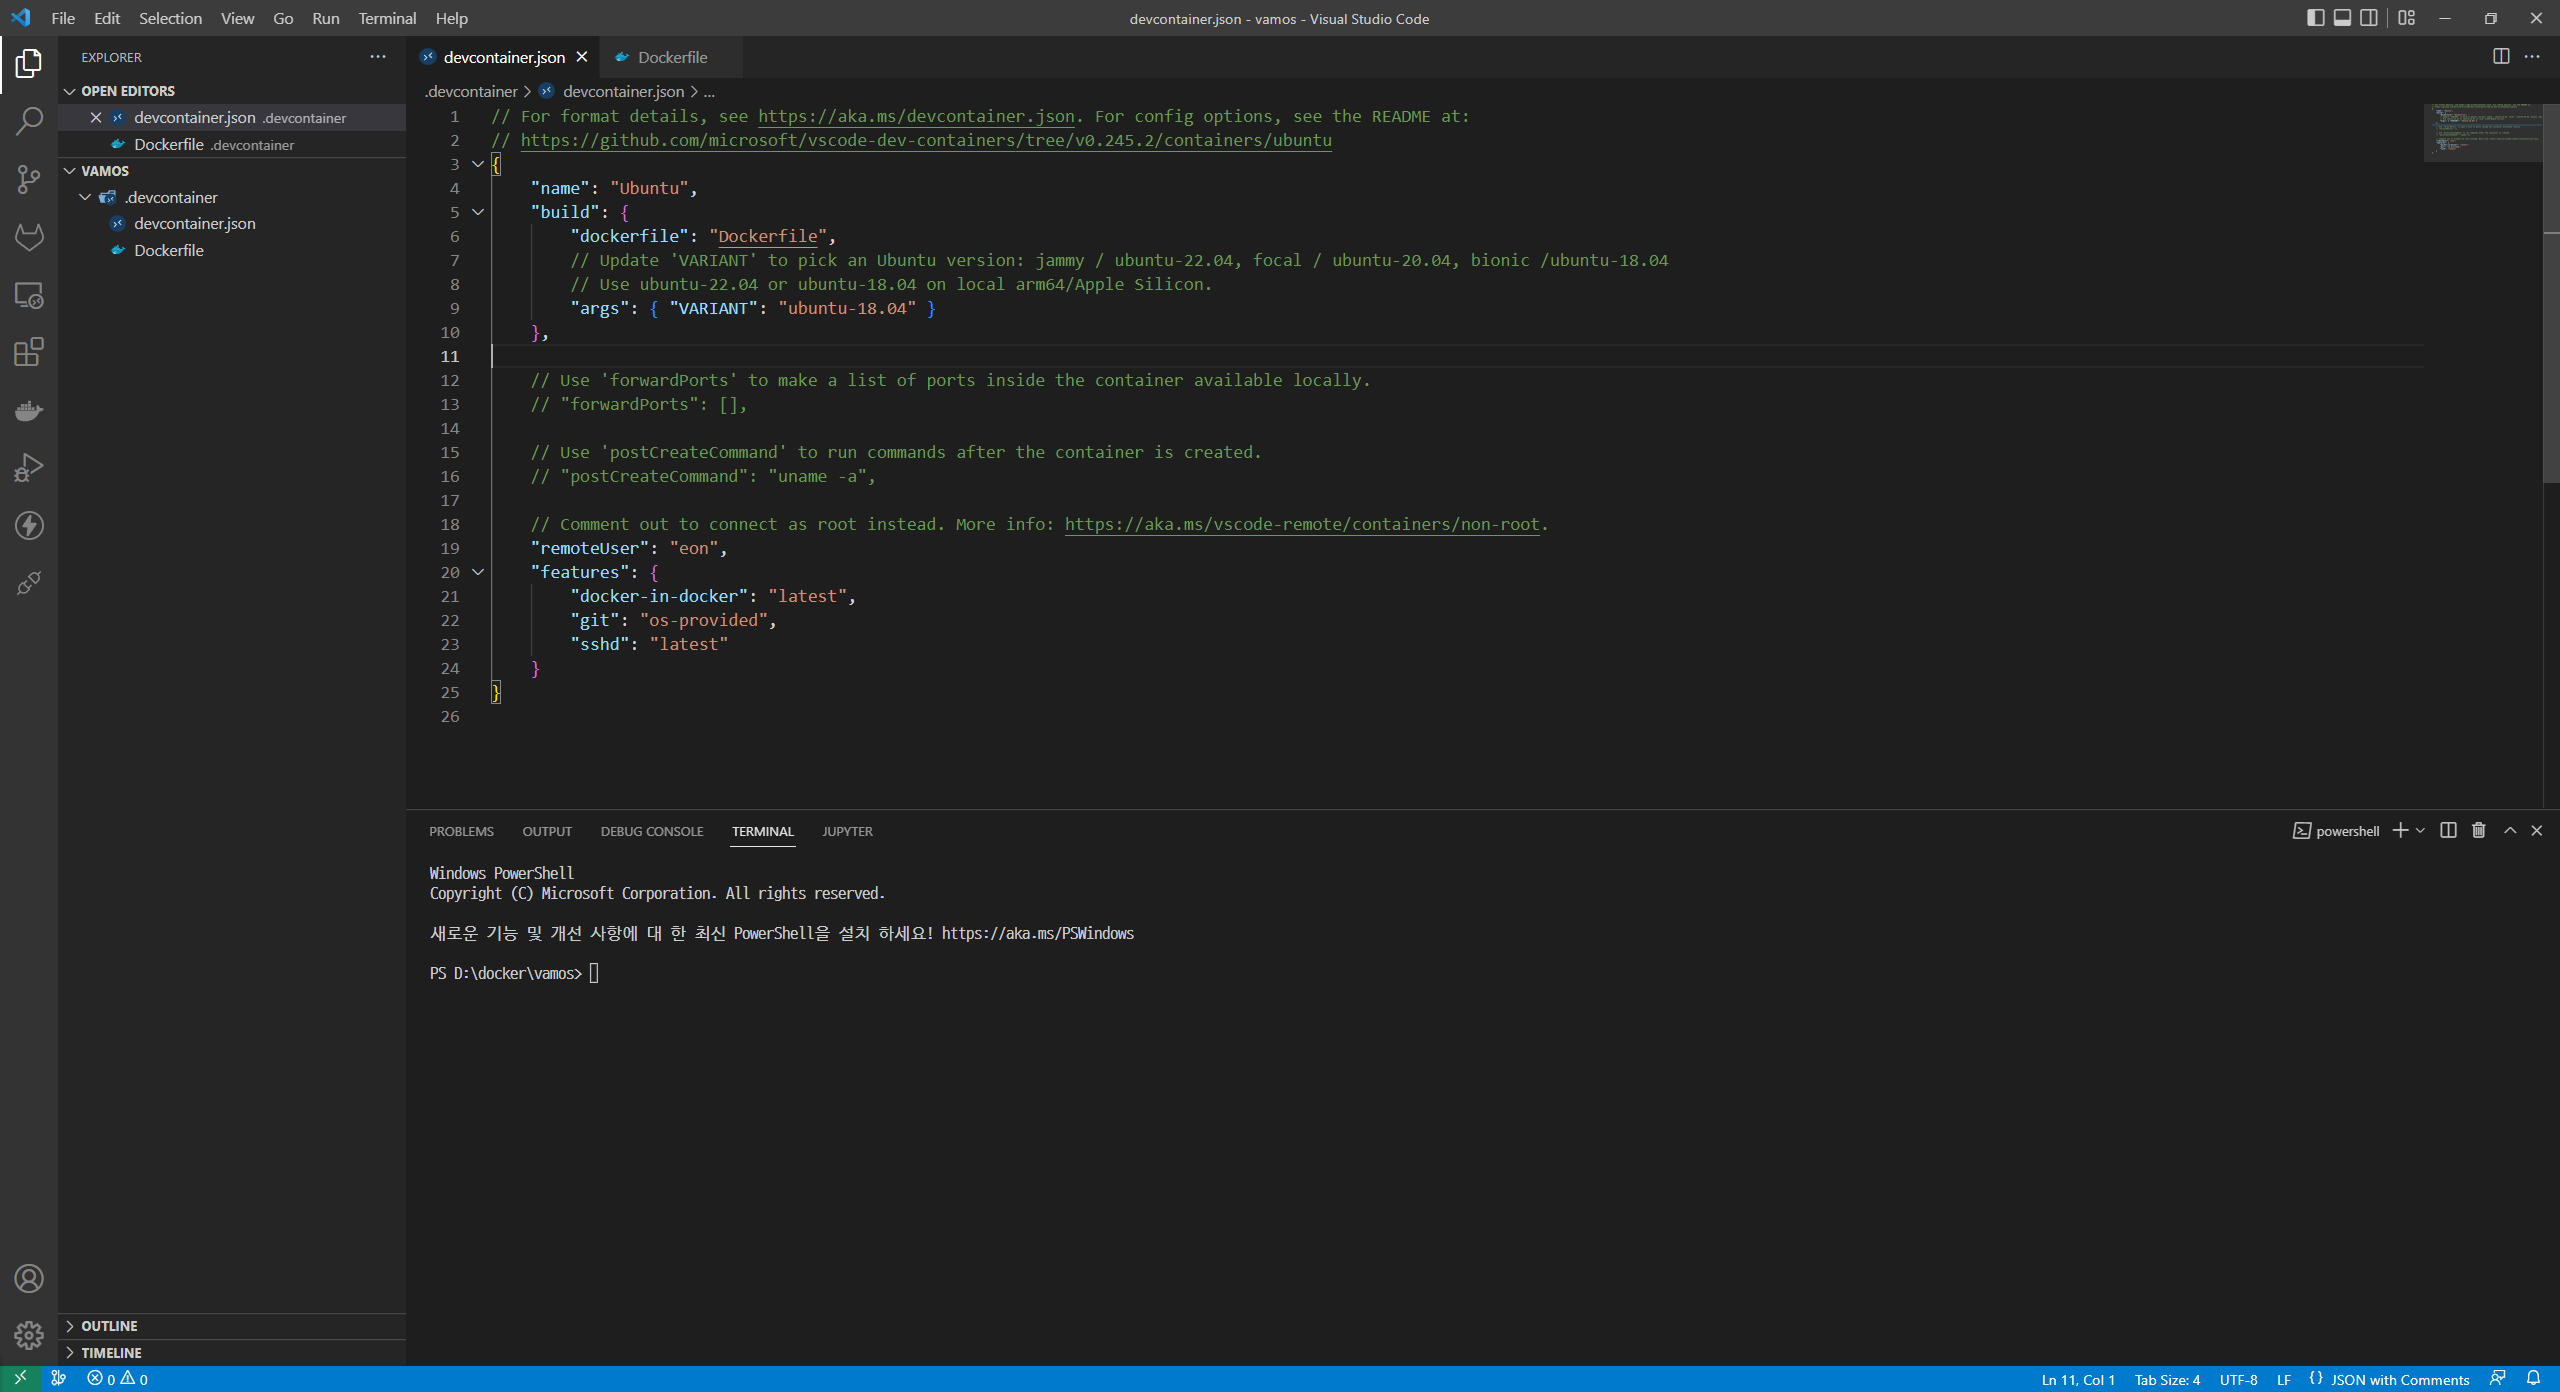
devcontainer.json
json은 주석을 지원하지 않지만, vscode 내 configuration 항목들에 대한 json 내의 주석은 허용됩니다.
// For format details, see https://aka.ms/devcontainer.json. For config options, see the README at:
// https://github.com/microsoft/vscode-dev-containers/tree/v0.245.2/containers/ubuntu
{
	"name": "Ubuntu",
	"build": {
		"dockerfile": "Dockerfile",
		// Update 'VARIANT' to pick an Ubuntu version: jammy / ubuntu-22.04, focal / ubuntu-20.04, bionic /ubuntu-18.04
		// Use ubuntu-22.04 or ubuntu-18.04 on local arm64/Apple Silicon.
		"args": { "VARIANT": "ubuntu-18.04" }
	},

	// Use 'forwardPorts' to make a list of ports inside the container available locally.
	// "forwardPorts": [],

	// Use 'postCreateCommand' to run commands after the container is created.
	// "postCreateCommand": "uname -a",

	// Comment out to connect as root instead. More info: https://aka.ms/vscode-remote/containers/non-root.
  	"workspaceMount": "source=${localWorkspaceFolder}/workspace,target=/workspace,type=bind",
  	// container 실행 시, workspaceFolder 설정한 곳에서 시작함
	"workspaceFolder": "/home/eon",
  	// 사용자 eon으로 시작함
	"remoteUser": "eon",
	"features": {
		"docker-in-docker": "latest",
		"git": "os-provided",
		"sshd": "latest"
	}
}
Dockerfile
# See here for image contents: https://github.com/microsoft/vscode-dev-containers/tree/v0.245.2/containers/ubuntu/.devcontainer/base.Dockerfile

# [Choice] Ubuntu version (use ubuntu-22.04 or ubuntu-18.04 on local arm64/Apple Silicon): ubuntu-22.04, ubuntu-20.04, ubuntu-18.04
ARG VARIANT="ubuntu-18.04"
FROM mcr.microsoft.com/vscode/devcontainers/base:${VARIANT}

# [Optional] Uncomment this section to install additional OS packages.
# RUN apt-get update && export DEBIAN_FRONTEND=noninteractive \
#     && apt-get -y install --no-install-recommends <your-package-list-here>

# vscode가 기본 user이고, 기본 값으로 설정돼 있던 user를 eon으로 변경함
ARG USERNAME=eon
ARG OLDNAME=vscode
RUN usermod -l $USERNAME $OLDNAME \
    && groupmod -n $USERNAME $OLDNAME \
    && usermod -d /home/$USERNAME -m $USERNAME

# [Optional] https://code.visualstudio.com/remote/advancedcontainers/add-nonroot-user
RUN echo $USERNAME ALL=\(root\) NOPASSWD:ALL > /etc/sudoers.d/$USERNAME \
    && chmod 0440 /etc/sudoers.d/$USERNAME

USER $USERNAME
이미지 빌드
vscode에서 F1을 누르고, Remote-Containers: Rebuild Container를 선택하면 빌드가 시작되고, 컨테이너가 실행됩니다.

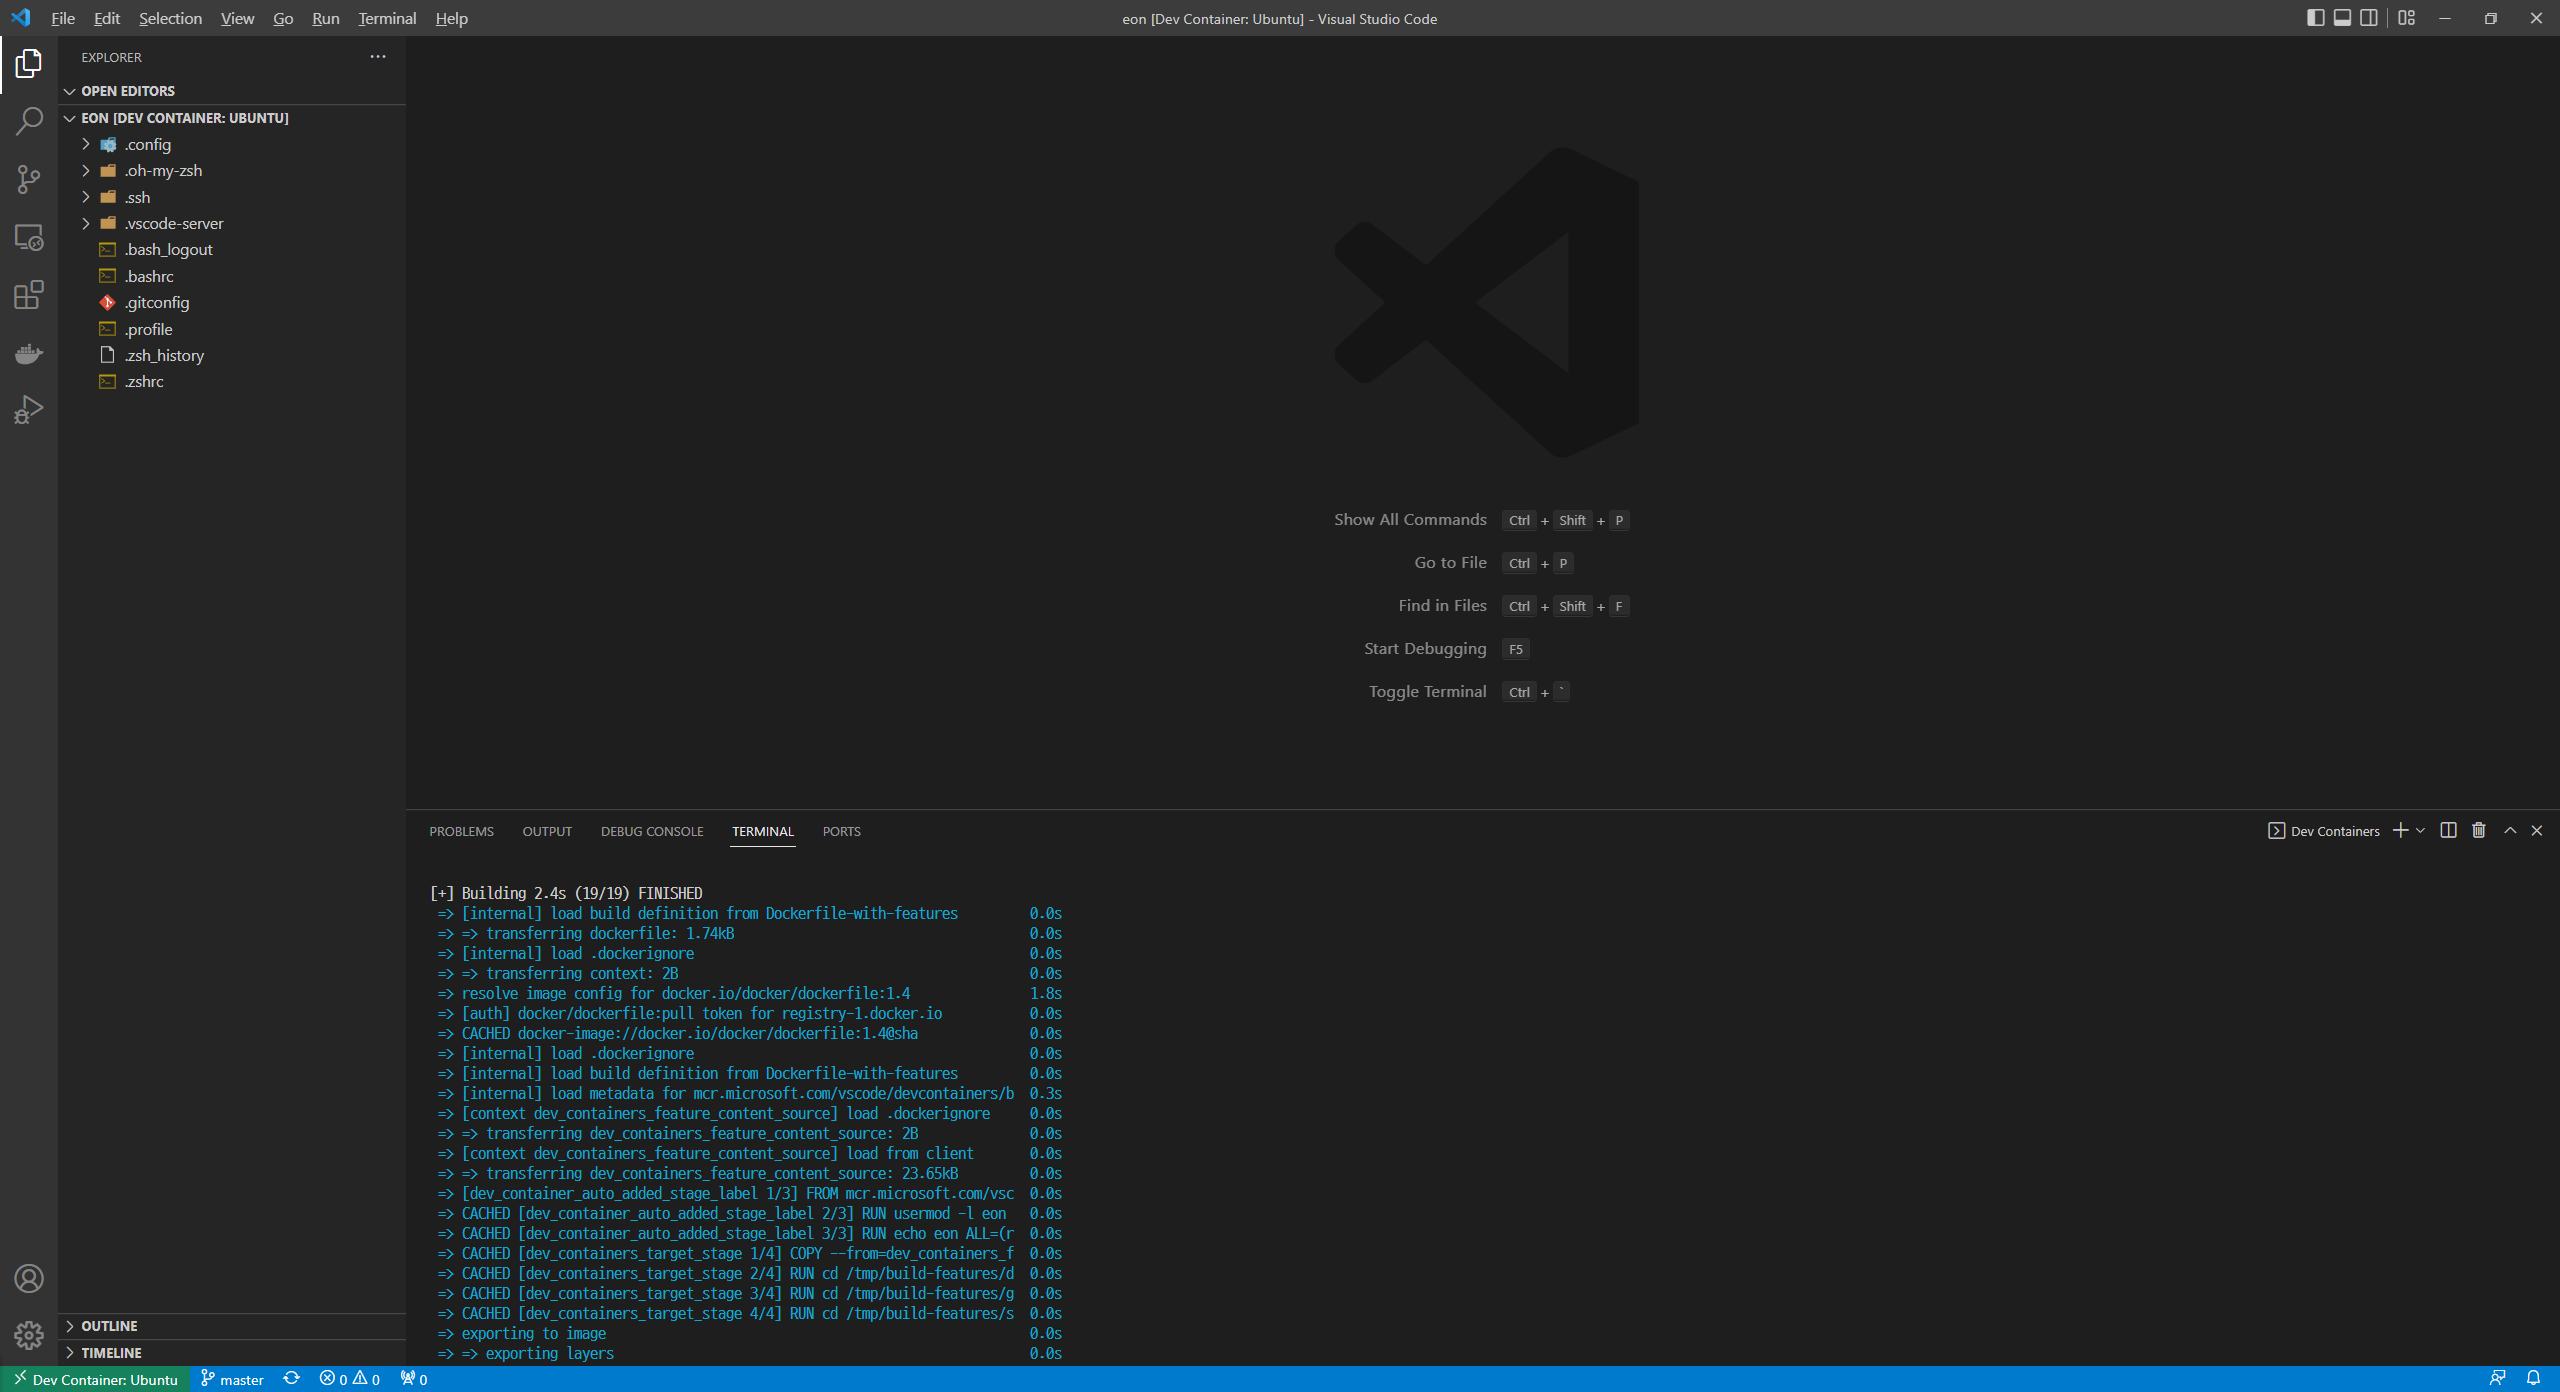
빌드된 이미지는 로컬 환경에서 Docker desktop을 통해 관리합니다.
https://code.visualstudio.com/remote/advancedcontainers/overview
이상 개발용 컨테이너 생성에 대한 내용이었습니다.
감사합니다.👍