VMWARE 설치하고, Ubuntu 20.04
1. 필수 패키지 설치
$ sudo su

# apt-get install make

# apt-get install build-essential

# apt-get install gcc

# apt-get install --reinstall make

# apt-get install libexpat1-dev

# apt-get install g++

# apt-get install net-tools

# apt-get install curl
2. Apache 설치
2-1. APR 설치
cd /usr/local
sudo mkdir apache
wget http://mirror.navercorp.com/apache//apr/apr-1.7.0.tar.gz
wget http://mirror.navercorp.com/apache//apr/apr-util-1.6.1.tar.gz
tar xvfz apr-1.7.0.tar.gz
tar xvfz apr-util-1.6.1.tar.gz
wget https://www.apache.org/dist/apr/apr-1.7.0.tar.gz.sha256
sha256sum --check apr-1.7.0.tar.gz.sha256

ls
cd apr-1.7.0
sudo apt-get install build-essential
./configure --prefix=/usr/local/apr
make
make install

cp -arp libtool libtoolT
./configure --prefix=/usr/local/apr
2-2 APR-UTIL 설치
cd ..
cd apr-util-1.6.1
apt-get install libexpat1-dev
./configure --with-apr=/usr/local/apr --prefix=/usr/local/apr-util
make
make install
2-3. PCRE 설치
cd ..
wget ftp://ftp.pcre.org/pub/pcre/pcre-8.43.tar.gz
tar xvfz pcre-8.43.tar.gz- 에러
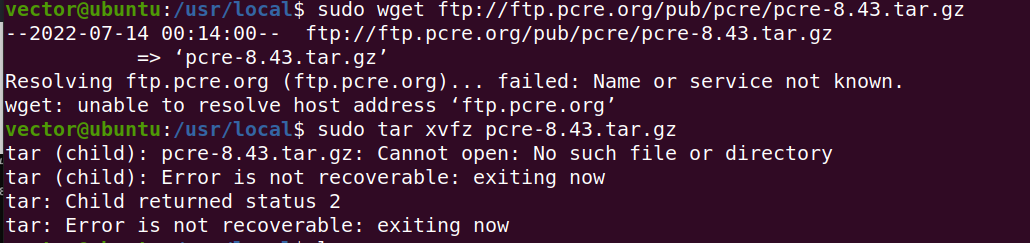
→ vi /etc/resolv.conf 에서 nameserver 8.8.8.8 로 해결하려했으나 해결안됐고 다른 코드로 했음
sudo wget https://sourceforge.net/projects/pcre/files/pcre/8.45/pcre-8.45.tar.gz
sudo tar xvfz pcre-8.45.tar.gz
ls
cd pcre-8.45
./configure --prefix=/usr/local/pcre
 make
 make install
sudo su 안하고 뻐기다가 결국 함
2-4. Apache 설치
cd ..
wget http://apache.tt.co.kr//httpd/httpd-2.4.46.tar.gz
tar xvfz httpd-2.4.46.tar.gz
이건 안되고
wget https://dlcdn.apache.org/httpd/httpd-2.4.54.tar.gz
tar xvfz httpd-2.4.54.tar.gz
cd httpd-2.4.54
./configure --prefix=/usr/local/apache2.4 \
> --enable-module=so --enable-rewrite --enable-so \
> --with-apr=/usr/local/apr \
> --with-apr-util=/usr/local/apr-util \
> --with-pcre=/usr/local/pcre \
> --enable-mods-shared=all
- 에러
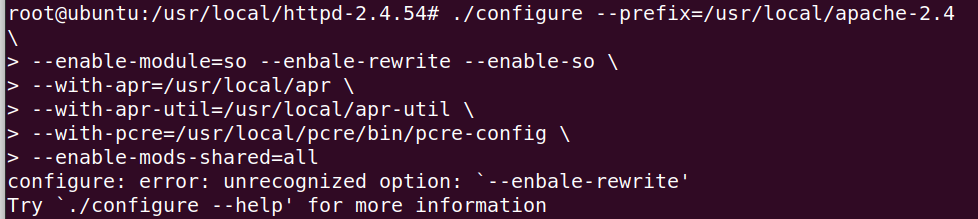
해결 : 가상머신 재부팅 후 다시 시도함
make
make install
cd ..
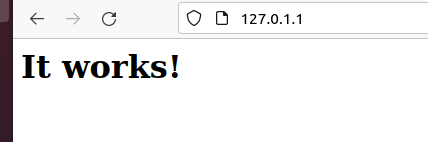
apache-2.4/bin/httpd -k start
ps -ef | grep httpd | grep -v grep
netstat -anp | grep httpd
curl http://127.0.0.1이거 뜨면 성공

3. MySQL 설치
3-1. 필수 패키지 설치
apt-get update
apt-get install cmake
apt-get install libssl-dev
apt-get install libboost-all-dev
apt-get install libncurses5-dev libncursesw5-dev
apt-get install perl
3-2. MySQL 설치
cd /usr/local
wget https://dev.mysql.com/get/Downloads/MySQL-8.0/mysql-8.0.19.tar.gz
tar xvfz mysql-8.0.19.tar.gz
wget https://boostorg.jfrog.io/artifactory/main/release/1.70.0/source/boost_1_70_0.tar.gz
tar xvfz boost_1_70_0.tar.gz
cd /usr/local/mysql-8.0.19
mkdir dir_mysql
cd dir_mysql
cmake \
.. \
-DCMAKE_INSTALL_PREFIX=/usr/local/mysql \
-DMYSQL_DATADIR=/usr/local/mysql/data \
-DMYSQL_UNIX_ADDR=/usr/local/mysql/mysql.sock \
-DMYSQL_TCP_PORT=3306 \
-DDEFAULT_CHARSET=utf8 \
-DDEFAULT_COLLATION=utf8_general_ci \
-DSYSCONFDIR=/etc \
-DWITH_EXTRA_CHARSETS=all \
-DWITH_INNOBASE_STORAGE_ENGINE=1 \
-DWITH_ARCHIVE_STORAGE_ENGINE=1 \
-DWITH_BLACKHOLE_STORAGE_ENGINE=1 \
-DDOWNLOAD_BOOST=1 \
-DWITH_BOOST=/usr/local/boost_1_70_0
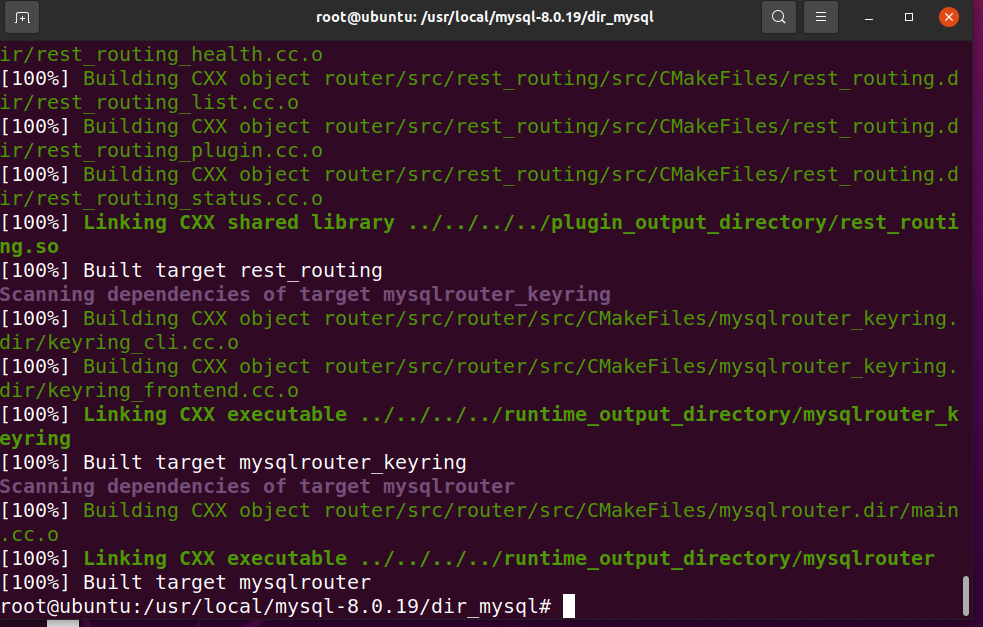
make
make installmake 열라 오래걸림
완성 기념샷
3-3. Mysql 설정 및 실행
cd /usr/local/mysql
mkdir mysql-files

cd /usr/local/
adduser mysql

cd /usr/local/mysql
chown -R mysql:mysql /usr/local/mysql
chown mysql:mysql mysql-files
chmod 750 mysql-files

cd bin
./mysqld --initialize --user=mysql \
--basedir=/usr/local/mysql \
--datadir=/usr/local/mysql/data

#mysql 서버 띄우기
./mysqld_safe --user=mysql &

#여기서 발급된 temporary password를 복사해두고 다른 터미널 띄워서
cd /usr/local/mysql

bin/mysql -u root -p
#여기에 복사

# 비밀번호 변경 위해
ALTER USER 'root'@'localhost' IDENTIFIED BY '변경비밀번호';
COMMIT;
exit

#mysql 서버 종료
bin/mysqladmin -u root -p shutdown
#변경한 비번 입력
3-4. Mysql 서비스 등록
cp /usr/local/mysql/support-files/mysql.server /etc/init.d/mysqld
cd /usr/local
vi /etc/init.d/mysqld
#내용 추가
basedir=/usr/local/mysql
datadir=/usr/local/mysql/data
#wq!로 나와서

update-rc.d mysqld defaults
이제 /usr/local에서
service mysql start
service mysql stop
ervice mysql restart
service mysql status
를 통한 명령어로 서버 통제 가능
vi /etc/my.cnf

#내용 추가
[mysqld]
 bind-address=0.0.0.0
 port=3306
 basedir=/usr/local/mysql
 datadir=/usr/local/mysql/data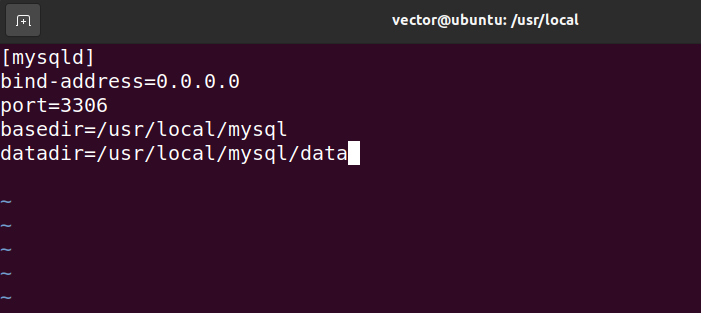
4. php 설치
4-1. 설치 세팅
sudo su
apt-get install libxml2-dev
apt-get install libjpeg-dev
apt-get install libpng-dev
apt-get install libsqlite3-dev
wget https://www.php.net/distributions/php-8.1.6.tar.gz
tar xvfz php-8.1.6.tar.gz
cd php-8.1.6
./configure --with-apxs2=/usr/local/apache-2.4/bin/apxs --enable-mysqlnd --with-mysql-sock=mysqlnd --with-mysqli=mysqlnd --with-pdo-mysql=mysqlnd --with-imap-ssl --with-iconv --enable-gd --with-jpeg --with-libxml --with-openssl
make
make test #오류 한개 있었지만 엔터 엔터 하고 무시함
make install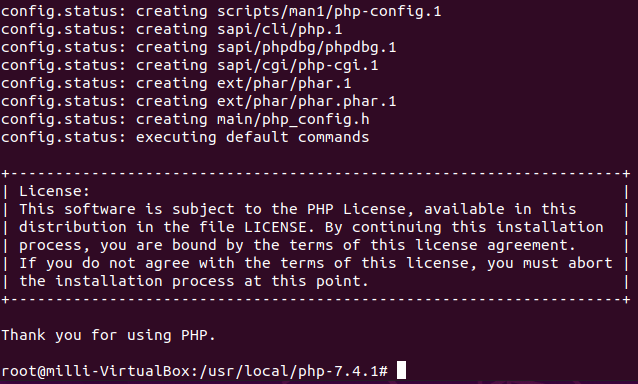
4-2. php 설정
#Apache와 PHP 연결

cd /usr/local/apache-2.4/conf
gedit httpd.conf

# 403줄에 아래 내용 추가
AddType application/x-httpd-php .php .html

#PHP test file 작성
cd /usr/local/php-8.1.6
cp php.ini-production /usr/local/lib/php.ini
cd /usr/local/apache-2.4/htdocs

gedit phpinfo.php #파일 생성후 아래 사진처럼 써주기
<?php phpinfo(); ?>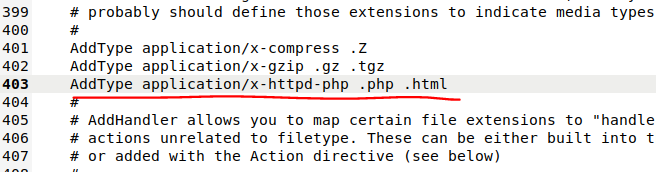

HelloWorld! 같은 실수를 반복하지 말기위해 적어두자..