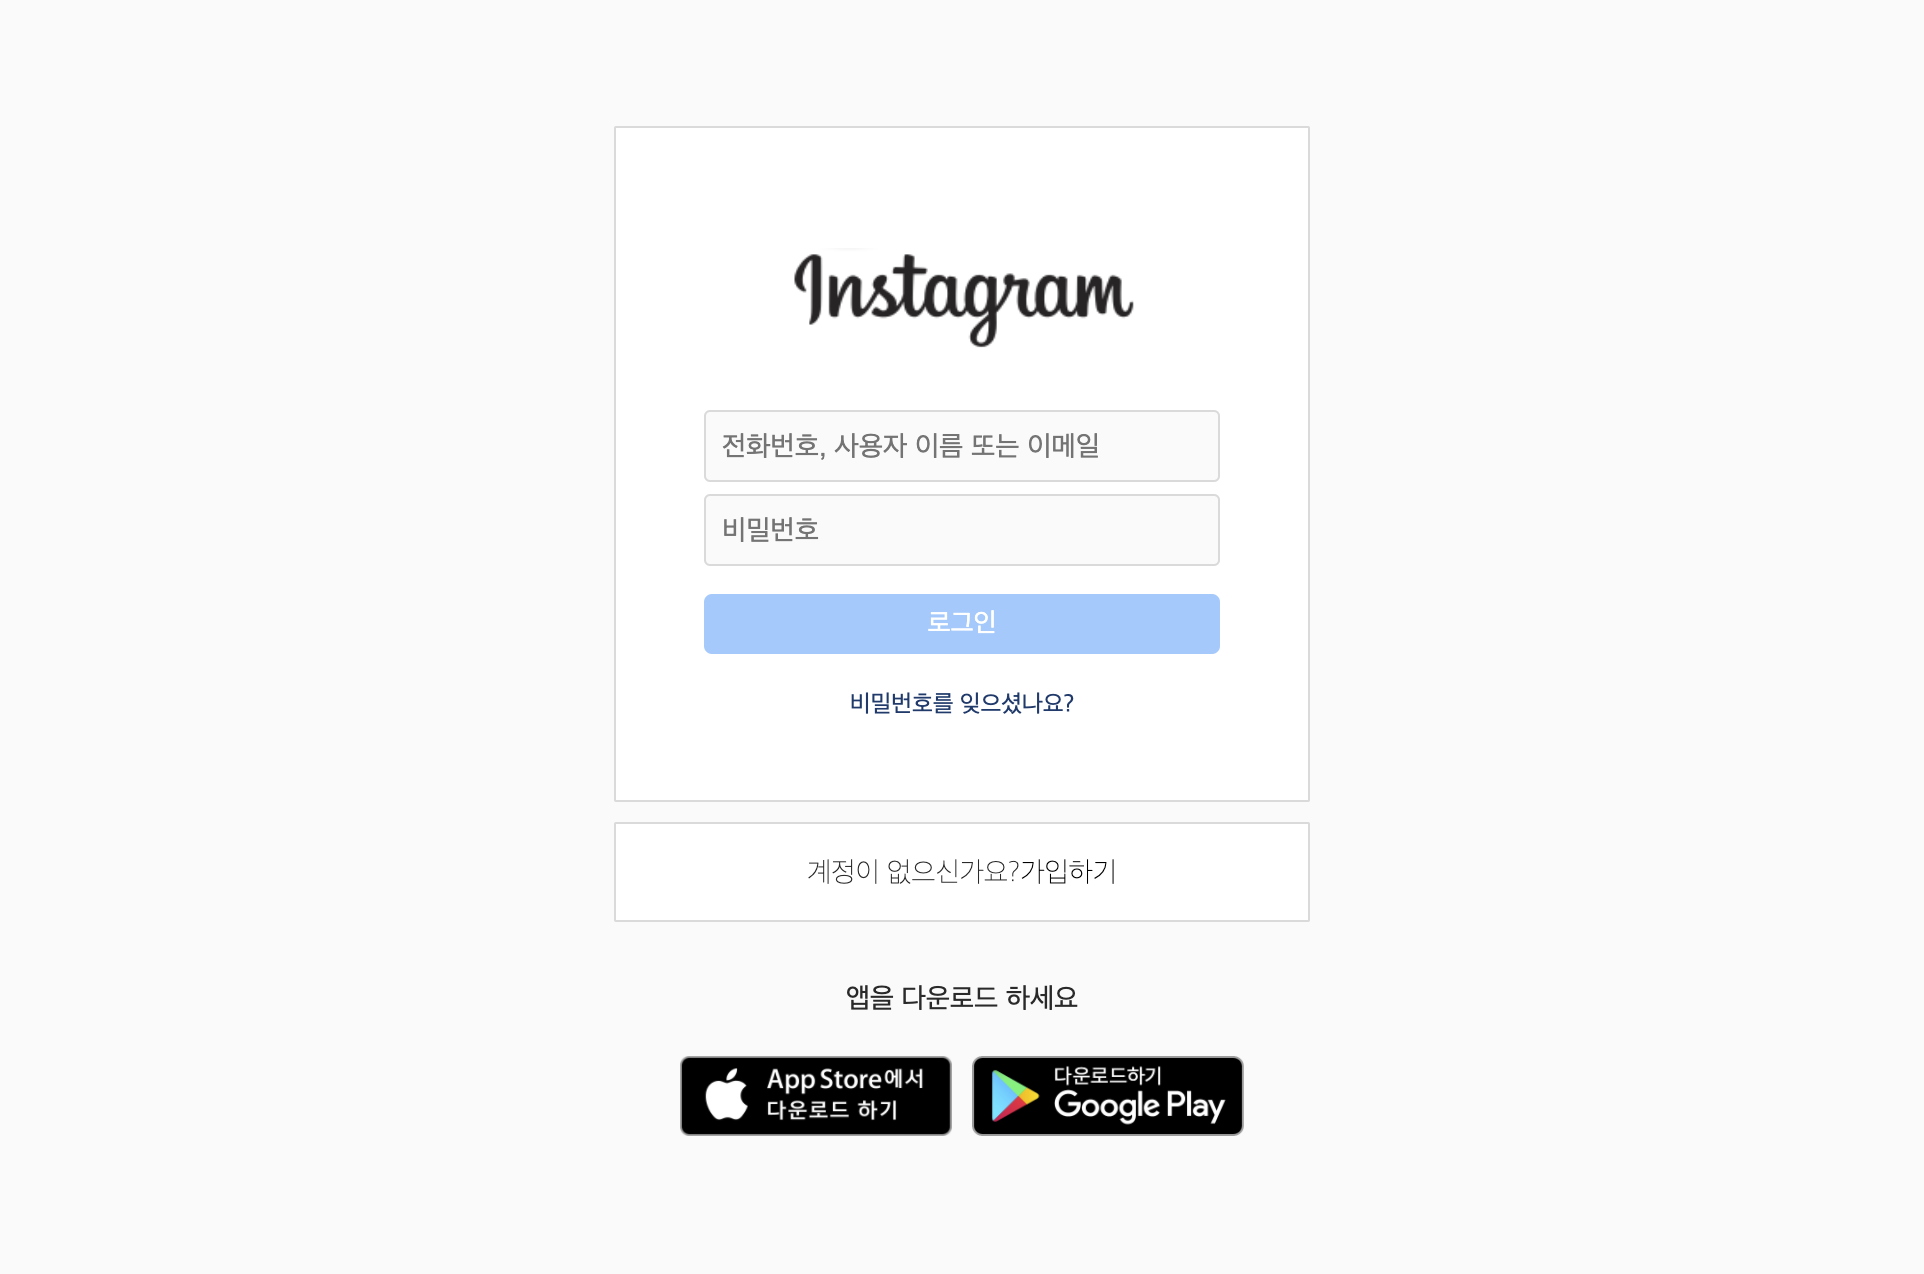
westagram clone coding 로그인과 회원가입 기능 코드리뷰
회원가입 기능은 단순 post 로 input 에 들어오는 정보를 구별해서 저장해 서버로 보내주도록 구성하였다
// Singup.js
class SignUp_yj extends React.Component {
  // input 기본값 지정
  constructor() {
    super()
    this.state = {
      // 이메일과 전화번호는 같은 인풋에서 관리
      email_or_phone_Value:"",
      userName: "",
      userId: "",
      pwValue: "",
    }
  }
  // 회원가입은 단순 post 이다
  handleSignUp = () => {
    fetch('http://10.58.3.147:8000/account/sign-up', {
      method: "POST",
      // 바디에 정보 담아서 전달
      body: JSON.stringify({
        email_or_phone: this.state.email_or_phone_Value,
        realname: this.state.userName,
        username: this.state.userId,
        password: this.state.pwValue
      })
    })
    .then(res => res.json())
    .then(res => console.log(res))
  }
  // 이메일이나 핸드폰 정보 저장
  changePhoneEmailValue = (event) => {
    this.setState({
      email_or_phone_Value: event.target.value
    });
  }
  // 이름 정보 저장
  changeNameValue = (event) => {
    this.setState({
      userName: event.target.value,
    });
  }
  // id 정보 저장
  changeIdValue = (event) => {
    this.setState({
      userId: event.target.value,
    });
  };
  // 비밀번호 정보 저장
  changePwValue = (event) => {
    this.setState({
      pwValue: event.target.value,
    });
  };
  // 로그인 버튼 활성화 함수
  changeBtnColor = () => {
    // input 값이 이메일이거나 핸드폰 아이디이고 비밀번호가 5자 이상일 때 버튼 활성화
    (this.state.email_or_phone_Value.includes("@") && this.state.pwValue.length >= 5)
    || (this.state.email_or_phone_Value !== "" && this.state.pwValue.length >= 5)
      ? this.setState({ btnActive: true })
      : this.setState({ btnActive: false });
  };
로그인 코드 리뷰
회원가입한 정보를 바탕으로 로그인 기능을 구현하였다
post로 input 창에 들어온 정보를 보내 응답 메세지에 따라 메인 화면으로 이동하도록 구성하였다
class Login_yj extends React.Component {
  // 초기 값 지정
  constructor(props) {
    super(props);
    this.state = {
      email_or_phone_Value: "",
      idValue: "",
      pwValue: "",
      btnActive: false
    };
  }
  //로그인 함수
  SaveLogin = () => {
    // api 연결
    fetch('http://10.58.0.163:8000/account/sign-in', {
      method: "POST",
      // 전하고 싶은 데이터 JSON으로 변경해서 전달 JSON.stringify({})
      body: JSON.stringify({
        email_or_phone: this.state.email_or_phone_Value,
        username: this.state.idValue,
        password: this.state.pwValue
      })
    })
    // POST 로 전하고 나서 응답 받은것을 자바스크립트로 변환 .json()
      .then(res => res.json())
      // console.log() 로 값 확인
      // .then(res => console.log(res))
      // 만약 응답 메세지가 'login successful!' 일 때 localStorage 에 토큰 저장하고 메인으로 이동
      // else alert 메세지 띄우기
      .then(res => {
        if (res.message == 'login successful!') {
          alert('로그인되었습니다');
          // localStorage 에 저장
          localStorage.setItem('access_token', res.token)
          // 메인으로 이동
          this.props.history.push("/main_yj")
        } else {
          alert("아이디, 비밀번호를 확인하세요");
        }
      })
  }
한 input 창에 세가지 정보를 넣을 수 있어서 정보를 구별해서 저장해야 했다
그래서 전화번호와 이메일을 같이 묶고 사용자 이름을 따로 분류하였다
조건문을 작성할때는 정규표현식을 써서 string 이지만 number 인 전화번호를 구분하게 하였다
  changeIdValue = (event) => {
    // 들어오는 input이 이메일과 핸드폰 번호 인지 username 인지 구별하는 조건문
    if(event.target.value.includes('@') || event.target.value.match(/^[0-9]+$/) != null ) {
      this.setState({
        email_or_phone_Value: event.target.value,
        idValue: ""
      });
    } else if(!(event.target.value.includes('@') || event.target.value.match(/^[0-9]+$/) != null )) {
        this.setState({
          idValue: event.target.value,
          email_or_phone_Value: ""
        });
    }
    // this.setState({
    //   email_or_phone_Value: event.target.value
    // });
  };

  changePwValue = (event) => {
      this.setState({
        pwValue: event.target.value
      });

  };