
IntelliJ IDEA 에서의 Spring boot 프로젝트 생성
회원가입, 로그인 기능과 특정권한을 부여하는 백엔드 환경을 구성해보려고 한다.
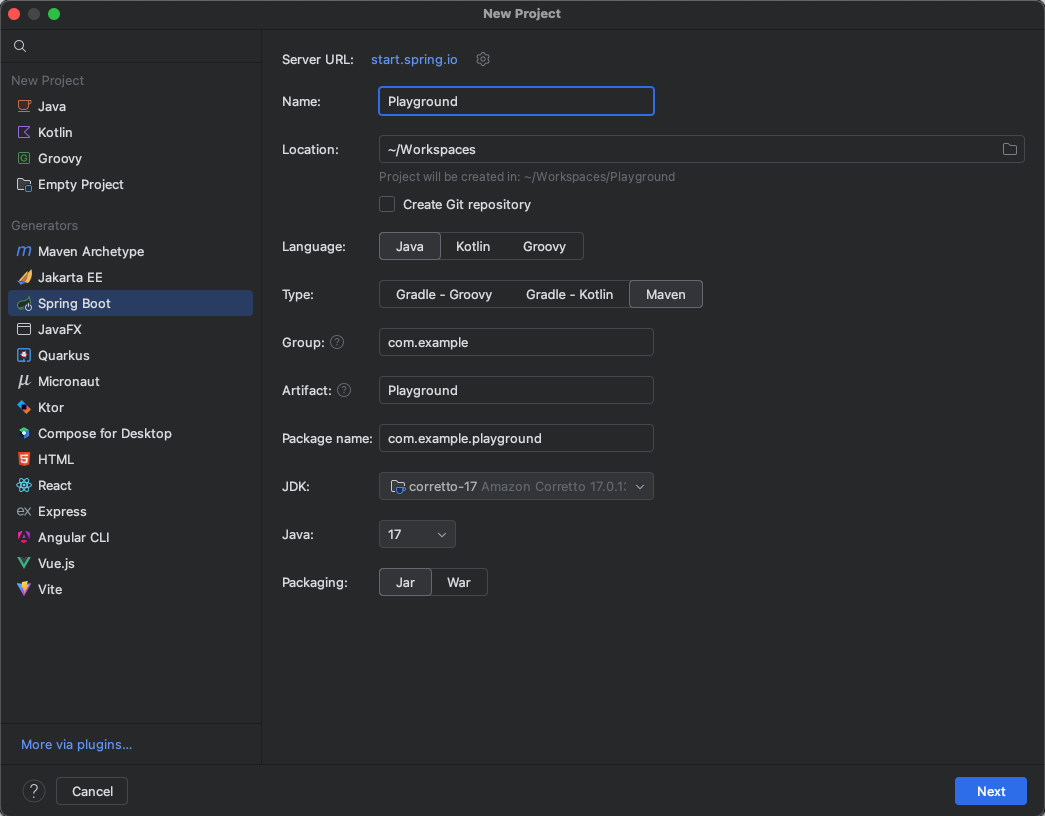
Springboot 프로젝트 생성
-
인텔리제이 에서의 스프링부트 프로젝트 생성
-
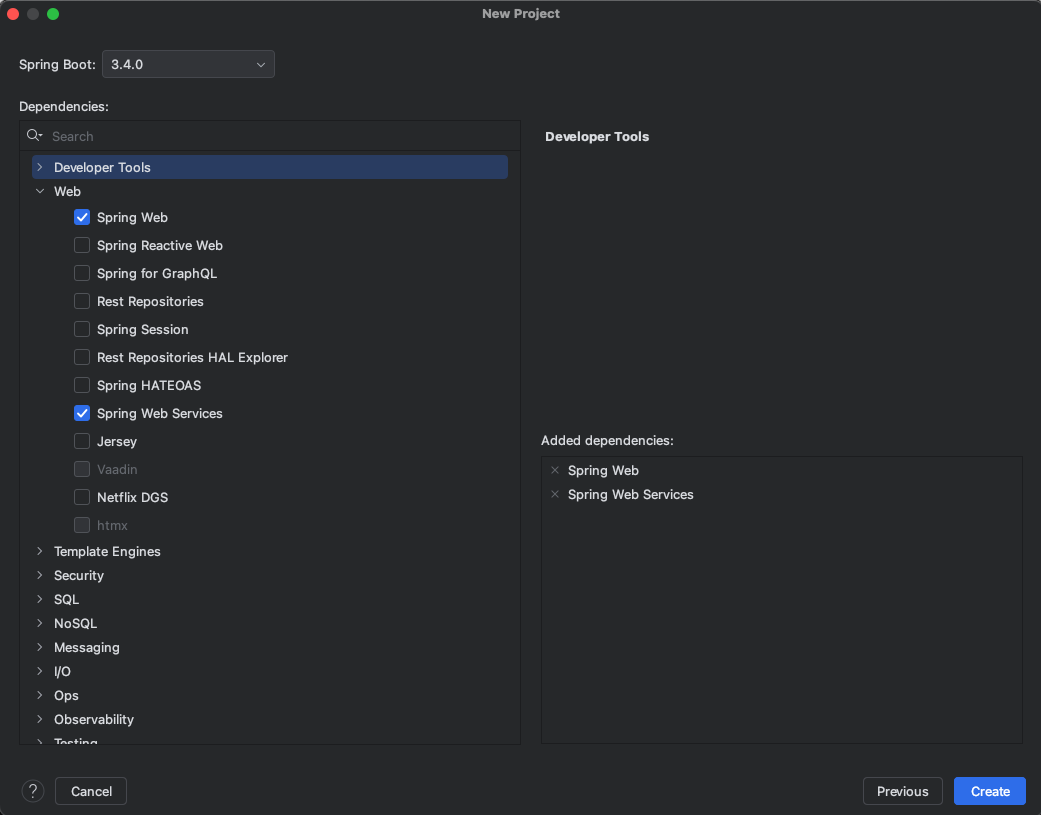
디펜던시 추가, Web 에서 일단 2개만 선택 (나머지는 차차 알아가자)
-
Spring Web
- Spring Web 은 웹애플리케이션 개발에 필요한 기본적인 기능을 제공하는 모듈
- HTTP 요청 및 응답처리, 컨트롤러, 핸들러 작성, MVC(Model, View, Controller) 아키텍쳐 지원, RESTful 웹서비스 개발지원
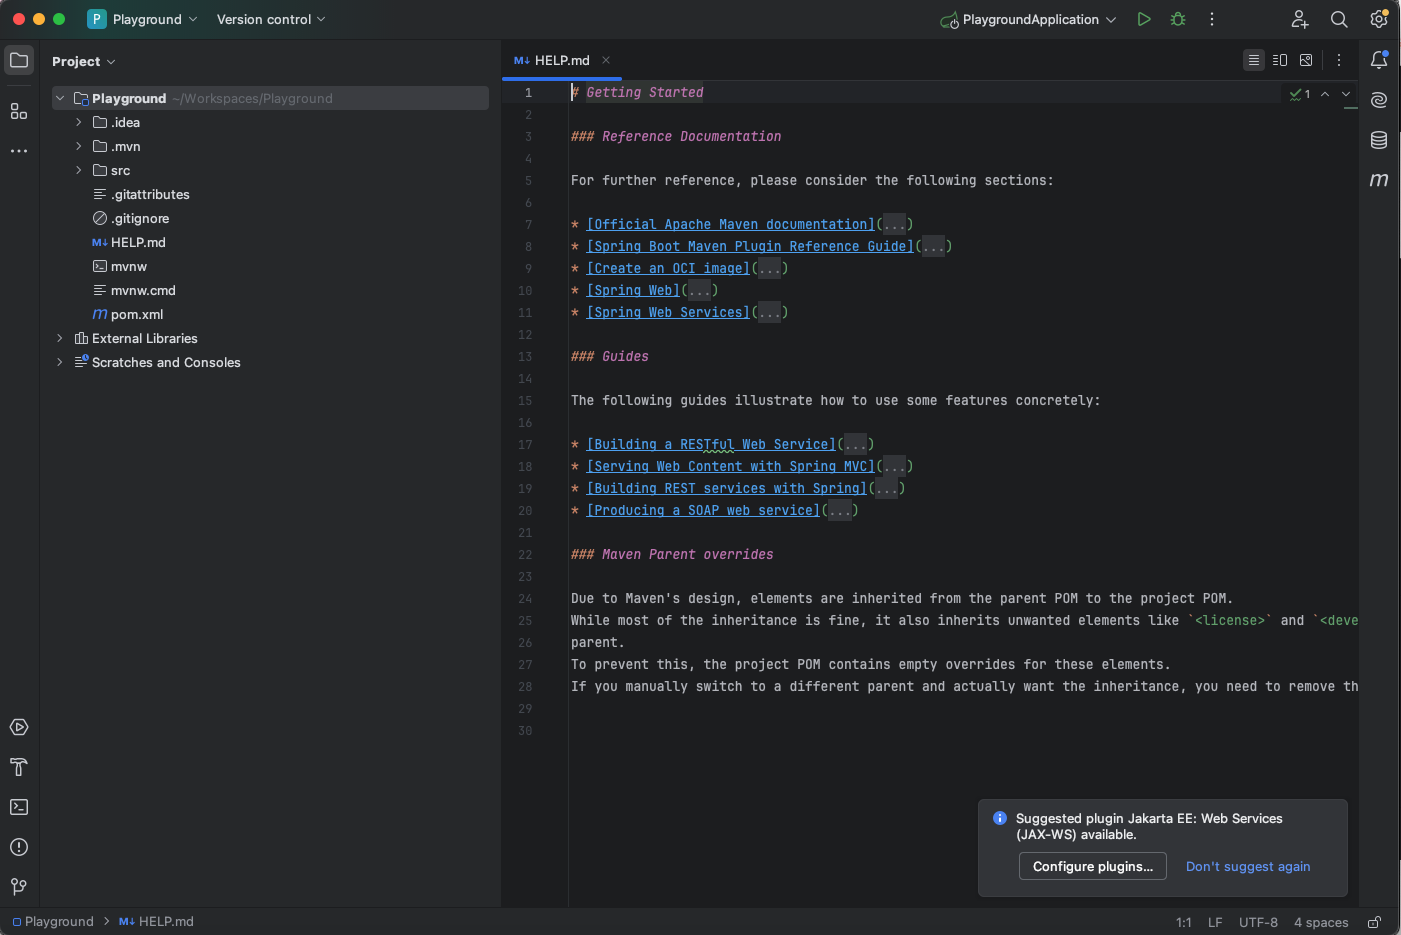
이제 새로만든 애플리케이션을 실행해보자.
Thymelef로 HTML 파일 만들어서 브라우저에서 호출
Thymelef 라는 템플릿 엔진으로 HTML 파일을 만들어 브라우저에서 확인해 보자
인텔리제이 공식홈 타임리프 소개
공식홈
- 프로젝트 생성시에 해당 디펜던시를 추가하지 않았다면 아래와 같이
pom.xml파일에 추가한다.
<dependency>
	<groupId>org.springframework.boot</groupId>
    <artifactId>spring-boot-starter-thymeleaf</artifactId>
</dependency>-
clean -> compile

-
아래와 같은 경로에
TestController라는 java class 파일을 만든다.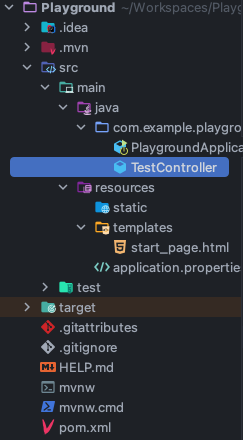
-
다음과 같이 작성한다.
package com.example.playground;

import org.springframework.ui.Model;
import org.springframework.stereotype.Controller;
import org.springframework.web.bind.annotation.RequestMapping;

import java.util.Arrays;

@Controller
public class TestController {

    @RequestMapping("/home") // 브라우저 주소창에 /home 이라는 path 접근을 요청
    public String test(Model model) {
        model.addAttribute("message", "Hello World");
        model.addAttribute("items", Arrays.asList("Item 1", "Item 2", "Item 3", "Item 4"));
        return "start_page"; // start_page.html 에 위에 내용을 반환한다.
    }
}- 역시 아래의 경로처럼 파일을 생성하고 코드를 작성, java 파일에서 작성한
addAttribute파라미터 값을 변수처럼 사용하고 있다.
<!DOCTYPE html>
<html lang="en" xmlns:th="http://www.thymeleaf.org">
<head>
    <meta http-equiv="Content-Type" content="text/html; charset=UTF-8"/>
    <title>Title</title>
</head>
<body>
<div>
    <h1 th:text="${message}"></h1>
    <p>Thymeleaf Iteration:</p>
    <ul>
        <li th:each="item: ${items}" th:text="${item}"></li>
    </ul>
  	<p th:text="'Current Year: ' + ${#dates.format(#dates.createNow(), 'yyyy')}"></p>
</div>
</body>
</html>
Run Ctrl + R
- 브라우저에서
http://localhost:8080/home접속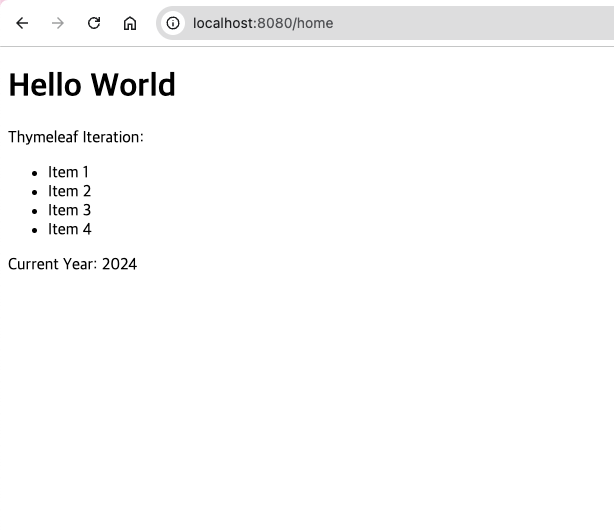
문자열 호출
-
백엔드 API 를 호출하듯이 단순 String 문자 출력해보기
-
원리 : @RestController 로 JSON 형태의 객체 데이터를 반환한다.
-
@RestController는 @Controller에 @ResponseBody가 추가된 것
출처: https://mangkyu.tistory.com/49 [MangKyu's Diary:티스토리] -
java calss 작성
package com.example.playground;

import org.springframework.web.bind.annotation.RequestMapping;
import org.springframework.web.bind.annotation.RestController;
import org.springframework.web.bind.annotation.RequestMethod;

@RestController
public class RestTestController {

    @RequestMapping(value = "/rest", method = RequestMethod.GET)
    public String rest() {
        return "Hello World";
    }
}- 브라우저에서
http://localhost:8080/rest접속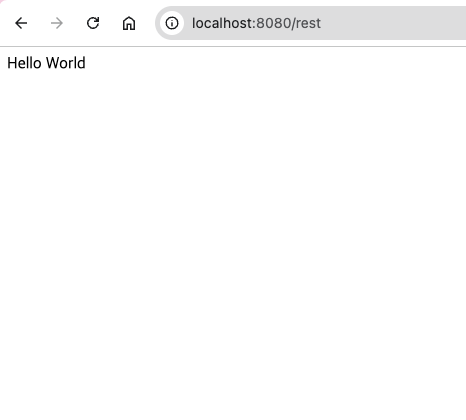
공부하고 또 공부하고 또 공부하고