Current-State-of-the-Art
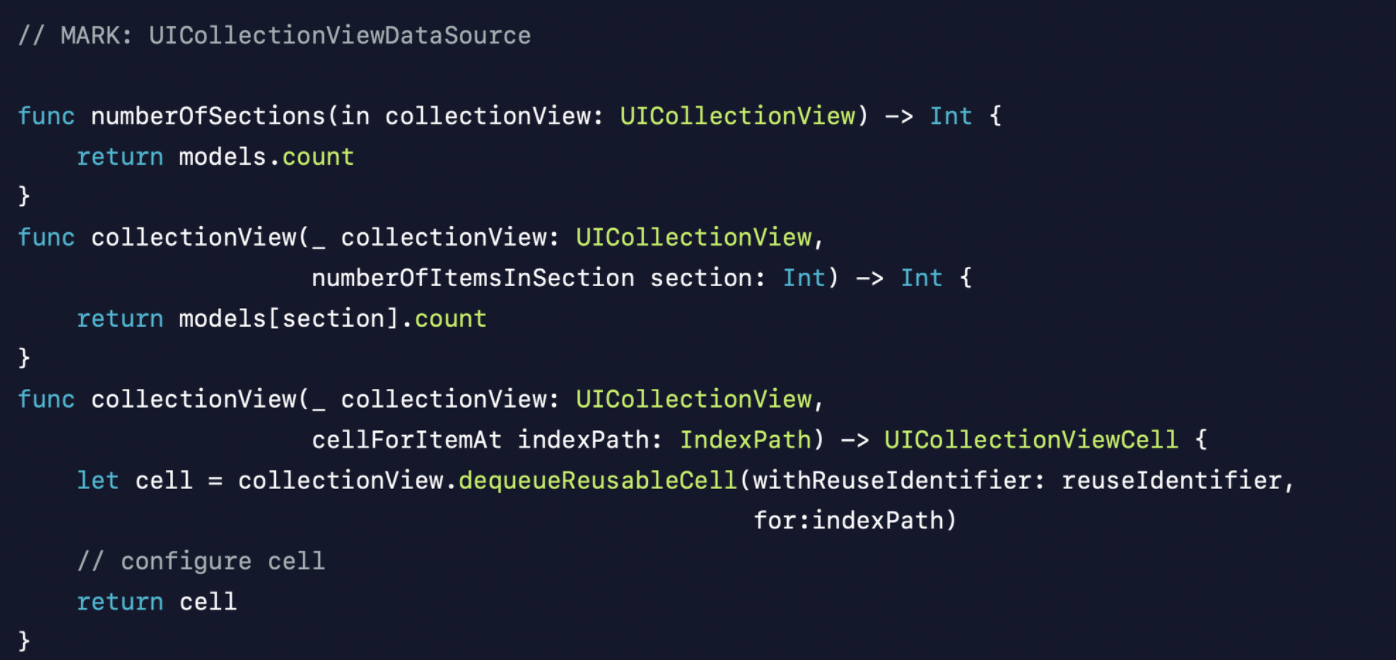
- 오늘날 UITableView와 UICollectionView에서 UI 데이터 소스와의 상호 작용? ⇒ 프로토콜을 준수하기 위한 함수들 구현
- 하지만 앱은 매년 복잡해지고 있고, 사용자는 다양한 기능을 원함
Diffable Data Source ✅
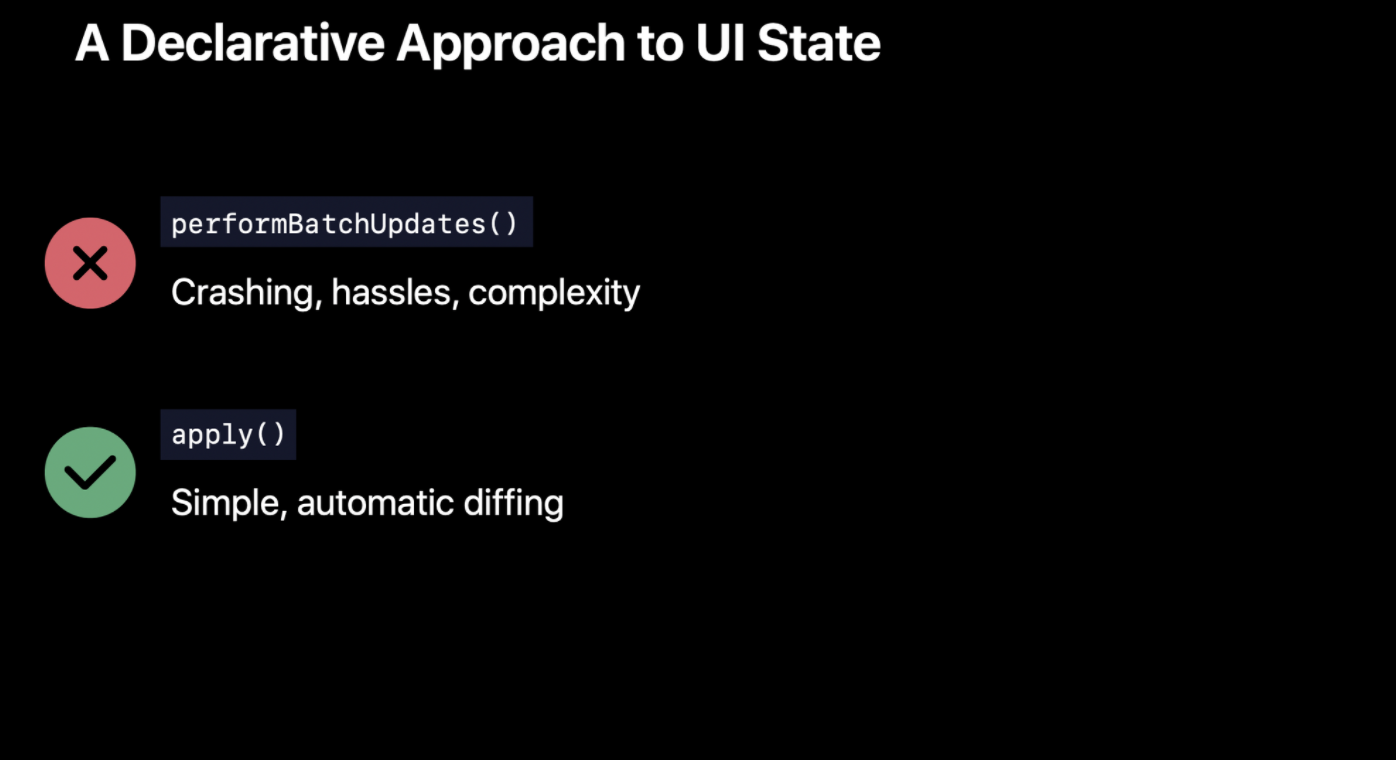
performBatchUpdates()를 사용하지 않고 모든 충돌, 번거로움과 같은 것들을 제거apply()라는 메소드 사용, 이는 자동으로 diffing함
Snapshot ✅
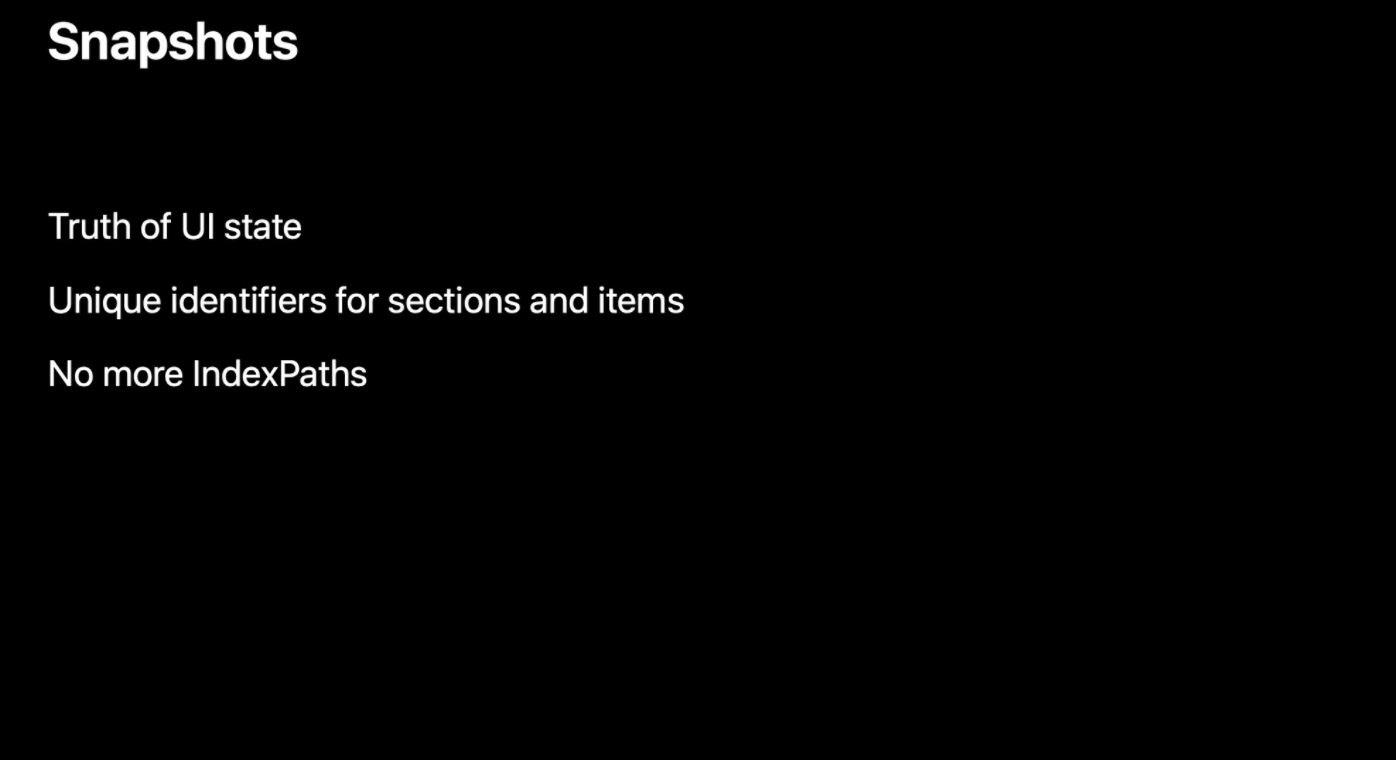
- Snapshot이라는 새로운 구조로 apply
indexPath를 사용하지 않고, section과 item의 고유한 identifier을 사용- 이러한 identifier을 사용하여 업데이트
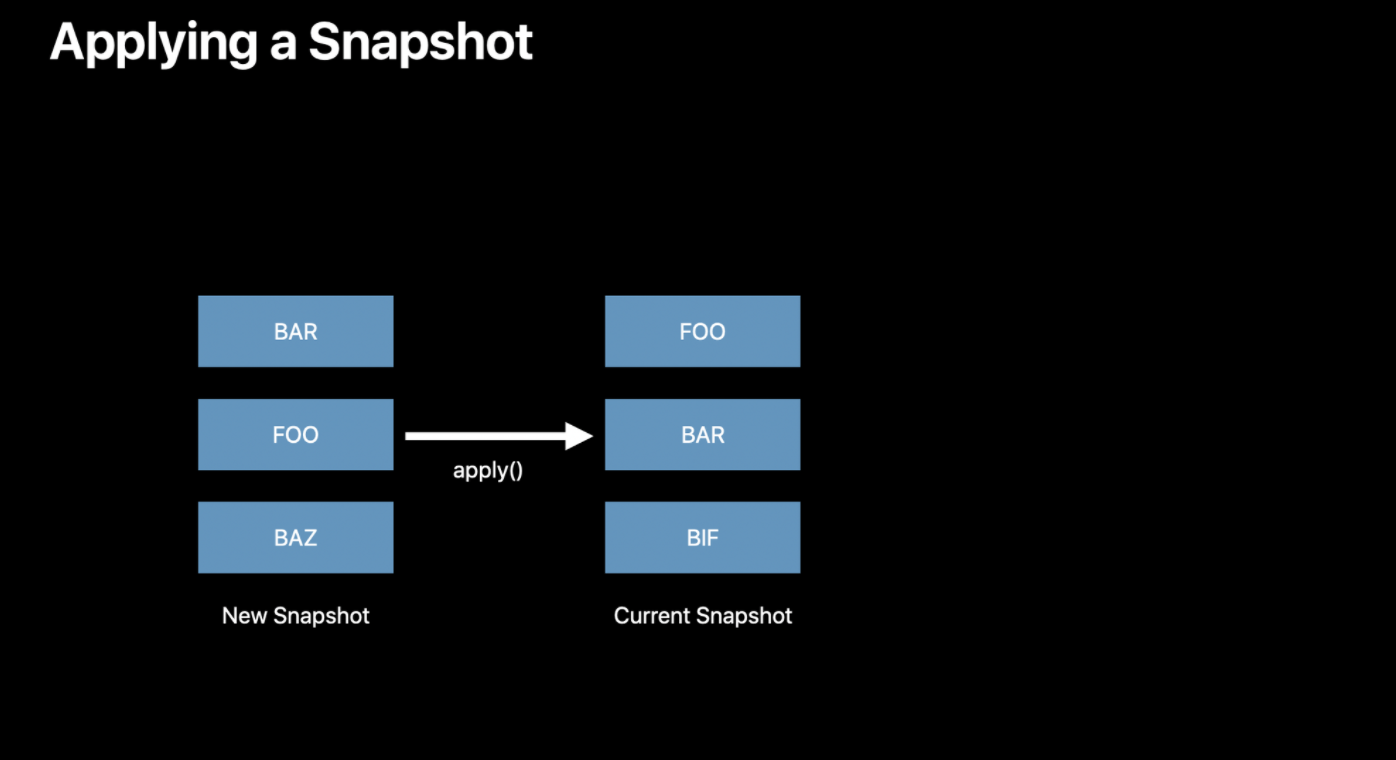
ㄴ BAR, FOO, BAZ로 이루어진 새로운 Snapshot
ㄴ Apply는 현재 상태를 알고 있으며, 새롭게 적용할 New Snapshot에 대해서도 알고 있음
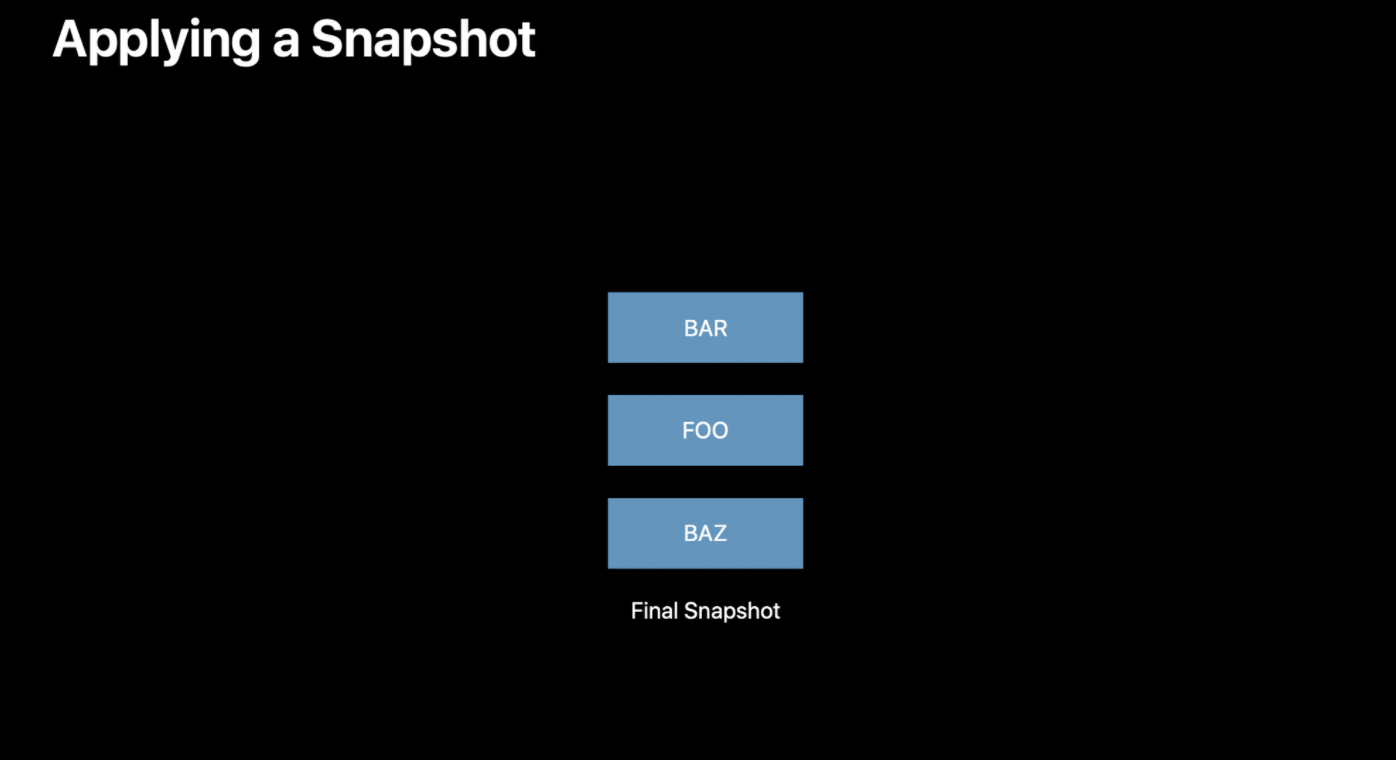
따라서 그냥 Apply 해! 간단간단 ,,, ✨

- iOS, TVoS: UICollectionViewDiffableDataSource, UITableViewDiffableDataSource
- Mac: NSCollectionViewDiffableDataSource
- 공통 Snapshot: NSDiffableDataSourceSnapshot
📌 정말 간단한 3단계 프로세스
- 새로운 데이터들을 CollectionView 및 UITableView에 넣고 싶을 때마다 Snapshot을 생성하기
- 해당 업데이트 주기에 표시할 item의 identifier 추가
- Snapshot을 apply하여 변경사항을 UI에 자동으로 커밋
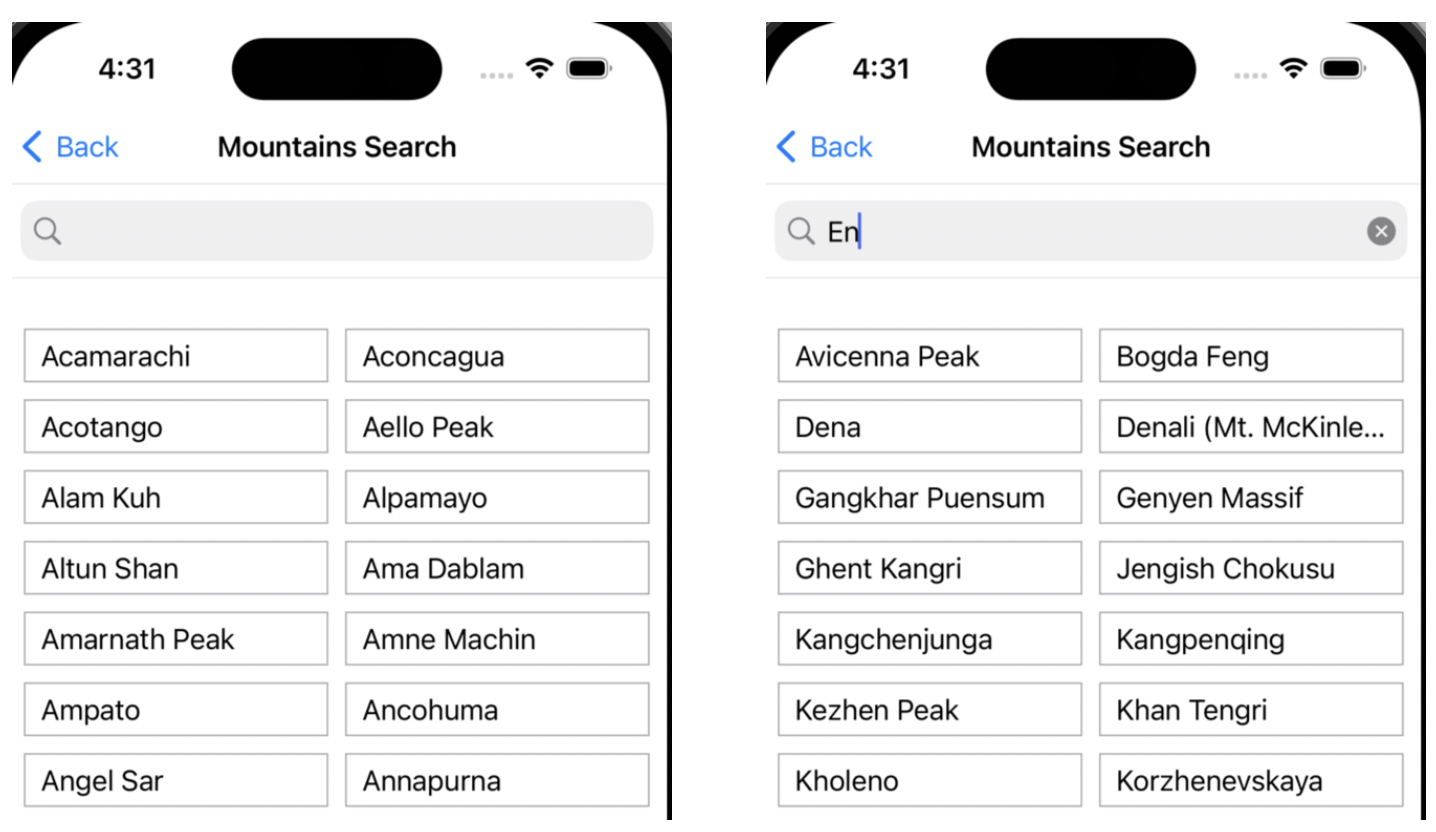
ex1. MontainViewController
산 이름을 검색하면 text를 입력할 때마다 자동으로 필터링되는 collectionView
func performQuery(with filter: String?) {
   let mountains = mountainsController.filteredMountains(with: filter).sorted { $0.name < $1.name }

   var snapshot = NSDiffableDataSourceSnapshot<Section, MountainsController.Mountain>()
   snapshot.appendSections([.main])
   snapshot.appendItems(mountains)
   dataSource.apply(snapshot, animatingDifferences: true)
}mountains: 필터링된 데이터 목록을 가져옴
- 새로운
NSDiffableDataSourceSnapshot을 생성, 하나의 section을 추가 - 이 업데이트에 표시할 identifiers를 추가
- Snapshot apply
NSDiffableDataSourceSnapshot
@preconcurrency struct NSDiffableDataSourceSnapshot<SectionIdentifierType, ItemIdentifierType>
																	where SectionIdentifierType : Hashable,
																	SectionIdentifierType : Sendable,
																	ItemIdentifierType : Hashable,
ItemIdentifierType : Sendable- generic class이므로
SectionIdentifierType과ItemIdentifierType에 의해 매개변수화됨
ex2. Wifi-SettingViewController
// 2개의 section - enum 사용
enum Section: CaseIterable {
        case config, networks
}

enum ItemType {
        case wifiEnabled, currentNetwork, availableNetwork
}

struct Item: Hashable {
    let title: String
    let type: ItemType
    let network: WiFiController.Network?

    init(title: String, type: ItemType) {
        self.title = title
        self.type = type
        self.network = nil
        self.identifier = UUID()
    }
    init(network: WiFiController.Network) {
        self.title = network.name
        self.type = .availableNetwork
        self.network = network
        self.identifier = network.identifier
    }
    var isConfig: Bool {
        let configItems: [ItemType] = [.currentNetwork, .wifiEnabled]
        return configItems.contains(type)
    }
    var isNetwork: Bool {
        return type == .availableNetwork
    }

    private let identifier: UUID
    func hash(into hasher: inout Hasher) {
        hasher.combine(self.identifier)
    }
}Item을 Hashable한 구조체로 선언

- 2개의 section으로 구성(config, networks)
configItems로 표시할 데이터를 얻고, Snapshot 생성configsection에 item의 identifier 추가- Snapshot apply
if controller.wifiEnabled {
	     let sortedNetworks = controller.availableNetworks.sorted { $0.name < $1.name }
       let networkItems = sortedNetworks.map { Item(network: $0) }
       currentSnapshot.appendSections([.networks])
       urrentSnapshot.appendItems(networkItems, toSection: .networks)
}- wifi가 활성화되었을 때도 3단계 프로세스로 쉽게 데이터 구성하기
ex3. SortViewController
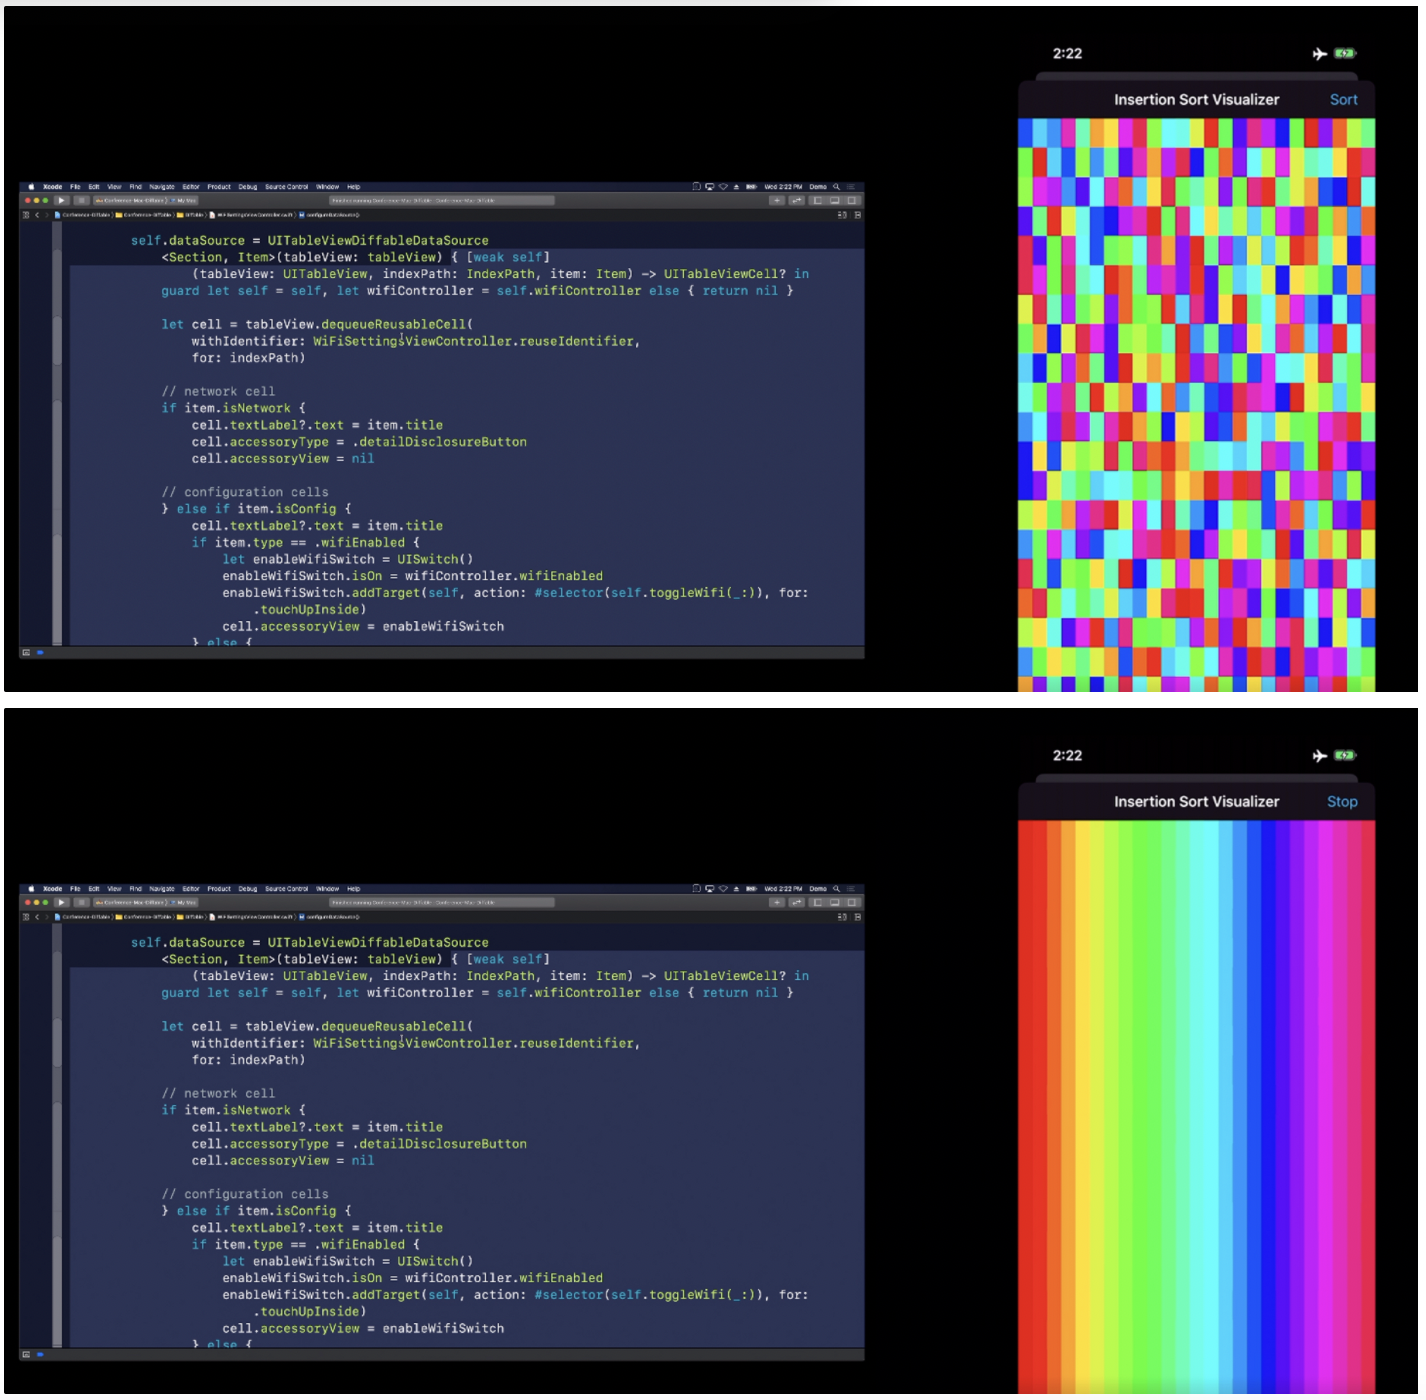
- 처음에는 무작위 순서로 색상이 지정됨
- Sort 버튼을 탭하면 색이 정렬됨

var upadatedSnapshot = dataSource.snapShot()- 다른 예제들과의 차이점은, 새로운 Snapshot을 요청하지 않고 현재 Snapshot을 요청
- Snapshot은 현재 UI의 상태로 미리 채워진다
Consideration
Snapshot을 만드는 2가지 방법
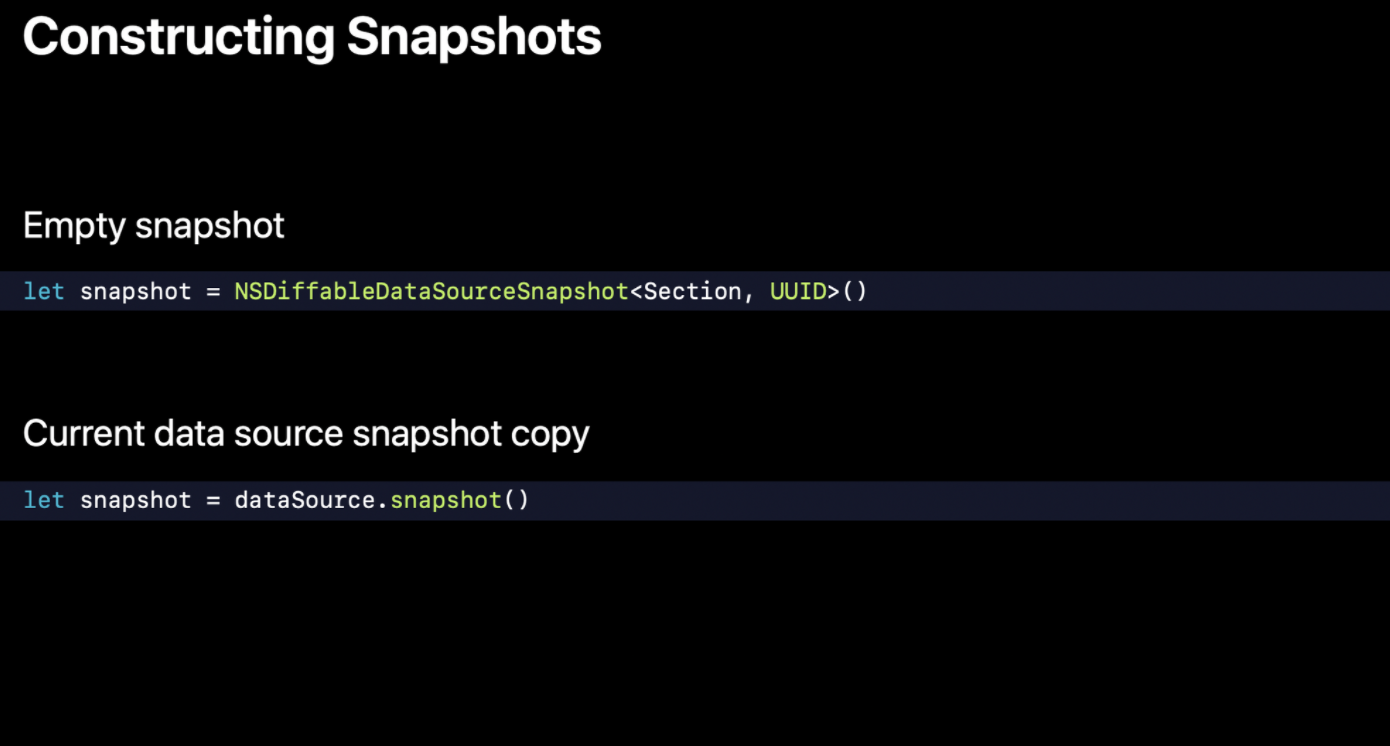
- 빈 Snapshot 만들기
- 현재 데이터 상태로 Snapshot 구성하기(3번째 예제)
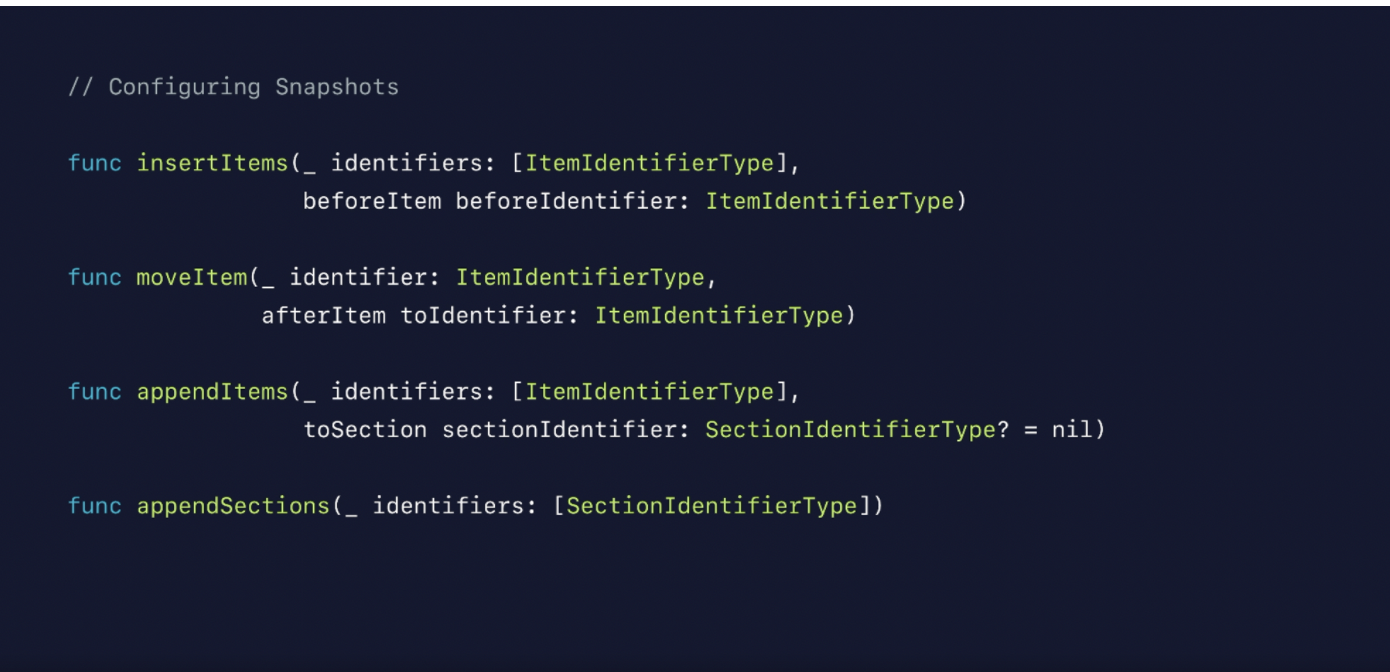
Snapshot을 구성하는 메소드들이고, 더이상 indexPath 에 의존하지 않음을 알 수 있음
Identifiers
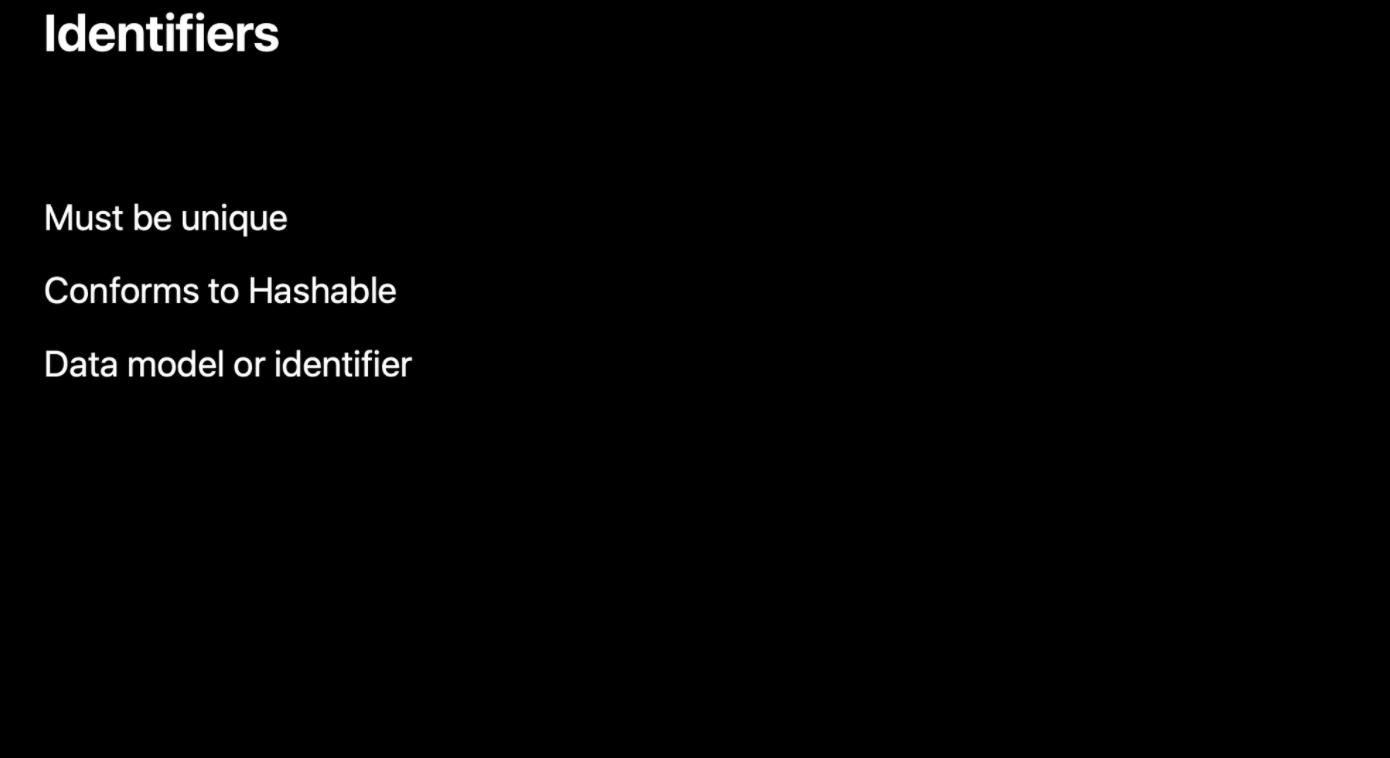
- identifier은 고유해야 함. 당연한 거긴 하지만 ,,,
- Hashable해야 함 → enum 타입처럼 Swift가 자동으로 수행해 주는 경우가 많음
- Model Data를 identifier로 가져올 수 있음
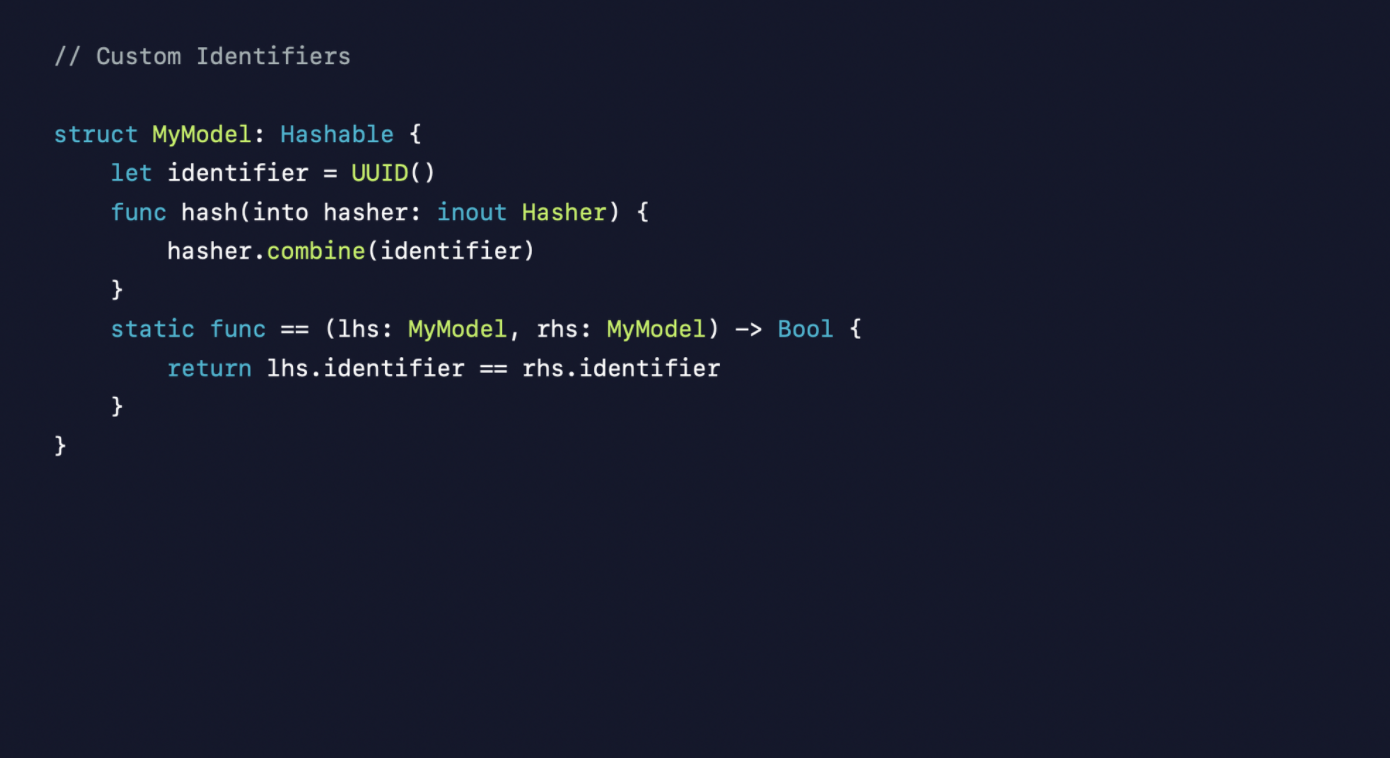
example
Performance

- item 수가 많은 경우 Background Queue에서 Apply 메소드를 호출하는 것이 안전
- diff가 Background Queue에서 계산된 후, Main Queue로 가서 diff의 결과를 적용
- 혹은… background 또는 main 중 하나에서만 호출할 것
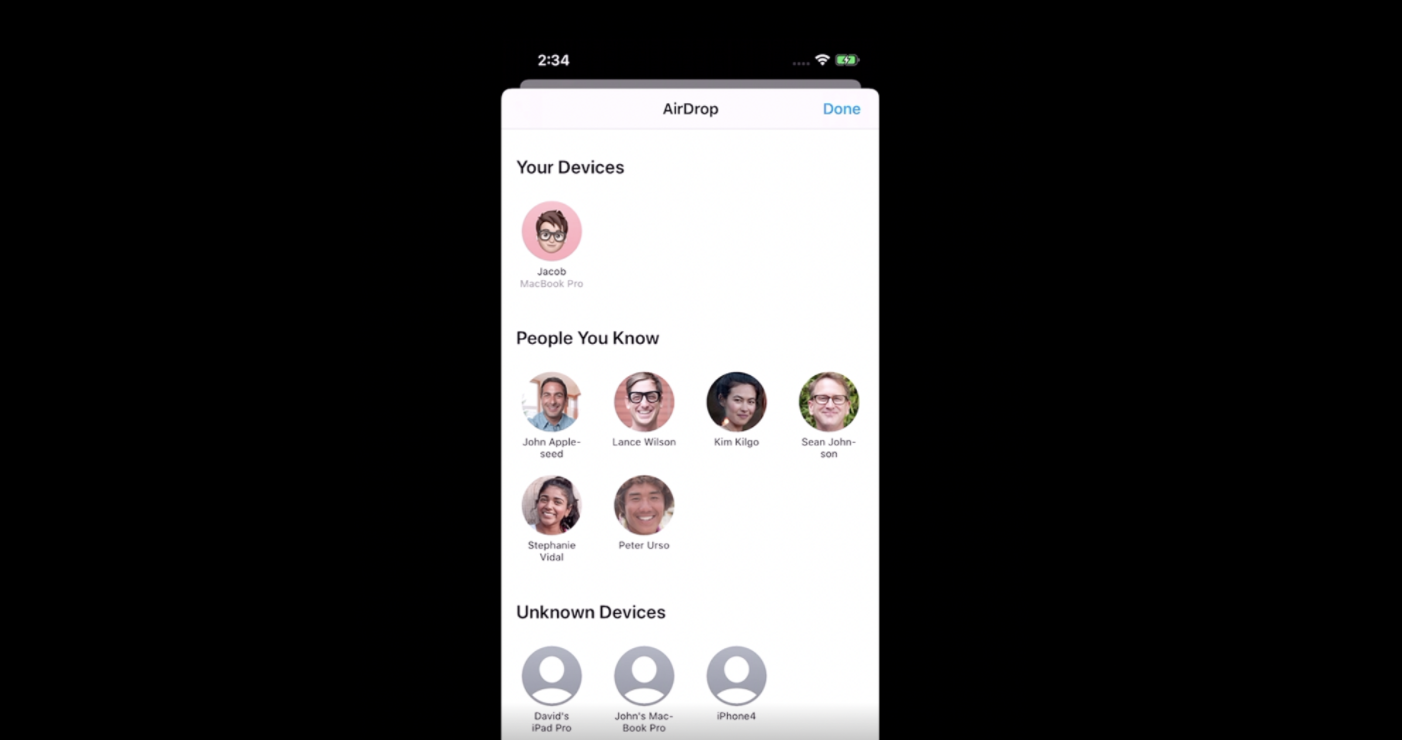
이때(iOS13) Airdrop에도 CompositionalLayout&DiffableDataSource를 사용했대용
UUID를 사용하여 발견된 각 디바이스들을 고유하게 식별함
새로운 디바이스가 발견되면 빈 Snapshot을 만들고 section과 item을 추가한 후, diff를 apply