들어가며
tailwindcss는 클래스 이름으로 스타일을 적용하는 CSS 프레임워크입니다.
순수 css로 작성되어 있고, HTML을 스캔하여, 사용하지 않는 클래스는 제거하여 CSS 파일 크기를 줄일 수 있다는 장점이 있습니다.
가벼운 만큼 빠른 빌드가 가능합니다.
요약
- static 디렉토리에 node_modules 설치
- tailwindcss 설치 및 적용
- gradle node 빌드
- 실행시 tailwindcss 자동 빌드하기
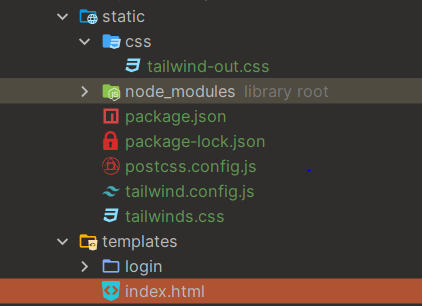
1. static 디렉토리에 node_modules 설치
node와 npm이 깔려있지 않다면 node 사이트에서 다운 받습니다.
저는 보통 LTS로 까는 편이라 20.10.0 LTS 로 깔았습니다.
터미널에서 src/main/resources/static 폴더로 이동합니다. static 폴더는 정적 리소스들을 관리하는 폴더이므로 해당 폴더에 설치합니다.
cd src/main/resources/staticnpm init을 진행합니다.
npm init -y-y 옵션을 넣으면 쓸데없는거(이름, 버전설정, ...) 안물어봅니다.
package.json 파일이 생성됩니다.
{
  "name": "static",
  "version": "1.0.0",
  "description": "",
  "main": "index.js",
  "scripts": {
    "test": "echo \"Error: no test specified\" && exit 1"
  },
  "keywords": [],
  "author": "",
  "license": "ISC"
}
2. tailwindcss 설치 및 적용
npm install 해줍니다.
npm i -D tailwindcss@latest postcss@latest autoprefixer@latest postcss-clipostcss는 css 전처리기 이며,
autoprefixer는 CSS(Cascading Style Sheets)에서 벤더 프리픽스(vendor prefixes)를 자동으로 추가해주는 도구입니다. 이는 웹 개발에서 브라우저 간의 호환성을 유지하면서 CSS를 작성할 수 있도록 도와줍니다.
설치가 완료 되면 package.json 파일에 아래 devDependencies가 추가 됩니다.
{
  ...
  "devDependencies": {
    "autoprefixer": "^10.4.16",
    "postcss": "^8.4.32",
    "postcss-cli": "^11.0.0",
    "tailwindcss": "^3.3.6"
  }
}
이제 tailwindcss 설치합니다.
tailwind initializing 명령어를 사용합니다.
해당 명령어를 사용하면, postcss.config.js, tailwind.config.js 파일이 생성됩니다.
npx tailwindcss init -p
postcss.config.js
module.exports = {
  plugins: {
    tailwindcss: {},
    autoprefixer: {},
  },
}
tailwind.config.js 에 templates(html 파일 위치)를 지정해줍니다.
/** @type {import('tailwindcss').Config} */
module.exports = {
  content: ['../templates/**/*.html'],
  theme: {
    extend: {},
  },
  plugins: [],
}
static 디렉토리에 tailwind directive css파일을 추가해줍니다. 저는 `tailwinds.css`로 생성했습니다.
tailwinds.css
@tailwind base;
@tailwind components;
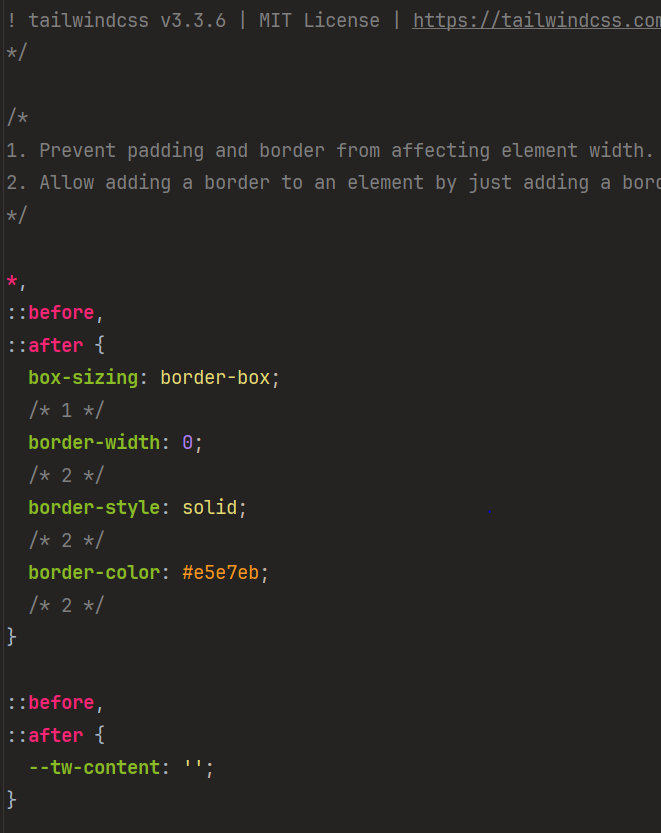
@tailwind utilities;tailwind CLI 빌드를 진행합니다. -i 뒤에 directive css 파일(input)을 지정하고, '-o' 뒤에 output css 파일을 지정해줍니다. 저는 output 파일은 static아래에 css 폴더를 만들어 그 안에 tailwind-out.css 로 만들어 보겠습니다. css/tailwind-out.css
npx tailwindcss -i ./tailwinds.css -o css/tailwind-out.css 
잘 만들어졌네요. 이런 파일이 만들어집니다.
이제 templates/index.html 파일에 tailwind 예제를 넣고 실행해 보겠습니다. index 파일은 이렇습니다.
<!DOCTYPE html>
<html lang="en" xmlns:th="http://www.thymeleaf.org">
<head>
<meta charset="UTF-8">
<title>Title</title>
<meta name="viewport" content="width=device-width, initial-scale=1.0">
<link th:href="@{/css/tailwind-out.css}" rel="stylesheet" />
</head>
<body>
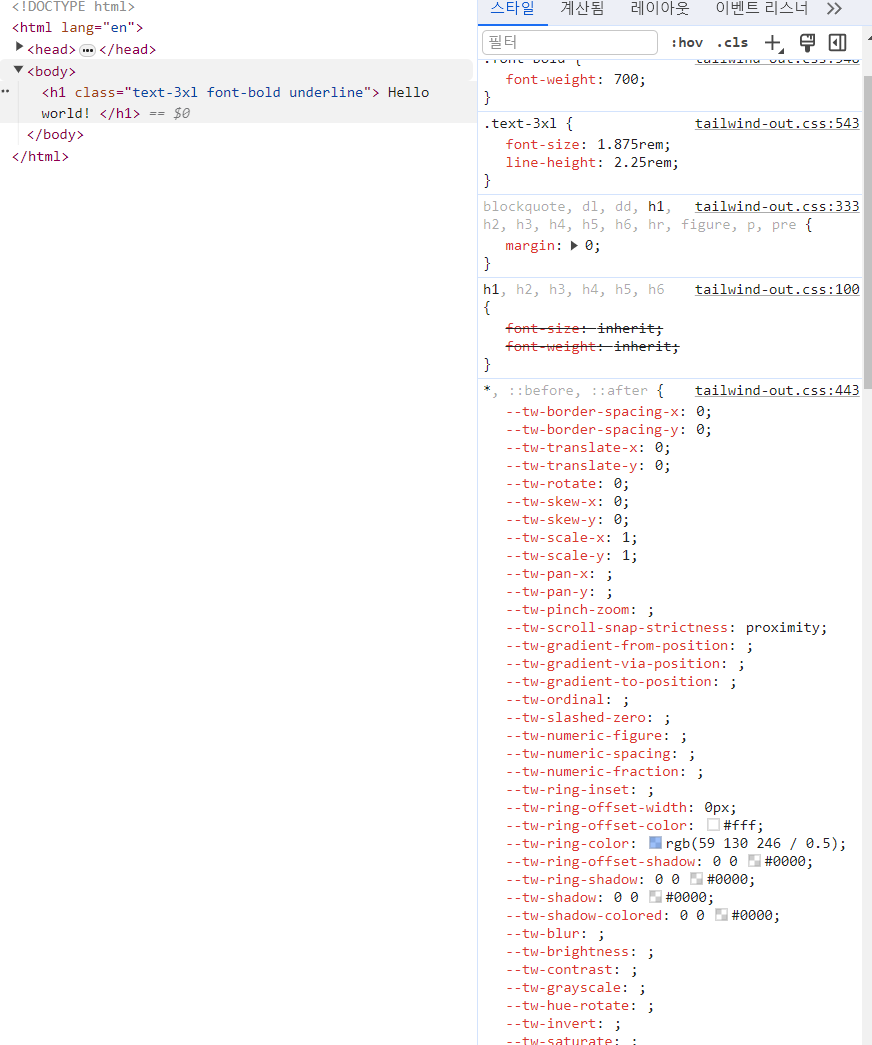
<h1 class="text-3xl font-bold underline">
Hello world!
</h1>
</body>
</html>
tailwindcss를 대충 봐도 h1 태그에 underline이 있는데, 안먹은 것 같습니다.
3. Gradle로 node 빌드하기
tailwindcss 가 node 모듈로 설치했기 때문에 Spring boot 빌드시 npm build가 같이 진행되야 실행됩니다. 다행히 gradle build에 node를 빌드해주는 좋은 plugin이 있습니다.
build.gradle.kts node plugin
...
plugins {
	...
    id("com.github.node-gradle.node") version "7.0.1"
}
...
node {
    download = true
    /**
     * node version
     */
    version = "20.10.0"

    /**
     * npm version
     */
    npmVersion = "10.2.3"
    nodeProjectDir = file("${projectDir}/src/main/resources/static")
}
...
plugins 에 plugin을 추가하고, node properties를 설정합니다. 설정했으면 코끼리 refresh 한 번 합니다.😎
download : node 패키지를 설치할지 여부 입니다. true로 지정합니다.
version : node 버전입니다. 터미널에서 node -v로 버전을 확인합니다.
npmVersion : npm 버전입니다. npm -v로 버전을 확인하여 기입합니다.
nodeProjectDir: node 프로젝트가 있는 위치입니다. node_modules가 있는 위치라고 보면됩니다. 이 프로젝트는 static에 설치했으므로 static 파일의 위치를 지정합니다.
다시 실행해 봅니다.

이번엔 글씨가 작아졌습니다.👀
console 창을 보면 css 파일 자체는 로드가 잘된 것 같습니다.
문제는 빌드 npm install과 gradle 빌드만 진행됬기 때문에 tailwindcss 설정이 빌드 되지 않았기 때문에 그렇습니다.
static 폴더로 이동해서 cli로 다시 빌드합니다.
npx tailwindcss -i ./tailwinds.css -o css/tailwind-out.css다시 실행해봅니다.

이제 잘 나옵니다.
그러나 실행할 때마다 static 파일을 찾아가서 tailwindss 빌드하고, 실행하기엔 번거롭습니다.😂
Security 설정이 되어있다면,
/node_modules/**,/css/**에 대해 permitAll() 해주세요.
4. 실행시 tailwindcss 자동 빌드하기
build.gradle.kts에 tailwindcss 빌드를 실행하는 task를 만듭니다.
dependsOn(tasks.npmInstall)을 통해 npm 패키지 설치 후 실행되도록 합니다.
...
val tailwindCss = tasks.register<NpxTask>("tailwindcss") {
    command.set("tailwind")
    args.set(listOf("-i", "${projectDir}/src/main/resources/static/tailwinds.css", "-o", "${projectDir}/src/main/resources/static/css/tailwind-out.css"))
    dependsOn(tasks.npmInstall)
}
...
gradle 빌드시 우리의 tailwind css 파일은 리소스니, processResources 단계 이전에 실행되도록 설정합니다.
...
tasks.processResources {
    dependsOn(tailwindCss)
}
...
다른 tailwind element를 index.html에 추가해서 실행해봅시다.
index.html
<!DOCTYPE html>
<html lang="en" xmlns:th="http://www.thymeleaf.org">
<head>
    <meta charset="UTF-8">
    <title>Title</title>
    <meta name="viewport" content="width=device-width, initial-scale=1.0">
    <link th:href="@{/css/tailwind-out.css}" rel="stylesheet" />
</head>
<body>

<h1 class="text-3xl font-bold underline">
    Hello world!
</h1>

<button
        class="py-2 px-4 font-semibold rounded-lg shadow-md text-white bg-green-500 hover:bg-green-700">
    Hello, Tailwind CSS!
</button>

</body>
</html>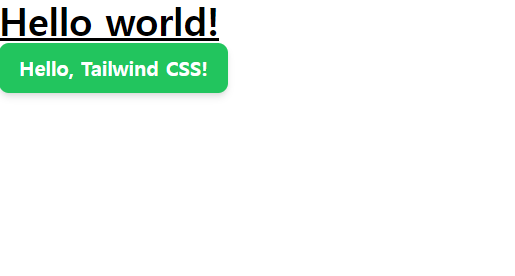
새로 추가한 버튼은 스타일이 잘 적용되어 출력됩니다.👍
References
stackoverflow : How to add tailwindcss to KotlinJS
[SpringBoot] build.gradle 에서 npm 라이브러리 정적 리소스로 추가하기
Adding Tailwind CSS to the Spring Boot Application
