H2 Dependency

//build.gradle.kts
dependencies {
	...
	implementation("org.springframework.boot:spring-boot-starter-data-jpa")
	runtimeOnly("com.h2database:h2")
    ...
}- JPA, H2 의존성을 추가해 줍니다.
application.yml
# application.yml
server:
  port: 8080

spring:
  thymeleaf:
    prefix: classpath:/templates/
    suffix: .html
    enabled: true
    check-template-location: true
    cache: false

  datasource:
    url: jdbc:h2:mem:testdb 			#메모리 DB 사용
    driver-class-name: org.h2.Driver	#driver
    username: sa						#default username
    password:							#password null

  jpa:
    defer-datasource-initialization: true	#hibernate 초기화 지연
    hibernate:
      ddl-auto: none						#ddl 옵션: 아무것도 안함
    show-sql: true

  h2:
    console:								#h2-console
      enabled: true
      path: /h2-console						#h2-console url 설정

  sql:
    init:									# application 실행시 sql 실행
      username: sa
      password:
      schema-locations: classpath*:db/schema.sql
      data-locations: classpath*:db/data.sql
datasource 설정
jdbc:h2:mem:testdb: mem => 메모리 db 사용, embedded로 하고 싶으면 보통jdbc:h2:~/test사용
JPA 설정
defer-datasource-initialization : true=> sql 설정에서 schema.sql과 data.sql로 테이블 초기화를 시키기 위해 지연 옵션으로 설정한다.hibernate.ddl-auto: none: schema를 sql로 생성하기 때문에 none으로 설정hibernate.ddl-auto 옵션 정리
create: 기존 테이블 삭제 후 다시 생성 -> DROP 후 CREATE
create-drop: 기존 테이블 삭제 후 다시 생성 -> 종료시 DROP
update: 이전에서 변경된 내용만 반영
validate: Entity, Table 매핑 검사
none: 아무것도 안함create, create-drop, update는 보통 개발 환경에서만 사용(저는 초기 세팅이후로는 개발 환경에서도 잘 안씁니다)
h2 설정
h2.console.enabled: true: h2 활성화 해줍니다.h2.console.url: /h2-console: Browser에서 h2 콘솔 접속 url을 지정합니다.
sql
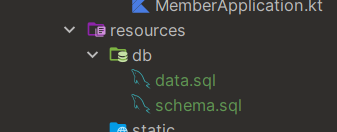
- schema.sql, data.sql을 resource/db 폴더에 작성해줍니다.
# schema.sql
CREATE TABLE IF NOT EXISTS member
(
    profile_id INTEGER NOT NULL AUTO_INCREMENT,
    user_id VARCHAR(255) NOT NULL,
    password VARCHAR(255) NOT NULL,
    nick_name VARCHAR(255) NOT NULL,
    PRIMARY KEY (profile_id)
);

#data.sql
insert into member values (1, 'testUser', 'testpassword', 'testnickname');
#application.yml
...
sql:
init: # application 실행시 sql 실행
username: sa
password:
schema-locations: classpath*:db/schema.sql
data-locations: classpath*:db/data.sql
...schema-locations: classpath*:db/schema.sql: resource/db/schema.sql을 스키마 생성 파일 위치 지정data-locations: classpath*:db/data.sql: data sql 파일 위치 지정classpath:db/schema.sql: 아래에 처음 발견되는 schema.sql 파일
classpath*:db/schema.sql: 아래에 모든 schema.sql 파일
실행
-
h2 콘솔 설정을 마쳤으니, 실행합니다.
-
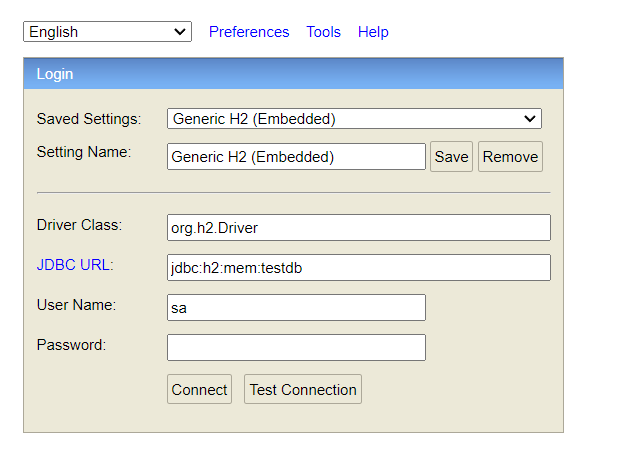
h2 console url을
/h2-console로 설정했으니, localhost:8080/h2-console 로 들어가 봅니다.
-
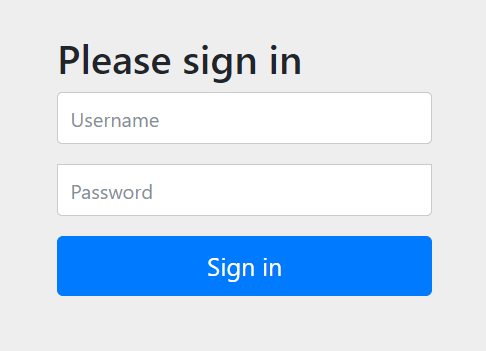
이전에 설정한 Security 설정에 걸려
/login페이지로 쫓겨납니다. -
로그인하고 다시 시도해 봅니다.
-
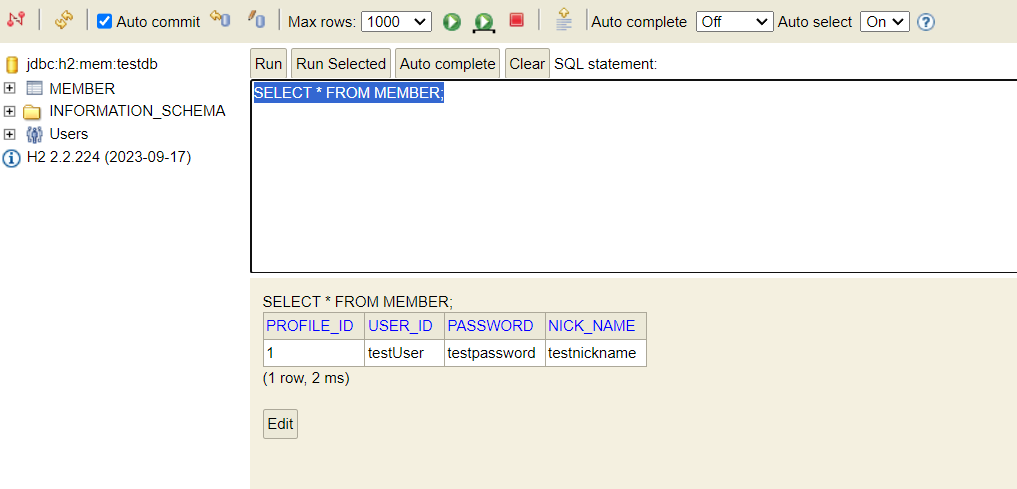
잘됩니다.
-
schema.sql로 생성한
MEMBER테이블과, 안에 데이터도 잘 실행 됬습니다.
혹시 로그인시
/h2-consoleurl에forbidden 403응답이 뜬다면,application.ymlsql.init.username, password 설정, 또는 Security 설정에서 다음을 추가합니다.# SecurityFilterChain http ... .authorizeHttpRequests { ... it.requestMatchers("/h2-console/**").permitAll() it.anyRequest().authenticated() } ...Security 6에서는
antMatchers->requestMachers로 변경 되었습니다.
