설치환경
- Ubuntu 20.04
- Nginx 1.18.0
GeoIP2를 설정하는 좋은 글이 있는데, 설명이 살짝 아쉬운 부분이 존재하여 몇몇 부분을 덧붙여서 작성했습니다.
설치준비
Nginx 컴파일을 위해 라이브러리를 먼저 받습니다.
apt-get install build-essential
apt-get install libpcre3 libpcre3-dev zlib1g zlib1g-dev libssl-dev
MaxMind 저장소 추가 및 설치
add-apt-repository ppa:maxmind/ppa
apt update
apt install geoipupdate libmaxminddb0 libmaxminddb-dev mmdb-bin
MaxMind 가입
MaxMind에 가입해서, 라이센스 키를 얻어야 합니다.
https://www.maxmind.com/en/home
한번 생성한 키는 다시 열람이 안되니 생성후 메모장 같은 곳에 복사해놓고 GeoIP.conf 파일에 넣어야 합니다. Account ID와 License key 둘다 필요합니다.
vi /etc/GeoIP.conf

# GeoIP.conf file for `geoipupdate` program, for versions >= 3.1.1.
# Used to update GeoIP databases from https://www.maxmind.com.
# For more information about this config file, visit the docs at
# https://dev.maxmind.com/geoip/geoipupdate/.

# `AccountID` is from your MaxMind account.
AccountID yourID

# `LicenseKey` is from your MaxMind account
LicenseKey YourLicensekey

# `EditionIDs` is from your MaxMind account.
EditionIDs GeoLite2-ASN GeoLite2-City GeoLite2-Country
다 입력했다면, 다시 갱신해줘야 합니다.
geoipupdate자동 업데이트 등록하기
크론탭을 활용해서 매주마다 데이터베이스를 업데이트 받아야 합니다.
crontab -e

# 매주 월요일 0시 업데이트 실행
0 0 * * MON /usr/bin/geoipupdate
Nginx GeoIP2 모듈추가
이제 GeoIP2 모듈을 컴파일해서 넣어야 합니다. 그러기 위해서는 Nginx 소스와 깃허브에서 GeoIP2 모듈을 받아야 합니다.
임의의 폴더를 하나 만드시고 그 안에서 작업하겠습니다.
mkdir /home/geoip
cd /home/geoip

# GeoIP2 모듈 다운로드
git clone https://github.com/leev/ngx_http_geoip2_module.git

# Nginx 소스 받기 (VERSION에는 현재 우분투에 설치된 nginx 버젼을 쓰세요)
# 저는 위의 설치환경에도 적었듯이 1.18.0 버젼을 쓰기 때문에 nginx-1.18.0으로 썼습니다.
wget http://nginx.org/download/nginx-VERSION.tar.gz
tar zxvf nginx-VERSION.tar.gz

cd nginx-VERSION
마지막 cd까지 거쳐서, 현재 위치는 /home/geoip/nginx-VERSION 입니다.
이제 컴파일을 해야 합니다.
./configure --with-compat --add-dynamic-module=../ngx_http_geoip2_module
make modules
make modules를 입력하면, objs 폴더안에 ngx_http_geoip2_module.so 파일이 생성됩니다.
만들어진 모듈을 nginx에서 사용할 수 있도록 옮겨줄겁니다.
mkdir -p /etc/nginx/modules

cp -vi objs/ngx_http_geoip2_module.so /etc/nginx/modules/
Nginx 설정 추가하기
이제 거의 다 왔습니다. 먼저, 아래의 코드를 /etc/nginx/nginx.conf의 http 블록 안에 추가합니다.
# /etc/nginx/nginx.conf 의 http 블록 안에 추가하기.

geoip2 /usr/share/GeoIP/GeoLite2-Country.mmdb {
    auto_reload 60m;
    $geoip2_metadata_country_build metadata build_epoch;
    $geoip2_data_country_code country iso_code;
    $geoip2_data_country_name country names en;
}
geoip2 /usr/share/GeoIP/GeoLite2-City.mmdb {
    auto_reload 60m;
    $geoip2_metadata_city_build metadata build_epoch;
    $geoip2_data_city_name city names en;
}
fastcgi_param COUNTRY_CODE $geoip2_data_country_code;
fastcgi_param COUNTRY_NAME $geoip2_data_country_name;
fastcgi_param CITY_NAME    $geoip2_data_city_name;
이제, 원하는 국가를 차단 혹은 허용할 차례입니다.
저는 기본적으로 모든 국가를 차단하고, 한국과 미국만 예외적으로 허용하겠습니다.
# /etc/nginx/nginx.conf 의 http 블록 안에 추가하기.

map $geoip2_data_country_code $domain_allowed_country {
    default no;
    KR yes;
    US yes;
}
여기까지가 nginx.conf에 추가할 설정이고, 이제 서버를 위해 작성하셨던 .conf 파일에 허용되지 않은 도메인인 경우 403 에러를 반환하도록 하겠습니다. (무슨 파일인지 감이 안잡히시면 server 블록을 사용하는 .conf 파일을 의미합니다)
# 내 서버 설정파일 (저는 /etc/nginx/conf.d/backend.conf에 넣었습니다.)

server {
	# ... 기존 설정들;

    location / {
    	 if ($domain_allowed_country = no) {
            return 403;
        }
    }
}
여기까지 완료하셨다면, 테스트를 한번 돌리시고 nginx 서비스를 재시작하시면 제대로 적용된 걸 확인할 수 있습니다.
nginx -t
systemctl restart nginx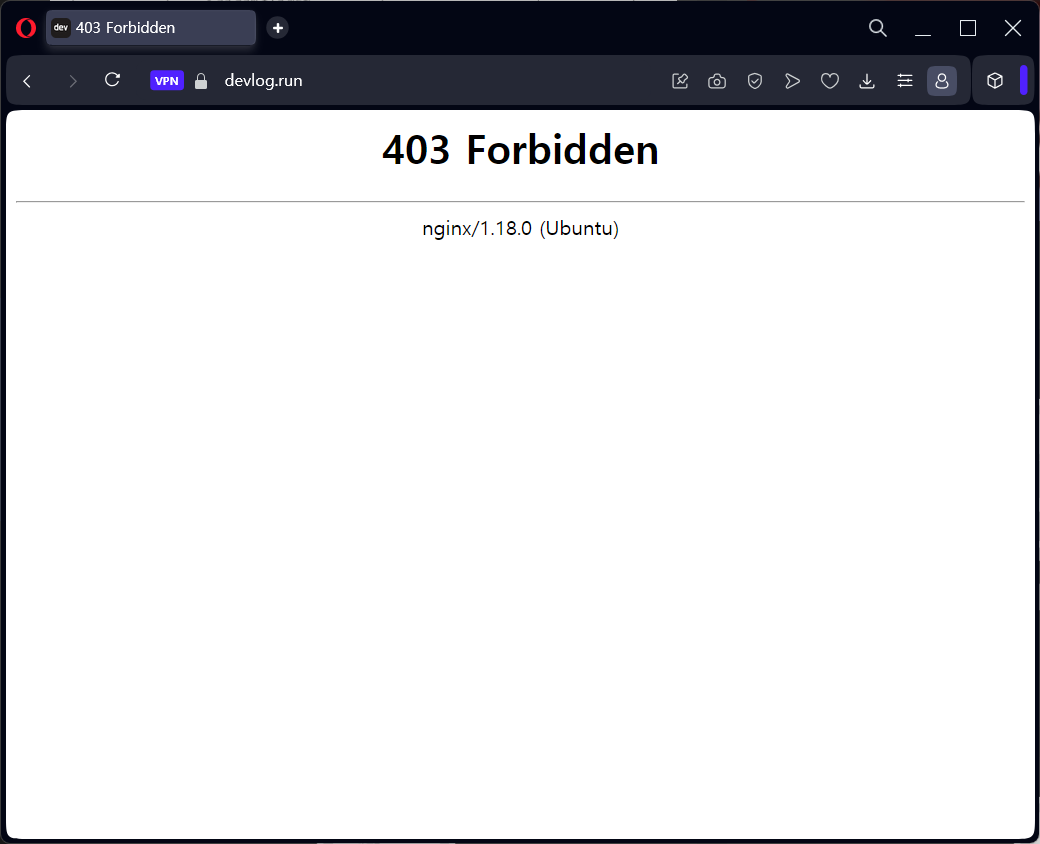
저는 오페라 브라우저로 VPN을 켜서 국가를 변경하니 잘 적용되는 것을 확인할 수 있었습니다.
부록. nginx 로그에 국가 표시하기
GeoIP2를 활용하면, 요청을 보낸 클라이언트 IP의 국가도 유추할 수 있습니다.
nginx에서 커스텀된 로깅 메시지를 사용하기 위해서는 log_format을 써야 합니다. 저는 확장성을 위해서 파일을 분리하여 작성해보겠습니다.
mkdir /etc/nginx/conf.d/format먼저, nginx/conf.d 안에 format 폴더를 하나 만듭니다.
cd /etc/nginx/conf.d/format
vi log_format.conf

# log_format.conf
log_format custom '$remote_addr - $remote_user [$time_local] '
                  '"$request" $status $body_bytes_sent '
                  '"$http_referer" "$http_user_agent" '
                  '$geoip2_data_country_code';
그리고 log_format.conf를 만들어서 안에 위와 같이 코드를 작성합니다. 이때, $geoip2_data_country_code 부분이 국가코드를 나타내는 부분입니다.
절대 http나 server 블록을 만드시면 안됩니다. log_format은 http 블록 안에서 선언되어야 하는데, http는 nginx.conf 안에서만 정의해서 쓸 수 있기 때문에 생성한 log_format.conf를 nginx.conf에서 include 할겁니다.
# /etc/nginx/nginx.conf

include /etc/nginx/conf.d/format/log_format.conf;
nginx.conf 파일 안의 http 블록 안에 위의 코드를 넣습니다. 단 여기서 주의할 점은
include /etc/nginx/conf.d/*.conf;, include /etc/nginx/sites-enabled/*;보다 위에 있어야 합니다.
여기까지 다 오셨으면 쉽습니다. access_log에서 custom format을 사용하도록 지정하기만 하면 됩니다.
access_log /var/log/nginx/access.log custom; # <-- 뒤에 custom을 붙여서 log_format을 지정합니다.레퍼런스
