글에 사용된 모든 그림과 내용은 직접 작성한 것입니다.
[유튜브 영상]
[깃허브 보러가기]
https://github.com/Chang-Jin-Lee/D3D11-AliceTutorial
[풀리퀘 보러가기]
https://github.com/Chang-Jin-Lee/D3D11-AliceTutorial/pull/62
글의 목적
D3D11에서 마우스로 오브젝트를 선택하기 위해 Ray를 사용하는 방법을 정리하기 위함
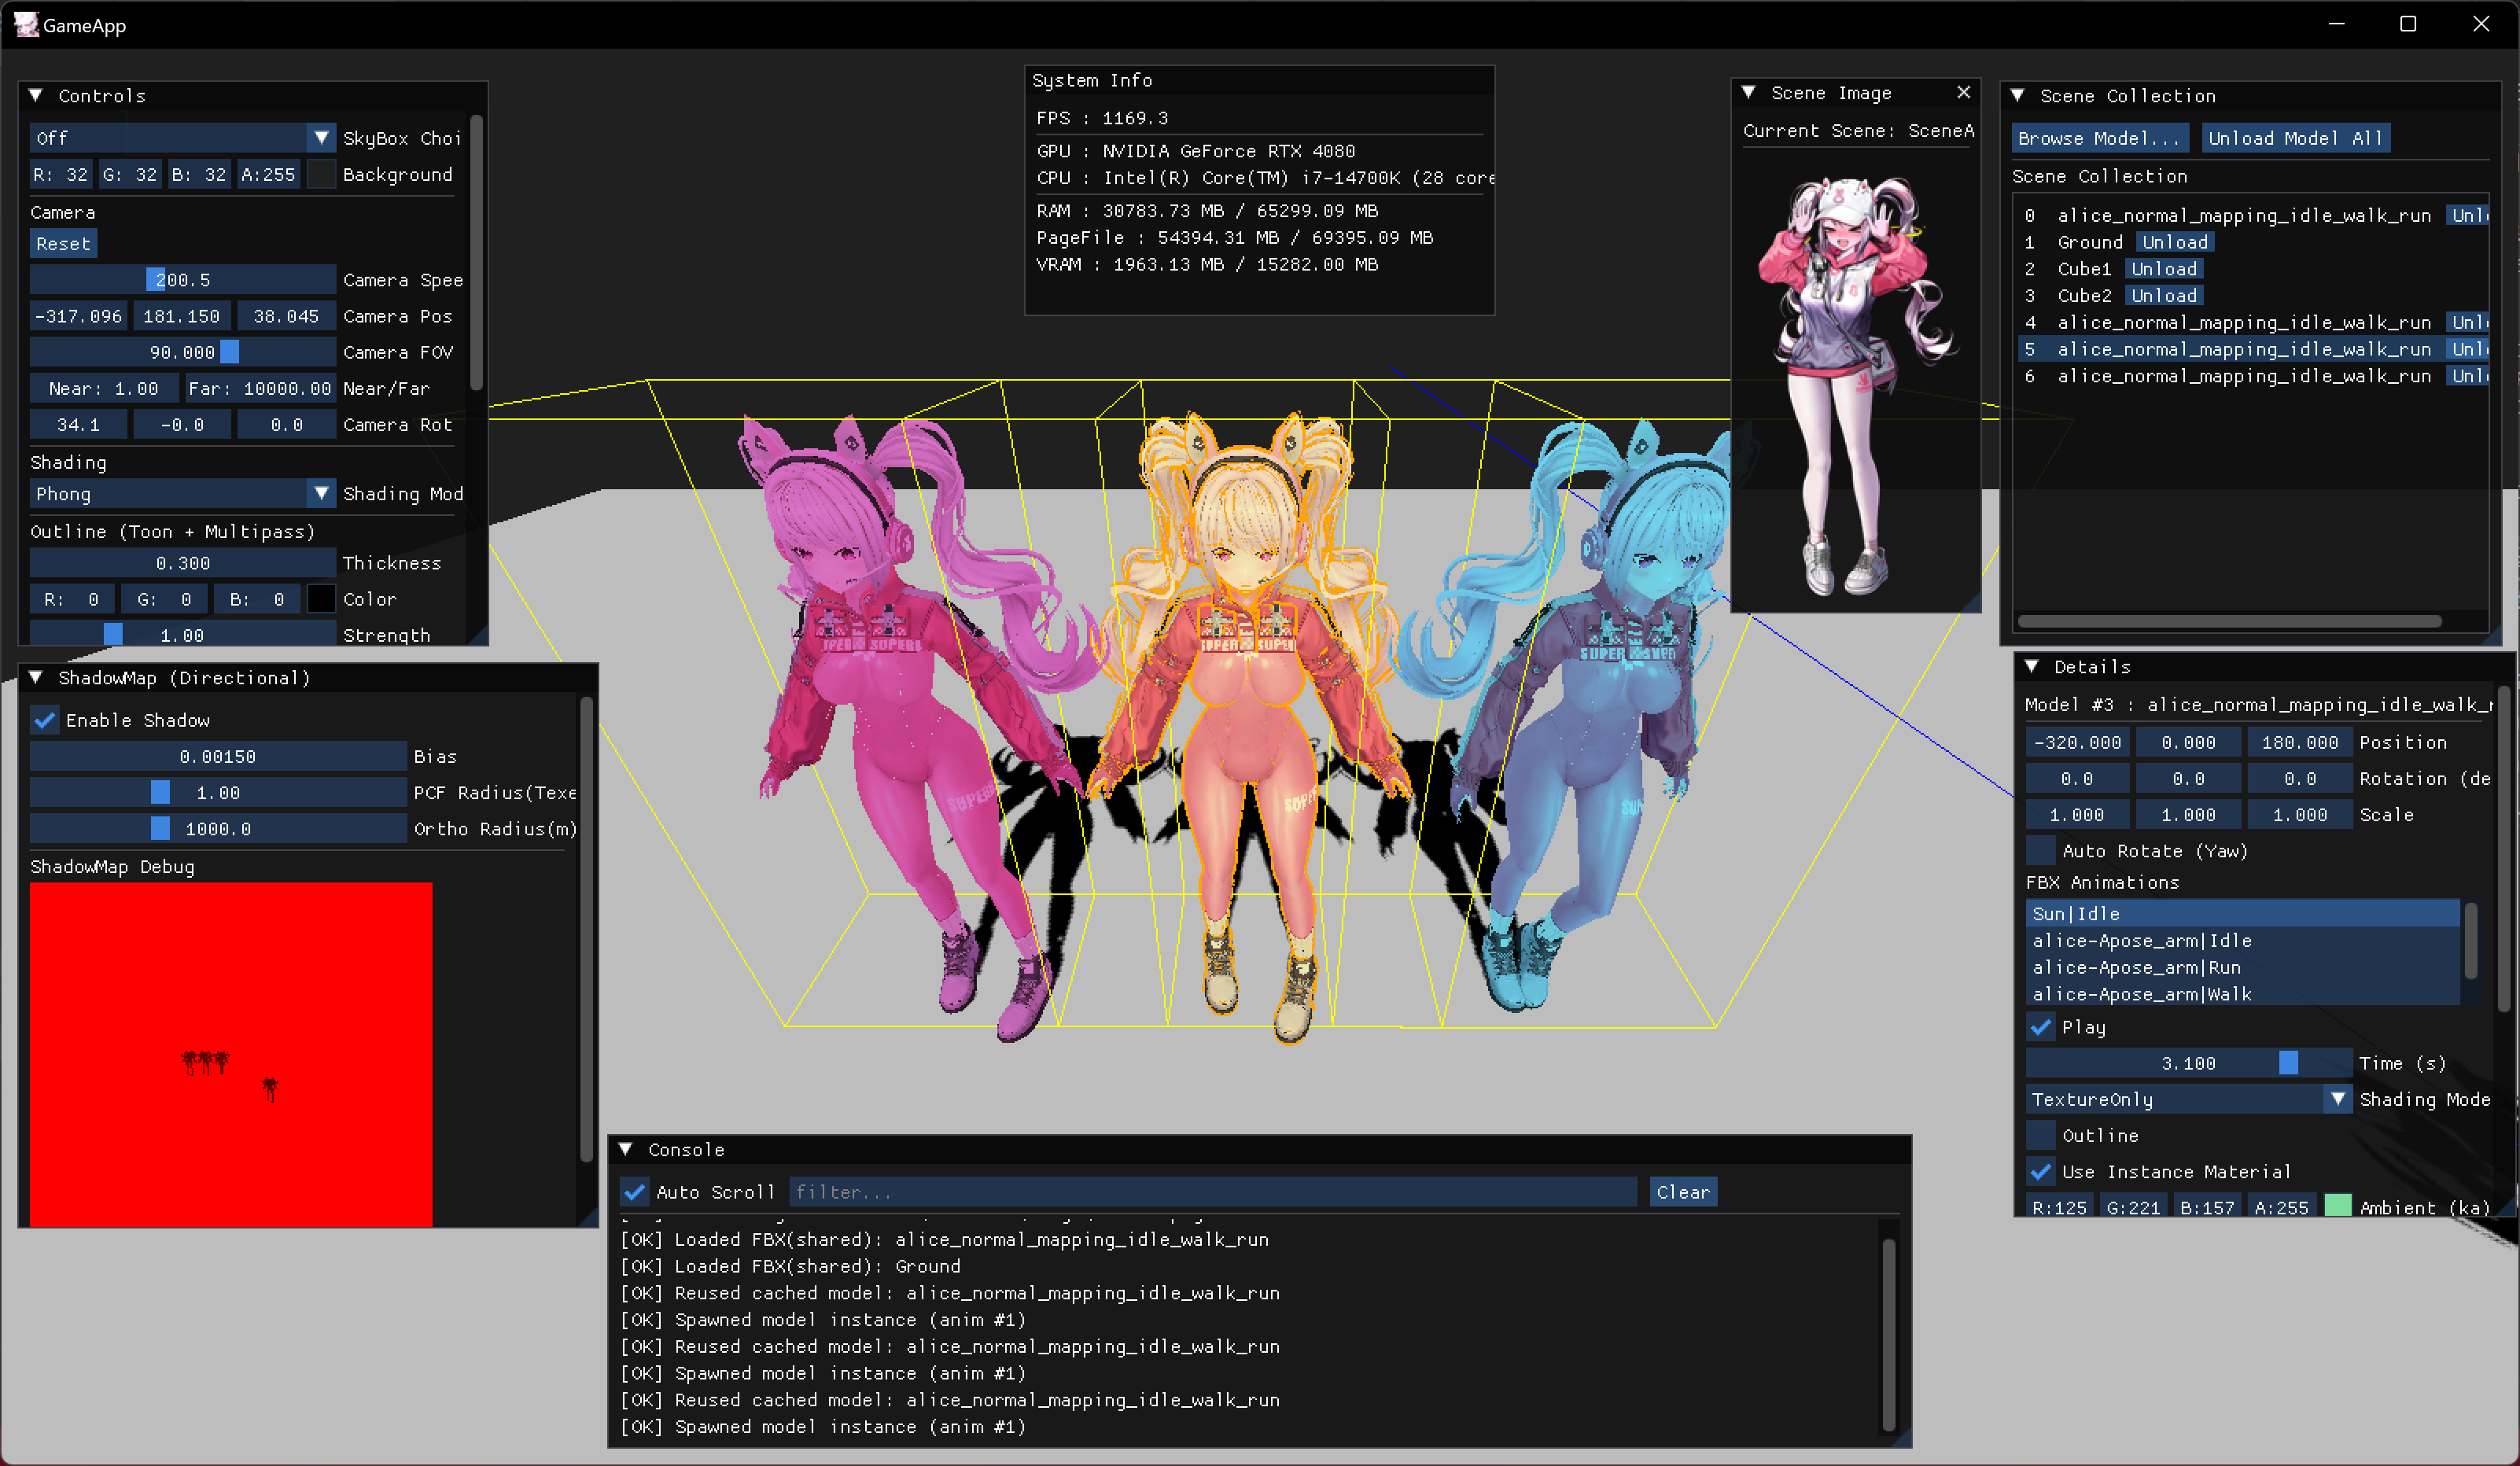
| 마우스로 선택한 오브젝트 |
|---|
Ray
-
화면 상의 한 점이 있다고 합시다. 한 점의 월드에서의 위치를 찾고 그 위치에서 카메라의 forward 방향으로 직선을 그었을 때 교차되는 부분을 찾는 걸 말합니다.
-
즉 스크린 좌표계, NDC, ViewProj을 반대로 적용. 이 세가지를 적용하면 월드에서의 위치를 구할 수 있습니다. near에서 far 방향으로 레이를 쏘면 카메라의 앞 방향입니다.
-
Ray 클래스는 다음과 같습니다.
class PickingRay
{
public:
    XMFLOAT3 origin;
    XMFLOAT3 direction;
    PickingRay();
    PickingRay(const XMFLOAT3& originPos, const XMFLOAT3& rayDir);
    static PickingRay ScreenPointToRay(const Camera& camera, float x, float y, float width, float height);
    bool HitSphere(const XMFLOAT3& center, float radius, float& outT) const;
    bool HitAABB(const XMFLOAT3& boxMin, const XMFLOAT3& boxMax, float& outT) const;
};
ScreenPointToRay
- 입력으로 카메라, 화면 상의 좌표 x, y , 화면 크기 width, height를 받습니다.
- x,y를 NDC 좌표계로 변환합니다. -1 ~ 1 사이의 정규화된 값으로 나타냅니다.
- view, proj 역행렬로 z = 0, z = 1 두 점을 월드상에서의 좌표로 변환합니다. 즉 near -> far 로 가는 벡터를 정규화하면 레이의 방향입니다.
PickingRay PickingRay::ScreenPointToRay(const Camera& camera, float x, float y, float width, float height)
{
	// 스크린 좌표 → NDC(-1~1)
	float nx = 2.0f * x / width - 1.0f;
	float ny = 1.0f - 2.0f * y / height;

	XMMATRIX view = camera.GetViewMatrixXM();
	XMMATRIX proj = camera.GetProjMatrixXM();
	XMMATRIX invViewProj = XMMatrixInverse(nullptr, view * proj);

	XMVECTOR nearPoint = XMVectorSet(nx, ny, 0.0f, 1.0f);
	XMVECTOR farPoint  = XMVectorSet(nx, ny, 1.0f, 1.0f);

	nearPoint = XMVector3TransformCoord(nearPoint, invViewProj);
	farPoint  = XMVector3TransformCoord(farPoint, invViewProj);

	XMVECTOR dir = XMVector3Normalize(farPoint - nearPoint);

	XMFLOAT3 o, d;
	XMStoreFloat3(&o, nearPoint);
	XMStoreFloat3(&d, dir);
	return PickingRay(o, d);
}
HitAABB
- 각 축인 x,y,z에 대해서 레이가 박스 구간을 통과하는 t구간을 계산합니다.
- 이 때 세 축 모두 통과하는 공통된 구간이 있으면 교차한 것으로 판단합니다
bool PickingRay::HitAABB(const XMFLOAT3& boxMin, const XMFLOAT3& boxMax, float& outT) const
{
	const float ox = origin.x, oy = origin.y, oz = origin.z;
	const float dx = direction.x, dy = direction.y, dz = direction.z;

	float tMin = 0.0f;
	float tMax = FLT_MAX;

	auto updateAxis = [&](float o, float d, float minA, float maxA) -> bool {
		if (fabsf(d) < 1e-6f) return (o >= minA && o <= maxA);
		float invD = 1.0f / d;
		float t0 = (minA - o) * invD;
		float t1 = (maxA - o) * invD;
		if (t0 > t1) { float tmp = t0; t0 = t1; t1 = tmp; }
		if (t0 > tMin) tMin = t0;
		if (t1 < tMax) tMax = t1;
		return tMax >= tMin;
	};
	if (!updateAxis(ox, dx, boxMin.x, boxMax.x)) return false;
	if (!updateAxis(oy, dy, boxMin.y, boxMax.y)) return false;
	if (!updateAxis(oz, dz, boxMin.z, boxMax.z)) return false;

	if (tMax < 0.0f) return false;
	outT = (tMin > 0.0f) ? tMin : tMax;
	return true;
}
Update 부분에서 처리
- 마지막으로 App의 Update 루프 부분에서 실제로 클릭했을 때 어떤 모델이 선택되는지 결정합니다.
auto& input = *InputSystem::Instance;
if (InputSystem::Instance && !ImGui::GetIO().WantCaptureMouse && input.m_MouseStateTracker.leftButton == Mouse::ButtonStateTracker::PRESSED)
{
    PickingRay ray = PickingRay::ScreenPointToRay(
        m_Camera,
        (float)input.m_MouseState.x,
        (float)input.m_MouseState.y,
        (float)m_ClientWidth,
        (float)m_ClientHeight);
    ...
    float t;
    int   pickedModel = -1;
    ...
    if (ray.HitAABB(bmin, bmax, t) && t < bestT)
    {
        bestT       = t;
        pickedModel = static_cast<int>(it - m_->m_Models.begin());
    }
}
게임 프로그래머