
부모 선택자 참조 가상클래스
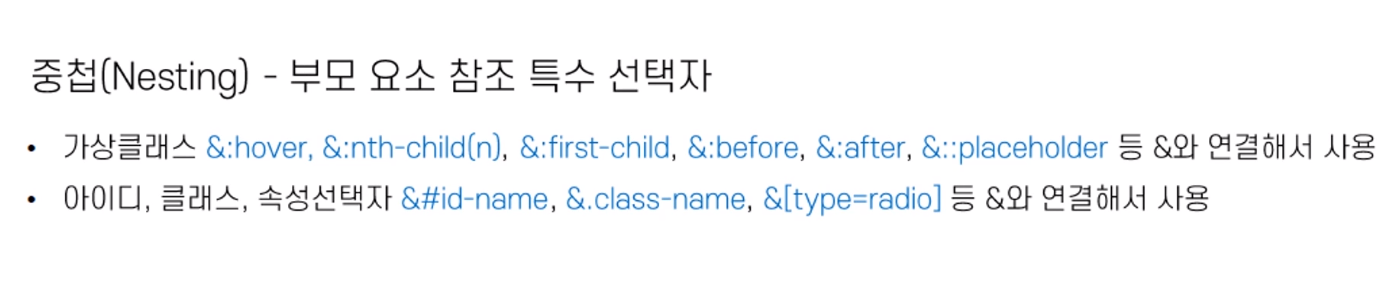
👊 예제
<div class="frame">
     <div>#01</div>
     <div>#02</div>
     <div>#03</div>
 </div>
.frame {
display: flex;
gap: 10px;
div {
flex: 1;
height: 150px;
border-radius: 5px;
box-shadow: 0 0 10px 5px rgba(0, 0, 0, 0.1);
// div안의 글씨를 수직수평중앙
display: flex;
justify-content: center;
align-items: center;
transition: 0.35s;
&:hover {
color: #fff;
transform: translateY(-5px);
}
&:nth-child(1) {
background-color: crimson;
}
&:nth-child(2) {
background-color: yellowgreen;
}
&:nth-child(3) {
background-color: royalblue;
}
}
}- hover, nth-child같은 가상클래스는 &와 연결해서 사용한다.
🙆 RESULT
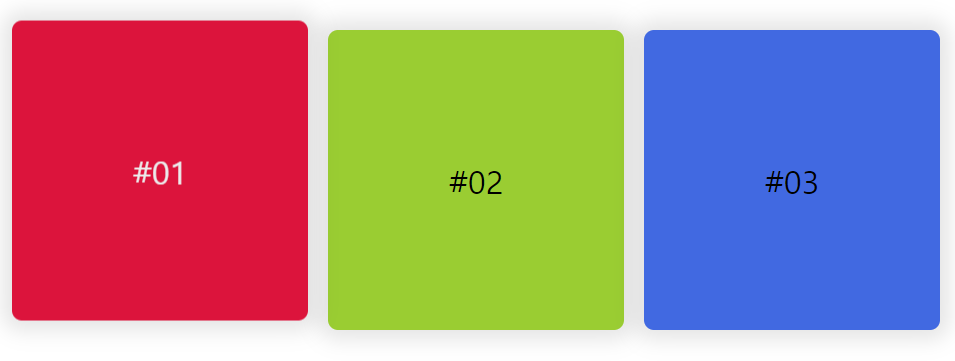
➕ 추가
- gap : 10px; flex를 주고 그 요소들끼리의 gap을 정한다.
- flex: 1; 그 요소들끼리 공평하게 나눔
- display: flex; justify-content: center; align-items: center; 수직수평중앙.
부모 선택자 참조 속성선택자

- 속성선택자를 지정하는 법 : 선택자(input)[type="button"] {...}
👊 예제
<div class="signin">
        <h1>Sign in</h1>
        <div class="sign-inner">
            <input type="button" value="Sign in with Google">
            <input type="email">
            <input type="password">
            <input type="checkbox" checked> Remember me for 30 days
            <input type="submit" value="Sign In">
        </div>
    </div>
input[type=button],
input[type=email],
input[type=password],
input[type=submit] {
display: block;
width: 100%;
margin: 10px 0;
padding: 10px;
border: 1px solid #ddd;
border-radius: 5px;
}
input[type=button] {
margin-bottom: 20px;
cursor: pointer;
background-color: #fff;
transition: 0.35s;
&:hover {
background-color: #ddd;
}
}
input[type=email] {
transition: 0.35s;
&:focus {
background-color: rgb(255, 255, 168);
}
}
input[type=submit] {
cursor: pointer;
background-color: #27ae68;
color: #fff;
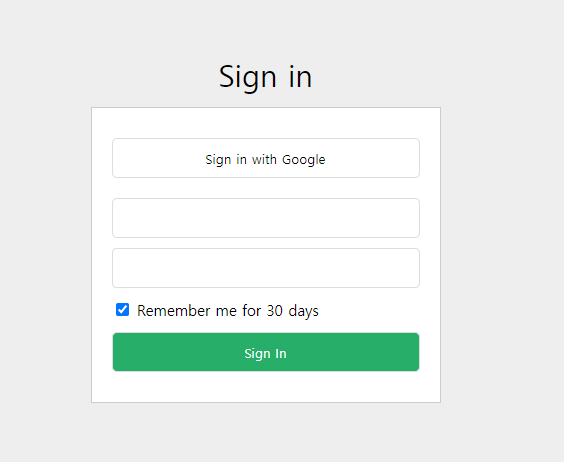
}- 속성 선택자 : input[type=button], input[type=email] 이런식으로 선택자[속성=값]으로 표시하여 구분한다.
- input[type=button]에 hover나 focus 한 경우를 나타내는 가상클래스를 이용할 때에는 = &를 사용하여 표시한다.
🙆 RESULT
부모 선택자 나가기 @at-root
@ : at-sign
& : empersand
~ : tild
^ : caret
👊 예제
<div class="frame">
      <h1 class="heading">
          CodingWorks Publishing class in Inflearn
      </h1>
</div>
<h1 class="heading">This is @at-root</h1>
.frame {
padding: 20px;
border: 1px solid #000;
text-align: center;
@at-root .heading {
font-size: 36px;
color: crimson;
font-weight: normal;
}
}- heading이라는 클래스를 가진 요소가 .frame안에 있는 자식요소 인것 하나와, 그냥 밖에 빠져있는 요소가 하나씩있다. @at-root가 없는 상태에서는 .heading안에있는 scss가 .frame .heading에만 적용이 되기 때문에 아래 h1에는 적용되지않는다.
- 이따 @at-root를 사용하여 모두 적용할 수 있다.
.frame {
    padding: 20px;
    border: 1px solid #000;
    text-align: center;
}

.heading {
        font-size: 36px;
        color: crimson;
        font-weight: normal;
}- 이런식으로 써도 괜찮다! 상황에 따라서 @at-root를 쓰거나 따로 빼거나 하면된다.
🙆 RESULT


jo_garden