
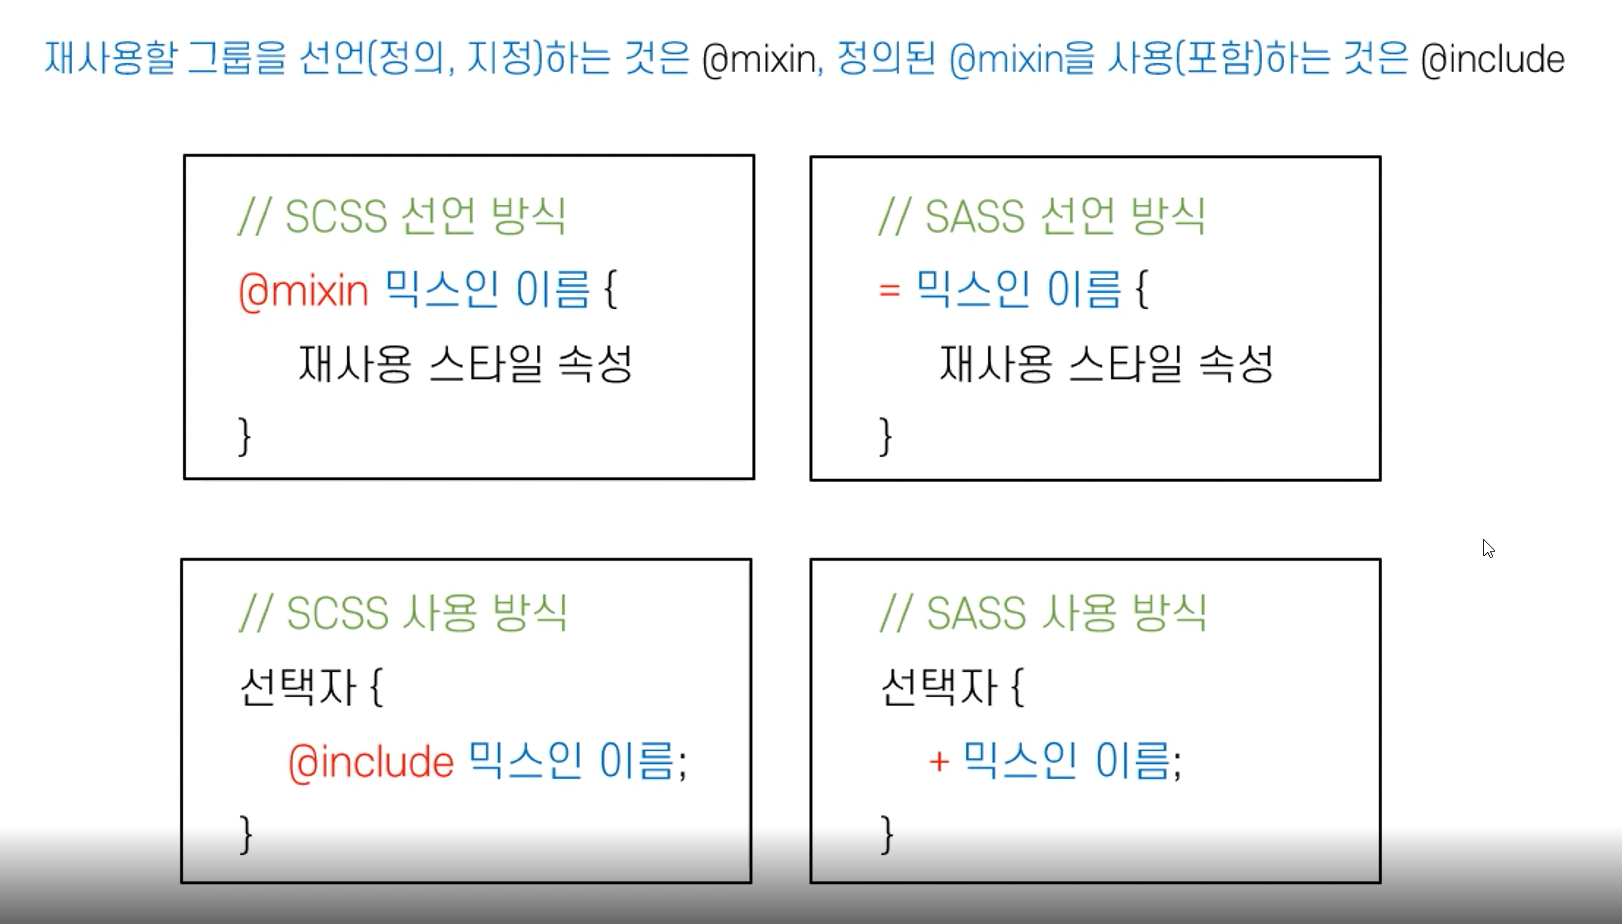
그룹 선언하기 @mixin, 그룹 사용하기 @include
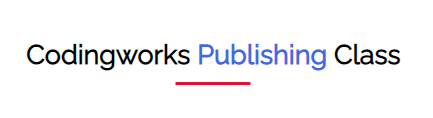
- 위 사진처럼 제목을 디자인하는데 h1태그에 요소만 꾸미는게 다가아니라 h1안의 span 태그도 디자인 해줘야하고 밑에 가상요소를 더하여 디자인해야한다.
- 위와같은일을 동일한 디자인의 제목이 200개라면 200개 다 똑같이 반복하여 scss를 작성하는 것보다는 공통으로 만드는게 낫다.
- 이럴때 사용하는것이 @mixin과 @include다.
👊 예제
<h1 class="heading">Codingworks <span>Publishing</span> class</h1>@mixin headline {
text-align: center;
font-size: 36px;
text-transform: capitalize;
position: relative;
padding-bottom: 20px;
span {
color: royalblue;
}
&::before {
content: '';
position: absolute;
width: 100px;
height: 4px;
background-color: crimson;
bottom: 0;
left: 50%;
transform: translateX(-50%);
}
}
- @mixin 믹스인 이름 {} : 해당 믹스인 안에 디자인 요소를 넣어준다
.heading {
@include headline();
}- 그러면 클래스 선언하고 @include를 사용해서 한줄만 적어주면 그대로 적용완료된다.
🙆 RESULT
➕ 추가
<h1 class="heading">Codingworks <span>Publishing</span> class</h1>
<h1 class="news-headline">
news <span>headline</span> broadcast
</h1>- 추가로 같은 구조의 제목을 하나 더 생성해준다.
.heading {
@include headline();
}
.news-headline {
@include headline();
}- 이것도 똑같이 include해준다.
🙆 RESULT
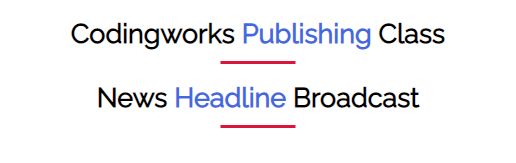
- 같은 디자인으로 적용 완료된다.
@mixin, @include 활용
- @mixin 선언은 항상 위에 한다.
body {
@include default;
}
@mixin default {
font-family: "Raleway", sans-serif;
font-size: 15px;
margin: 0;
color: #333;
background-color: #fff;
line-height: 1.6em;
}
-
이렇게 @mixin 선언이 @include 사용보다 밑에 있다면 적용되지않는다. @mixin 선언은 맨위에서 해놓는게 좋은방법이다.
-
@mixin 선언은 프로젝트 크기가 커지면 커질수록 많아질것이다. 따로 scss폴더를 만들자
-
mixin.scss
@mixin default {
font-family: "Raleway", sans-serif;
font-size: 15px;
margin: 0;
color: #333;
background-color: #fff;
line-height: 1.6em;
}
@mixin headline {
    text-align: center;
    font-size: 36px;
    text-transform: capitalize;
    position: relative;
    padding-bottom: 20px;

    span {
        color: royalblue;
    }

    &::before {
        content: '';
        position: absolute;
        width: 100px;
        height: 4px;
        background-color: crimson;
        bottom: 0;
        left: 50%;
        transform: translateX(-50%);

    }
}- style.scss
@import "mixin";

* {
    font-family: "Raleway", sans-serif;
    box-sizing: border-box;
    outline: none;
}

body {
    @include default;
}

.heading {
    @include headline;
}

.news-headline {
    @include headline;
}- @import "mixin"; 해주면 코드도 간결해지고 깔끔하게 코드를 관리할 수 있다.
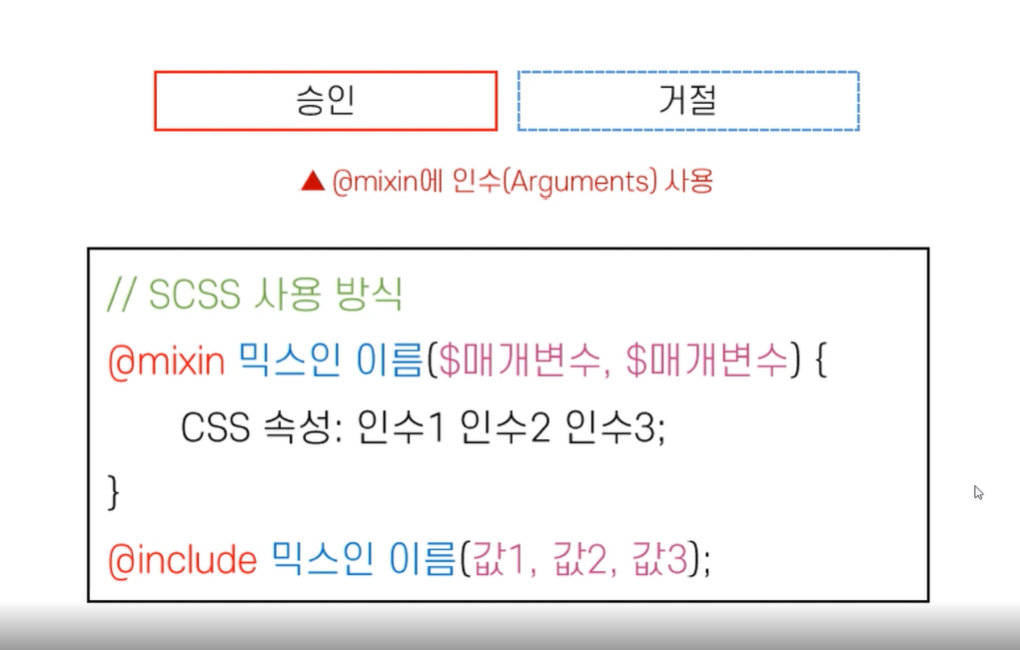
@mixin의 매개변수(인수)를 @include로 사용하기
👊 예제
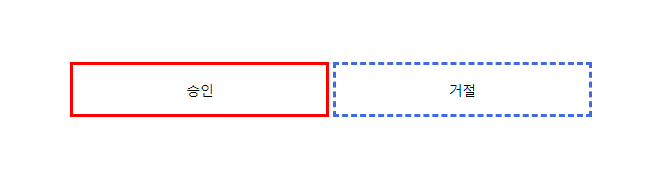
<div class="buttons">
        <button class="approval">승인</button>
        <button class="refuse">거절</button>
</div>
//Buttons Mixin
@mixin border-style($width, $style, $color) {
border: $width $style $color;
}
@mixin button-padding($updown, $leftright) {
padding: $updown $leftright;
}
- border style속성을 정하는 mixin을 정의하였다.
- 이때 매개변수로 border의 width, style, color을 받는다.
- border: $width $style $color;
- 이때 매개변수 사이에
,넣지않도록 주의하기
.buttons {
    button {
        // width: 200px;
        padding: 7px;
        background-color: #fff;
        outline: none;
        cursor: pointer;
        font-size: 18px;
        @include button-padding(20px, 150px);

        &.approval {
            @include border-style(5px, solid, red);
        }

        &.refuse {
            @include border-style(5px, dashed, royalblue);
        }
    }
}- 사용은 @include로 하고, mixin 이름을 적고 괄호안에 인자를 넣어준다.
,로 구분
🙆 RESULT

jo_garden