[TS & Firebase] 트위터 클론코딩_#Review

Authentication
1. Firebase 세팅

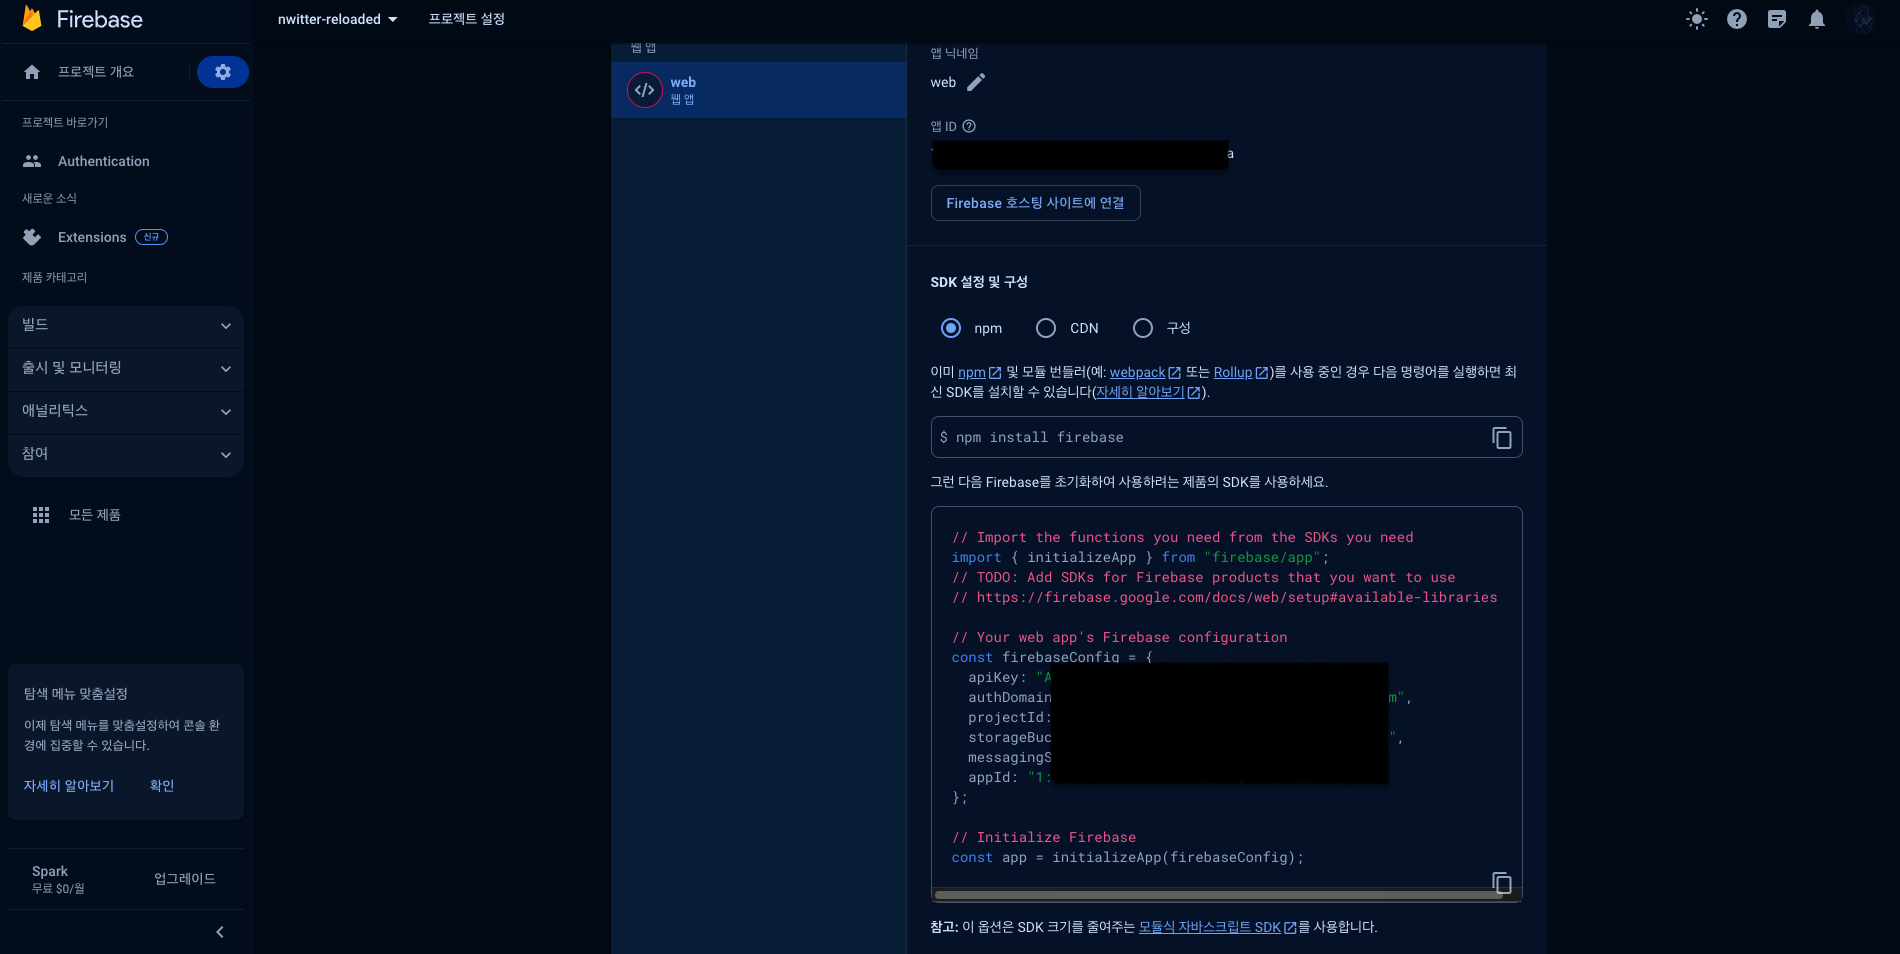
firebase에서 Web을 추가하고, 모든 API 키가 포함된 파일 내용을 제공받는다.
그 후 firebase의 안내대로 코드 내에 firebase.ts를 작성해주었다.
import { initializeApp } from "firebase/app";
import { getAuth } from "firebase/auth";

const firebaseConfig = {
  apiKey: "﹒",
  authDomain: "﹒",
  projectId: "﹒",
  storageBucket: "﹒",
  messagingSenderId: "﹒",
  appId: "﹒",
};

const app = initializeApp(firebaseConfig);

export const auth = getAuth(app);
이제 getAuth 로 활성화한 인증 product에 대한 접근 권한을 얻을 수 있다.
중요한 점은 여기서 끝이 아니다.
직접 product를 활성화 시켜야 한다.
바로 위에서 받아온 auth 인스턴스로 가공을 시작하는 것이다.
2. App.tsx
function App() {
  const [isLoading, setLoading] = useState(true);

  const init = async () => {
    await auth.authStateReady();
    setLoading(false);
  };

  useEffect(() => {
    init();
  }, []);

  return (
    <Wrapper>
      <GlobalStyles />
      {isLoading ? <LoadingScreen /> : <RouterProvider router={router} />}
    </Wrapper>
  );
}

export default App;
auth.authStateReady()
➡️ 사용자가 로그인했는지 안했는지, 그리고 누구인지에 대한 정보를 기다리는 것
<Outlet>
하위 경로 요소를 렌더링하기 위해 상위 경로 요소에서 Outlet을 사용해야 한다.
이를 통해 하위 경로가 렌더링될 때 중첩된 UI가 표시될 수 있다.
https://reactrouter.com/en/main/components/outlet
사용자가 페이지에 처음으로 접근한다면, "/"인 홈페이지로 이동할 것이다.
이 홈페이지는 ProtectedRoute 으로 감싸뒀다.
const router = createBrowserRouter([
  {
    path: "/",
    element: (
      <ProtectedRoute>
        <Layout />
      </ProtectedRoute>
    ),
    children: [
      {
        path: "",
        element: <Home />,
      },
      {
        path: "profile",
        element: <Profile />,
      },
    ],
  },
  {
    path: "/login",
    element: <Login />,
  },
  {
    path: "/create-account",
    element: <CreateAccount />,
  },
]);
그럼 ProtectedRoute 은 무슨 역할을 하고 있을까?
// ProtectedRoute.tsx

import { Navigate } from "react-router-dom";
import { auth } from "../firebase";

export default function ProtectedRoute({
  children,
}: {
  children: React.ReactNode;
}) {
  const user = auth.currentUser;

  if (user === null) {
    return <Navigate to="/login" />;
  }

  return children;
}
auth.currentUser
➡️ firebase에게 로그인한 사용자가 누구인지 물어보는 route
만약 로그인되지 않았다면, 사용자가 ProtectedRoute 의 하위 페이지를 못 보게 막는다.
현재 코드로써는 Home이나 Profile을 포함해 로그인 사용자 전용 화면에 접근하지 못하게 되는 것이다.
3. login.tsx
import { useState } from "react";
import { auth } from "../firebase";
import { useNavigate, Link } from "react-router-dom";
import { FirebaseError } from "firebase/app";
import { signInWithEmailAndPassword } from "firebase/auth";
import {
  Error,
  Form,
  Input,
  Switcher,
  Title,
  Wrapper,
} from "../components/auth-components";
import GithubButton from "../components/github-btn";

export default function CreateAccount() {
  const nav = useNavigate();
  const [isLoading, setLoading] = useState(false);
  const [email, setEmail] = useState("");
  const [password, setPassword] = useState("");
  const [error, setError] = useState("");

  const onChange = (e: React.ChangeEvent<HTMLInputElement>) => {
    const {
      target: { name, value },
    } = e;
    if (name === "email") {
      setEmail(value);
    } else if (name === "password") {
      setPassword(value);
    }
  };

  const onSubmit = async (e: React.FormEvent<HTMLFormElement>) => {
    e.preventDefault();
    setError("");
    if (isLoading || email === "" || password === "") return;
    try {
      setLoading(true);
      await signInWithEmailAndPassword(auth, email, password);
      nav("/");
    } catch (e) {
      if (e instanceof FirebaseError) {
        setError(e.message);
      }
    } finally {
      setLoading(false);
    }

    console.log(name, email, password);
  };

  return (
    ﹒﹒﹒
  );
}
login.tsx 에서 하는 일은 form으로부터 이메일과 암호를 가져오는 것뿐이다.
데이터를 state에 올리고, 사용자가 form을 submit 하면, 함수를 호출하기만 하면 된다.
signInWithEmailAndPassword(auth, email, password)
➡️ 로그인에 사용되는 API 이며 auth, email, password 3개의 인자를 필요로 한다.
4. create-account.tsx
import { createUserWithEmailAndPassword, updateProfile } from "firebase/auth";
import { useState } from "react";
import { auth } from "../firebase";
import { useNavigate, Link } from "react-router-dom";
import { FirebaseError } from "firebase/app";
import {
  Error,
  Form,
  Input,
  Switcher,
  Title,
  Wrapper,
} from "../components/auth-components";
import GithubButton from "../components/github-btn";

export default function CreateAccount() {
  const nav = useNavigate();
  const [isLoading, setLoading] = useState(false);
  const [name, setName] = useState("");
  const [email, setEmail] = useState("");
  const [password, setPassword] = useState("");
  const [error, setError] = useState("");

  const onChange = (e: React.ChangeEvent<HTMLInputElement>) => {
    const {
      target: { name, value },
    } = e;
    if (name === "name") {
      setName(value);
    } else if (name === "email") {
      setEmail(value);
    } else if (name === "password") {
      setPassword(value);
    }
  };

  const onSubmit = async (e: React.FormEvent<HTMLFormElement>) => {
    e.preventDefault();
    setError("");
    if (isLoading || name === "" || email === "" || password === "") return;
    try {
      setLoading(true);
      const credentials = await createUserWithEmailAndPassword(
        auth,
        email,
        password
      );
      console.log(credentials.user);
      await updateProfile(credentials.user, { displayName: name });
      nav("/");
    } catch (e) {
      if (e instanceof FirebaseError) {
        setError(e.message);
      }
    } finally {
      setLoading(false);
    }

    console.log(name, email, password);
  };

  return (
    ﹒﹒﹒
  );
}
create-account.tsx 에서 하는 일도 login.tsx 과 동일하다.
이름, 이메일, 비밀번호 데이터를 가져와서 state에 데이터를 입력한다.
유저가 위 양식 작성을 마치면 함수를 호출해서 정말 간단하게 계정을 생성할 수 있다.
createUserWithEmailAndPassword(auth, email, password)
➡️ 계정 생성에 사용되는 API 이며 auth, email, password 3개의 인자를 필요로 한다.
생성된 해당 사용자에 대한 자격증명을 받아온다고 생각하면 된다.
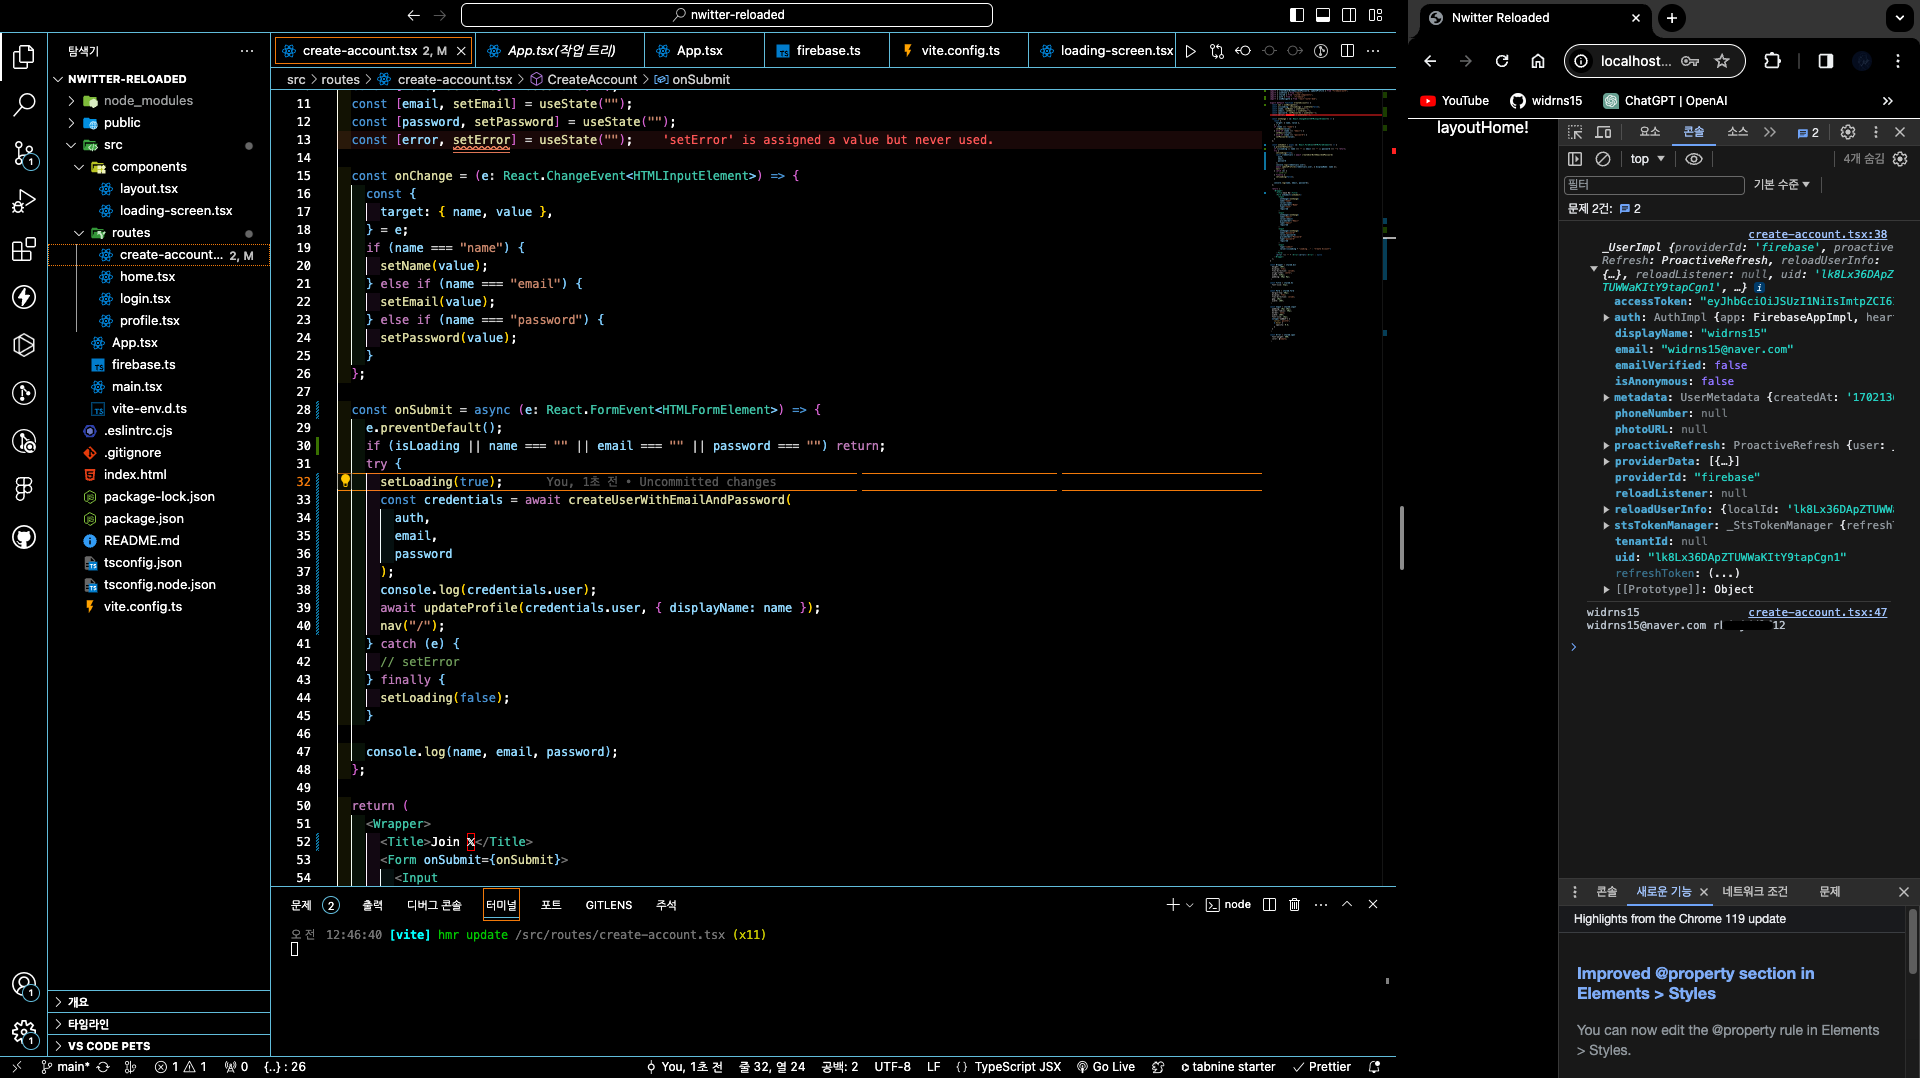
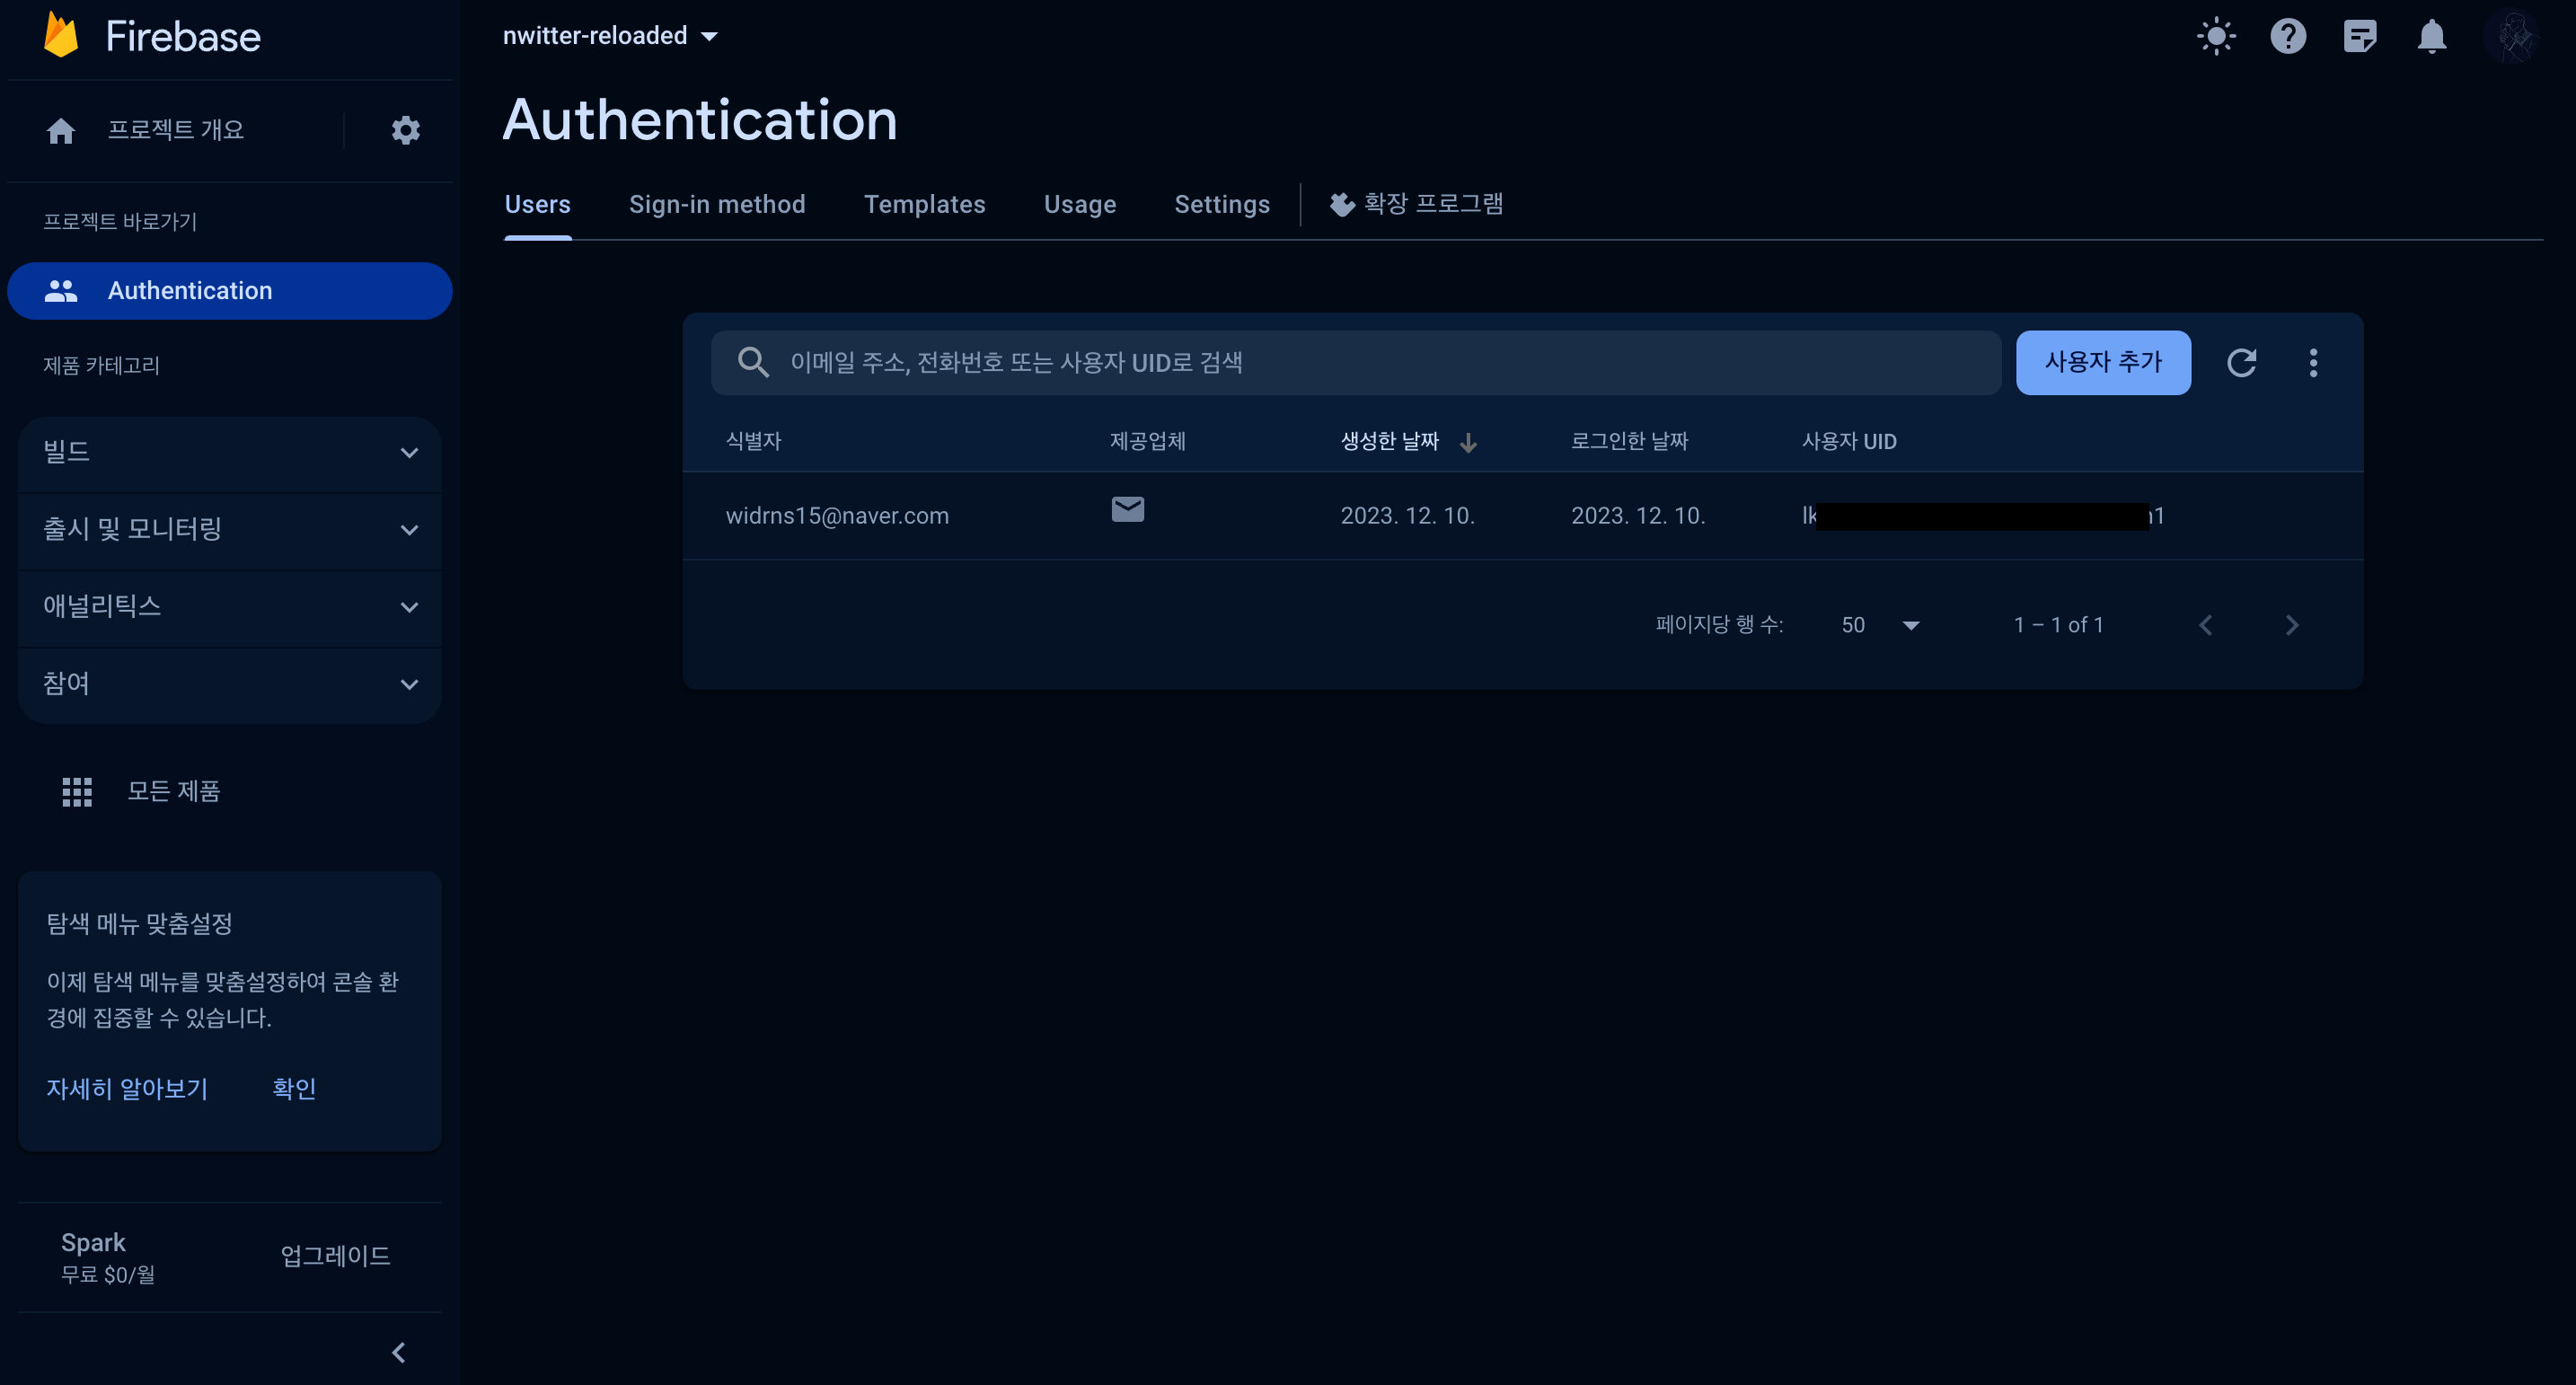
위와 같이 회원가입 시, 콘솔과 firebase에서 가입한 유저의 정보를 확인 가능했다.
추가로 Firebase 인증에는 사용자를 위한 미니 프로필 같은 것이 있어서
사용자 프로필에 표시될 이름과 아바타 URL을 설정할 수 있다.
updateProfile(credentials.user, { displayName: name })
➡️ 사용자의 프로필 업데이트
로그인하거나 계정을 만들면 Firebase에서 쿠키, 세션 등 여러 작업을 해줘서 로그인 상태가 된다.
여기까지 끝마치면, 이제 Home 으로 이동할 수 있다.
5. Home.tsx
import { auth } from "../firebase";

export default function Home() {
  const logOut = () => {
    auth.signOut();
  };

  return (
    <h1>
      <button onClick={logOut}>Log Out</button>
    </h1>
  );
}
현재까지는 Home.tsx 는 로그아웃 버튼만 볼 수 있게 구현되었다.
auth.signOut()
➡️ 로그아웃에 사용되는 API
6. github-btn.tsx
마지막으로 GithubButton 이라는 컴포넌트를 만들었다.
이 버튼을 클릭하면 Github을 통해 로그인할 수 있다.
즉 OAuth 로그인 기능이다.
먼저 Github OAuth 등록 과정은 다음과 같다.
Github OAuth 등록 과정
1. firebase Authentication Sign-in method 추가 & Github Setting OAuth 해당 정보 추가
firebase에서 Github을 활성화하고, Github 애플리케이션을 만들면 된다.
그 후, firebase에서 발급된 Github form을 Github에 입력하고,
Github에서 발급된 Client ID와 Client secret을 받아와 입력하면 된다.
2. 구현한 사이트에서 OAuth 로그인 시도
3. firebase에서 로그인한 정보 확인 가능
모든 과정이 끝나면 코드에서 Provider 를 만들고 팝업이나 리디렉션으로 로그인되도록 했다.
import { styled } from "styled-components";
import { auth } from "../firebase";
import { useNavigate } from "react-router-dom";
import { GithubAuthProvider, signInWithPopup } from "firebase/auth";

export default function GithubButton() {
  const nav = useNavigate();
  const onClick = async () => {
    try {
      const provider = new GithubAuthProvider();
      await signInWithPopup(auth, provider);
      nav("/");
    } catch (error) {
      console.error(error);
    }
  };

  return (
    <Button onClick={onClick}>
      <Logo src="/github-logo.svg" />
      Continue with Github
    </Button>
  );
}
signInWithPopup(auth, provider)
➡️ OAuth 로그인을 '팝업'으로 진행시켜주는 API
signInWithRedirect(auth, provider)
➡️ OAuth 로그인을 '리디렉션'으로 진행시켜주는 API
Authentication은 끝 !
Tweeting 포스팅 계속 진행 예정
~ 24.01.19 작성