게시물에 댓글을 작성하는 기능을 RedwoodJS스럽게 구현해보자!
Front-End
먼저 댓글 컴포넌트 파일을 생성하자.
yarn rw g component Comment
Comment.tsx
const formattedDate = (datetime: ConstructorParameters<typeof Date>[0]) => {
  const parsedDate = new Date(datetime)
  const month = parsedDate.toLocaleString('default', { month: 'long' })
  return `${parsedDate.getDate()} ${month} ${parsedDate.getFullYear()}`
}

// Just a temporary type. We'll replace this later
interface Props {
  comment: {
    name: string
    createdAt: string
    body: string
  }
}

const Comment = ({ comment }: Props) => {
  return (
    <div className="bg-gray-200 p-8 rounded-lg">
      <header className="flex justify-between">
        <h2 className="font-semibold text-gray-700">{comment.name}</h2>
        <time className="text-xs text-gray-500" dateTime={comment.createdAt}>
          {formattedDate(comment.createdAt)}
        </time>
      </header>
      <p className="text-sm mt-2">{comment.body}</p>
    </div>
  )
}

export default Comment
Comment.stories.tsx
import Comment from './Comment'

export const generated = () => {
  return (
    <Comment
      comment={{
        name: 'Rob Cameron',
        body: 'This is the first comment!',
        createdAt: '2020-01-01T12:34:56Z'
      }}
    />
  )
}

export default {
  title: 'Components/Comment',
  component: Comment,
}
yarn rw storybook을 통해 Comment - generated에 들어가면..
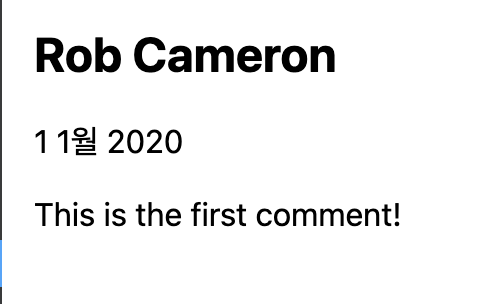

아래 이미지처럼 tailwindCSS가 적용되어야 하는데 그러지 못하고 있다.
yarn rw setup ui tailwind
위 명령어를 실행하여 해결하였다.
Comment.test.tsx
import { render, screen } from '@redwoodjs/testing'
import Comment from './Comment'
describe('Comment', () => {
it('renders successfully', () => {
const comment = {
name: 'John Doe',
body: 'This is my comment',
createdAt: '2020-01-02T12:34:56Z',
}
render(<Comment comment={comment} />)
expect(screen.getByText(comment.name)).toBeInTheDocument()
expect(screen.getByText(comment.body)).toBeInTheDocument()
const dateExpect = screen.getByText('2 January 2020')
expect(dateExpect).toBeInTheDocument()
expect(dateExpect.nodeName).toEqual('TIME')
expect(dateExpect).toHaveAttribute('datetime', comment.createdAt)
})
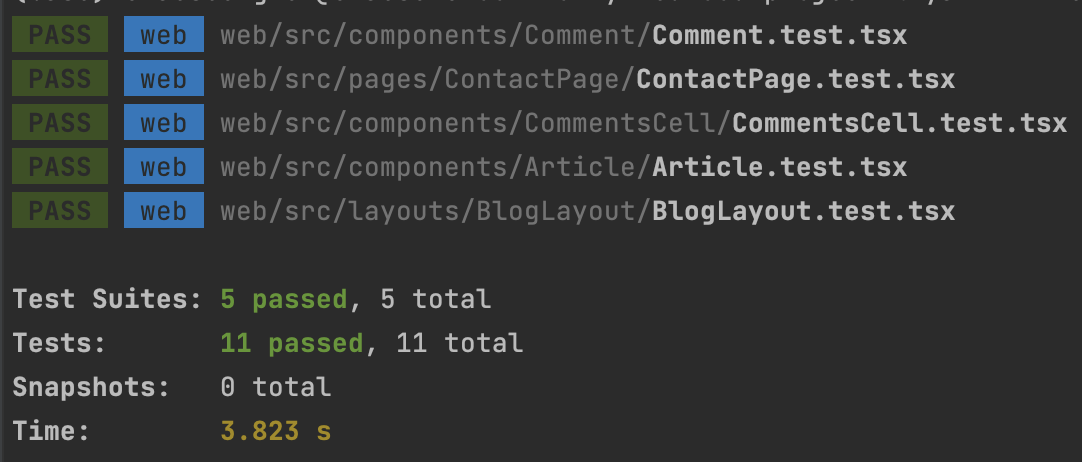
})yarn rw test
RedwoodJS는 기본적으로 Storybook와 Jest를 개발 과정에서 선제적으로 활용할 것을 권장하고 있다.
이제 확인이 끝난 컴포넌트를 실제 프로젝트에 담아보자!
Comment 역시 게시물과 유사하게 Cell를 통해 목록 조회를 구현할 수 있다.
아직 Prisma에 Comment 스키마를 추가하지는 않았지만, 일단 이쪽 먼저 다뤄보자.
yarn rw g cell Comments
CommentsCell.tsx
import Comment from 'src/components/Comment'
import type { CommentsQuery } from 'types/graphql'
import type { CellSuccessProps, CellFailureProps } from '@redwoodjs/web'
export const QUERY = gql`
query CommentsQuery {
comments {
id
name
body
createdAt
}
}
`
export const Loading = () => <div>Loading...</div>
export const Empty = () => <div>Empty</div>
export const Failure = ({ error }: CellFailureProps) => (
<div style={{ color: 'red' }}>Error: {error.message}</div>
)
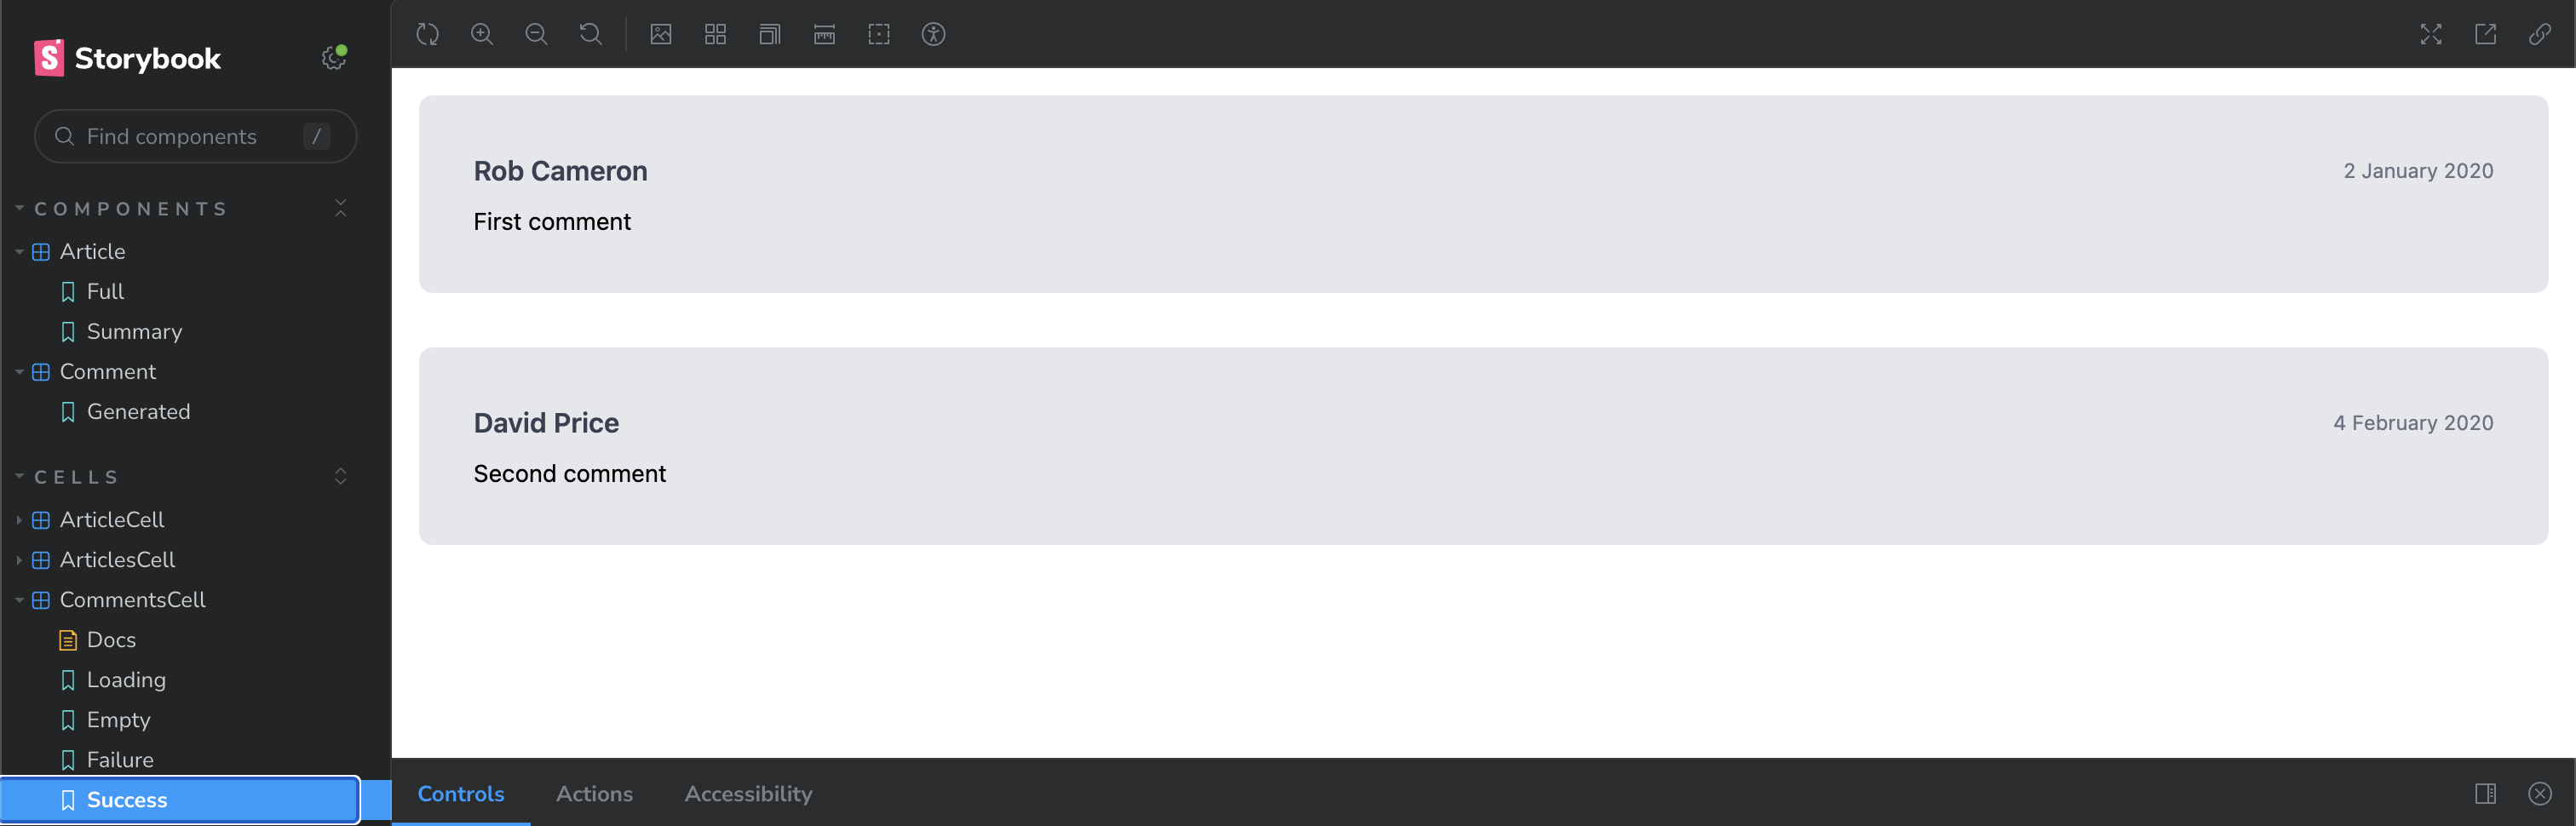
export const Success = ({ comments }: CellSuccessProps<CommentsQuery>) => {
return (
<div className="space-y-8">
{comments.map((comment) => (
<Comment key={comment.id} comment={comment} />
))}
</div>
)
}각 Comment별로 약간의 간격을 주었다.
CommentsCell.mock.ts
export const standard = () => ({
  comments: [
    {
      id: 1,
      name: 'Rob Cameron',
      body: 'First comment',
      createdAt: '2020-01-02T12:34:56Z',
    },
    {
      id: 2,
      name: 'David Price',
      body: 'Second comment',
      createdAt: '2020-02-03T23:00:00Z',
    },
  ],
})
mock.ts 파일은 stories.tsx 및 test.tsx 파일이 기본적으로 참조하는 일종의 더미 데이터이다.
게시물에 댓글을 붙이기 전에 보기 좋게 일부 페이지를 수정하자!
ContactsPage.tsx
import { Metadata } from '@redwoodjs/web'
import {
  Form,
  TextField,
  TextAreaField,
  Submit,
  FieldError,
  Label,
  FormError,
  useForm,
} from '@redwoodjs/forms'
import { useMutation } from '@redwoodjs/web'
import { toast, Toaster } from '@redwoodjs/web/toast'

const CREATE_CONTACT = gql`
  mutation CreateContactMutation($input: CreateContactInput!) {
    createContact(input: $input) {
      id
    }
  }
`

const ContactPage = () => {
  const formMethods = useForm()

  const [create, { loading, error }] = useMutation(CREATE_CONTACT, {
    onCompleted: () => {
      toast.success('Thank you for your submission!')
      formMethods.reset()
    },
  })

  const onSubmit = (data) => {
    create({ variables: { input: data } })
    console.log(data)
  }

  return (
    <>
      <Metadata title="Contact" description="Contact page" />

      <Toaster />
      <Form
        onSubmit={onSubmit}
        config={{ mode: 'onBlur' }}
        error={error}
        formMethods={formMethods}
      >
        <FormError
          error={error}
          wrapperClassName="py-4 px-6 rounded-lg bg-red-100 text-red-700"
          listClassName="list-disc ml-4"
          listItemClassName=""
        />
        <Label
          name="name"
          className="block text-gray-700 uppercase text-sm"
          errorClassName="block uppercase text-sm text-red-700"
        >
          Name
        </Label>
        <TextField
          name="name"
          validation={{ required: true }}
          className="border rounded-sm px-2 py-1 outline-none"
          errorClassName="border rounded-sm px-2 py-1 border-red-700 outline-none"
        />
        <FieldError name="name" className="block text-red-700" />

        <Label
          name="email"
          className="block mt-8 text-gray-700 uppercase text-sm"
          errorClassName="block mt-8 text-red-700 uppercase text-sm"
        >
          Email
        </Label>
        <TextField
          name="email"
          validation={{
            required: true,
            pattern: {
              value: /[^@]+@[^.]+\..+/,
              message: 'Please enter a valid email address',
            },
          }}
          className="border rounded-sm px-2 py-1"
          errorClassName="border rounded-sm px-2 py-1 border-red-700 outline-none"
        />
        <FieldError name="email" className="block text-red-700" />

        <Label
          name="message"
          className="block mt-8 text-gray-700 uppercase text-sm"
          errorClassName="block mt-8 text-red-700 uppercase text-sm"
        >
          Message
        </Label>
        <TextAreaField
          name="message"
          validation={{ required: true }}
          className="block border rounded-sm px-2 py-1"
          errorClassName="block border rounded-sm px-2 py-1 border-red-700 outline-none"
        />
        <FieldError name="message" className="block text-red-700" />

        <Submit
          className="block bg-blue-700 text-white mt-8 px-4 py-2 rounded"
          disabled={loading}
        >
          Save
        </Submit>
      </Form>
    </>
  )
}

export default ContactPage
BlogLayout.tsx
import { Link, routes } from '@redwoodjs/router'

import { useAuth } from 'src/auth'

const BlogLayout = ({ children }) => {
  const { logOut, isAuthenticated, currentUser } = useAuth()

  return (
    <>
      <header className="relative flex justify-between items-center py-4 px-8 bg-blue-700 text-white">
        <h1 className="text-5xl font-semibold tracking-tight">
          <Link
            className="text-blue-400 hover:text-blue-100 transition duration-100"
            to={routes.home()}
          >
            Redwood Blog
          </Link>
        </h1>
        <nav>
          <ul className="relative flex items-center font-light">
            <li>
              <Link
                className="py-2 px-4 hover:bg-blue-600 transition duration-100 rounded"
                to={routes.about()}
              >
                About
              </Link>
            </li>
            <li>
              <Link
                className="py-2 px-4 hover:bg-blue-600 transition duration-100 rounded"
                to={routes.contact()}
              >
                Contact
              </Link>
            </li>
            <li>
              {isAuthenticated ? (
                <div>
                  <button type="button" onClick={logOut} className="py-2 px-4">
                    Logout
                  </button>
                </div>
              ) : (
                <Link to={routes.login()} className="py-2 px-4">
                  Login
                </Link>
              )}
            </li>
          </ul>
          {isAuthenticated && (
            <div className="absolute bottom-1 right-0 mr-12 text-xs text-blue-300">
              {currentUser.email}
            </div>
          )}
        </nav>
      </header>
      <main className="max-w-4xl mx-auto p-12 bg-white shadow rounded-b">
        {children}
      </main>
    </>
  )
}

export default BlogLayout
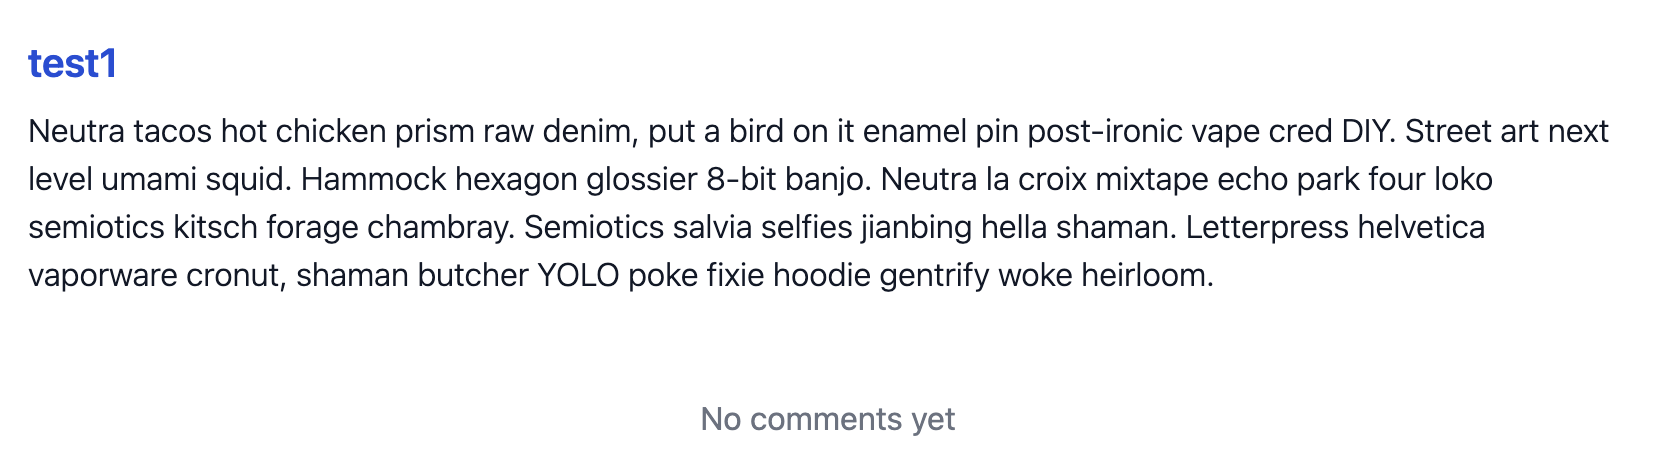
이제 Article 컴포넌트에 CommentsCell을 붙여보자!
Article.tsx
import { Link, routes } from '@redwoodjs/router'
import CommentsCell from 'src/components/CommentsCell'

import type { Post } from 'types/graphql'

const truncate = (text: string, length: number) => {
  return text.substring(0, length) + '...'
}

interface Props {
  article: Omit<Post, 'createdAt'>
  summary?: boolean
}

const Article = ({ article, summary = false }: Props) => {
  return (
    <article>
      <header>
        <h2 className="text-xl text-blue-700 font-semibold">
          <Link to={routes.article({ id: article.id })}>{article.title}</Link>
        </h2>
      </header>
      <div className="mt-2 text-gray-900 font-light">
        {summary ? truncate(article.body, 100) : article.body}
      </div>
      {!summary && (
        <div className="mt-12">
          <CommentsCell />
        </div>
      )}
    </article>
  )
}

export default Article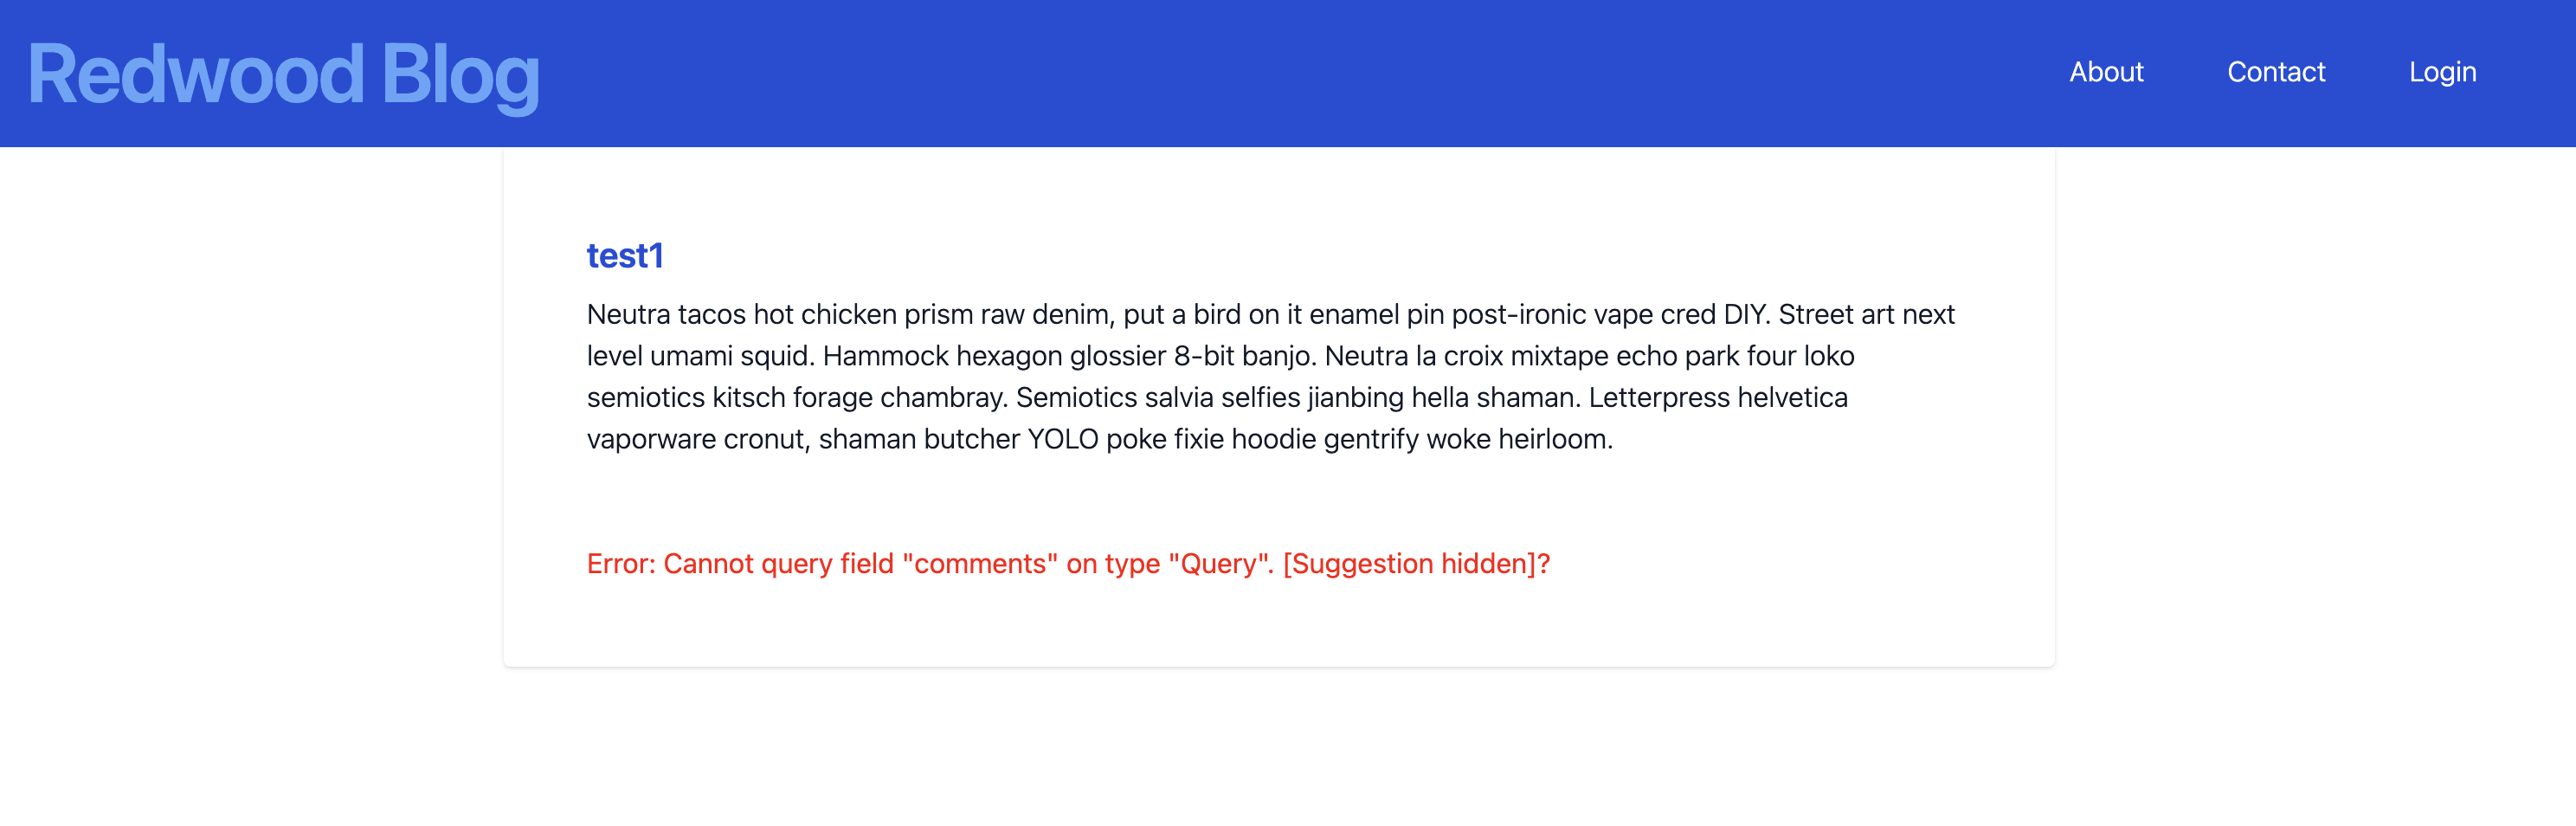
당연히 댓글 테이블이 아직 데이터베이스에 없기 때문에 오류가 발생한다.
새로 테이블을 추가하기 전, DB에 직접적으로 의존하지 않는 테스트 코드를 작성해두자.
CommentsCell.test.tsx
import { render, screen } from '@redwoodjs/testing/web'

import { Loading, Empty, Failure, Success } from './CommentsCell'
import { standard } from './CommentsCell.mock'

describe('CommentsCell', () => {
  it('renders Loading successfully', () => {
    expect(() => {
      render(<Loading />)
    }).not.toThrow()
  })

  it('renders Empty successfully', async () => {
    expect(() => {
      render(<Empty />)
    }).not.toThrow()
  })

  it('renders Failure successfully', async () => {
    expect(() => {
      render(<Failure error={new Error('Oh no')} />)
    }).not.toThrow()
  })
/*기존 코드
      it('renders Success successfully', async () => {
    const comments = standard().comments
    render(<Success comments={comments} />)

    comments.forEach((comment) => {
      expect(screen.getByText(comment.body)).toBeInTheDocument()
    })
  })
*/

// 새 코드
  it('renders Success successfully', async () => {
    const comments = standard().comments
    render(<Success comments={comments} />)

    comments.forEach((comment) => {
      expect(screen.getByText(comment.body)).toBeInTheDocument()
    })
  })
})
기존 코드에서 새 코드로 바꾸어, 실제 더미데이터로부터 렌더링되는 댓글이 몇 개인지, 테스트를 통과하는지 약간 더 세심하게 확인할 수 있게 하였다.
Article.test.tsx
import { render, screen, waitFor } from '@redwoodjs/testing'

import { standard } from 'src/components/CommentsCell/CommentsCell.mock'

import Article from './Article'

const ARTICLE = {
  id: 1,
  title: 'First post',
  body: `Neutra tacos hot chicken prism raw denim, put a bird on it enamel pin post-ironic vape cred DIY. Street art next level umami squid. Hammock hexagon glossier 8-bit banjo. Neutra la croix mixtape echo park four loko semiotics kitsch forage chambray. Semiotics salvia selfies jianbing hella shaman. Letterpress helvetica vaporware cronut, shaman butcher YOLO poke fixie hoodie gentrify woke heirloom.`,
  createdAt: new Date().toISOString(),
}

describe('Article', () => {
  it('renders a blog post', () => {
    render(<Article article={ARTICLE} />)

    expect(screen.getByText(ARTICLE.title)).toBeInTheDocument()
    expect(screen.getByText(ARTICLE.body)).toBeInTheDocument()
  })

  it('renders comments when displaying a full blog post', async () => {
    const comment = standard().comments[0]
    render(<Article article={ARTICLE} />)

    await waitFor(() =>
      expect(screen.getByText(comment.body)).toBeInTheDocument()
    )
  })

  it('renders a summary of a blog post', () => {
    render(<Article article={ARTICLE} summary={true} />)

    expect(screen.getByText(ARTICLE.title)).toBeInTheDocument()
    expect(
      screen.getByText(
        'Neutra tacos hot chicken prism raw denim, put a bird on it enamel pin post-ironic vape cred DIY. Str...'
      )
    ).toBeInTheDocument()
  })

  it('does not render comments when displaying a summary', async () => {
    const comment = standard().comments[0]
    render(<Article article={ARTICLE} summary={true} />)

    await waitFor(() =>
      expect(screen.queryByText(comment.body)).not.toBeInTheDocument()
    )
  })
})
Back-End
이제 DB 스키마에 댓글을 추가하자!
참고로 게시물과 댓글은 1:N 관계이다!
api/db/schema.prisma
datasource db {
  provider = "sqlite"
  url      = env("DATABASE_URL")
}

generator client {
  provider      = "prisma-client-js"
  binaryTargets = "native"
}

model Post {
  id        Int      @id @default(autoincrement())
  title     String
  body      String
  comments  Comment[]
  createdAt DateTime @default(now())
}

model Contact {
  id        Int      @id @default(autoincrement())
  name      String
  email     String
  message   String
  createdAt DateTime @default(now())
}

model User {
  id                  Int @id @default(autoincrement())
  name                String?
  email               String @unique
  hashedPassword      String
  salt                String
  resetToken          String?
  resetTokenExpiresAt DateTime?
}

model Comment {
  id        Int      @id @default(autoincrement())
  name      String
  body      String
  post      Post     @relation(fields: [postId], references: [id])
  postId    Int
  createdAt DateTime @default(now())
}
yarn rw prisma migrate dev
yarn rw g sdl Comment --no-crud
게시물 id(postId)는 댓글 테이블에서 외래 키로 작용한다.
또한 comments.sdl.ts의 Query 부분의 @requireAuth를 @skipAuth로 변경해주어야 한다.


CommentsCell이 비어 있을 때 반환하는 문구를 테스트코드와 함께 수정하자.
(기존엔 Empty)
이제 댓글과 관련된 Service 메서드를 작성하자.
comments.sdl.ts
export const schema = gql`
  type Comment {
    id: Int!
    name: String!
    body: String!
    post: Post!
    postId: Int!
    createdAt: DateTime!
  }

  type Query {
    comments: [Comment!]! @skipAuth
  }

  input CreateCommentInput {
    name: String!
    body: String!
    postId: Int!
  }

  input UpdateCommentInput {
    name: String
    body: String
    postId: Int
  }

  type Mutation {
    createComment(input: CreateCommentInput!): Comment! @skipAuth
    deleteComment(id: Int!): Comment! @requireAuth
  }
`
댓글 생성, 댓글 삭제라는 2가지 뮤테이션(연산)을 선언해주었고, 댓글 삭제의 경우 로그인이 요구되도록 설정했다.
뮤테이션에 필요한 input 역시 따로 선언해주어야 한다.
comments.ts
import type { Prisma } from '@prisma/client'
import type { ResolverArgs } from '@redwoodjs/graphql-server'

import { db } from 'src/lib/db'
import {CommentRelationResolvers, QueryResolvers} from "types/graphql";

export const comments = () => {
  return db.comment.findMany()
}

export const comment = ({ id }): QueryResolvers['comment'] => {
  return db.comment.findUnique({
    where: { id },
  })
}

export const Comment: CommentRelationResolvers = {
  post: (_obj, { root }) => {
    return db.comment.findUnique({ where: { id: root?.id } }).post()
  },
}

interface CreateCommentArgs {
  input: Prisma.CommentCreateInput
}

export const createComment = ({ input }: CreateCommentArgs) => {
  return db.comment.create({
    data: input,
  })
}

export const deleteComment = ({ id }: Prisma.CommentWhereUniqueInput) => {
  return db.comment.delete({
    where: { id },
  })
}
api 패키지, 즉 백엔드에선 세팅한 뮤테이션에 대한 테스트를 어떻게 진행할 수 있을까?
이는 함께 만들어지는 scenario를 기반으로 한 test을 통해 처리한다.
comments.scenarios.ts
import type { Prisma } from '@prisma/client'

export const standard = defineScenario<Prisma.CommentCreateArgs>({
  comment: {
    jane: {
      data: {
        name: 'Jane Doe',
        body: 'I like trees',
        post: {
          create: {
            title: 'Redwood Leaves',
            body: 'The quick brown fox jumped over the lazy dog.'
          }
        }
      }
    },
    john: {
      data: {
        name: 'John Doe',
        body: 'Hug a tree today',
        post: {
          create: {
            title: 'Root Systems',
            body: 'The five boxing wizards jump quickly.',
          }
        }
      }
    }
  }
})

export const postOnly = defineScenario<Prisma.PostCreateArgs>({
  post: {
    bark: {
      data: {
        title: 'Bark',
        body: "A tree's bark is worse than its bite",
      }
    }
  }
})

export type StandardScenario = typeof standard
export type PostOnlyScenario = typeof postOnly
Scenario.ts에서 세팅한 데이터대로 테스트 DB를 만들고, test.ts는 이렇게 생성한 시나리오 내부 테스트 DB를 기반으로 테스트코드를 실행한다.
실제 DB에 테스트코드가 의존하지 않도록 하여 이름 그대로 테스트에 필요한 "시나리오"를 구축해 주는 것이다. Springboot의 Mockito 라이브러리를 떠올리면 쉽다.
export type A = typeof B
현재 파일 외부에서 사용할 A는 사실 이 파일의 B와 동치임을 나타낸다.
comments.test.ts
import { comments, createComment } from './comments'

import type { StandardScenario, PostOnlyScenario } from './comments.scenarios'

describe('comments', () => {
  scenario('returns all comments', async (scenario: StandardScenario) => {
    const result = await comments()

    expect(result.length).toEqual(Object.keys(scenario.comment).length)
  })

  scenario(
    'postOnly',
    'creates a new comment',
    async (scenario: PostOnlyScenario) => {
      const comment = await createComment({
        input: {
          name: 'Billy Bob',
          body: 'What is your favorite tree bark?',
          post: {
            connect: { id: scenario.post.bark.id },
          },
        },
      })

      expect(comment.name).toEqual('Billy Bob')
      expect(comment.body).toEqual('What is your favorite tree bark?')
      expect(comment.postId).toEqual(scenario.post.bark.id)
      expect(comment.createdAt).not.toEqual(null)
    }
  )
})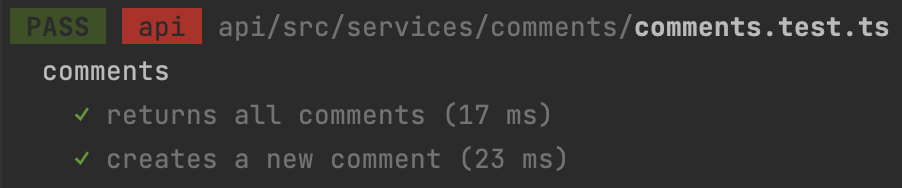
주어진 시나리오 하에 테스트가 정상적으로 수행되었음을 확인하였다.
다음 내용은 댓글 작성 Form을 만들어 게시물에 댓글을 추가하는 과정인데, 이는 지난 Form 생성과 유사하기에 생략하겠다.
아래 링크를 통해서 관련 튜토리얼을 접할 수 있다.
https://redwoodjs.com/docs/tutorial/chapter6/comment-form

These construction shows are really interesting. Explore diverse spaces and reach out effectively. Participate and experience the programs well scratch games