CLI로 Cell이나 Page, Component를 생성할 때. 우리는 test.tsx 파일과 stories.tsx 등의 파일들이 함께 생성되는 것을 확인하였다.
이제 이 두 파일을 기반으로 하여, RedwoodJS에서 사용하는 또다른 도구왜케 도구가 많은건데인 Jest와 Storybook에 대해 알아보자.
Storybook이란?
Article.Stories.tsx
import Article from './Article'

export const generated = () => {
  return (
    <Article
      article={{
        id: 1,
        title: 'First Post',
        body: `Neutra tacos hot chicken prism raw denim, put
              a bird on it enamel pin post-ironic vape cred
              DIY. Street art next level umami squid.
              Hammock hexagon glossier 8-bit banjo. Neutra
              la croix mixtape echo park four loko semiotics
              kitsch forage chambray. Semiotics salvia
              selfies jianbing hella shaman. Letterpress
              helvetica vaporware cronut, shaman butcher
              YOLO poke fixie hoodie gentrify woke
              heirloom.`,
        createdAt: '2020-01-01T12:34:45Z'
      }}
    />
  )
}

export default { title: 'Components/Article' }
yarn rw storybook
우리는 stories.tsx 파일에 이전에 만들었던 UI Component인 Article을 generated 함수에 담아주었고,
이후 http://localhost:7910로 이동하면 아래와 같은 Storybook 화면을 마주한다.
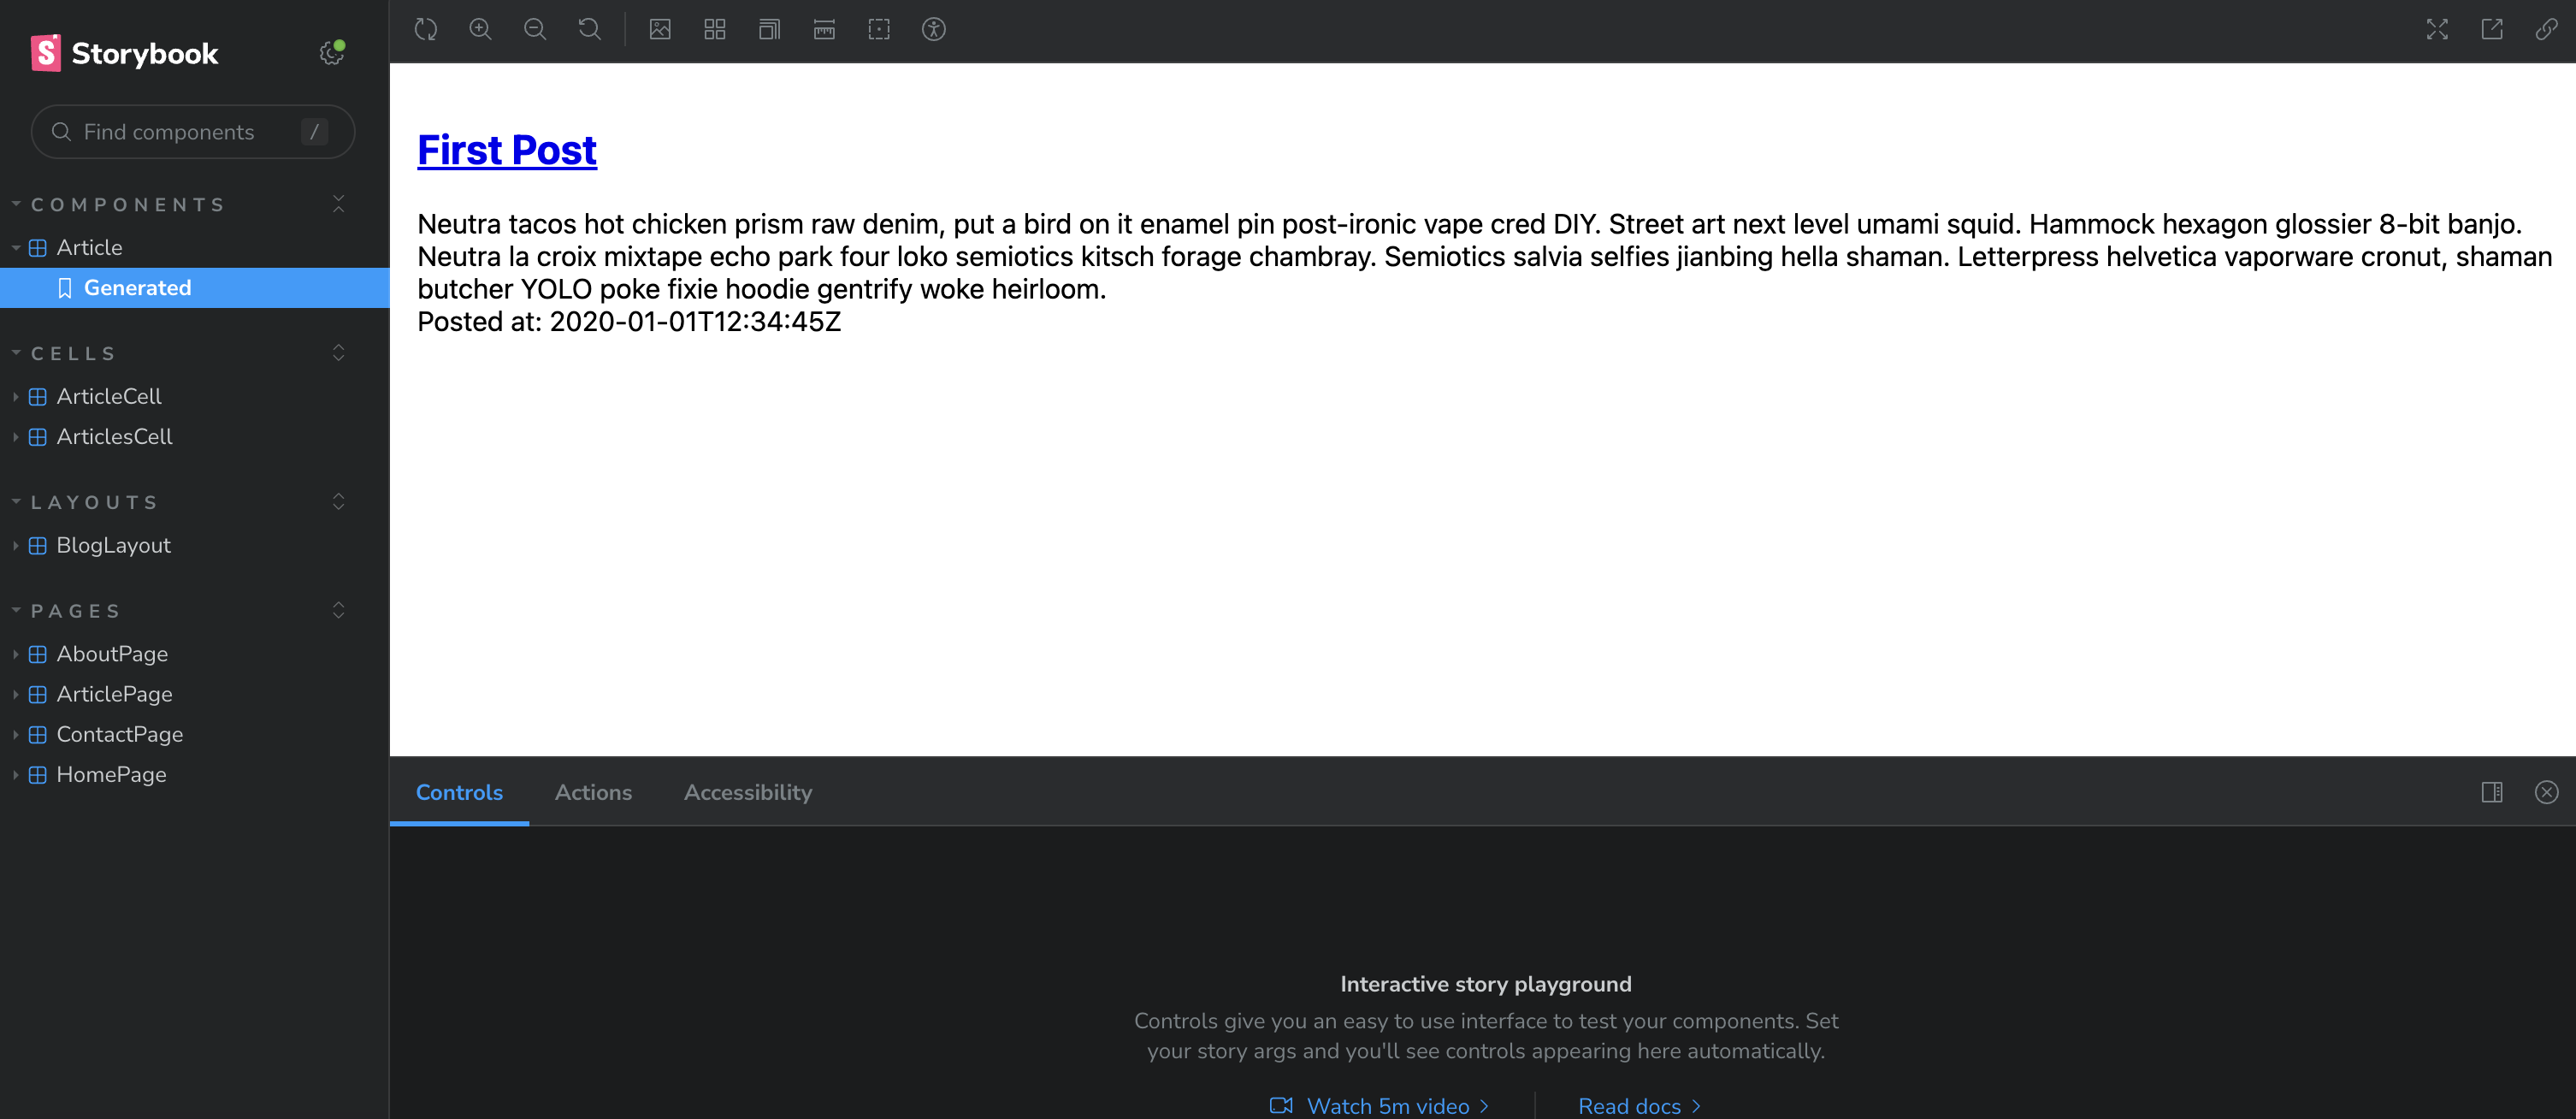
Storybook은 React, Vue 등을 위한 UI Component를 개별적으로 개발할 수 있도록 지원하는 오픈 소스 기반 도구이며, UI를 체계적이고 효율적으로 구축하는 데 활용될 수 있다. 이를 통해 개별적으로 만들어진 여러 UI를 검색하고 의도대로 데이터가 적절하게 표시되는지 검토한 후 전체 애플리케이션에 투입할 수 있다. *.stories.tsx 파일을 통해 특정 UI들을 검토하고 조합할 수 있는 것이다.
즉 여러 복잡한 Component를 함께 표시해야 할 때 필요한 도구이다.
파일을 살짝 바꿔보자.
Articles.tsx
import { Link, routes } from '@redwoodjs/router'

import type { Post } from 'types/graphql'

const truncate = (text: string, length: number) => {
  return text.substring(0, length) + '...'
}

interface Props {
  article: Omit<Post, 'createdAt'>
  summary?: boolean
}

const Article = ({ article, summary = false }: Props) => {
  return (
    <article className="mt-10">
      <header>
        <h2 className="text-xl text-blue-700 font-semibold">
          <Link to={routes.article({ id: article.id })}>{article.title}</Link>
        </h2>
      </header>
      <div className="mt-2 text-gray-900 font-light">
        {summary ? truncate(article.body, 100) : article.body}
      </div>
    </article>
  )
}

export default Article
Article.stories.tsx
import Article from './Article'
const ARTICLE = {
id: 1,
title: 'First Post',
body: `Neutra tacos hot chicken prism raw denim, put a bird on it enamel pin post-ironic vape cred DIY. Street art next level umami squid. Hammock hexagon glossier 8-bit banjo. Neutra la croix mixtape echo park four loko semiotics kitsch forage chambray. Semiotics salvia selfies jianbing hella shaman. Letterpress helvetica vaporware cronut, shaman butcher YOLO poke fixie hoodie gentrify woke heirloom.`,
}
export const full = () => {
return <Article article={ARTICLE} />
}
export const summary = () => {
return <Article article={ARTICLE} summary={true} />
}
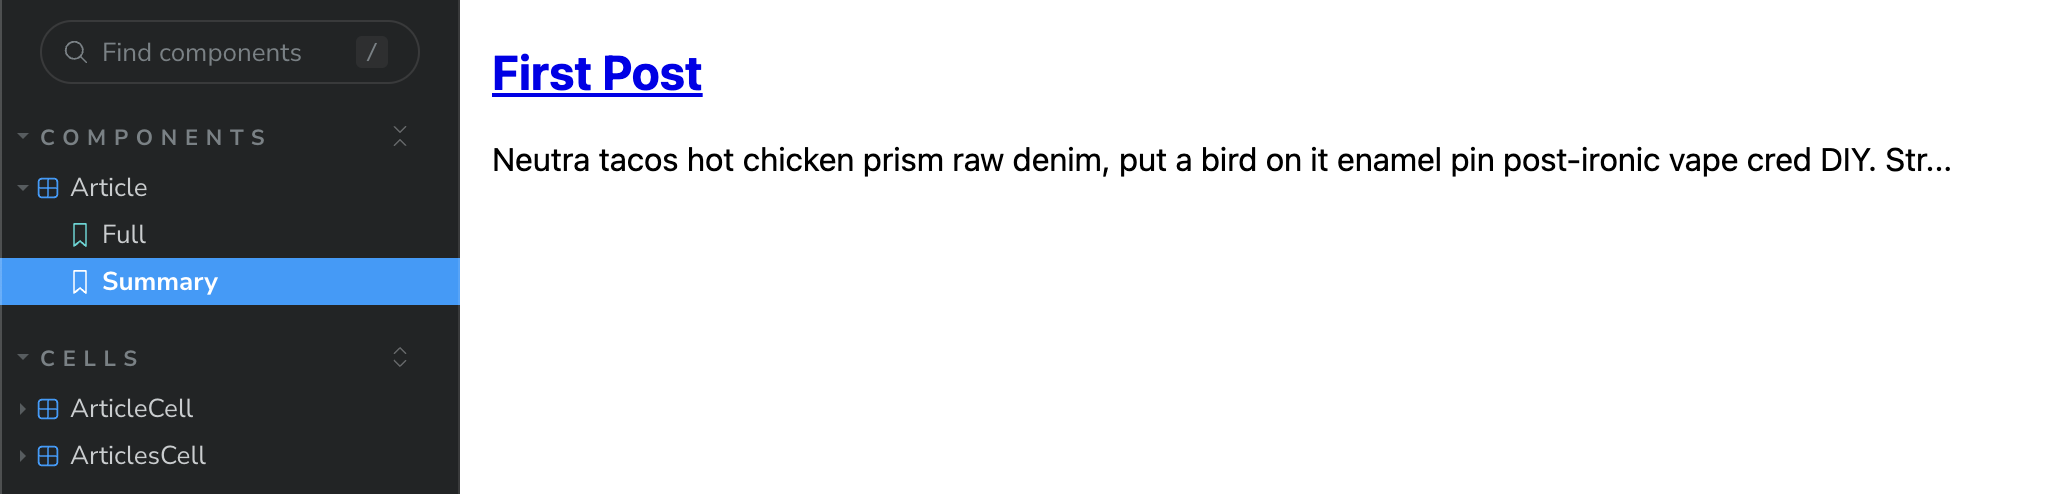
export default { title: 'Components/Article' }Stodybook의 Summary 항목의 경우 의도대로 내용이 은닉되어 있음을 알 수 있다.
Cell 역시 Storybook을 활용할 수 있다!
ArticlesCell.tsx
import Article from 'src/components/Article'

import type { ArticlesQuery } from 'types/graphql'
import type { CellSuccessProps, CellFailureProps } from '@redwoodjs/web'

export const QUERY = gql`
  query ArticlesQuery {
    articles: posts {
      id
      title
      body
      createdAt
    }
  }
`

export const Loading = () => <div>Loading...</div>

export const Empty = () => <div>Empty</div>

export const Failure = ({ error }: CellFailureProps) => (
  <div style={{ color: 'red' }}>Error: {error.message}</div>
)

export const Success = ({ articles }: CellSuccessProps<ArticlesQuery>) => {
  return (
    <div className="space-y-10">
      {articles.map((article) => (
        <Article article={article} key={article.id} summary={true} />
      ))}
    </div>
  )
}
Articles.stories.ts
import { Success } from './ArticlesCell'
import { standard } from './ArticlesCell.mock'

export const success = () => {
  return Success ? <Success articles={standard().articles} /> : null
}

export default { title: 'Cells/ArticlesCell' }
Cell에 대해서 Storybook을 확인해보자!
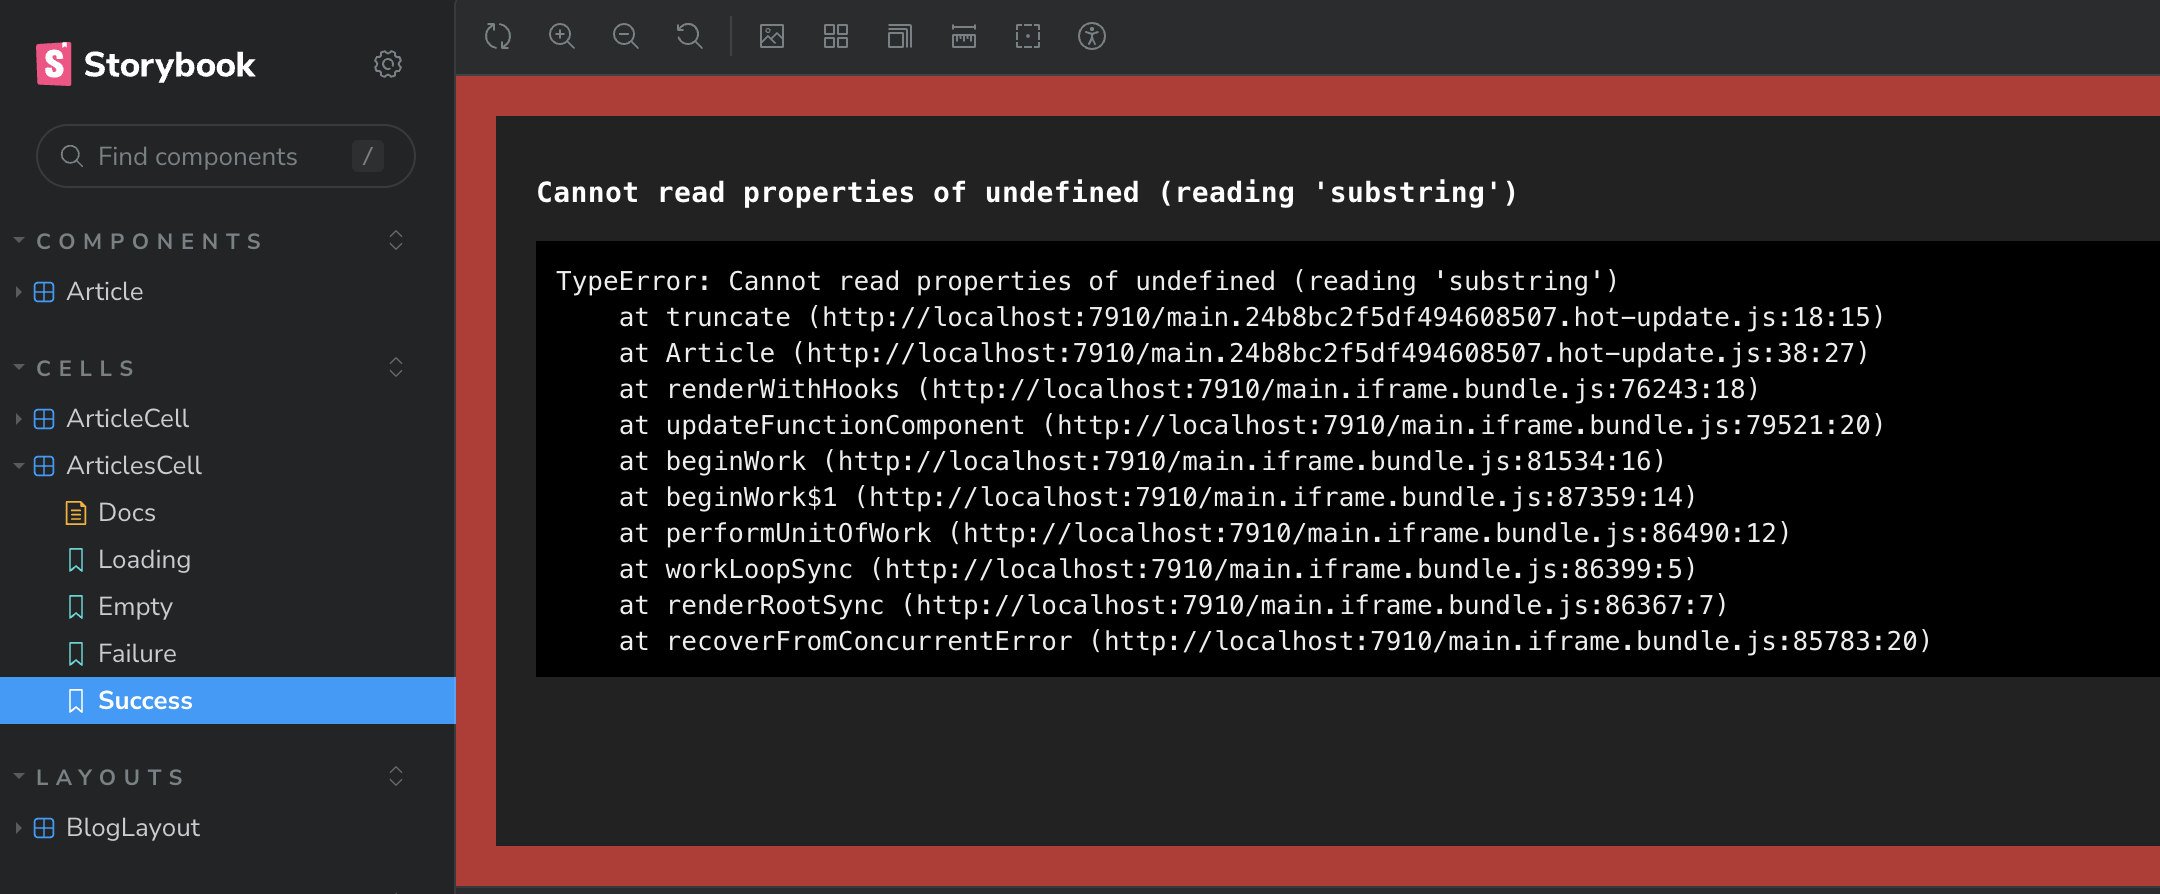
이러지 마세요..
확인 결과, Cell 파일의 Storybook은 기본적으로 mock 파일을 참고하는 것으로 이해하였다. mock 파일에 적절한 형식의 데이터를 구비해야 한다.
ArticlesCell.mock.ts
export const standard = () => ({
  articles: [
    {
      id: 1,
      title: 'First Post',
      body: `Neutra tacos hot chicken prism raw denim...`,
      createdAt: '2020-01-01T12:34:56Z',
    },
    {
      id: 2,
      title: 'Second Post',
      body: `Master cleanse gentrify irony put a bird on it...`,
      createdAt: '2020-01-01T12:34:56Z',
    },
  ],
})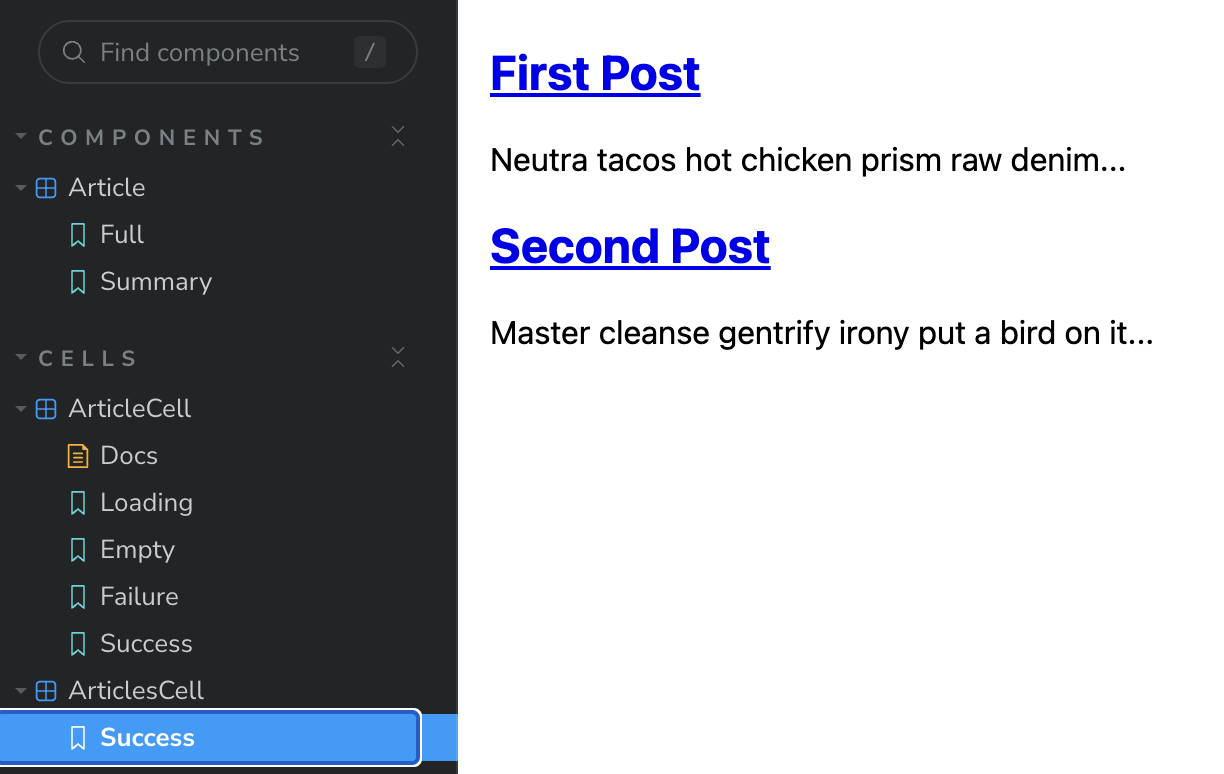
다행히 이번엔 문제가 없다!
Storybook을 사용하면 다양한 Component를 개별적으로 쉽게 만들고 수정 가능하고,
React 기반 응용 프로그램을 만드는 과정에서 일반적인 성공/실패 케이스 등을 구성할 때 실제 돌아가고 있는 응용 프로그램 상에서 직접 다루는 것보다 편리하다.
Jest
다음으론 테스트이다.
yarn rw test
위 명령어를 통해 RedwoodJS에선 테스트 파일을 실행하여 오류를 검증한다.
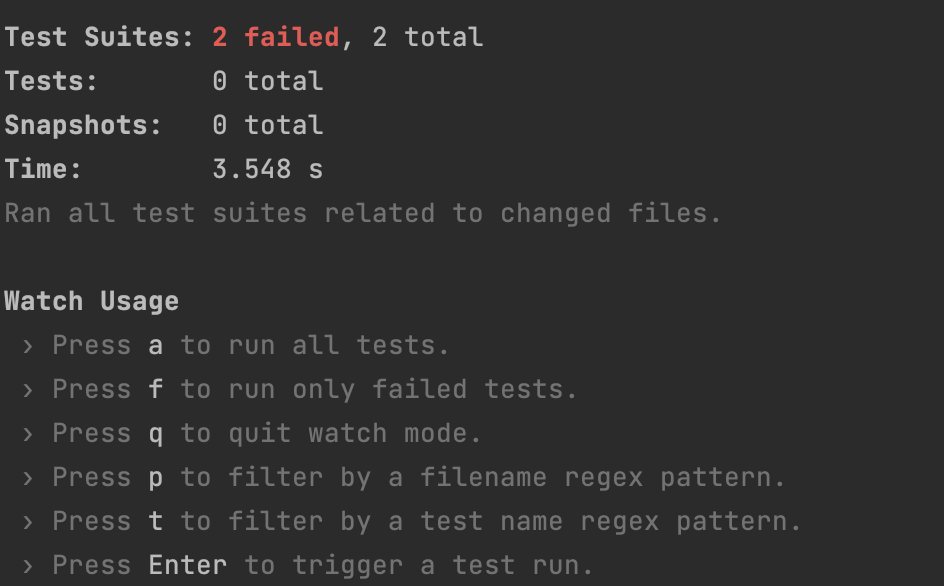
당연히 에러가 발생한다.
개인적으로 Java/Spring을 해왔던 나에게 살짝 받아들이기 쉽지 않았던 테스트 환경이다. JavaScript 극한의 자유도를 당당하게 나타나는 테스트코드랄까..?
여기서부턴 DIY 색채가 강해진 듯 하다. 공식문서에도 구체적인 가이드라인은 없다.
이때까지 내가 작성한 파일들의 테스트코드를, Jest에서 내뱉는 에러를 하나하나 도장깨기하면 된다!
web 패키지의 테스트코드는 다음과 같은 에러가 발생하고 있다.
 Test suite failed to run

    Jest encountered an unexpected token

    Jest failed to parse a file. This happens e.g. when your code or its dependencies use non-standard JavaScript syntax, or when Jest is not configured to support such syntax.

    Out of the box Jest supports Babel, which will be used to transform your files into valid JS based on your Babel configuration.

    By default "node_modules" folder is ignored by transformers.

    Here's what you can do:
     • If you are trying to use ECMAScript Modules, see https://jestjs.io/docs/ecmascript-modules for how to enable it.
     • If you are trying to use TypeScript, see https://jestjs.io/docs/getting-started#using-typescript
     • To have some of your "node_modules" files transformed, you can specify a custom "transformIgnorePatterns" in your config.
     • If you need a custom transformation specify a "transform" option in your config.
     • If you simply want to mock your non-JS modules (e.g. binary assets) you can stub them out with the "moduleNameMapper" config option.

    You'll find more details and examples of these config options in the docs:
    https://jestjs.io/docs/configuration
    For information about custom transformations, see:
    https://jestjs.io/docs/code-transformation

    Details:

    /Users/chaeseung-un/Desktop/my-redwood-project/node_modules/@redwoodjs/auth-dbauth-web/node_modules/@simplewebauthn/browser/dist/bundle/index.js:360
    export { browserSupportsWebAuthn, browserSupportsWebAuthnAutofill, platformAuthenticatorIsAvailable, startAuthentication, startRegistration };
    ^^^^^^

    SyntaxError: Unexpected token 'export'

      1 | import { createDbAuthClient, createAuth } from '@redwoodjs/auth-dbauth-web'
    > 2 | import WebAuthnClient from '@redwoodjs/auth-dbauth-web/webAuthn'
        | ^
      3 |
      4 | const dbAuthClient = createDbAuthClient({ webAuthn: new WebAuthnClient() })
      5 |

      at Runtime.createScriptFromCode (node_modules/jest-runtime/build/index.js:1505:14)
      at Object.<anonymous> (node_modules/@redwoodjs/auth-dbauth-web/dist/webAuthn.js:11:16)
      at Object.<anonymous> (node_modules/@redwoodjs/auth-dbauth-web/webAuthn/index.js:2:18)
      at Object.require (web/src/auth.ts:2:1)
      at Object.require (web/src/layouts/BlogLayout/BlogLayout.tsx:3:1)
      at Object.require (web/src/Routes.tsx:14:1)
      at Object.<anonymous> (node_modules/@redwoodjs/testing/dist/web/MockProviders.js:28:5)
      at Object.<anonymous> (node_modules/@redwoodjs/testing/dist/web/customRender.js:11:22)
      at Object.<anonymous> (node_modules/@redwoodjs/testing/dist/web/index.js:46:21)
      at Object.<anonymous> (node_modules/@redwoodjs/testing/web/index.js:2:18)
      at Object.require (web/src/layouts/BlogLayout/BlogLayout.test.tsx:1:1)
TypeScript 환경에서 Jest를 사용하기 위해서는 다음과 같은 추가적인 설정이 필요하다.
Web 패키지의 jest.config.js에서 일부 내용을 추가한다.
const config = {
  rootDir: '../',
  preset: '@redwoodjs/testing/config/jest/web',
  transformIgnorePatterns: [
    'node_modules/(?!(@simplewebauthn/browser|@redwoodjs/auth-dbauth-web)/)'
  ],
}

module.exports = config
yarn add -D @types/testing-library__jest-dom
이후 tsconfig.json의 "compilerOptions" 속성 안에
"types": ["node", "jest", "@testing-library/jest-dom"],을 추가한다.
다행히 api 패키지 쪽 테스트코드 에러는 다 고쳤지만, 가장 의문이 남는 테스트 실패에 대해 다뤄보겠다.
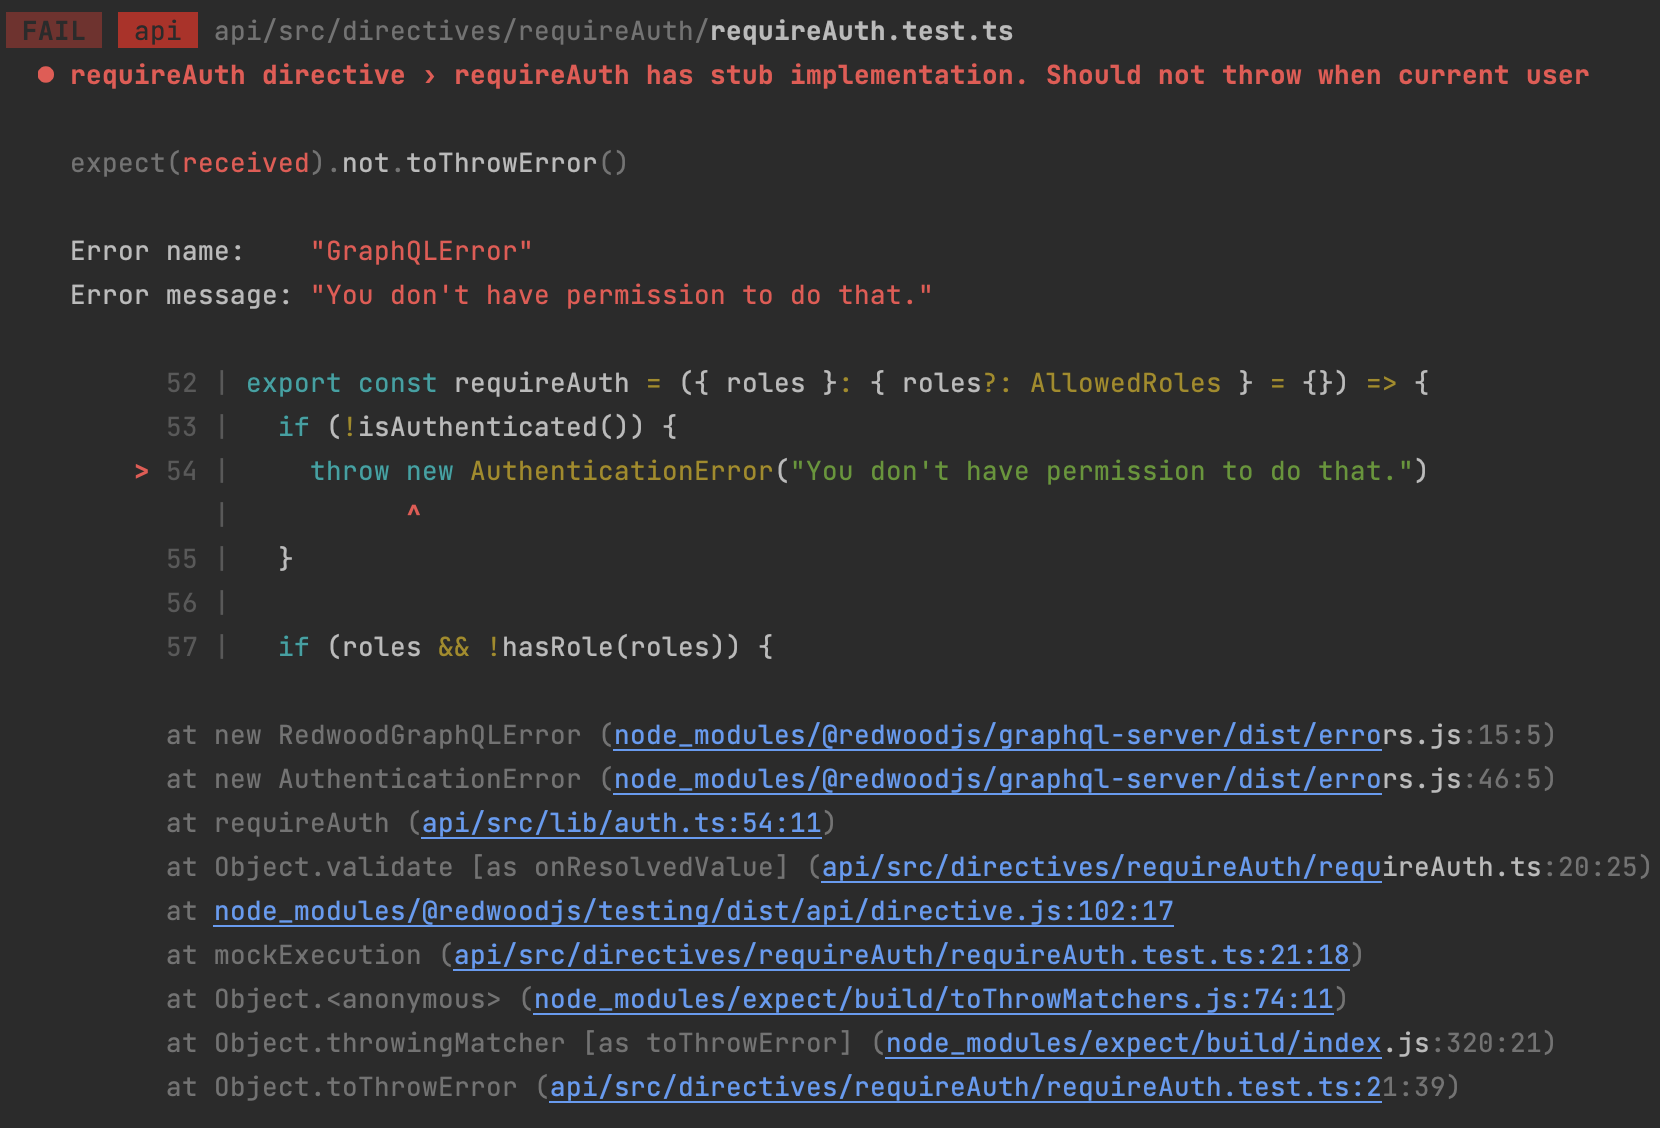
다음 에러는 아래와 같은 코드에서 벌어졌다.
requireAuth.test.ts
import { mockRedwoodDirective, getDirectiveName } from '@redwoodjs/testing/api'

import requireAuth from './requireAuth'

describe('requireAuth directive', () => {
  it('declares the directive sdl as schema, with the correct name', () => {
    expect(requireAuth.schema).toBeTruthy()
    expect(getDirectiveName(requireAuth.schema)).toBe('requireAuth')
  })

  it('requireAuth has stub implementation. Should not throw when current user', () => {
    // If you want to set values in context, pass it through e.g.
    // mockRedwoodDirective(requireAuth, { context: { currentUser: { id: 1, name: 'Lebron McGretzky' } }})
    const mockExecution = mockRedwoodDirective(requireAuth, { context: {} })

    expect(mockExecution).not.toThrowError()
  })
})
이 문제를 해결하기 위해 주석에서 제시하는 대로 처리해 주었다.
해당 테스트코드는 문제가 없이 잘 통과된다. 그런데..
(참고로 테스트코드도 이런 실시간 변화를 감지할 줄은 몰랐다.. 엄청난 편의성이라고 생각한다.)
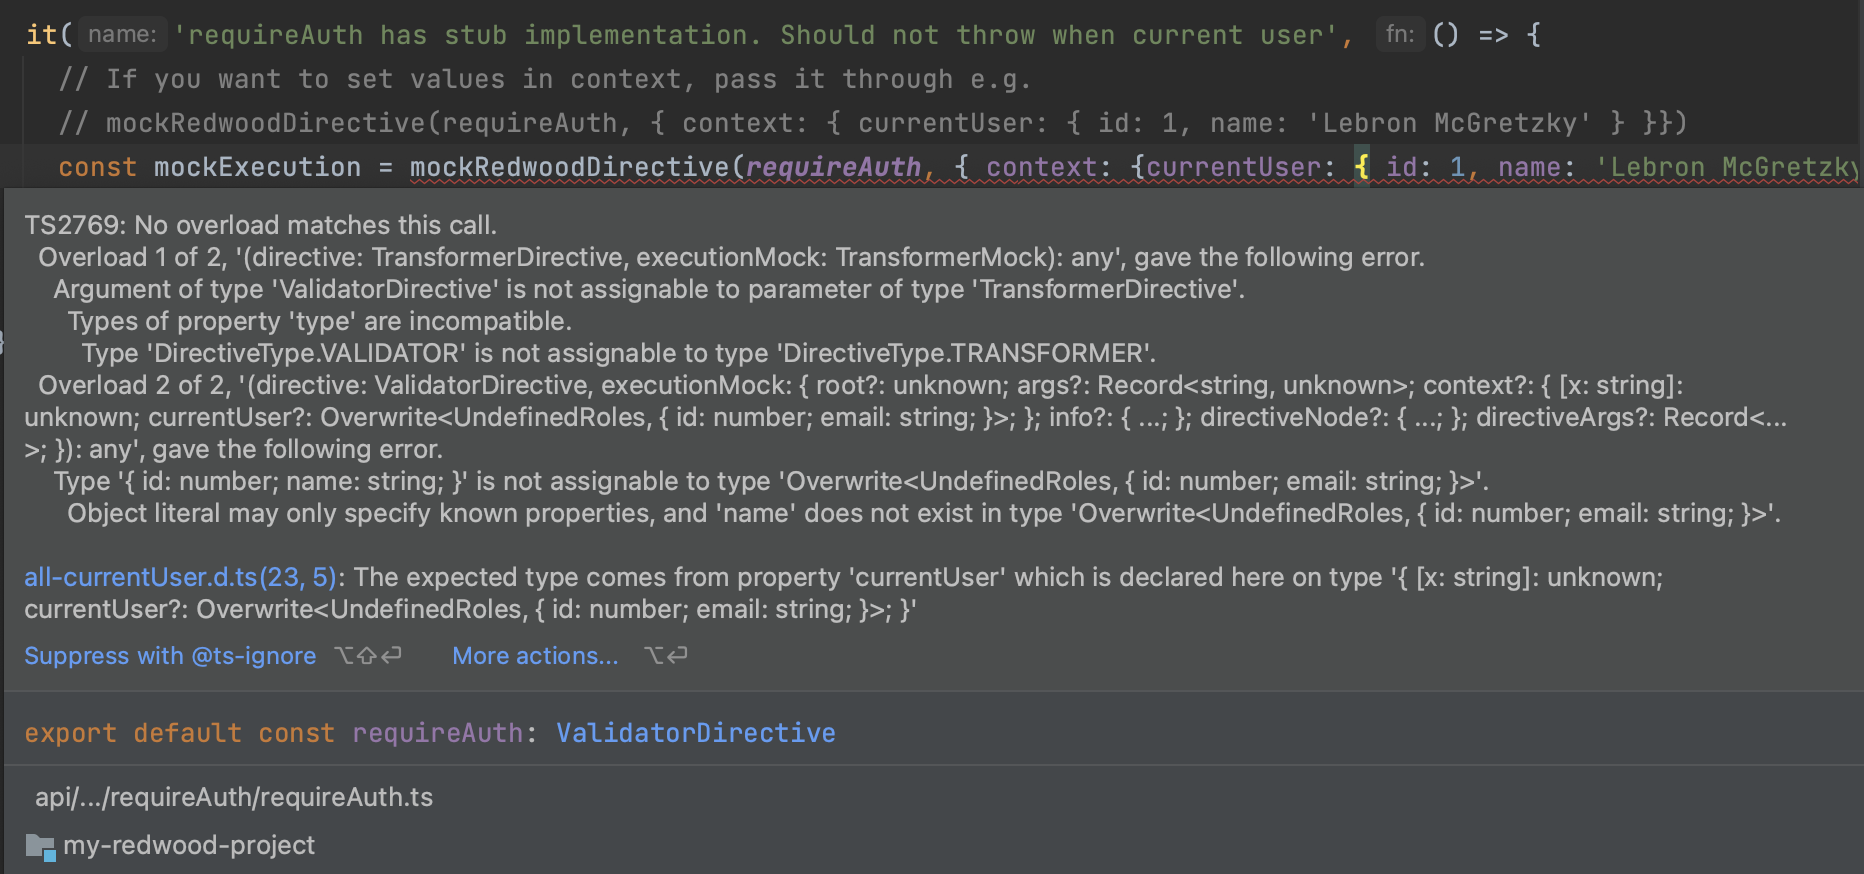
코드에는 빨간줄이 발생한다.
TS2769 에러는 TypeScript 환경에서 함수에 전달된 인자가 기대하는 타입과 어긋날 때 주로 발생한다.
예시는 name을 제시하지만, 사실 해당 함수가 요구하는 타입은 id(number), email(string)이다.
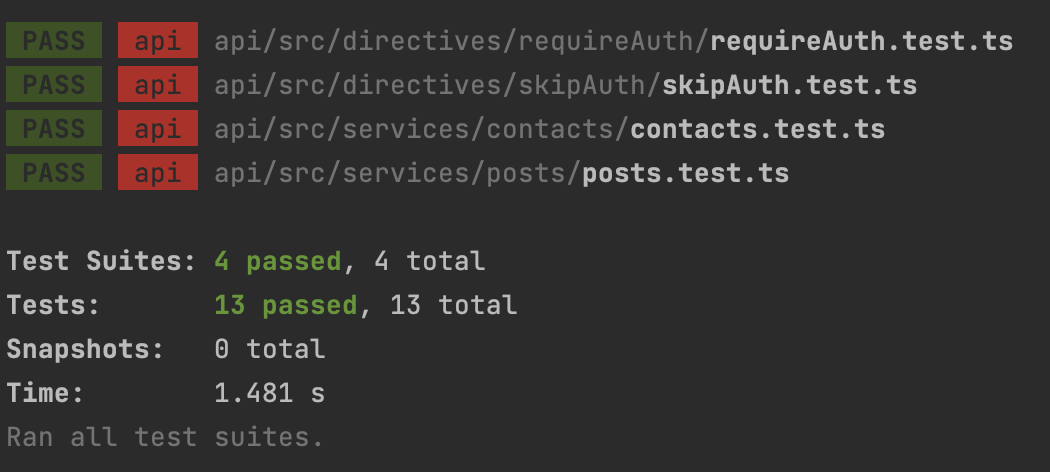
const mockExecution = mockRedwoodDirective(requireAuth, { context: {currentUser: { id: 1, email: 'Lebron@example.com' }} })email 속성을 넣어주면 빨간줄도 사라지고 web/api 모든 테스트가 문제없이 잘 이루어진다!
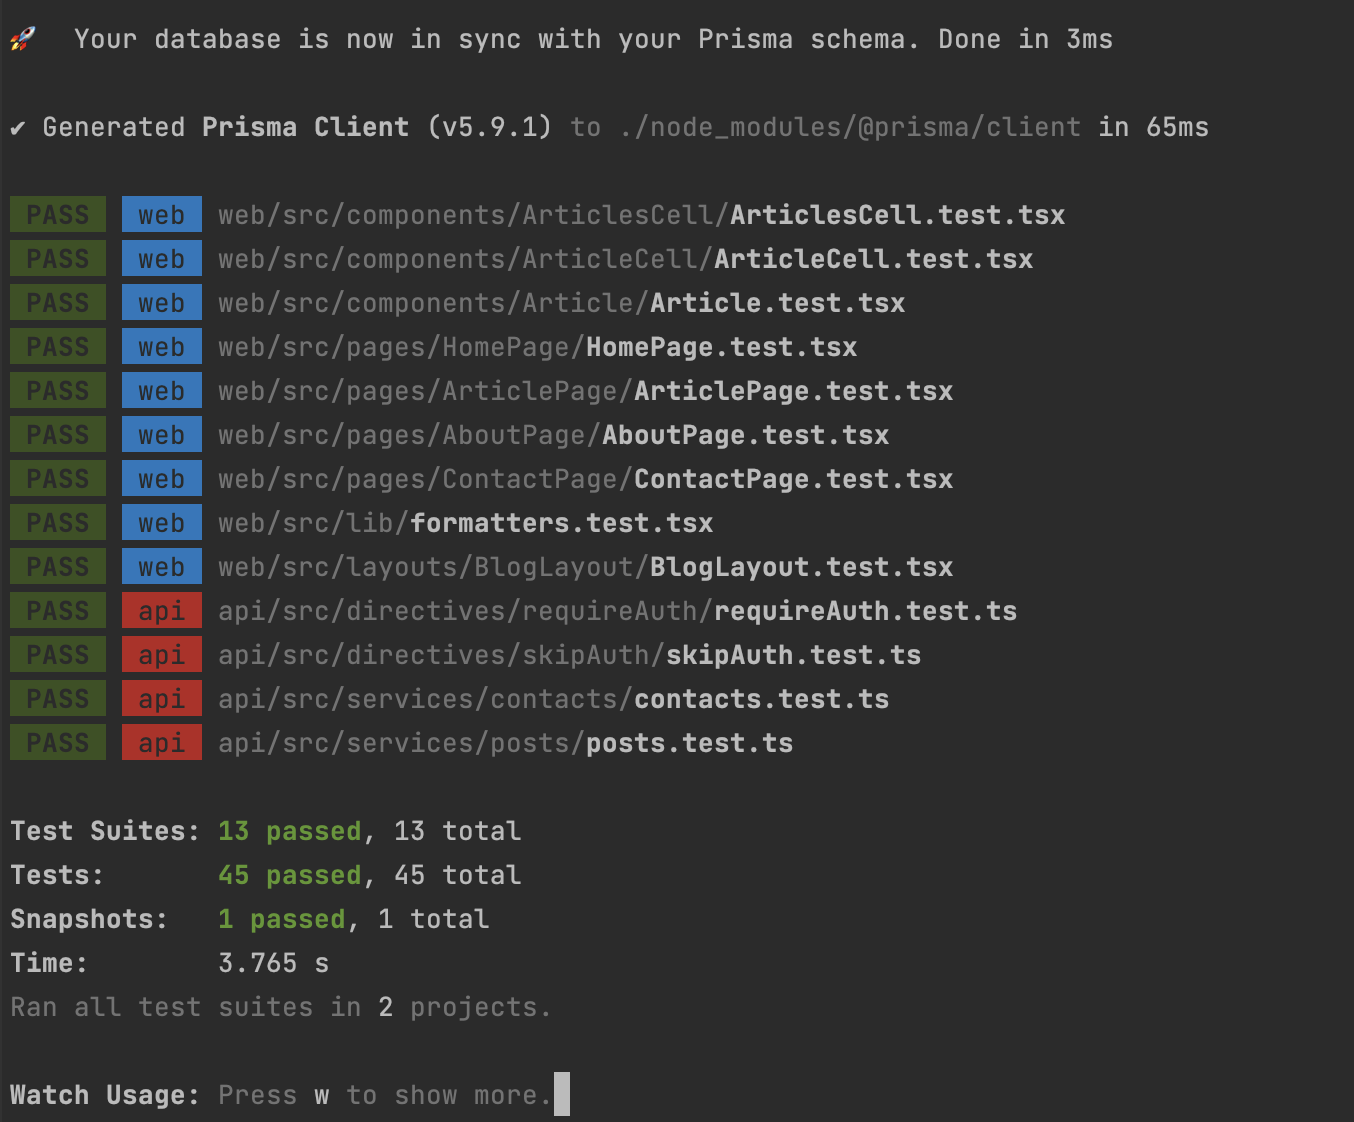
이렇게 RedwoodJS에서 Jest를 활용한 테스트코드 작성, Storybook를 활용한 UI 다루기에 대해 간단하게 알아보았다.
개인적으로 Java/Spring에만 있어서 그런지 여러 Tool이 조화롭게 어우러지는 이 환경에 적응하기 쉽지 않다고 생각하지만, RedwoodJS는 캐치프레이즈대로 스타트업에 가장 적합한 Tool들을 알맞게 제공하는 데 초점을 맞추고 있는 것은 뚜렷한 강점이라고 생각한다. 다만 아직 국내에서 RedwoodJS를 다루고 있는 사람 혹은 팀이 많지는 않은 듯 하다.
리액트 공부 좀 할걸
