RedwoodJS에서 인증(로그인)은 어떻게 이루어지는지 다루어보겠다.
Auth
yarn rw setup auth dbAuth
prisma 스키마에 아래와 같은 User 모델을 추가한다.
model User {
  id                  Int       @id @default(autoincrement())
  name                String?
  email               String    @unique
  hashedPassword      String
  salt                String
  resetToken          String?
  resetTokenExpiresAt DateTime?
}
yarn rw prisma migrate dev
Routes.tsx
import { PrivateSet, Router, Route, Set } from '@redwoodjs/router'

import ScaffoldLayout from 'src/layouts/ScaffoldLayout'
import BlogLayout from 'src/layouts/BlogLayout'

import { useAuth } from './auth'

const Routes = () => {
  return (
    <Router useAuth={useAuth}>
      <PrivateSet unauthenticated="home">
        <Set wrap={ScaffoldLayout} title="Posts" titleTo="posts" buttonLabel="New Post" buttonTo="newPost">
          <Route path="/admin/posts/new" page={PostNewPostPage} name="newPost" />
          <Route path="/admin/posts/{id:Int}/edit" page={PostEditPostPage} name="editPost" />
          <Route path="/admin/posts/{id:Int}" page={PostPostPage} name="post" />
          <Route path="/admin/posts" page={PostPostsPage} name="posts" />
        </Set>
      </PrivateSet>
      <Set wrap={BlogLayout}>
        <Route path="/article/{id:Int}" page={ArticlePage} name="article" />
        <Route path="/contact" page={ContactPage} name="contact" />
        <Route path="/about" page={AboutPage} name="about" />
        <Route path="/" page={HomePage} name="home" />
      </Set>
      <Route notfound page={NotFoundPage} />
    </Router>
  )
}

export default Routes
PrivateSet 컴포넌트를 통해 오직 로그인이 되었을 때만 접근 가능하도록 처리할 수 있다.
다만 이 경우 게시물 목록 및 상세 조회조차도 불가능해지므로, posts.sdl.ts에서 @skipAuth를 통해 인증을 생략하는 것으로 처리하자.
type Query {
    posts: [Post!]! @skipAuth
    post(id: Int!): Post @skipAuth
  }
이제 아래 명령어를 입력한 후 http://localhost:8910/login에 접근하자.
yarn rw g dbAuth
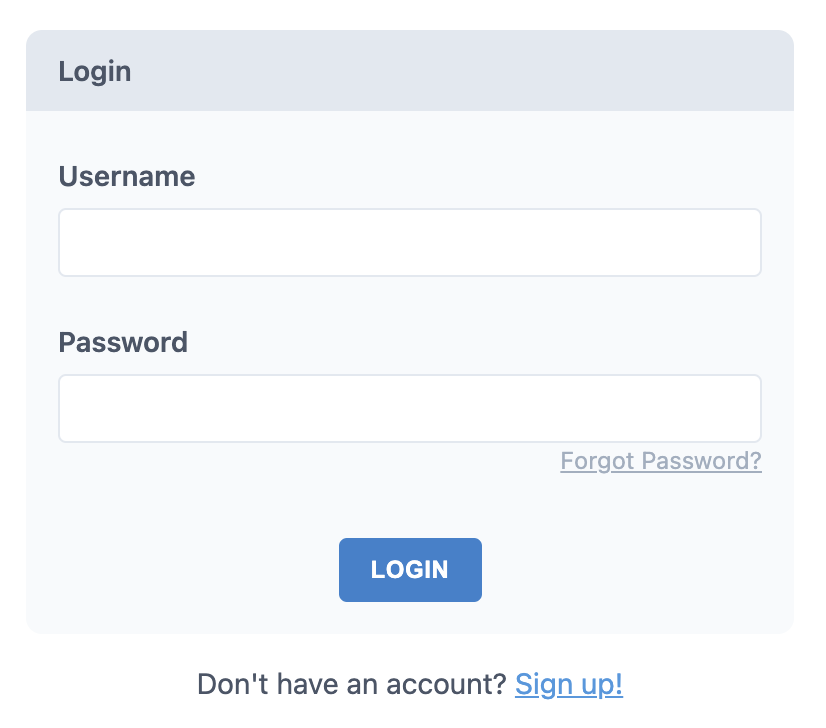
로그인 폼을 자동으로 만들어주는 것은 감동적이었다...
자바 진영이 제발 좀 본받았으면 좋...읍읍
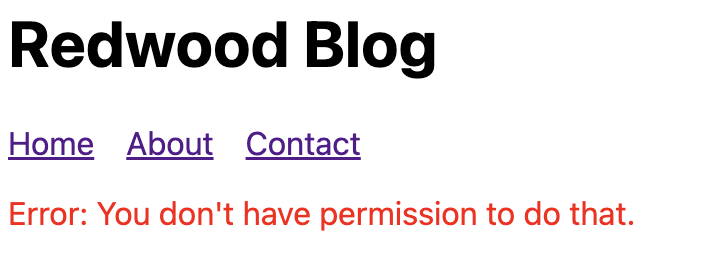
Signup을 마치고 로그인 버튼을 누르면..
공식문서 코드를 따라했는데 오류가 나는 게 말이 되냐?
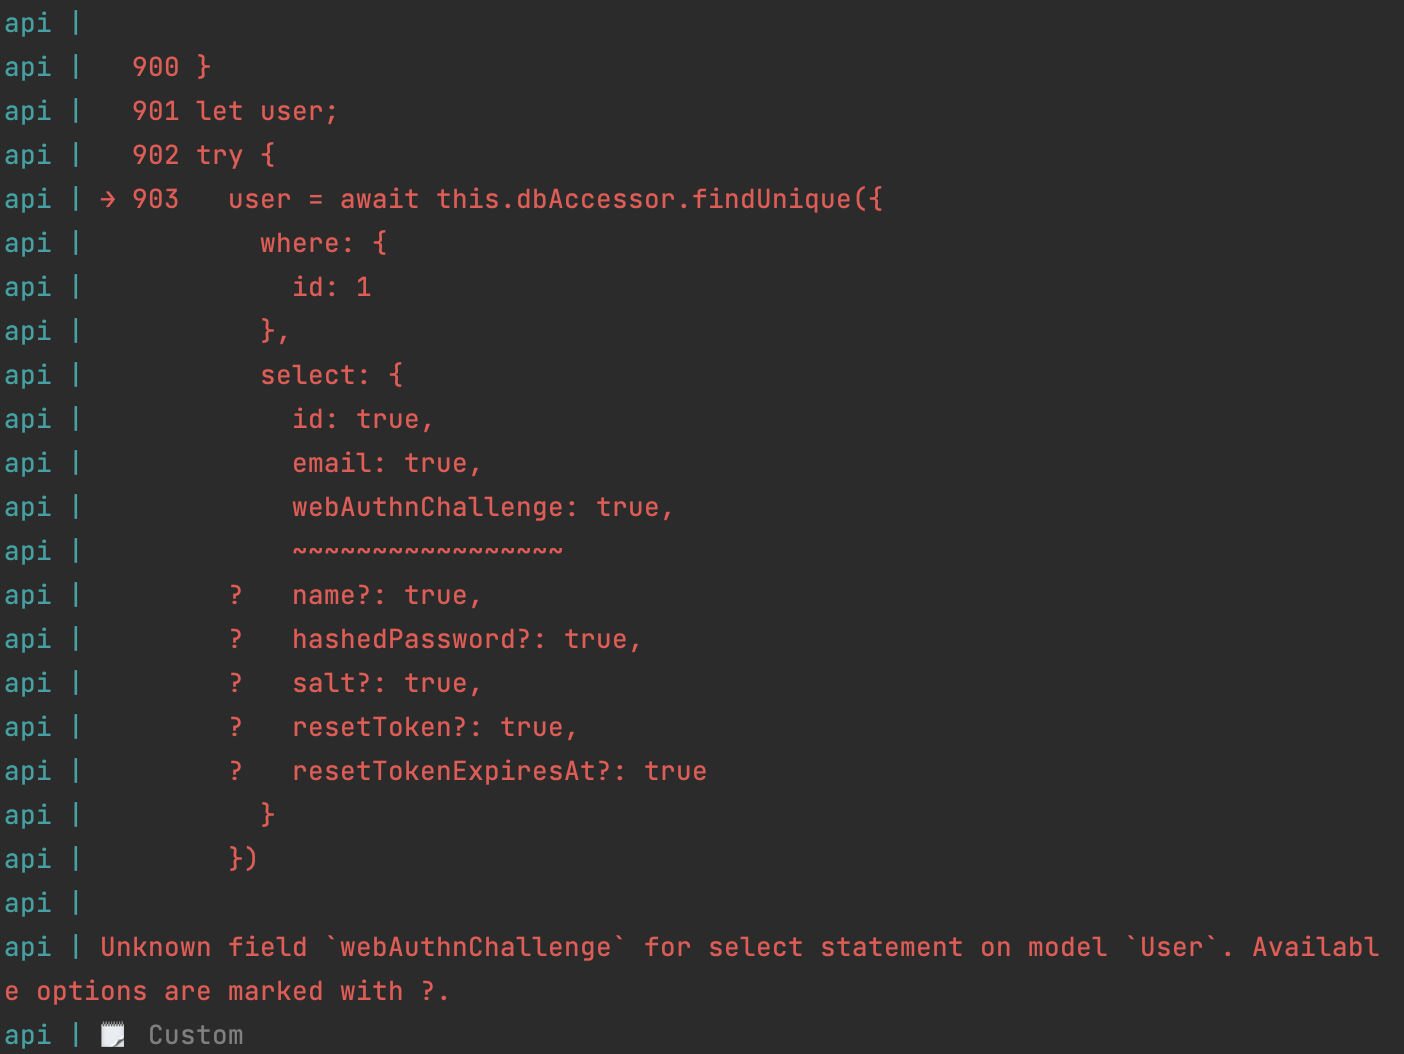
매우 유감스럽게도 공식문서가 하나의 필드를 빼먹었기 때문이다.
prisma 파일에서 User 모델에
webAuthnChallenge String?
을 추가하자.
auth.ts
import { AuthenticationError, ForbiddenError } from '@redwoodjs/graphql-server'
import { db } from './db'

import type { DbAuthSession } from '@redwoodjs/api'

export const getCurrentUser = async (session: DbAuthSession<number>) => {
  return db.user.findUnique({
    where: {id: session.id},
    select: {id: true, email: true},
  });
}

export const isAuthenticated = (): boolean => {
  return !!context.currentUser
}

type AllowedRoles = string | string[] | undefined

export const hasRole = (roles: AllowedRoles): boolean => {
  if (!isAuthenticated()) {
    return false
  }

  const currentUserRoles = context.currentUser?.roles

  if (typeof roles === 'string') {
    if (typeof currentUserRoles === 'string') {
      // roles to check is a string, currentUser.roles is a string
      return currentUserRoles === roles
    } else if (Array.isArray(currentUserRoles)) {
      // roles to check is a string, currentUser.roles is an array
      return currentUserRoles?.some((allowedRole) => roles === allowedRole)
    }
  }

  if (Array.isArray(roles)) {
    if (Array.isArray(currentUserRoles)) {
      // roles to check is an array, currentUser.roles is an array
      return currentUserRoles?.some((allowedRole) =>
        roles.includes(allowedRole)
      )
    } else if (typeof currentUserRoles === 'string') {
      // roles to check is an array, currentUser.roles is a string
      return roles.some((allowedRole) => currentUserRoles === allowedRole)
    }
  }

  // roles not found
  return false
}

export const requireAuth = ({ roles }: { roles?: AllowedRoles } = {}) => {
  if (!isAuthenticated()) {
    throw new AuthenticationError("You don't have permission to do that.")
  }

  if (roles && !hasRole(roles)) {
    throw new ForbiddenError("You don't have access to do that.")
  }
}
점점 어지러워지기 시작한다..
공식문서에서 제공하는 유저의 인증 상태를 확인하고, 특정 역할을 가진 사용자에게만 접근 권한을 부여하는 보일러플레이트 코드이다.
- getCurrentUser: 로그인한 유저의 정보를 DB에서 조회하며, 세션 id 기반으로 가져온다.
- isAuthenticated: context.currentUser가 존재하면 인증된 것으로 간주한다.
- hasRole: 현재 사용자가 특정 역할을 가지고 있는지 확인하고, 역할 기반으로 접근 권한을 부여한다.
- requireAuth: 인증된 사용자만이 특정 기능을 수행할 수 있도록 요구하며, 그렇지 못한 경우 예외를 발생시킨다.
BlogLayout.tsx
import { Link, routes } from '@redwoodjs/router'

import { useAuth } from 'src/auth'

type BlogLayoutProps = {
  children?: React.ReactNode
}

const BlogLayout = ({ children }: BlogLayoutProps) => {
  const { isAuthenticated, currentUser, logOut } = useAuth()

  return (
    <>
      <header>
        <div className="flex-between">
          <h1>
            <Link to={routes.home()}>Redwood Blog</Link>
          </h1>
          {isAuthenticated ? (
            <div>
              <span>Logged in as {currentUser.email}</span>{' '}
              <button type="button" onClick={logOut}>
                Logout
              </button>
            </div>
          ) : (
            <Link to={routes.login()}>Login</Link>
          )}
        </div>
        <nav>
          <ul>
            <li>
              <Link to={routes.home()}>Home</Link>
            </li>
            <li>
              <Link to={routes.about()}>About</Link>
            </li>
            <li>
              <Link to={routes.contact()}>Contact</Link>
            </li>
          </ul>
        </nav>
      </header>
      <main>{children}</main>
    </>
  )
}

export default BlogLayout
auth.ts에 존재하던 함수들을 활용하여, 로그인 여부에 따라 로그인이 되었다면 계정을 보여주고, 그렇지 않으면 Login 링크를 우측 상단에서 제시하도록 수정하였다.
특정 Role에만 제공되는 전용 UI 등이 필요할 때 요긴하게 활용될 것으로 보인다.
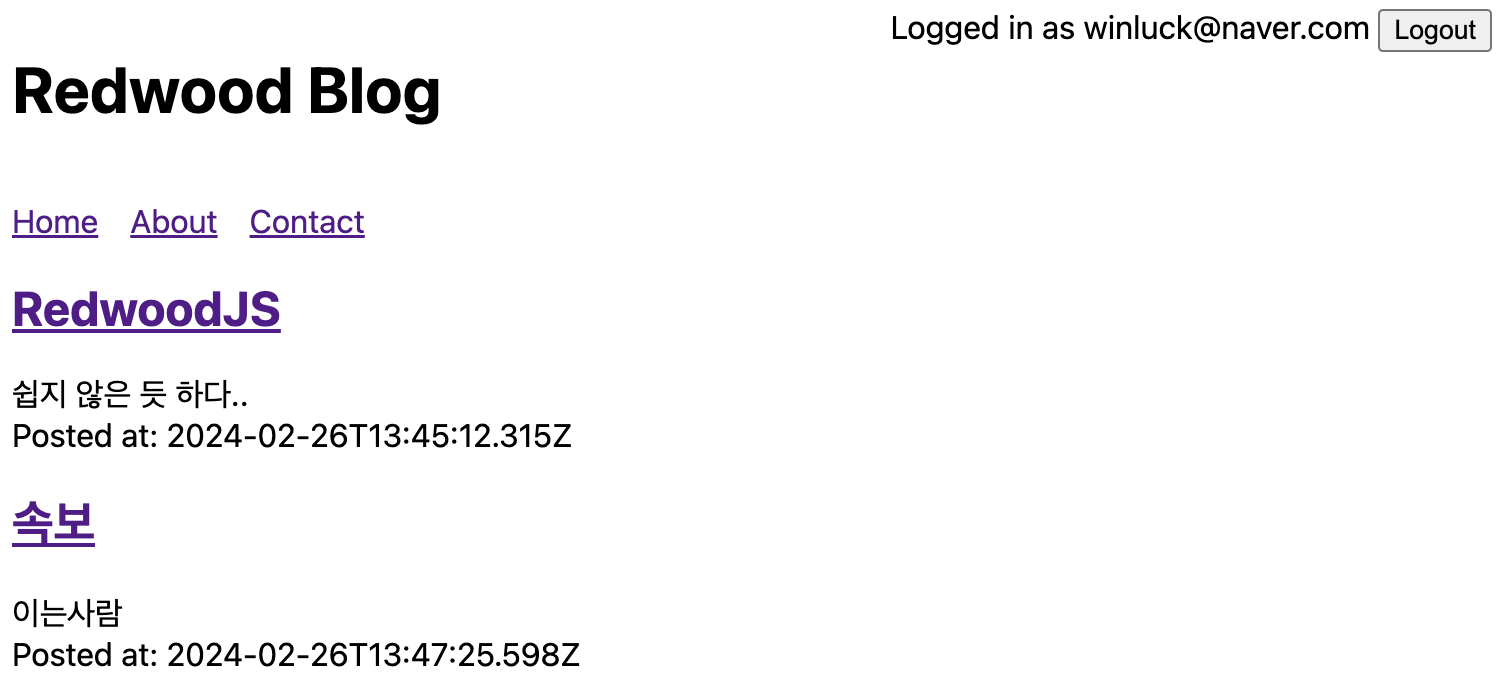
로그인 성공 시 아까와 다르게 오른쪽 로그인한 계정이 보인다.
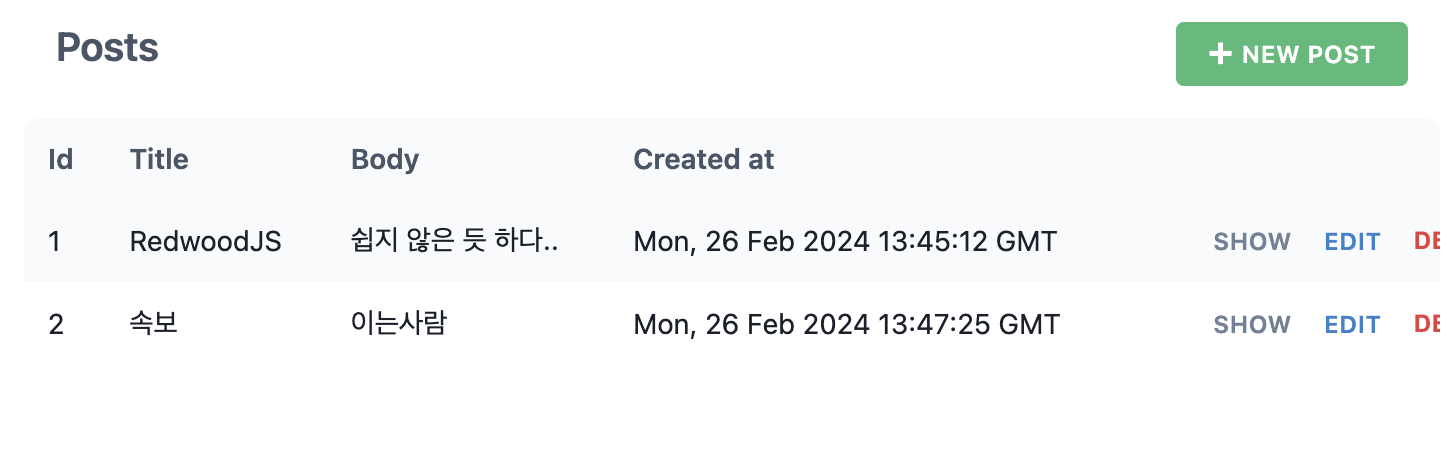
/admin 페이지도 잘 접속된다!
배포?
배포의 경우 사람마다 다 선호하는 호스팅 플랫폼이 다르기에, 아래 링크를 참고하면서 개인 취향대로 배포하는 것이 바람직할 것이다.
https://redwoodjs.com/docs/tutorial/chapter4/deployment
이렇게 기본적인 UI 및 DB 연결을 진행해보았다.
필자는 React 숙련도가 낮아 한 블럭마다 휴먼 에러로 고통받고 있지만, 어떻게든 온몸을 비틀어 익숙해지는 것이 최선일 것이다.
다음은 Jest와 Storybook을 활용하여 RedwoodJS에선 어떻게 테스트를 진행하는지 알아보겠다.
