✏231214 목요일 TIL(Today I learned) 오늘 배운 것
📖Lv1. 로그인 페이지 만들기 (SignInActivity)
[UI구현]
<?xml version="1.0" encoding="utf-8"?>
<androidx.constraintlayout.widget.ConstraintLayout xmlns:android="http://schemas.android.com/apk/res/android"
    xmlns:app="http://schemas.android.com/apk/res-auto"
    xmlns:tools="http://schemas.android.com/tools"
    android:layout_width="match_parent"
    android:layout_height="match_parent"
    android:background="#EDDEEF"
    tools:context=".SignInActivity">

    <LinearLayout
        android:layout_width="match_parent"
        android:layout_height="match_parent"
        android:orientation="vertical"
        android:layout_marginLeft="40dp"
        android:layout_marginRight="40dp">


        <ImageView
            android:id="@+id/iv_login"
            android:layout_width="180dp"
            android:layout_height="90dp"
            android:layout_gravity="center"
            android:layout_marginTop="50dp"
            android:src="@drawable/sign_in_image" />

        <TextView
            android:id="@+id/tv_id"
            android:layout_width="wrap_content"
            android:layout_height="wrap_content"
            android:text="아이디"
            android:textStyle="bold"
            android:textSize="20dp"
            android:layout_marginTop="30dp"
            tools:layout_editor_absoluteY="271dp" />

        <EditText
            android:id="@+id/et_id"
            android:layout_width="match_parent"
            android:layout_height="50dp"
            android:ems="10"
            android:inputType="text"
            android:hint="아이디를 입력하세요."
            tools:layout_editor_absoluteY="319dp" />

        <TextView
            android:id="@+id/tv_password"
            android:layout_width="wrap_content"
            android:layout_height="wrap_content"
            android:text="비밀번호"
            android:textStyle="bold"
            android:textSize="20dp"
            android:layout_marginTop="15dp"
            tools:layout_editor_absoluteY="385dp" />

        <EditText
            android:id="@+id/et_password"
            android:layout_width="match_parent"
            android:layout_height="50dp"
            android:ems="10"
            android:inputType="textPassword"
            android:hint="비밀번호를 입력하세요."
            tools:layout_editor_absoluteY="414dp" />

        <Button
            android:id="@+id/btn_login"
            android:layout_width="match_parent"
            android:layout_height="wrap_content"
            android:text="로그인"
            android:backgroundTint="@color/black"
            android:layout_marginTop="50dp"/>

        <Button
            android:id="@+id/btn_sign_up"
            android:layout_width="match_parent"
            android:layout_height="wrap_content"
            android:layout_marginTop="25dp"
            android:backgroundTint="#2196F3"
            android:text="회원가입" />

    </LinearLayout>

</androidx.constraintlayout.widget.ConstraintLayout>-
ConstraintLayout의 배경색을 따듯하고 화사해보이게 android:background="#E8F6D9" 으로 바꿔주었다.
-
ConstraintLayout 안에 LinearLayout android:orientation="vertical"으로 위젯들이 수직 정렬되게 만들었다.
-
각 위젯들에 대하여 타입_기능명으로 id를 부여하고, HomeActivity 코틀린파일에서 연결될 수 있도록 했다.
-
LinearLayout은 각 방향의 layout_margin을 주어 한 눈에 보기 좋게 크기를 조절하고, LinearLayout안에 선언된 위젯들이 이 크기를 기준으로 삼도록 넓이를 android:layout_width="match_parent"로 맞춰주었다.
-
imageView에는 이미지는 무료아이콘이미지를 다운받아서, drawble에 소문자와 언더바(+숫자)로 파일명을 선언한 다음 연결해 주었다. 나름 자기 소개와 연관되어 보이는 이미지를 골라봤다.
-
아이디를 입력하는 곳이라고 TextView로 알려주고, 그 밑에 EditText를 사용해서 사용자가 본인의 아이디를 입력할 수 있도록 만들었다. android:hint="아이디를 입력하세요."로 헷갈리지 않게 미리보기 글씨를 주었다.
-
비밀번호도, 입력하는 곳이라고 TextView로 알려주고, 그 밑에 EditText중에서도 android:inputType="textPassword"로 주어 입력한 비밀번호가 가려질 수 있도록 만들었다. 마찬가지로 android:hint="비밀번호를 입력하세요."로 헷갈리지 않도록 미리보기 글씨도 주었다.
-
Button을 2개 만들어서, 하나는 누르면 로그인이 되어 클릭하면 HomeActivity로 연결될 수 있는 로그인버튼과, SignUpActivity로 연결될 수 있는 회원가입 버튼을 만들었다. 각 버튼은 android:backgroundTint를 사용하여 배경색을 바꿔주었다.
[기능 구현]
package com.example.myintroduction

import android.content.Intent
import android.os.Bundle
import android.util.Log
import android.widget.Button
import android.widget.EditText
import android.widget.Toast
import androidx.appcompat.app.AppCompatActivity

class SignInActivity : AppCompatActivity() {
    override fun onCreate(savedInstanceState: Bundle?) {
        super.onCreate(savedInstanceState)
        setContentView(R.layout.activity_sign_in)

        val et_id = findViewById<EditText>(R.id.et_id)
        val et_password = findViewById<EditText>(R.id.et_password)

        val btn_login = findViewById<Button>(R.id.btn_login)
        btn_login.setOnClickListener {

            val dt_id = et_id.text.toString()
            val dt_Password = et_password.text.toString()

            if (dt_id.isEmpty() || dt_Password.isEmpty()) {
                Toast.makeText(this, "아이디/비밀번호를 확인해주세요.", Toast.LENGTH_LONG).show()
//                Log.i("SignInActivity","Emptyid : " + dataId)
//                Log.i("SignInActivity","EmptyPassword : " +dataPassword)
            } else {
                Toast.makeText(this, "로그인 성공!", Toast.LENGTH_SHORT).show()
                val intent = Intent(this, HomeActivity::class.java)
//                Log.i("SignInActivity","id : " +dataId)
//                Log.i("SignInActivity","password : " +dataPassword)
                intent.putExtra("dataId", dt_id)
                startActivity(intent)
            }

        }

        val btn_sign_up = findViewById<Button>(R.id.btn_sign_up)
        btn_sign_up.setOnClickListener{
            val intent = Intent(this,SignUpActivity::class.java)
            startActivity(intent)
        }

    }
}-
레이아웃에 선언한 id들과 동일한 변수명을 설정하여 UI요소와 연결해주었다.
-
btn_login 에는 setOnClickListener 로 이벤트를 수행할 수 있도록 했다.
- UI와 연결된 각 EditText들의 값을 저장할 수 있도록 dt_id와 dt_password를 선언해줬다.
- if문에서 isEmpty( )를 사용해서 아이디나 비밀번호 중 하나라도 빈 값이 있다면( || 기호 사용) 토스트 메시지로 안내하고, 다음 액티비티로 넘어갈 수 없도록 했다.
- 아이디와 비밀번호 2가지 값이 다 들어있다면 토스트메시지로 "로그인 성공!"을 안내하고, HomeActivity로 연결해주는 intent를 선언했다. 이때, 입력한 id값도 같이 전달 될 수 있도록 putExtra( )를 사용했다. 이렇게 전달한 값은 HomeActivity에서 값을 받을 수있도록 작성할 것이다.
-
btn_sign_up 에도 마찬가지로 setOnClickListener를 통해 SignUpActivity가 실행될 수 있는 이벤트를 설정했다.
📖Lv1. 문제발생 및 해결과 느낀점
[UI구현]
-
막상 에뮬레이터를 실행했는데, 화면이 만든 그대로 나오지 않았다. 이미지도 나오지않고..
=> 일단 이미지 안나오는 건 검색해보니까, ImageView에 이미지 연결할 때, 수정전에는 tools:src="@drawable/sign_in_image"로 되어있었는데, android로 연결해줘야 정상적으로 보인다고해서 android:src="@drawable/sign_in_image" 로 수정해줬더니 에뮬레이터에서 이미지는 정상적으로 보였다.
=> 그리고,, 화면이 만든 그대로 안나오는 이유는 비율때문인 것 같다. ConstraintLayout이 제일 겉 껍데기에 선언되어있어서 디바이스 크기에 알아서 맞춰줄꺼라고 생각했는데.. 위 아래가 자꾸 잘려서 일단 LinearLayout자체에 줬던 layout_marginTop/Bottom을 지우고 각 위젯에 여유를 줘서 공간을 띄워주기로했더니 일단 한페이지에 원하는 바가 전부 나오게 되긴했다.. 근데 한번 안맞고 나니까 다른 기기에선 맞을지 좀 걱정도 되고,, 레이아웃 비율 맞추기가 꽤나 까다로운 것 같다. -
Button 색상 바꿀 때 그냥 background 줬다가 색이 안바뀌어서 검색해봤더니 android:backgroundTint를 사용해야한다고 했다. 왜그런지 찾아보니까, 버전에 따라 background설정이 안되는 때가 있는데, background는 drawable을 지정해주는 속성이고, backgroundTint는 background에 적용되는 속성이기 때문에 tint를 동적으로 설정해 줄 수 있는거라고 한다. 경우에 따라 둘다 안먹히는 때가 있다고도 하긴하는데,, 그건 그 상황을 만나서 다시 해결법을 알기로 했다. 일단 지금은 되니까~
[기능구현]
- EditText에서 작성한 아이디와 비밀번호가.. 액티비티에서 확인이 되지 않았다.. 로그를 찍어봤는데도 아무런 값이 안넘어와서 무조건 빈값이 되버리니까 왜그런지 이유를 몰라서 로그캣을 열어서 오류를 폭풍 검색해보고,, 딱 맞는 오류를 찾지 못하고 헤매고.. 다시 이전에 액티비티 실습했을 때 파일을 살펴보다가.. 뭐가 잘못되었는지 찾을 수 있었다. 바로..! val dt_id와 val dt_password를 btn_login.setOnClickListener{ } 밖에 선언해줬다는게 문제였다. val et_id랑 val et_password 밑에 각각 선언해줬더니 정작 btn_login.setOnClickListener안에서는 그냥 계속 빈값으로만 받아들여졌다.
=>데이터를 제대로 btn_login.setOnClickListener{ }안에 선언해주니까 멀쩡하게 정상작동하였다. 이제 받을 데이터는.. 꼭 이벤트 안에서 선언해주기로.. 절대 안까먹을 것 같다.ㅎ
📖Lv2. 회원가입 페이지 만들기 (SignUpActivity)
[UI구현]
<?xml version="1.0" encoding="utf-8"?>
<androidx.constraintlayout.widget.ConstraintLayout xmlns:android="http://schemas.android.com/apk/res/android"
    xmlns:app="http://schemas.android.com/apk/res-auto"
    xmlns:tools="http://schemas.android.com/tools"
    android:layout_width="match_parent"
    android:layout_height="match_parent"
    android:background="#C6DDEF"
    tools:context=".SignInActivity">

    <LinearLayout
        android:layout_width="match_parent"
        android:layout_height="match_parent"
        android:orientation="vertical"
        android:layout_marginLeft="40dp"
        android:layout_marginRight="40dp">


        <ImageView
            android:id="@+id/iv_sign_up"
            android:layout_width="180dp"
            android:layout_height="90dp"
            android:layout_gravity="center"
            android:layout_marginTop="50dp"
            android:src="@drawable/sign_up_image" />
        <TextView
            android:id="@+id/tv_name"
            android:layout_width="wrap_content"
            android:layout_height="wrap_content"
            android:text="이름"
            android:textStyle="bold"
            android:textSize="20dp"
            android:layout_marginTop="30dp"
            tools:layout_editor_absoluteY="271dp" />

        <EditText
            android:id="@+id/et_name"
            android:layout_width="match_parent"
            android:layout_height="50dp"
            android:ems="10"
            android:inputType="text"
            android:hint="이름을 입력하세요."
            tools:layout_editor_absoluteY="319dp" />


        <TextView
            android:id="@+id/tv_id"
            android:layout_width="wrap_content"
            android:layout_height="wrap_content"
            android:text="아이디"
            android:textStyle="bold"
            android:textSize="20dp"
            android:layout_marginTop="15dp"
            tools:layout_editor_absoluteY="271dp" />

        <EditText
            android:id="@+id/et_id"
            android:layout_width="match_parent"
            android:layout_height="50dp"
            android:ems="10"
            android:inputType="text"
            android:hint="아이디를 입력하세요."
            tools:layout_editor_absoluteY="319dp" />

        <TextView
            android:id="@+id/tv_password"
            android:layout_width="wrap_content"
            android:layout_height="wrap_content"
            android:text="비밀번호"
            android:textStyle="bold"
            android:textSize="20dp"
            android:layout_marginTop="15dp"
            tools:layout_editor_absoluteY="385dp" />

        <EditText
            android:id="@+id/et_password"
            android:layout_width="match_parent"
            android:layout_height="50dp"
            android:ems="10"
            android:inputType="textPassword"
            android:hint="비밀번호를 입력하세요."
            tools:layout_editor_absoluteY="414dp" />


        <Button
            android:id="@+id/btn_sign_up"
            android:layout_width="match_parent"
            android:layout_height="wrap_content"
            android:layout_marginTop="25dp"
            android:backgroundTint="#2196F3"
            android:text="회원가입" />

    </LinearLayout>

</androidx.constraintlayout.widget.ConstraintLayout>-
Lv1에서 만들었던 layout을 그대로 들고와 제시한 구현 형식에 맞게 이름에 관한 TextView와 EditText를 추가하고, 회원가입 버튼 하나만 남겼다.
-
이미지아이콘은 로그인페이지와 통일성 있게 골랐고, ConstraintLayout의 배경색은 회원가입 버튼과 같은 파란 계열로 선택했다.
[기능 구현]
package com.example.myintroduction

import android.os.Bundle
import android.util.Log
import android.widget.Button
import android.widget.EditText
import android.widget.Toast
import androidx.appcompat.app.AppCompatActivity

class SignUpActivity : AppCompatActivity() {
    override fun onCreate(savedInstanceState: Bundle?) {
        super.onCreate(savedInstanceState)
        setContentView(R.layout.activity_sign_up)

        val et_name = findViewById<EditText>(R.id.et_name)
        val et_id = findViewById<EditText>(R.id.et_id)
        val et_password = findViewById<EditText>(R.id.et_password)

        val btn_sign_up = findViewById<Button>(R.id.btn_sign_up)
        btn_sign_up.setOnClickListener{

            val dt_name = et_name.text.toString()
            val dt_id = et_id.text.toString()
            val dt_Password = et_password.text.toString()

            if (dt_id.isEmpty() || dt_Password.isEmpty() || dt_name.isEmpty()) {
                Toast.makeText(this, "입력되지 않은 정보가 있습니다..", Toast.LENGTH_LONG).show()
//                Log.i("SignUpActivity","Emptyname : " + dt_name)
//                Log.i("SignUpActivity","Emptyid : " + dt_id)
//                Log.i("SignUpActivity","EmptyPassword : " +dt_Password)
            } else {
                Toast.makeText(this, "회원가입 성공!", Toast.LENGTH_SHORT).show()
//                Log.i("SignUpActivity","name : " + dt_name)
//                Log.i("SignUpActivity","id : " +dt_id)
//                Log.i("SignUpActivity","password : " +dt_Password)
                finish()
            }

        }

    }
}-
기능구현에서도 마찬가지로 Lv1에서 만들었던 액티비티를 바탕으로 만들었다.
-
SignUp에서도 레이아웃에 선언한 id들과 동일한 변수명을 설정하여 UI요소와 연결할 수 있도록 했다.
-
SignUP에서는 btn_sign_up버튼 하나이므로, UI와 연결해준 후 setOnClickListener안에 if문을 설정하여 이름,아이디,비밀번호 중 하나라도 비어있다면 토스트메시지로 안내될 수 있게 작성했다.
-
이름, 아이디, 비밀번호 3가지 값이 다 들어있다면 토스트메시지로 "회원가입 성공!"을 안내하고, finish( )를 활용하여 액티비티를 종료해서 이전 액티비티인 SignIn액티비티로 돌아갈 수 있도록 작성했다.
📖Lv2까지 만든 레이아웃과 느낀점
pixel7으로 구동한 레이아웃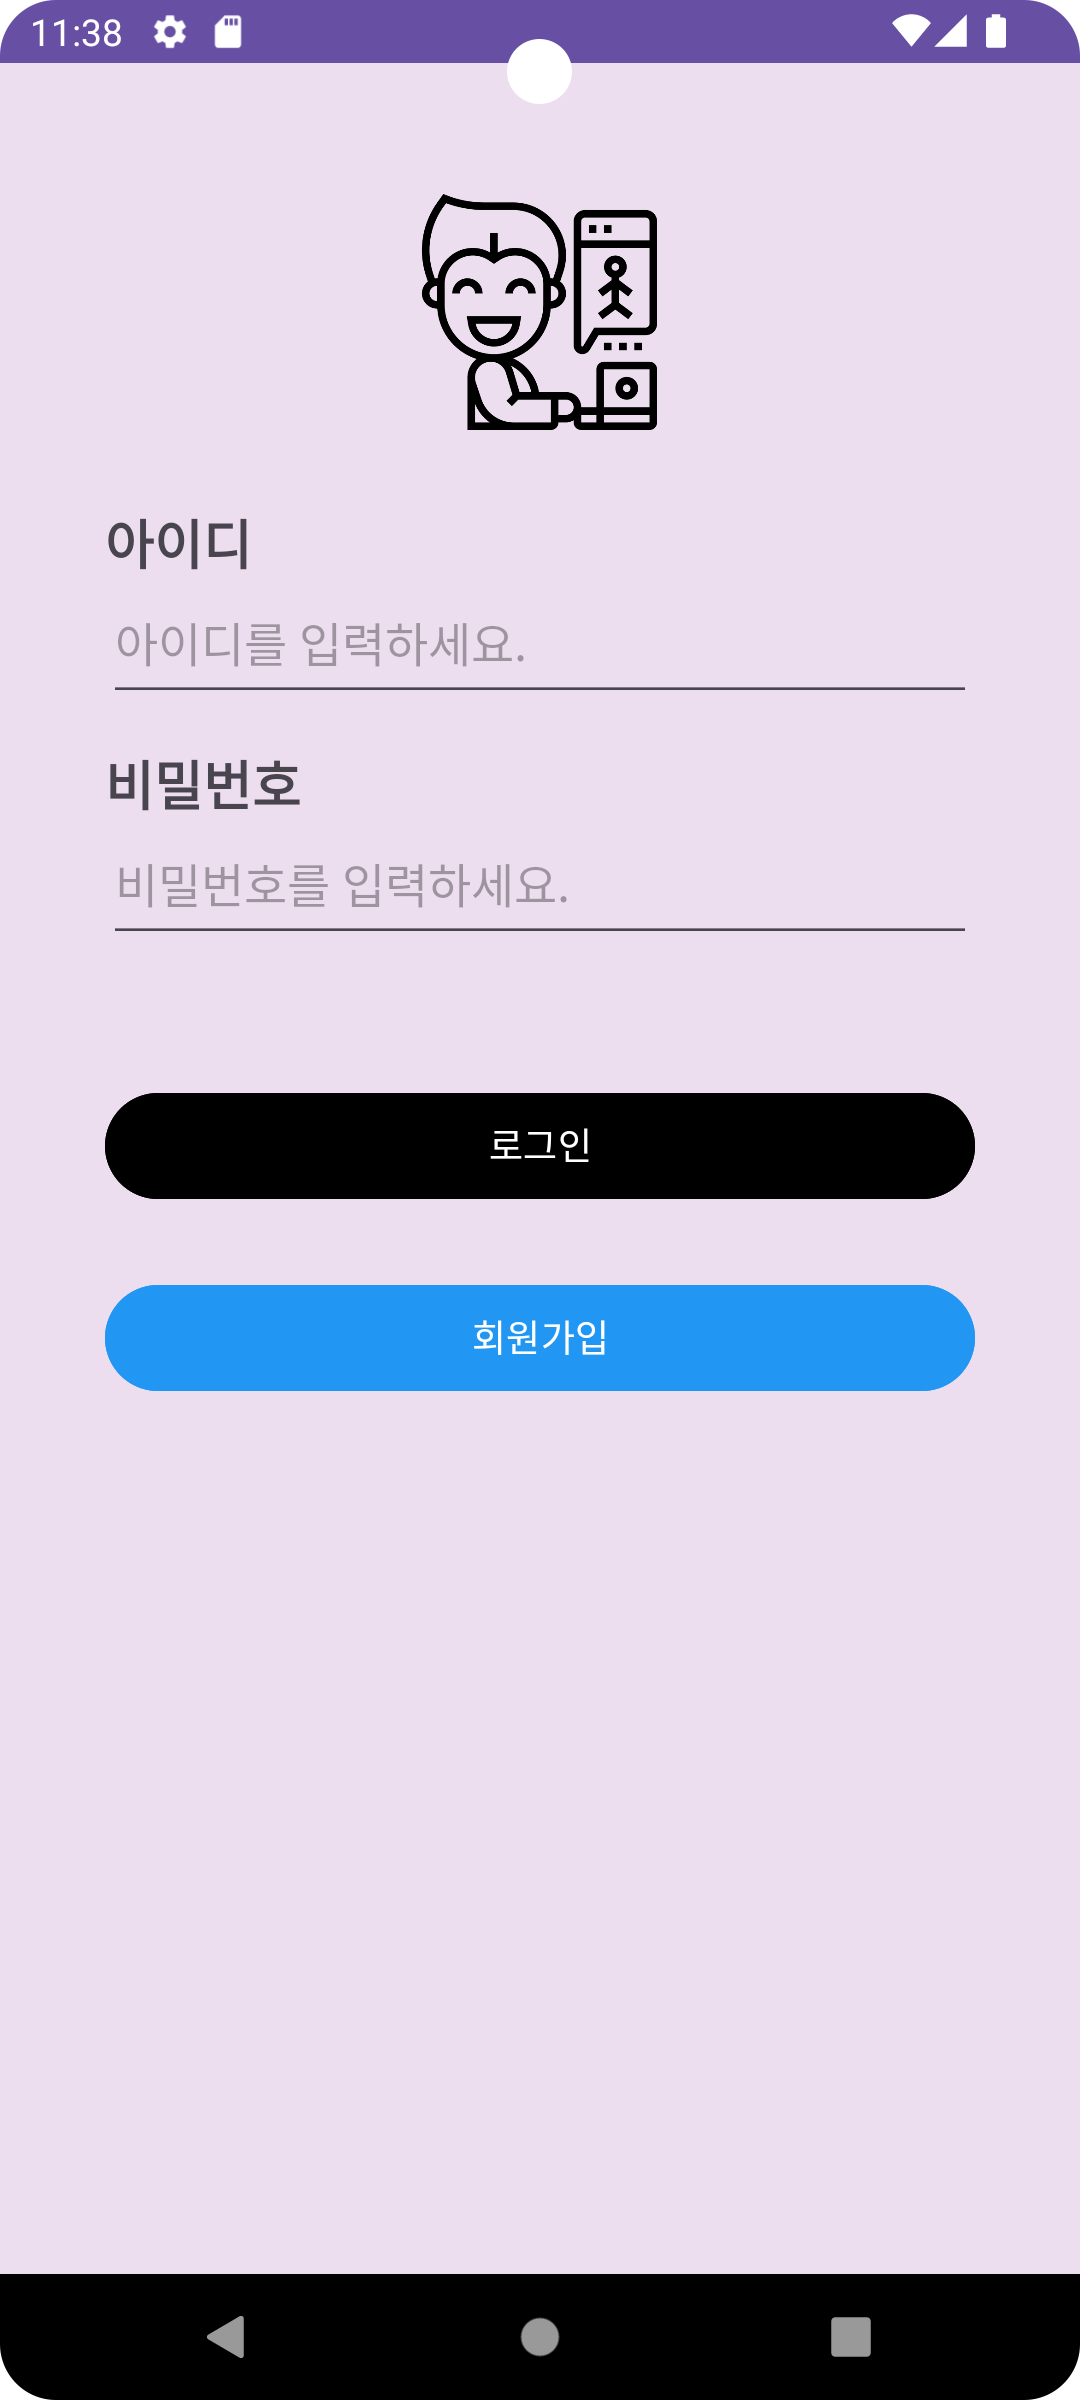 | Nexus5로 구동한 레이아웃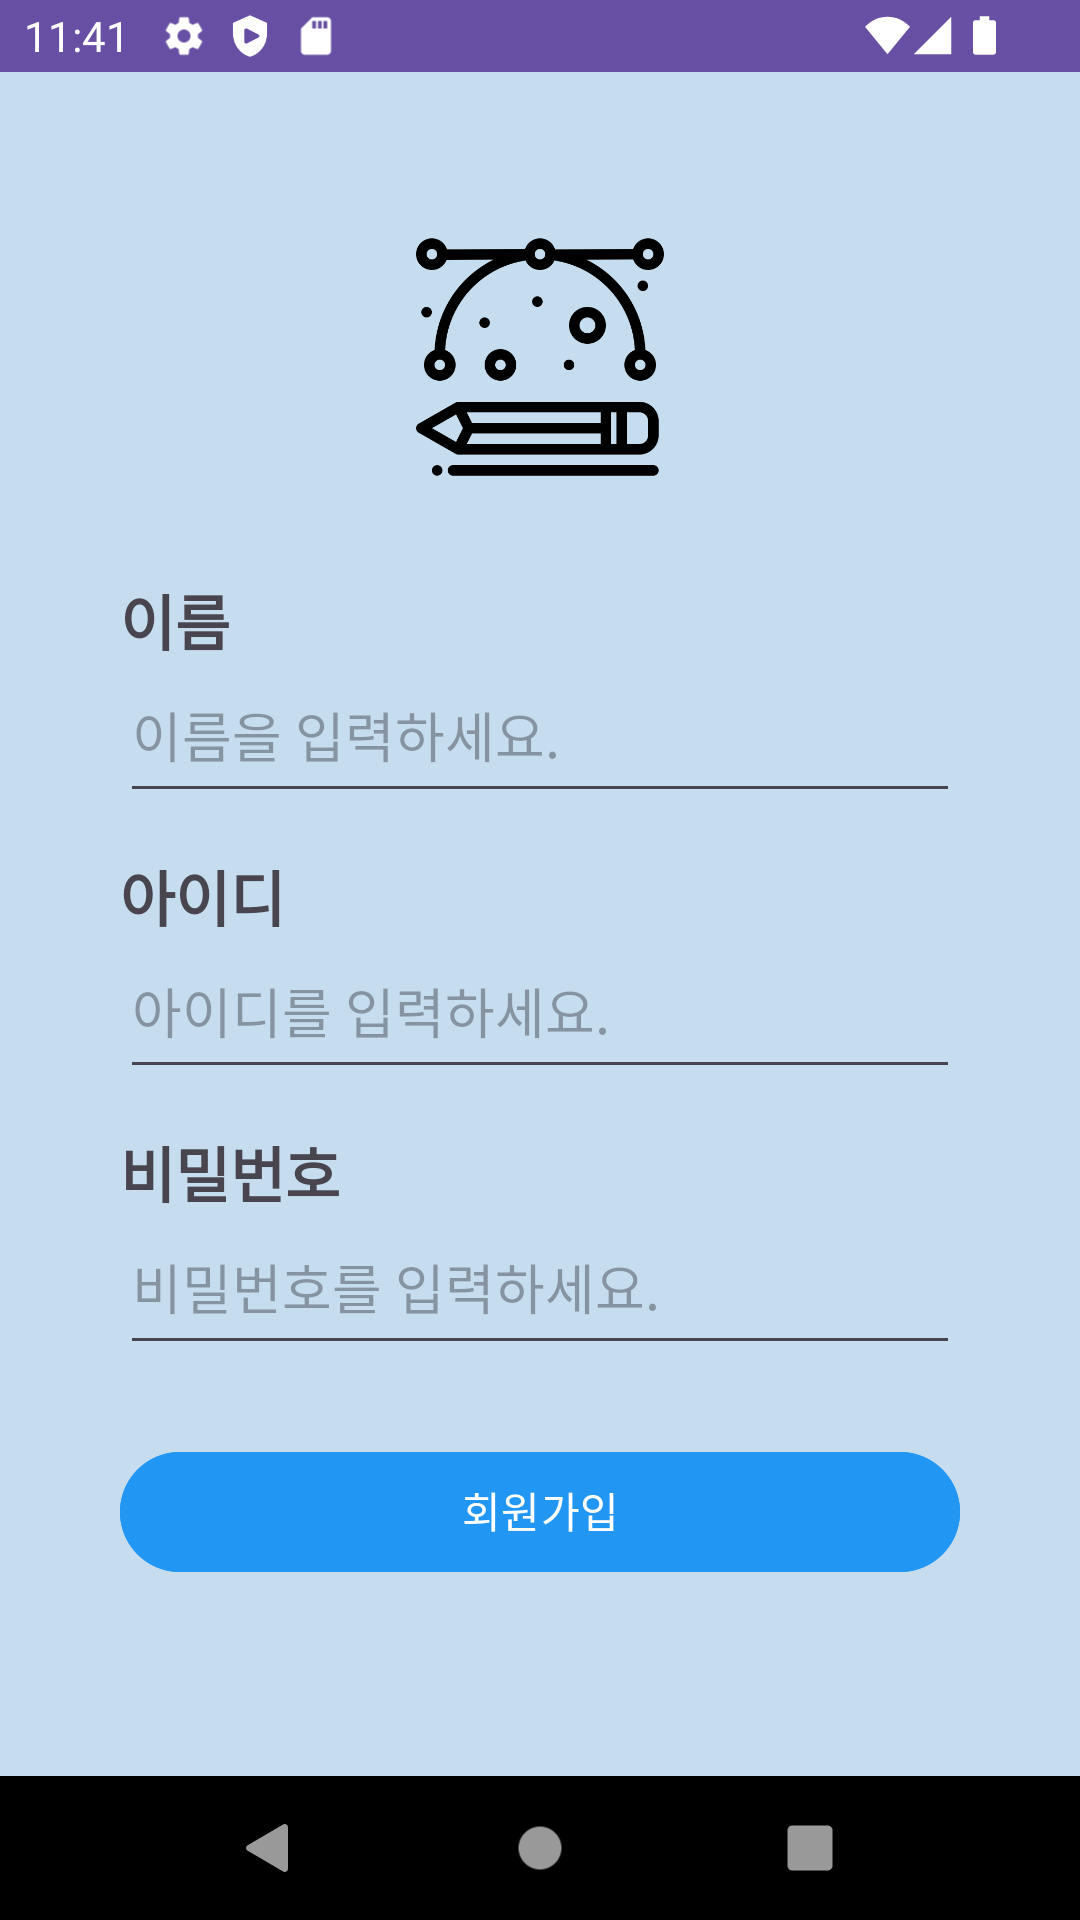 |
|---|
- 원래는 SignIn액티비티에서 dataId이런 식의 변수명을 사용하고 있었는데, SignUp액티비티에서 dataName을 치니까 자동완성에 겹치는 이름이 있었다. 계산기 만들기 때 코틀린 예약어는 변수명으로 적합하지 않다는 피드백을 들었었는데, 코틀린 예약어가 뭐가 있는지 모르니까.. 일단 변수명을 정할 때, 최대한 자동완성이랑 안겹치게 지으려고 노력했는데, 이런걸 뜻하는지는 아직 잘 모르겠다..ㅎㅎ 그리고 별거 아니지만 이제 생각해보면 그냥 얼마안되는거 dt_말고 뭔지 더 잘 알아들을 수 있게 data_로 지을껄 그랬나 싶기도하고.., 일단 지금은 dt_를 썼다.
+사실 EditText도.. 어떻게 줄어야했던건지 모르겠다. btn처럼 줄임말을 검색해보긴했는데, 마땅히 나오는게 없어서 et로 적었는데.. 좀더 통용되는 단어가 있다면 앞으로 차차 범용성 높은 단어로 바꿔나가야겠다. - 이번 과제는 Lv이 나뉘어져있긴 하지만 Lv이라기보단 Step 처럼구현해야하는 안내사항을 나누어서 자세히 전달해준 느낌이다. 그래서 작성할 때 수월한 감이 있었다. 그래도 역시 직접 만들면 오류도 좀 만나고,,ㅎㅎ 생각처럼 뚝딱 작동되는 건 아니다.. 여하튼 Lv1에서 조금 고생하니까 Lv2는 아주 수월했다. 일단 된다면, 되는 것을 사용하자는 마음이 커서 틀을 그대로 활용했는데, 만약 시간이 여유롭다면 레이아웃에 대해서 리니어레이아웃말고 다른 레이아웃을 사용해보는 것도 좋을 것 같다.
