이번 포스트에서는 Thymeleaf 방식으로 유저 페이지를 구성하는 방법에 대해 다뤄보겠습니다.
✅ 이번 목표
- JPA를 활용해 유저 정보 가져오기
- 유저 페이지에 테이블로 렌더링하기
📦 코드 구성
1. User 엔티티
기존 작성한 User Entity입니다.
@Getter
@Entity
@EntityListeners(AuditingEntityListener.class)
@NoArgsConstructor(access = AccessLevel.PROTECTED)
public class User {

    @Id
    @Column(name = "user_id", nullable = false)
    @GeneratedValue(strategy = GenerationType.IDENTITY)
    private Long id;

    @Column(name = "user_name", nullable = false, length = 50)
    private String userName;

    @Column(name = "name")
    private String name;

    @Enumerated(EnumType.STRING)
    private UserRole userRole;

    @Column(name = "mobile_number", unique = true, length = 15)
    private String mobileNumber;

    @Column(name = "address")
    private String address;

    @Column(unique = true, nullable = false, length = 50)
    private String email;

    @CreatedDate
    private LocalDateTime created_at;

    @LastModifiedDate
    private LocalDateTime updated_at;

    @OneToMany(mappedBy = "user", fetch = FetchType.LAZY, cascade = CascadeType.ALL)
    private List<CartItem> cartItems;

    @OneToMany(mappedBy = "user", fetch = FetchType.LAZY)
    private List<Review> reviews;

    @OneToMany(mappedBy = "user", fetch = FetchType.LAZY)
    private List<Question> questions;

    @OneToMany(mappedBy = "user", fetch = FetchType.LAZY)
    private List<Orders> orders;

    @Builder
    public User(String username, String name, String mobileNumber, String address, UserRole userRole, String email) {
        this.userName = username;
        this.name = name;
        this.mobileNumber = mobileNumber;
        this.address = address;
        this.userRole = userRole;
        this.email = email;
    }
}
@EntityListeners(AuditingEntityListener.class)를 사용하면@CreatedDate와@LastModifiedDate가 자동으로 처리됩니다.
2. UserRepository
@Repository
public interface UserRepository extends JpaRepository<User, Long> {
    User findByUserName(String username);
}
3. UserResponse
@Getter
@AllArgsConstructor(access = AccessLevel.PRIVATE)
public class UserResponse {

    private Long id;
    private String name;
    private String userRole;
    private String mobileNumber;
    private String address;
    private String email;
    private LocalDateTime createdAt;
    private LocalDateTime updatedAt;

    public static UserResponse of(User user) {
        return new UserServiceDTO(
            user.getId(),
            user.getName(),
            user.getUserRole().name(),
            user.getMobileNumber(),
            user.getAddress(),
            user.getEmail(),
            user.getCreated_at(),
            user.getUpdated_at()
        );
    }
}
4. UserService
@Service
@RequiredArgsConstructor
public class UserService {

    private final UserRepository userRepository;

    public List<UserResponse> getAllUsers() {
        List<User> users = userRepository.findAll();
        return users.isEmpty() ? List.of() : users.stream().map(UserResponse::of).toList();
    }
}
5. UserViewController
@Controller
@RequestMapping("/admin")
@RequiredArgsConstructor
public class UserViewController {

    private final UserService userService;

    @GetMapping("/users")
    public String userView(Model model) {
        model.addAttribute("users", userService.getAllUsers());
        return "user"; // user.html
    }
}
🖥️ user.html
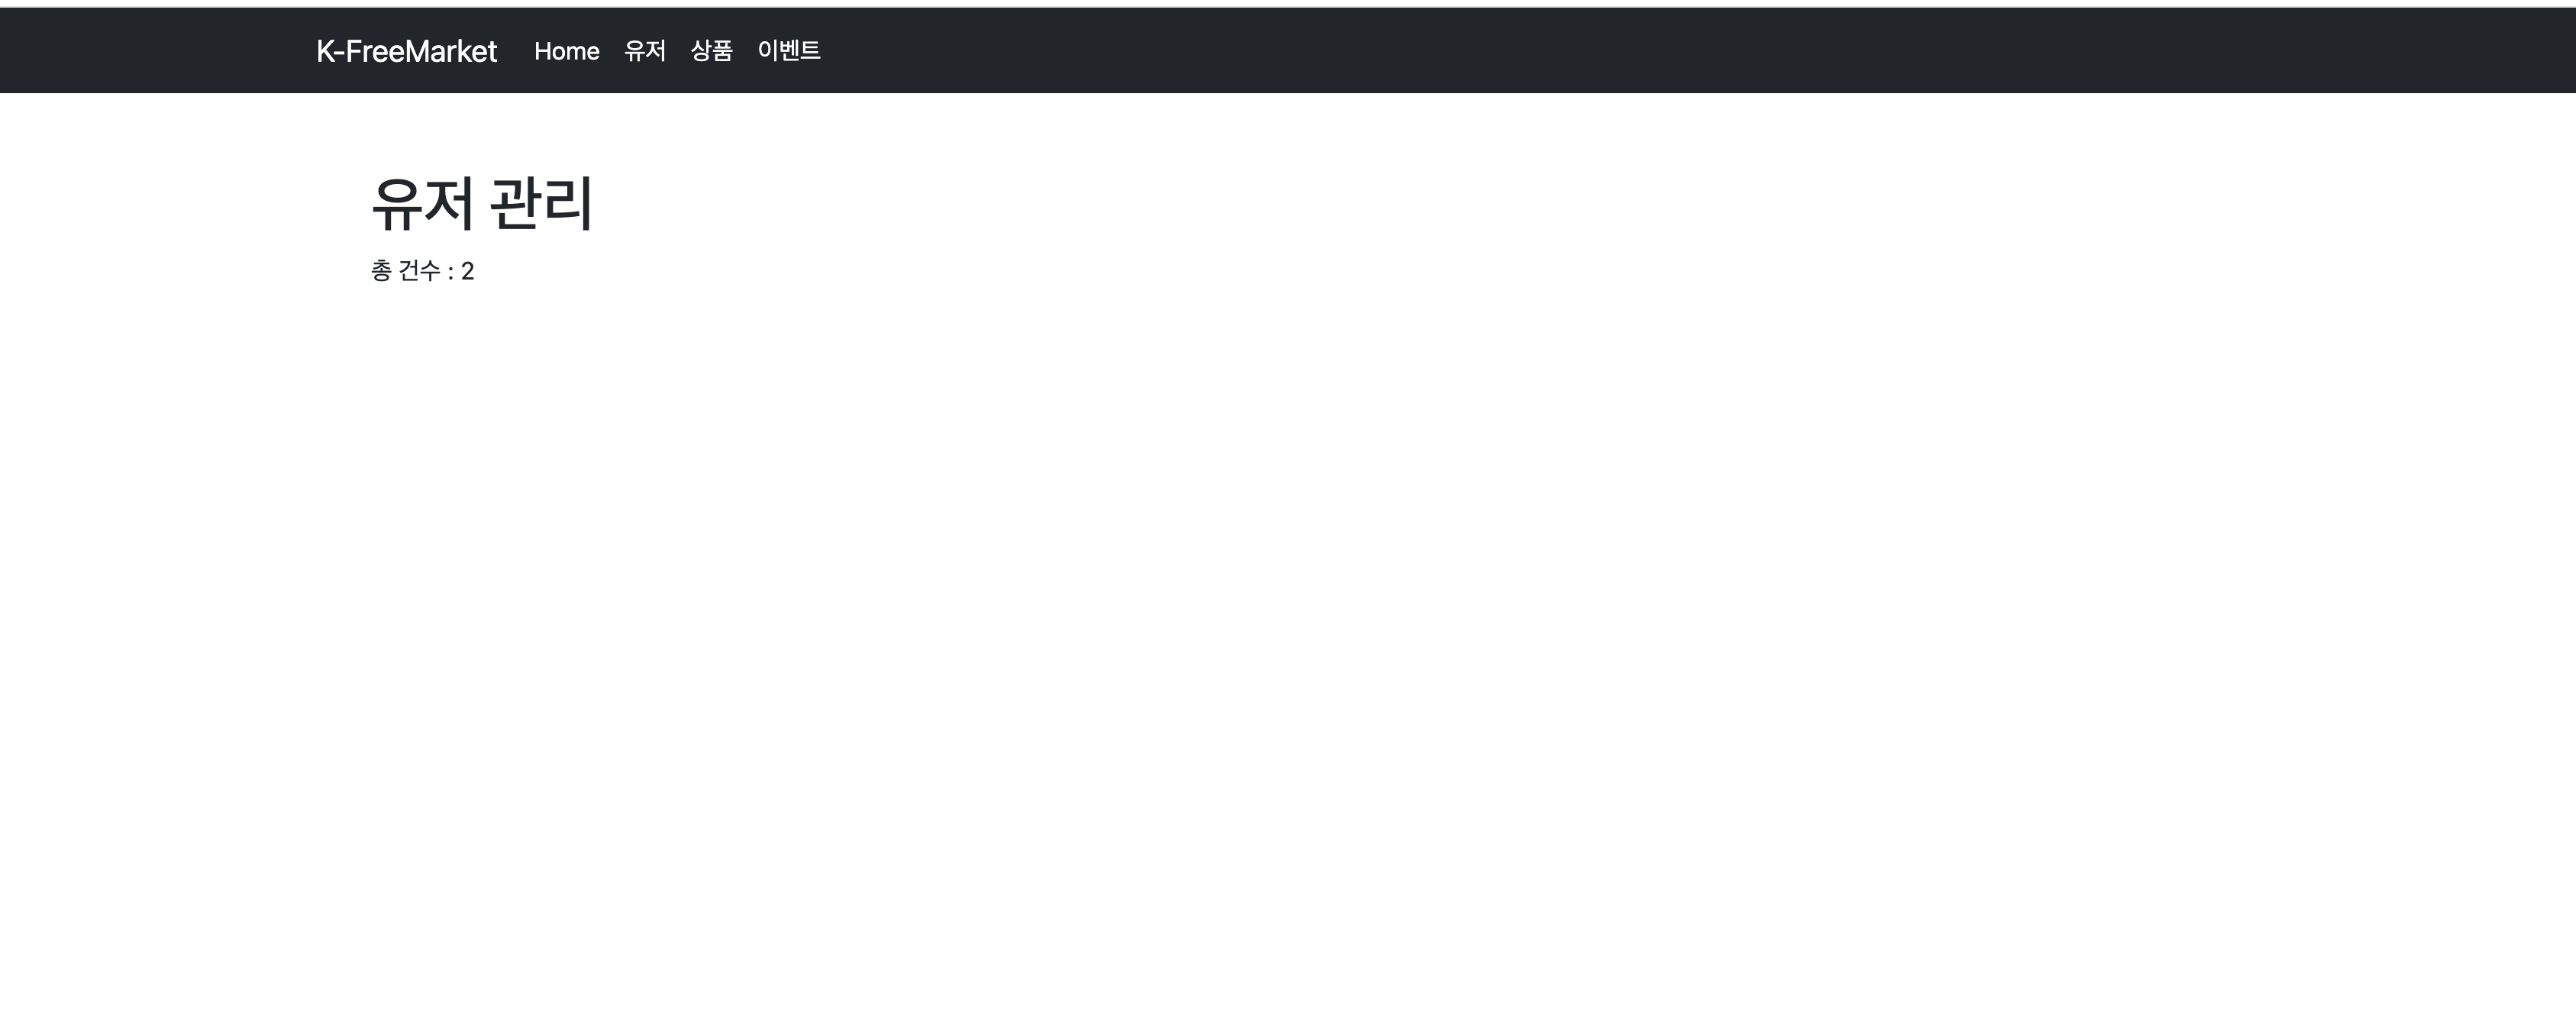
1. 유저 수 출력
<main class="container p-5">
  <h1>유저 관리</h1>
  <div>총 건수 : <span th:text="${#lists.size(users)}">0</span></div>
</main>
유저가 없다면 0, 있다면 리스트 크기를 보여줍니다.
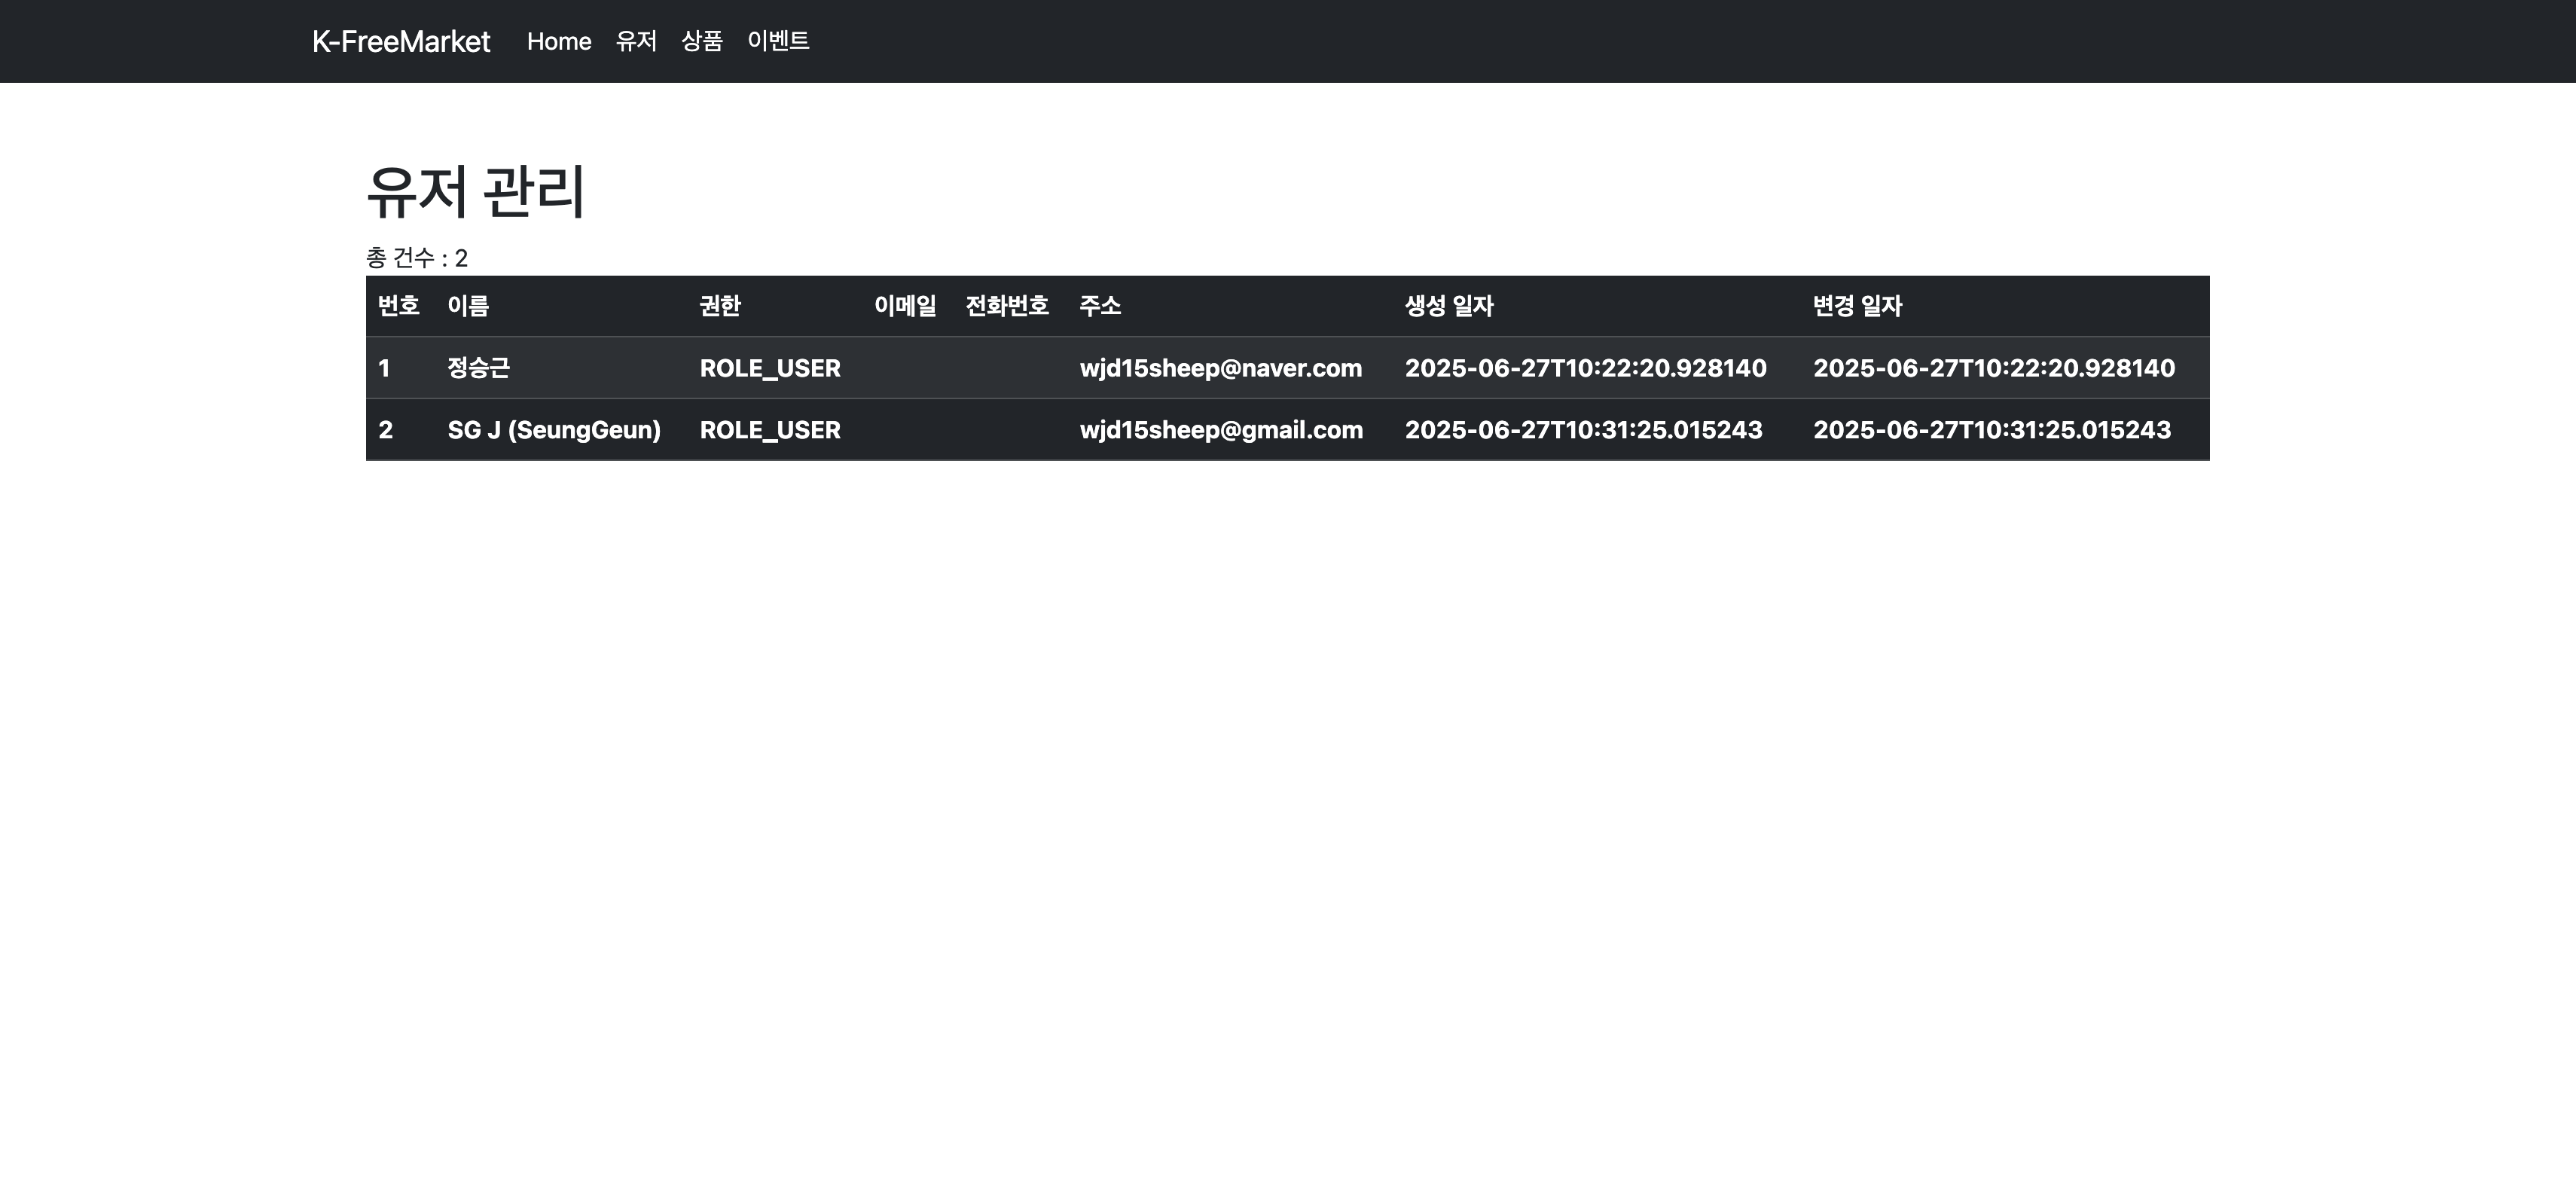
2. 유저 테이블 출력
<table class="table table-striped table-dark">
  <thead>
    <tr>
      <th scope="col">번호</th>
      <th scope="col">이름</th>
      <th scope="col">권한</th>
      <th scope="col">이메일</th>
      <th scope="col">전화번호</th>
      <th scope="col">주소</th>
      <th scope="col">생성 일자</th>
      <th scope="col">변경 일자</th>
    </tr>
  </thead>
  <tbody>
    <tr th:each="user : ${users}">
      <th th:text="${user.id}">1</th>
      <td>
        <a th:href="@{/admin/form(name=${user.name})}" th:text="${user.name}">이름</a>
      </td>
      <td th:text="${user.userRole}">권한</td>
      <td th:text="${user.email}">이메일</td>
      <td th:text="${user.mobileNumber}">핸드폰 번호</td>
      <td th:text="${user.address}">주소</td>
      <td th:text="${user.createdAt}">생성 일자</td>
      <td th:text="${user.updatedAt}">변경 일자</td>
    </tr>
  </tbody>
</table>
🧩 마무리
지금까지 JPA와 Thymeleaf를 이용하여:
- 유저 정보를 가져오고
- 관리자 페이지에 테이블로 렌더링하는
과정을 정리했습니다.
다음 포스트에서는 유저 수정 및 삭제 기능까지 구현해보겠습니다!

성장 위해 노력하는 웹 개발자 주니어