
안녕하세요! 이번에는 저번 합성 컴포넌트(Composite component)의 스토리를 작성하는 방법에 대해 알아보도록 하겠습니다.
합성 컴포넌트는 간단히 저번 포스트에서 작성한 Input , Button 컴포넌트를 렌더링 하는 컴포넌트라고 생각하시면 됩니다. 즉, 여러 컴포넌트를 렌더링 하는 컴포넌트들을 의미하죠.
이번에는 Input 과 Button 컴포넌트를 렌더링 하는 Form 컴포넌트를 만들어 보도록 하겠습니다.
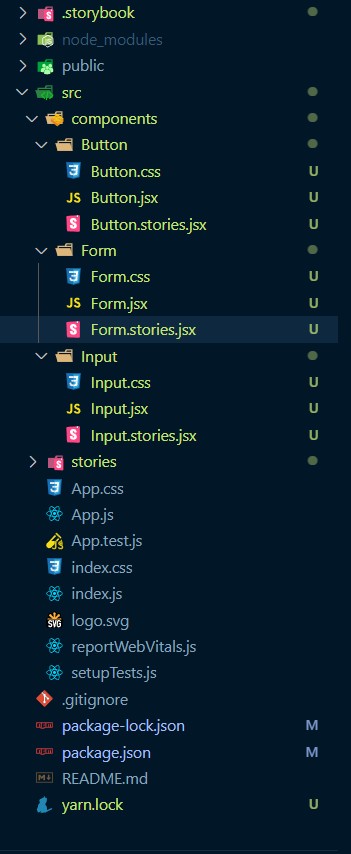
우선, src 폴더 안에 있는 components 폴더 안에 Form 폴더를 생성 해주시고, 생성 하셨다면 Form 안에 Form.jsx , Form.css , Form.stories.jsx 파일을 생성해주세요.
생성하시고 나면, 아래의 폴더구조와 동일한 상태이실 거에요.
자 폴더 및 파일 생성을 마치셨다면, 렌더링할 컴포넌트를 작성하실 차례에요. Form.jsx 파일 안에 아래의 코드를 작성해주세요.
// Form.jsx
import { Input } from '../Input/Input';
import { Button } from '../Button/Button';
import './Form.css';

export const Form = ({ inputsArray, buttonLabel }) => {
  return (
    <form className="component-form">
      {inputsArray.map((inputData, index) => {
        return <Input label={inputData.label} key={`input_${index}`} />;
      })}
      <Button label={buttonLabel} />
    </form>
  );
};
구조를 잡으셨다면, 이제 스타일링을 할 차례네요. Form.css 파일 안에 아래의 코드를 작성해주세요.
.component-form {
  display: grid;
  grid-template-rows: 1fr 1fr 1fr;
}
구조와 스타일링이 끝났다면 UI를 확인해야겠죠? UI를 확인하기 위해서 스토리(story) 파일의 기본 골격을 만들어 보도록 할게요. Form.stories.jsx 파일 안에 아래의 코드를 작성해 주세요.
// Form.stories.jsx
import { Form } from './Form';

export default {
  title: 'Form/Form',
  component: Form,
};

const Template = (args) => <Form {...args} />;
자 이제 개별적인 스토리들을 하나씩 작성해보도록 하겠습니다. 이번에 작성할 스토리는 ID 와 패스워드를 입력하는 Login Form 과 이름과 이메일을 입력하는 Email Form 입니다. 아래의 코드를 Form.stories.jsx 파일 안에 추가해주세요.
export const LoginForm = Template.bind({});
LoginForm.args = {
inputsArray: [
{
label: 'ID',
},
{
label: 'Password',
},
],
buttonLabel: 'Login',
};
export const NameAndEmailForm = Template.bind({});
NameAndEmailForm.args = {
inputsArray: [
{
label: 'Name',
},
{
label: 'Email',
},
],
buttonLabel: 'Submit',
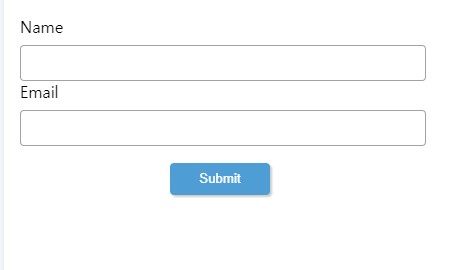
};추가가 되었다면 yarn storybook 명령어를 입력하세요. 그리고 나오는 화면에서 아래와 같은 Form들이 나오는 것을 확인 하실수 있으실 겁니다.


이런.. Form의 width 가 너무 기네요.. 이를 해결하기 위해서는 어떻게 해야할까요? 네 맞습니다! 스토리(Story)의 wrapper로 decorators 를 추가해주면 되겠죠. Form.stories.jsx 파일 안에 export default 코드를 아래와 같이 변경해 주세요.
export default {
title: 'Form/Form',
component: Form,
decorators: [
(Story) => (
<div style={{ width: '400px' }}>
<Story />
</div>
),
],
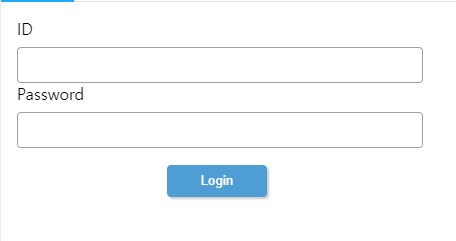
};위의 코드를 입력하셨다면 스토리북(Storybook)에서 보이는 Form의 width가 줄어든 것을 확인하실 수 있으실 겁니다. 아래처럼 말이죠.
그런데 LoginForm 스토리의 input 에 직접 입력을 해보시면 뭔가 이상하다는 것을 느끼실 것 같습니다. 어떤 것인지 아시겠나요? 네 맞습니다! 비밀번호를 입력하는 부분에 비밀번호가 다 보이고 있네요... 이 부분은 input 의 type을 변경해서 해결해 줘야 겠네요. Input 컴포넌트의 코드를 좀 변경하도록 하겠습니다. Input.jsx 파일을 아래와 같이 수정해주세요.
// Input.jsx
import './Input.css';

export const Input = ({ label, type = 'text' }) => {
  return (
    <div className="component-input">
      <label className="component-input__label">{label}</label>
      <input className="component-input__input" type={type} />
    </div>
  );
};
Input 컴포넌트를 수정했으니, 이번에는 Input 컴포넌트에 props를 넘겨주는 Form 에서 Input 컴포넌트에 type props를 넘겨주도록 컴포넌트를 수정해보겠습니다. Form.jsx 파일을 아래와 같이 수정해주세요.
// Form.jsx
import { Input } from '../Input/Input';
import { Button } from '../Button/Button';
import './Form.css';

export const Form = ({ inputsArray, buttonLabel }) => {
  return (
    <form className="component-form">
      {inputsArray.map((inputData, index) => {
        return (
          <Input
            label={inputData.label}
            type={inputData.type}
            key={`input_${index}`}
          />
        );
      })}
      <Button label={buttonLabel} />
    </form>
  );
};
자, 이제 컴포넌트까지 수정을 마치셨다면 특정 LoginForm의 args에 type을 추가해서 text input이 아닌 password input으로 바꿔주는 작업이 남았네요. Form.stories.jsx 파일의 LoginForm 스토리(Story)를 아래와 같이 수정해 주세요.
//Form.stories.jsx
export const LoginForm = Template.bind({});
LoginForm.args = {
inputsArray: [
{
label: 'ID',
},
{
label: 'Password',
type: 'password',
},
],
buttonLabel: 'Login',
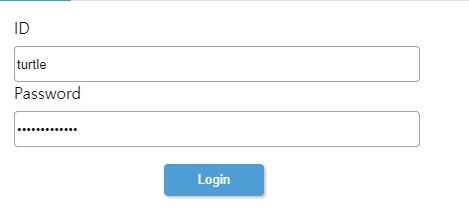
};자, 추가하셨다면 다시 스토리북을 확인해 보죠! 어떠신가요? 이제 Password Input 에 들어가는 것이 무엇인지 알 수 없도록 나오고 있나요? 아래의 이미지 처럼 나오고 있다면 잘 되고 계신겁니다.
이번 포스트에서는 합성 컴포넌트의 스토리 작성에 대해 알아보았습니다. 여기까지 하셨다면 기본적인 스토리의 작성 방법에 대해서는 여러분도 충분히 해내실 수 있을것이라고 생각합니다. 추가적으로 여러분이 직접 Form의 Story를 추가해 보시고 하시면 더 좋으실 것 같습니다. 이상으로 이번 포스트 마치도록 하겠습니다.
