카카오 개발자 센터에서OAuth 2.0을 위한앱생성 후Client-ID와Client Secret Key확인
- 카카오 개발자 센터 ->
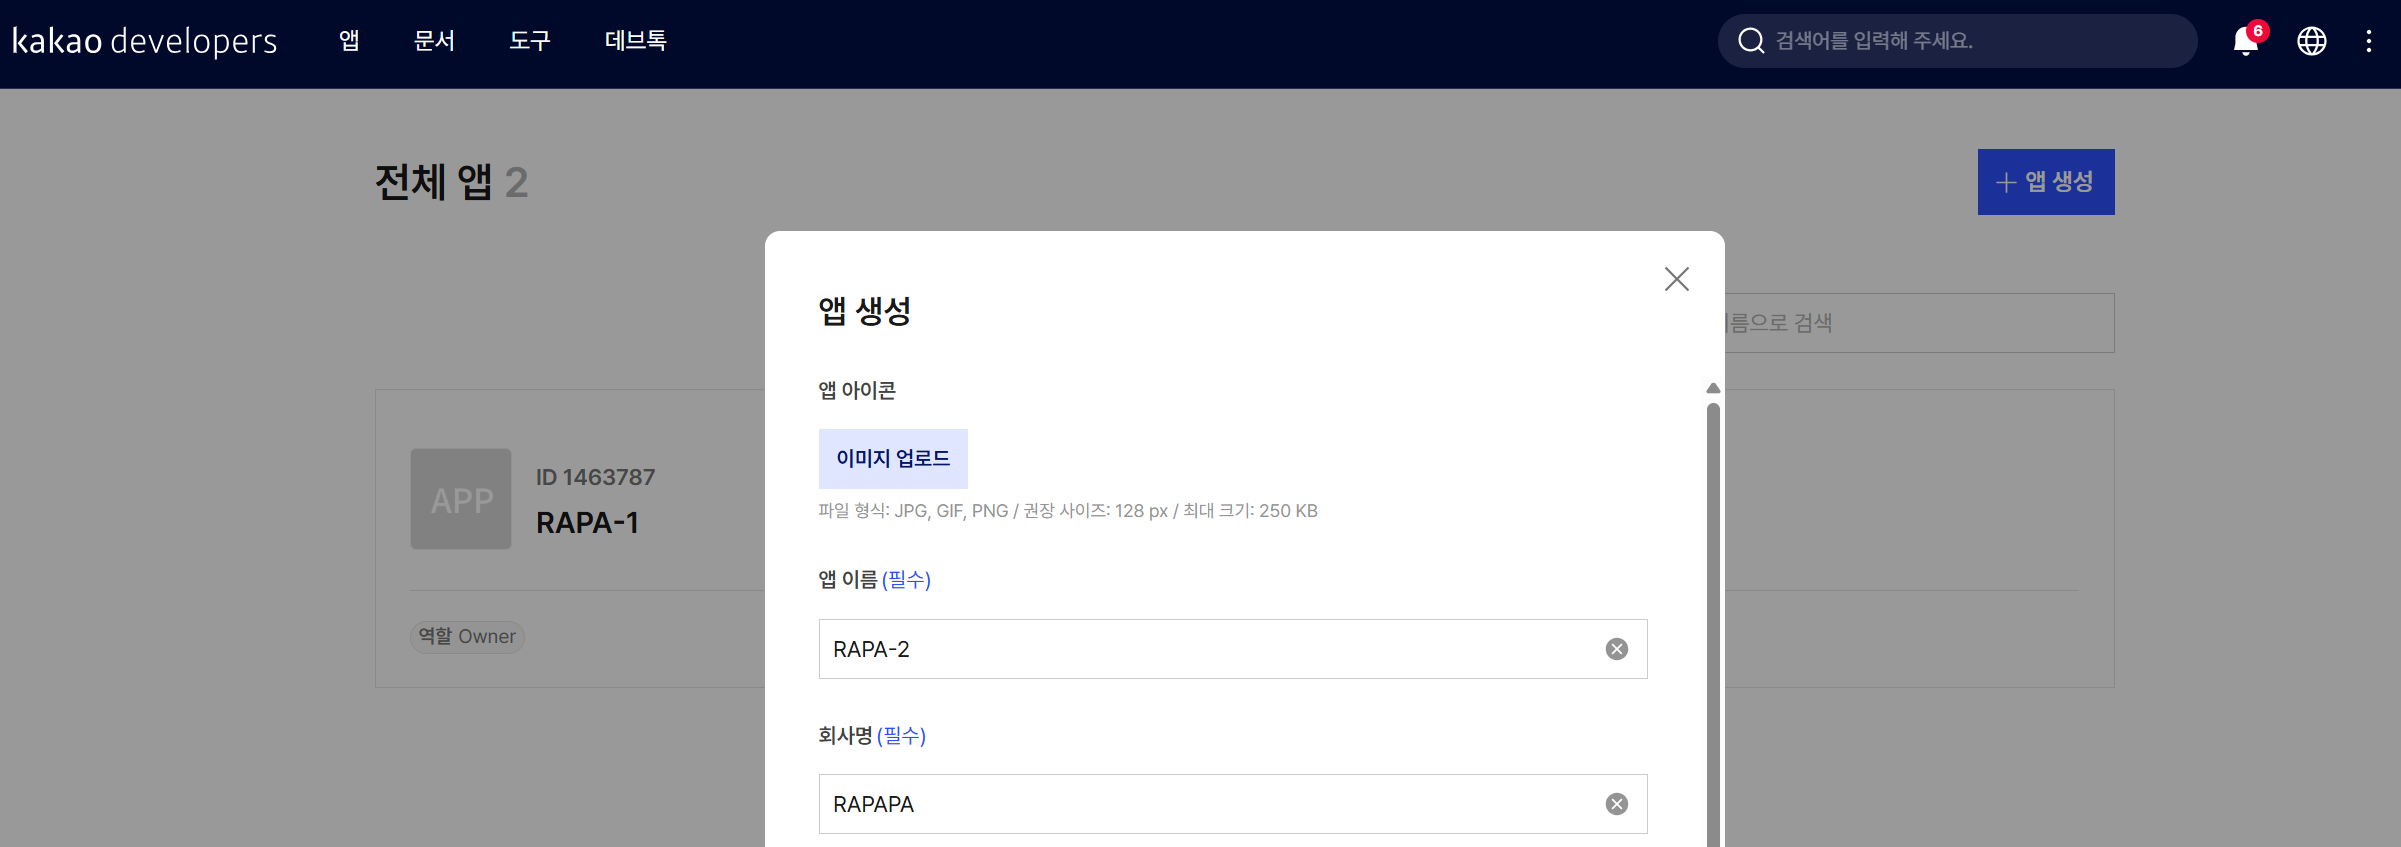
앱 -> 앱 생성에서앱 생성
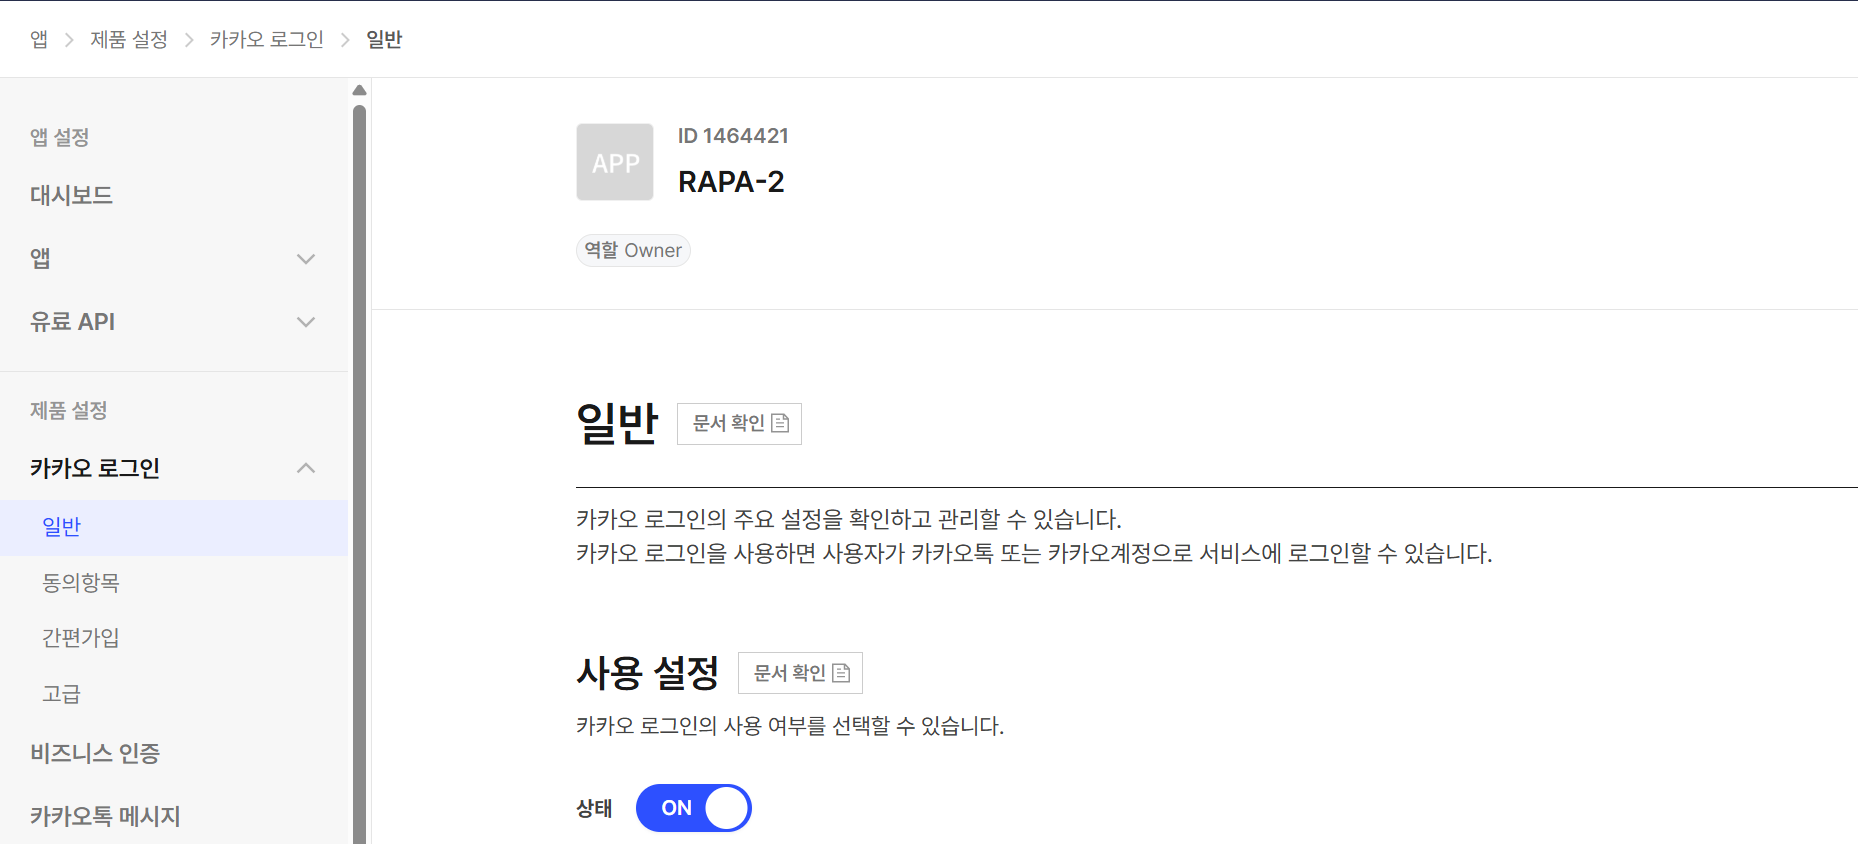
앱 -> 제품설정 -> 카카오로그인 -> 일반에서사용 설정 : ON
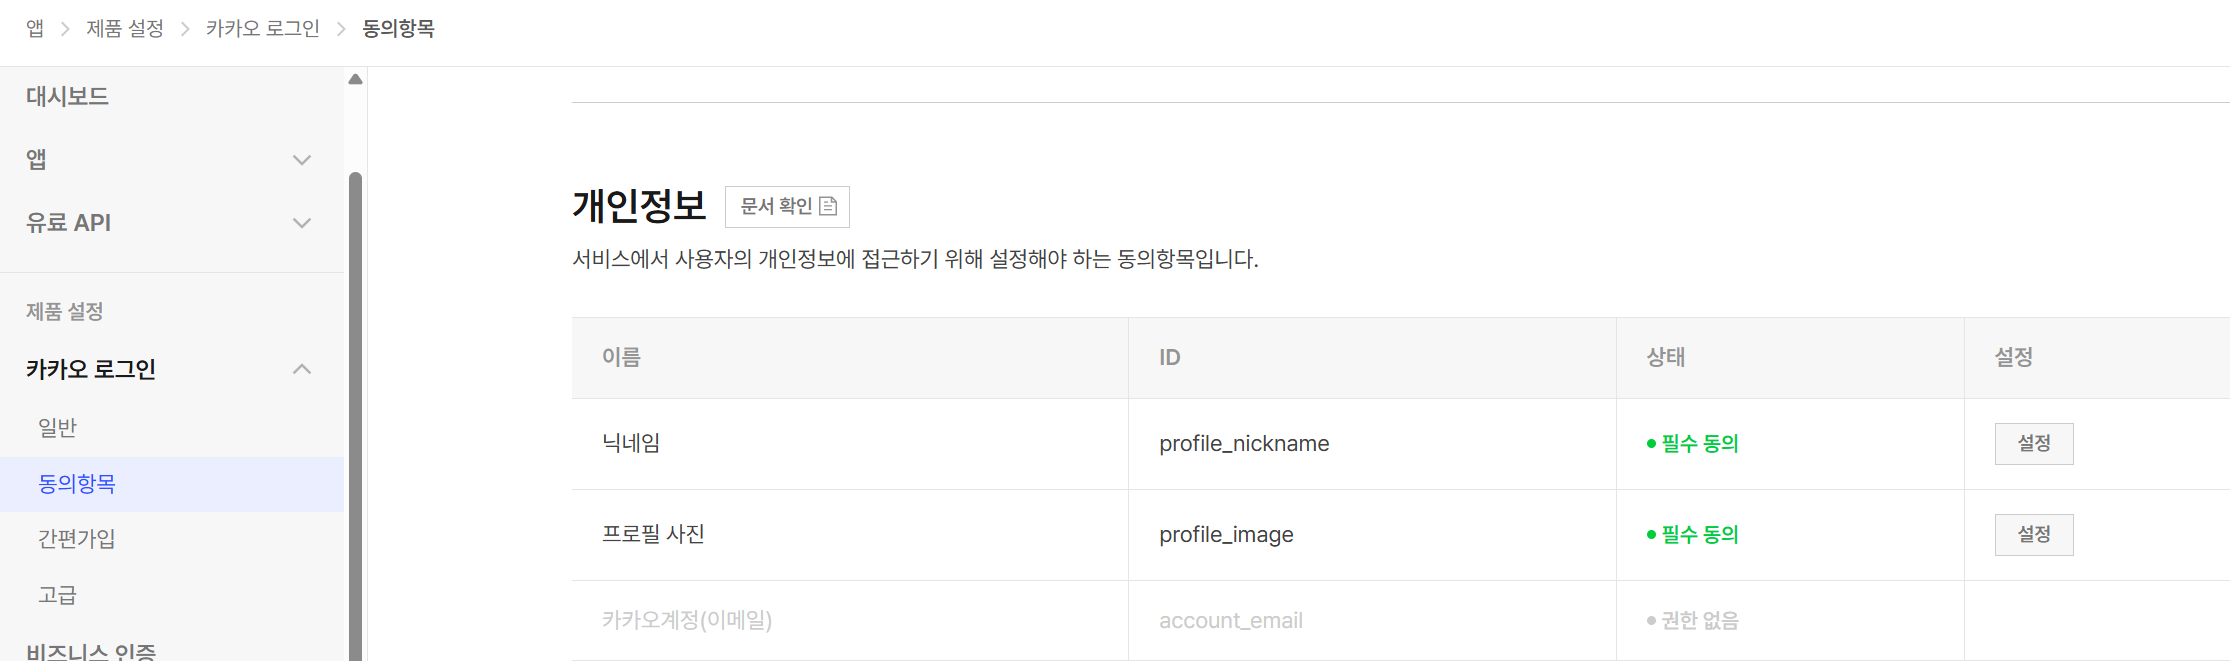
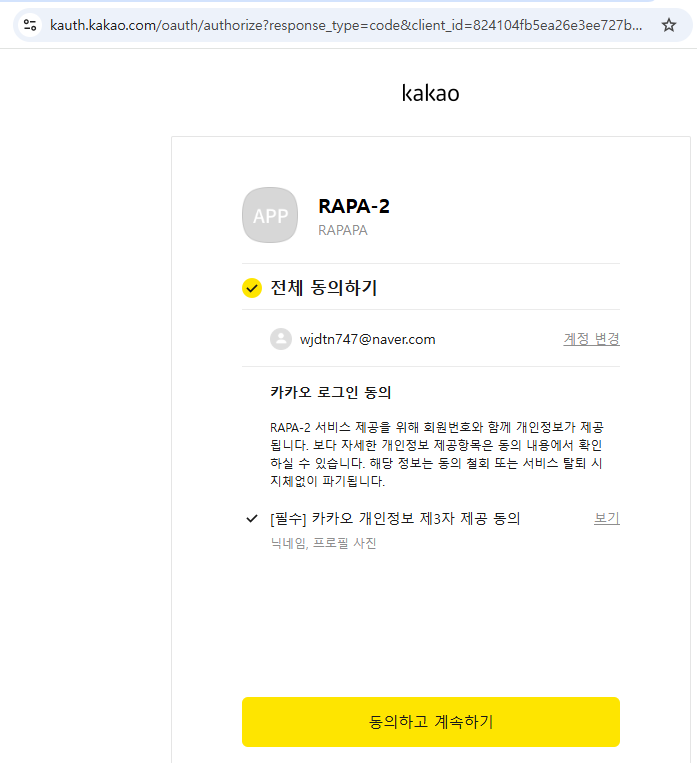
앱 -> 제품설정 -> 카카오로그인 -> 동의항목 -> 개인정보에서요청할사용자정보 권한을 설정
。현재 단계에서는닉네임 / 프로필 사진만접근가능하며, 추가적인사용자정보가 필요한 경우사업자 등록이 필요.
。사용자 정보는보수적으로최소한으로 가져오는게 좋다.
▶개인정보(생일 / 연령대 / 출생연도 / 휴대전화등 )의 경우DB에 저장 중, 노출되는 경우 책임을 개발자가 지므로.
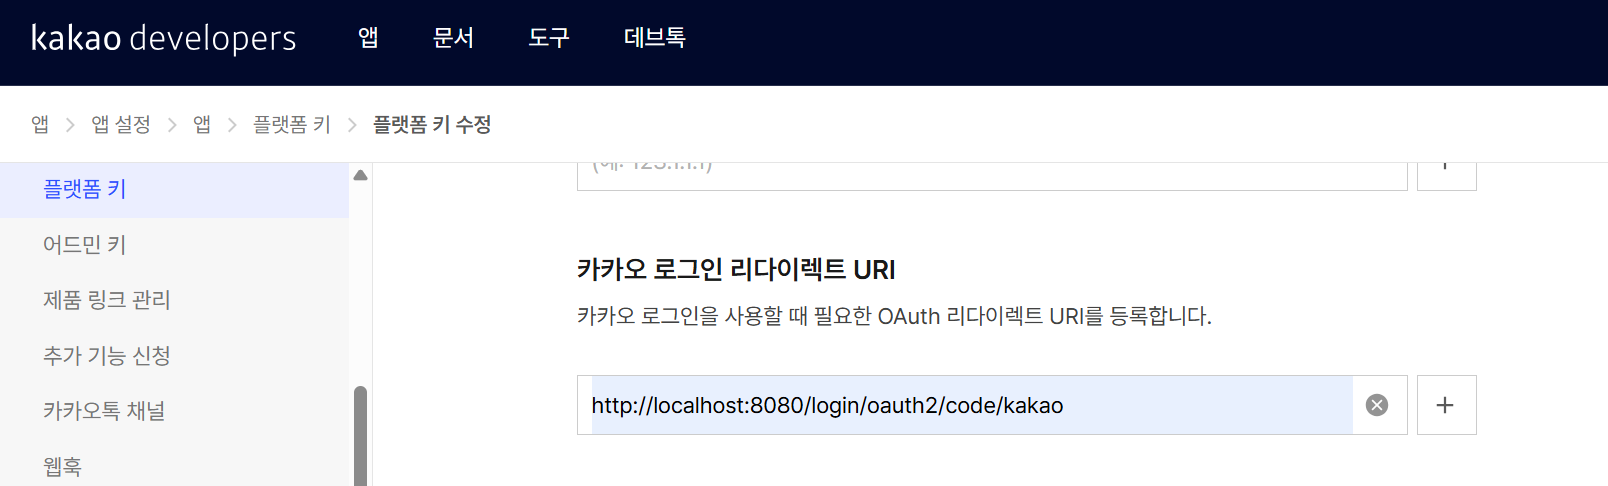
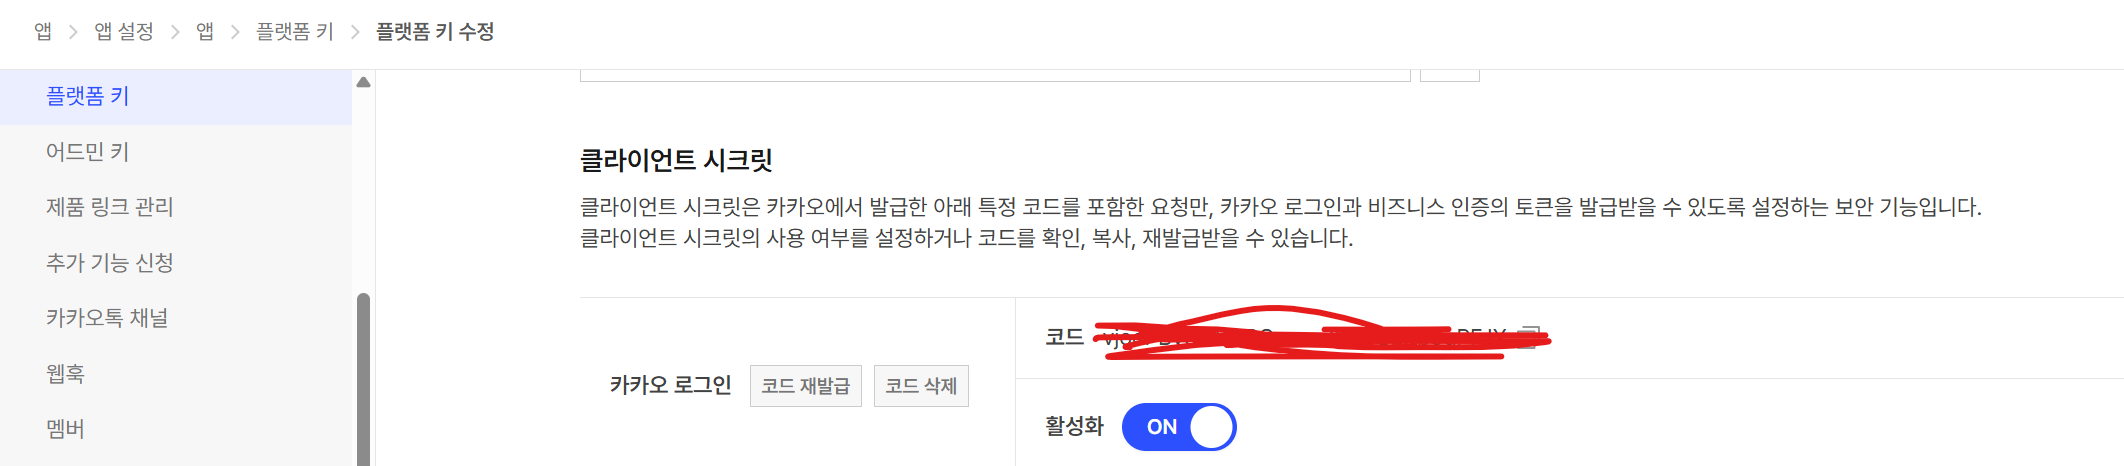
앱 -> 앱설정 -> 플랫폼 키에서REST API 키선택 후카카오 로그인 리다이렉트지정 및클라이언트 시크릿정보 확인
。카카오 로그인 리다이렉트 URI:http://localhost:8080/login/oauth/code/kakao로 설정
。Spring에서OAuth2.0설정 시
▶클라이언트 ID:카카오 REST API 키
▶Client Secret Key:카카오 로그인 코드
Spring Project생성
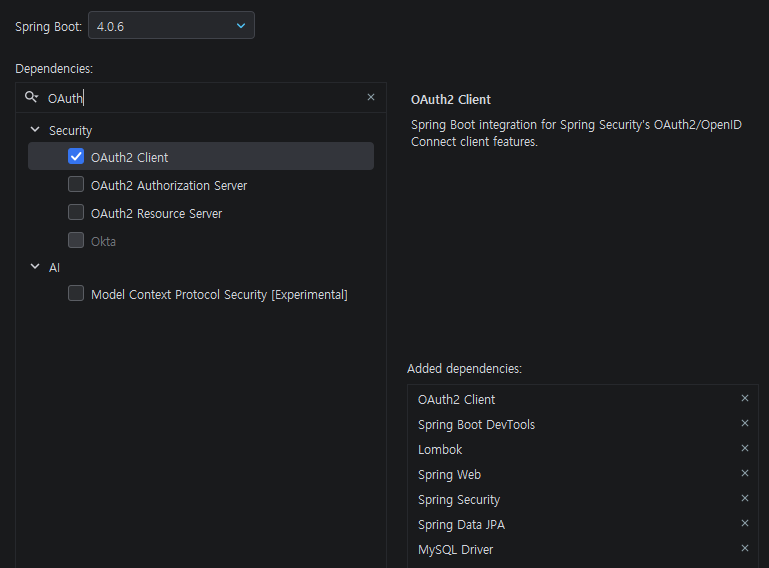
Spring Starter지정 시OAuth2 Client,Spring Security정의
。OAuth2 Client만 정의가 필요
application.yml 파일에 OAuth 2.0 설정 정보 정의
。카카오 OAuth2.0 Provider 설정 정보 참고spring: application: name: demo-oauth2-trash datasource: driver-class-name: com.mysql.cj.jdbc.Driver url: jdbc:mysql://localhost:3306/bblog username: root password: wjd747 jpa: hibernate: ddl-auto: create security: oauth2: client: registration: kakao: client-name: Kakao client-id: ${카카오 REST API 키} client-secret: ${카카오 로그인 코드} authorization-grant-type: authorization_code client-authentication-method: client_secret_post redirect-uri: "{baseUrl}/{action}/oauth2/code/{registrationId}" scope: # 동의항목 -> 개인정보 에서 요청한 사용자정보 권한 - profile_nickname - profile_image provider: kakao: authorization-uri: https://kauth.kakao.com/oauth/authorize # 권한부여승인코드 송신 user-name-attribute: id token-uri: https://kauth.kakao.com/oauth/token # 액세스코드 요청 user-info-uri: https://kapi.kakao.com/v2/user/me # 사용자정보 요청
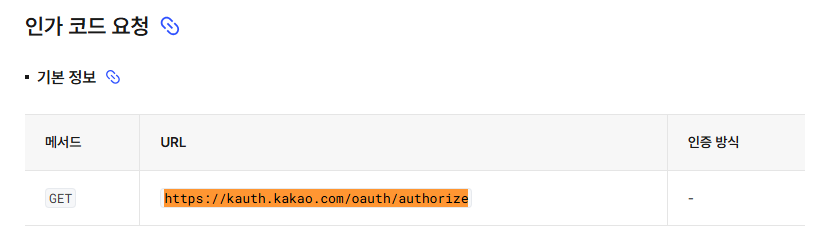
▶authorization-uri:인가 코드 요청:https://kauth.kakao.com/oauth/authorize
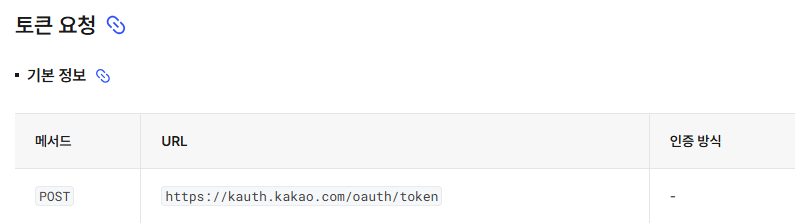
▶token-uri:토큰 요청:https://kauth.kakao.com/oauth/token
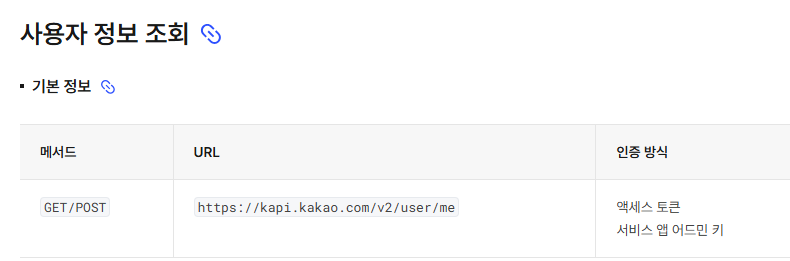
▶사용자정보 조회:https://kapi.kakao.com/v2/user/me
Spring Security에서@Configuration 클래스정의@Configuration public class SecurityConfig { @Bean public SecurityFilterChain securityFilterChain(HttpSecurity http){ return http .csrf(csrf -> csrf.disable()) .cors( cors -> cors.disable() ) .oauth2Login(Customizer.withDefaults()) .authorizeHttpRequests( auth -> auth .requestMatchers("/login", "/sign-up") .anonymous() .requestMatchers("/user/**") .hasAnyAuthority("USER", "ADMIN") .requestMatchers("/admin/**") .hasAuthority("ADMIN") .anyRequest() .authenticated() ).build(); } }
HTTPSecurity객체.oauth2Login(Customizer.withDefaults())
。Spring Security에서Oauth 2.0 로그인 기능을 활성화하는메서드
▶ 다음 설정을 끝낸 후localhost:8080/login접속 시 해당API를보호하기위해application.yml에 등록된OAuth2 Provider( ex.kakao등 )에 의해로그인 옵션이 자동으로 표시됨.

공부기록 블로그