[2022 공간빅데이터 경진대회] 3-4. DEM(수치표고모델) 업로드
Aspect AnalysisDEMPostgreSQLQGISRasterRaster to PointSlope Analysisdata engineeringpointpython수치표고모델
0
[프로젝트] 2022 공간빅데이터 경진대회
목록 보기
7/17
이번 글은
- 앞선 [2022 공간빅데이터 경진대회] 3. 데이터 확보 및 DB 구축의 소스 데이터 중 DEM(수치표고모델) 데이터를 업로드
- 다운받은 소스 데이터 파일(.img)을 공간데이터(.shp)로 변형하여 업로드
- 코드 파일 첨부(github)
데이터 확인
QGIS에서 소스 파일(.img) 확인
※ 좌표계 : EPSG:5186
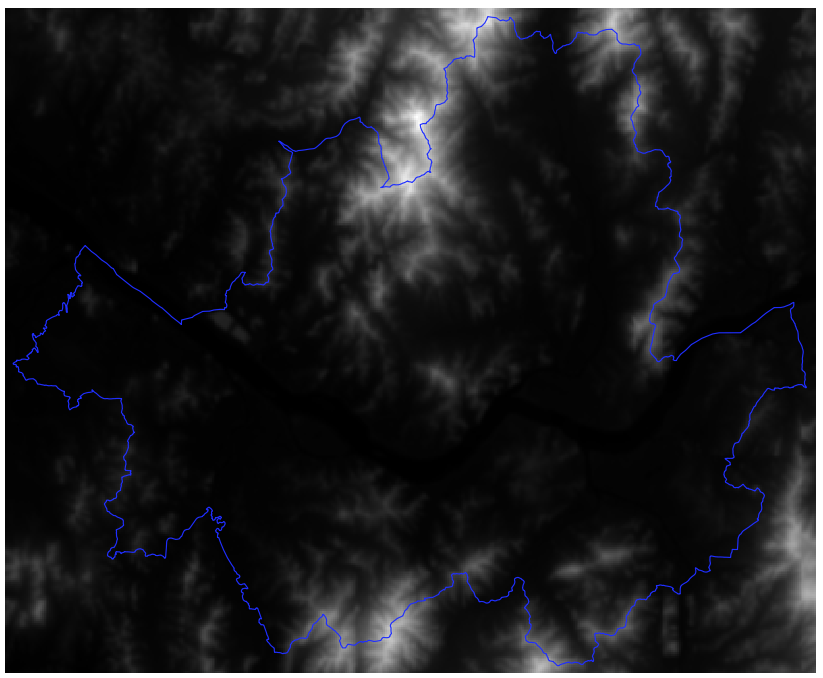
지역 경계 polygon 데이터(.shp) 오버레이

'서울' 데이터 추출
using gdal:ClipRasterByMaskLayer
- 전체 데이터
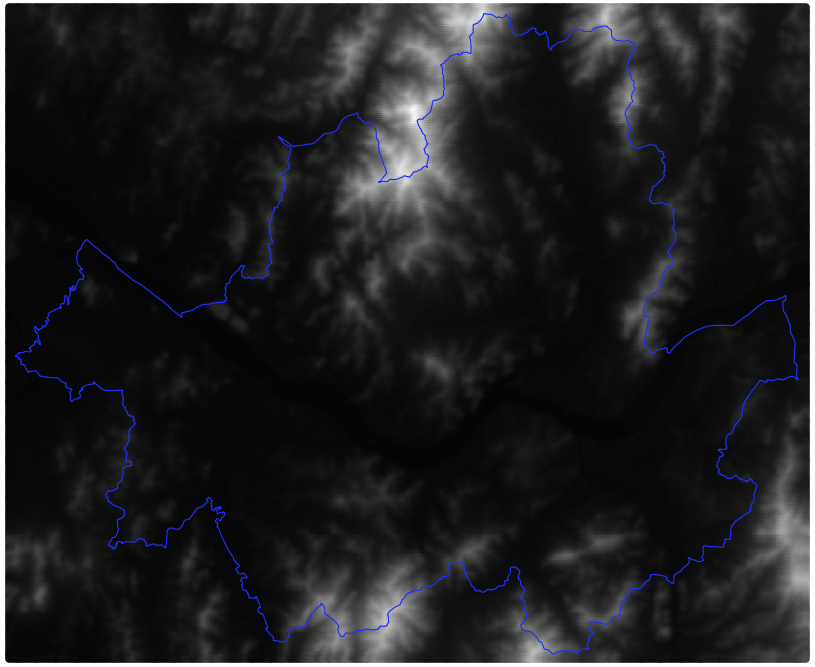
- 픽셀 단위 확대

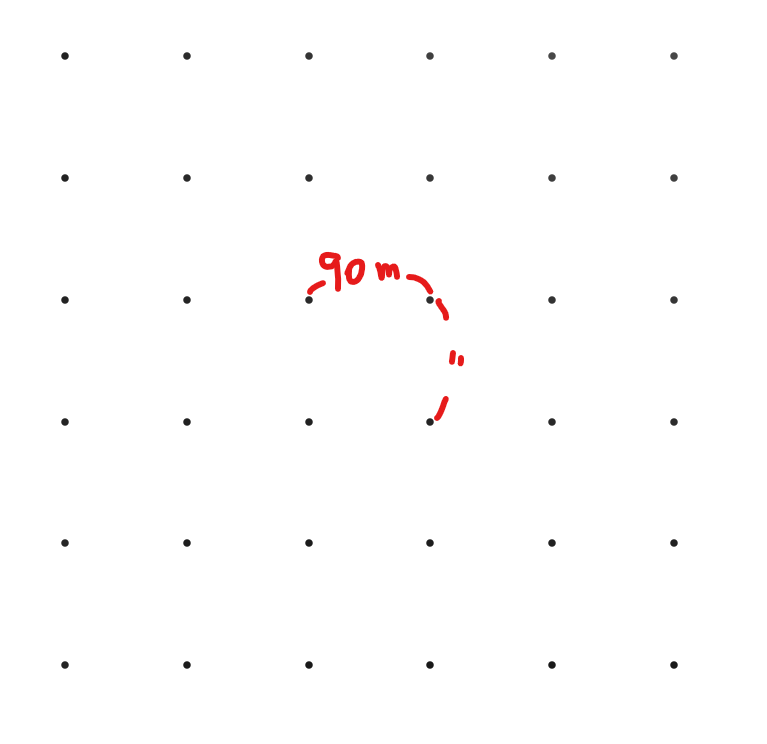
Point 데이터로 변형
- Pixel(raster) 데이터를 그대로 DB(PostgreSQL)에 올릴 수 없어 Point 데이터로 변형
- Point 데이터는 반지하 주택의 위치정보와 상호분석 가능
using native:PixelsToPoint
- 전체 데이터
- 포인트 단위 확대
- point 데이터는 shape file(.shp) 형식으로 로컬에 저장
데이터 읽기
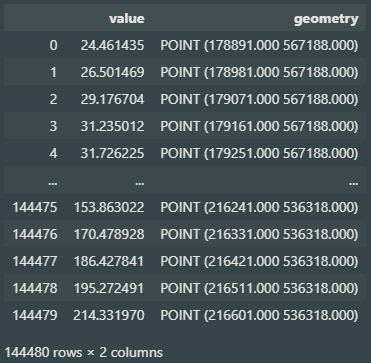
import geopandas as gpd

dem_point = gpd.read_file('D:/2022 공간빅데이터 경진대회/한반도/11_dem_point(5186).shp')
dem_point
좌표계 변환 (EPSG:5186 → EPSG:5179)
dem_point.crs
- 초기 좌표계 : EPSG:5186
dem_point = dem_point.to_crs(5179)
index에서 id 컬럼 생성
dem_point = dem_point.reset_index().rename(columns={'index':'id'})
테이블 스키마 설정
create table dem_point (
  id int,
  value numeric,
  geometry public.geometry(geometry,5179), -- 'sbd' schema에서 'public.geometry' 타입 사용
  uploaded_at timestamp default current_timestamp
);
create index index_dem_point_on_geometry on dem_point (geometry);
DB 연결
- host = localhost
- db = postgres
- Table Schema = sbd
import psycopg2
from sqlalchemy import create_engine # geometry type 송수신용 라이브러리

conn = psycopg2.connect(
  'host=localhost port=5432 dbname=postgres user=postgres password=postgres',
  options='-c search_path=sbd'
)
conn.set_session(autocommit=True)
cur = conn.cursor()
gconn = create_engine(
  'postgresql://postgres:postgres@localhost:5432/postgres'
)
데이터 업로드
cur.execute(
  'delete from dem_point'
)
dem_point.to_postgis(
  'dem_point',
  gconn,
  schema='sbd',
  if_exists='append'
)
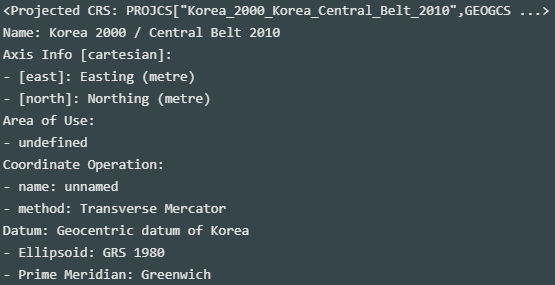
업로드 데이터 확인 (in DBeaver)
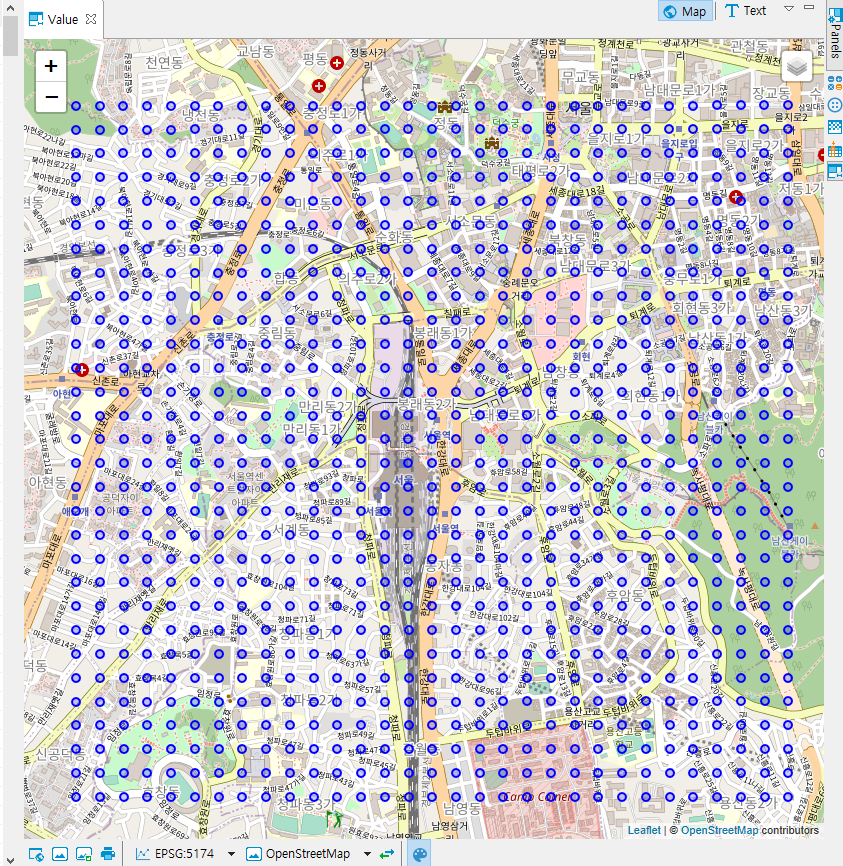
경사도(slope) 데이터
DEM 자료를 활용해 얻을 수 있는 경사도 데이터 생성 후 업로드
- table name : slope_point
using native:Slope
 ※ 범례 : 파랑(경사 완만함) ~ 빨강(경사 가파름)
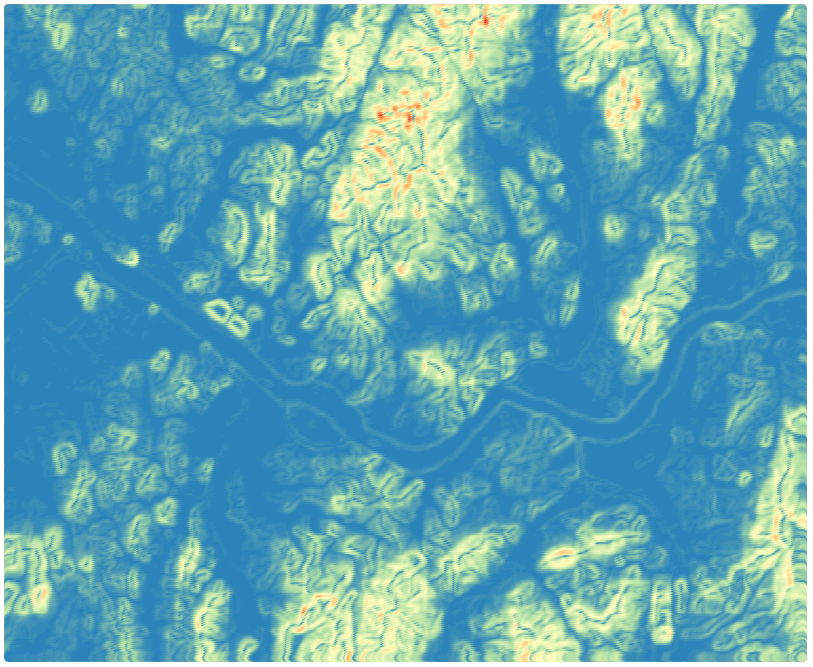
경사 방향(aspect) 데이터
DEM 자료를 활용해 얻을 수 있는 경사 방향 데이터 생성 후 업로드
- table name : aspect_point
using native:Aspect
 ※ 범례 : 파랑(≥0˚) ~ 빨강(<360˚)

가치를 만드는 데이터 분석가