flutter_당근마켓(4)
홈 탭 상품의 상세 페이지를 만든다.
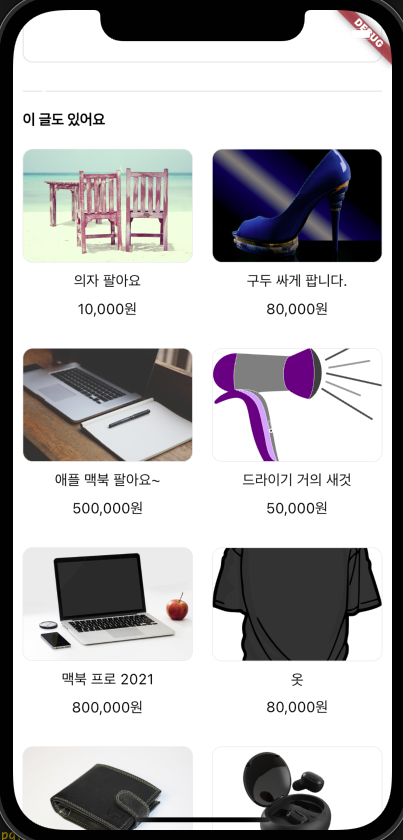
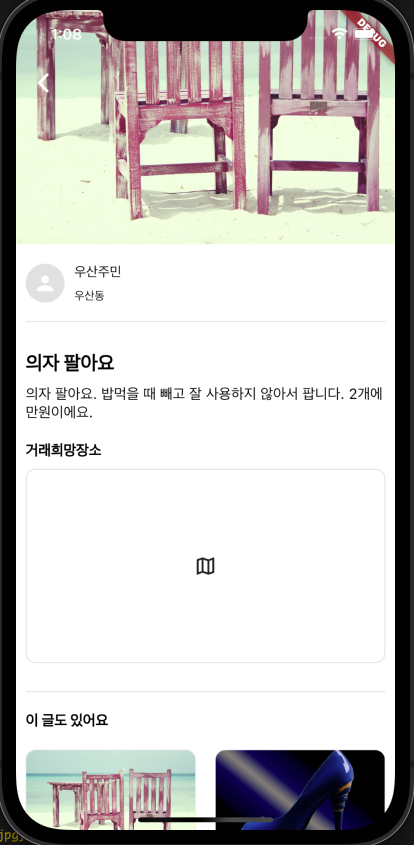
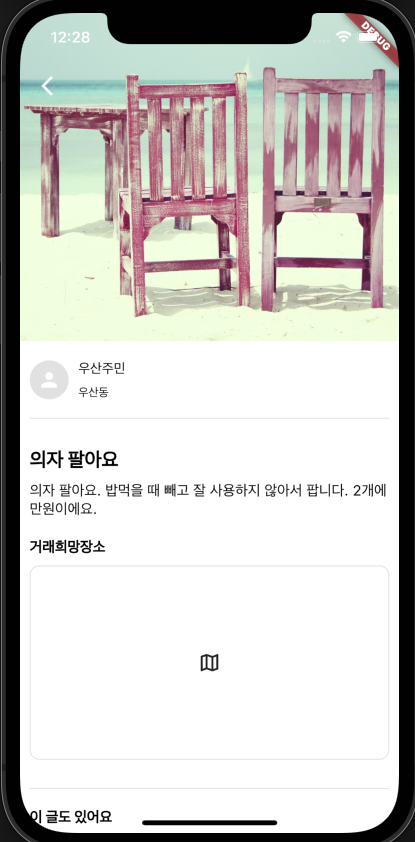
앱을 보면 상단에 이미지가 크게 나오고 아래에 제목과 내용이 있다.
앱바가 이미지 위에 위치하고 있으므로 SliverAppBar위젯을 사용할까 하다가 페이지가 전체적으로 스크롤 하나로 묶여있는 것 같기에 Scaffold의 extendBodyBehindAppBar 속성을 true로 주어 앱바가 이미지 위에 위치하도록 하고 내부 위젯은 SingleChildScrollView를 사용하였다.
class HomeDetail extends StatelessWidget {
const HomeDetail({super.key, required this.data});
final Map<String, dynamic> data; // 클릭하여 넘어온 데이터
Widget build(BuildContext context) {
double height = MediaQuery.of(context).size.height;
double width = MediaQuery.of(context).size.width;
return Scaffold(
extendBodyBehindAppBar: true, // 앱바가 위젯 위에 위치하게끔
appBar: AppBar(
backgroundColor: getColorTransparent(),
elevation: 0,
leading: IconButton(
onPressed: () {
Navigator.pop(context);
},
icon: Icon(Icons.arrow_back_ios_new, color: getColorWhite()),
),
),
backgroundColor: getColorWhite(),
body: SingleChildScrollView(
child: Column(
crossAxisAlignment: CrossAxisAlignment.start,
children: [
Image.network(
data['image'],
height: height * 0.4,
fit: BoxFit.cover
),
getTextFont15(text: data['title'], color: getColorBlack())
],
),
),
);
}
}
CustomScrollView
하단에 다른 판매상품들을 보여줄 수 있는 그리드 형태의 리스트를 만들어 준다.
SingleChildScrollView 내부에 또다른 스크롤뷰 위젯을 넣기 위해서는 해당 위젯의 크기를 정해줘야 하기에 크기가 얼마나 될 지 모르는 상황에서는 사용하기가 힘들다.
Expanded위젯으로 감싸는 것도 안된다.
그래서 SingleChildScrollView를 CustomScrollView로 바꿔주고 Sliver위젯을 사용해야 한다.
CustomScrollView위젯은 sliver~라고 붙은 위젯만 자식으로 가질 수 있다. sliver는 플러터에서 스크롤이 되는 아주 작은 단위? 라고 표현하고 있다. 즉, 모든 스크롤 위젯들의 기본이 되는 것이다.
앱바에 효과를 주거나 (사라지게 하는 등) 스크롤 위젯을 여러개 나타내기에 좋다.
body: CustomScrollView(
        slivers: [
          SliverToBoxAdapter(
            child: Column(
              crossAxisAlignment: CrossAxisAlignment.start,
              children: [
                Image.network(
                  data['image'],
                  height: height * 0.4,
                  fit: BoxFit.cover
                ),
                Padding(
                  padding: const EdgeInsets.all(10.0),
                  child: Column(
                    crossAxisAlignment: CrossAxisAlignment.start,
                    children: [
                      const SizedBox(height: 10.0),
                      getProfileWidget(),
                      const SizedBox(height: 20.0),
                      getDivider(),
                      const SizedBox(height: 30.0),
                      getTextFont20(text: data['title'], color: getColorBlack(), fontWeight: FontWeight.w900),
                      const SizedBox(height: 10.0),
                      getTextFont15(text: "의자 팔아요. 밥먹을 때 빼고 잘 사용하지 않아서 팝니다. 2개에 만원이에요.", color: getColorBlack(), textOverflow: null),
                      const SizedBox(height: 20.0),
                      getTextFont15(text: "거래희망장소", color: getColorBlack(), fontWeight: FontWeight.w900),
                      const SizedBox(height: 10.0),
                      Container(
                        height: 200,
                        width: width,
                        decoration: BoxDecoration(
                          border: Border.all(width: 1, color: getColorGreyLight()),
                          borderRadius: BorderRadius.circular(10.0),
                        ),
                        child: Icon(Icons.map_outlined),
                      ),
                      const SizedBox(height: 30.0),
                      getDivider(),
                      const SizedBox(height: 20.0),
                      getTextFont15(text: "이 글도 있어요", color: getColorBlack(), fontWeight: FontWeight.w900),
                    ],
                  ),
                )
              ],
            ),
          ),
          SliverGrid(
            delegate: SliverChildBuilderDelegate(
              (context, index) {
                return Container(
                  margin: EdgeInsets.all(10),
                  color: getColorGrey(),
                );
              },
            childCount: homeDatas.length
            ),
            gridDelegate: const SliverGridDelegateWithFixedCrossAxisCount(
              crossAxisCount: 2, // 행에 보여줄 item 개수
            ),
          )
        ],
      ),
    );
일반 위젯을 나타내기 위해 SliverToBoxAdapter위젯을 사용하였고 하단에 SliverGrid위젯을 넣었다. GridView와 동일하게 사용하며 된다.