flutter_당근마켓(3)
두번째 동네생활 탭을 만들어본다.
홈 탭과 앱바의 우측 버튼이 다르게 되므로 만들어놨던 공통 앱바에 파라미터를 던져서 다른 버튼이 나오게 만들어 줘야 한다. tabIndex라는 값을 줘서 탭별로 다른 앱바가 나오게 한다.
class CarrotAppBar extends StatelessWidget implements PreferredSizeWidget {
const CarrotAppBar({
super.key,
required this.appBar,
required this.tabIndex
});
final AppBar appBar;
final int tabIndex;
Widget build(BuildContext context) {
return Scaffold(
backgroundColor: getColorWhite(),
appBar: AppBar(
backgroundColor: getColorWhite(),
elevation: 0,
leading: null,
actions: [
if (tabIndex == 0)
IconButton(
onPressed: () {},
icon: Icon(Icons.density_medium, color: getColorBlack())
),
IconButton(
onPressed: () {},
icon: Icon(Icons.search, color: getColorBlack())
),
if (tabIndex == 1)
IconButton(
onPressed: () {},
icon: Icon(Icons.person_outline, color: getColorBlack())
),
IconButton(
onPressed: () {},
icon: Icon(Icons.notifications_none, color: getColorBlack())
),
],
),
);
}
Size get preferredSize => Size.fromHeight(appBar.preferredSize.height);
}본문에는 리스트 형식으로 위젯이 들어가므로 홈탭과 동일하게 ListView를 사용한다.
여기서 최상단에 카테고리가 나열되어 있는 수평스크롤의 리스트가 있다는 점을 생각해야 한다.
이 부분을 위해 Column을 통해 따로 공간을 확보하고 Expanded위젯을 사용해 남은 공간을 리스트로 만들어 주었다.
class TownLife extends StatelessWidget {
const TownLife({super.key});
Widget build(BuildContext context) {
return Scaffold(
backgroundColor: getColorWhite(),
appBar: CarrotAppBar(
appBar: AppBar(),
tabIndex: 1,
),
body: Column(
children: [
Container(
height: 50,
color: Colors.amber,
),
Expanded(
child: ListView.separated(
itemBuilder: (context, index) {
return Container(height: 100, color: Colors.blue);
},
separatorBuilder: (context, index) {
return getDivider();
},
itemCount: 10
),
),
],
),
);
}
}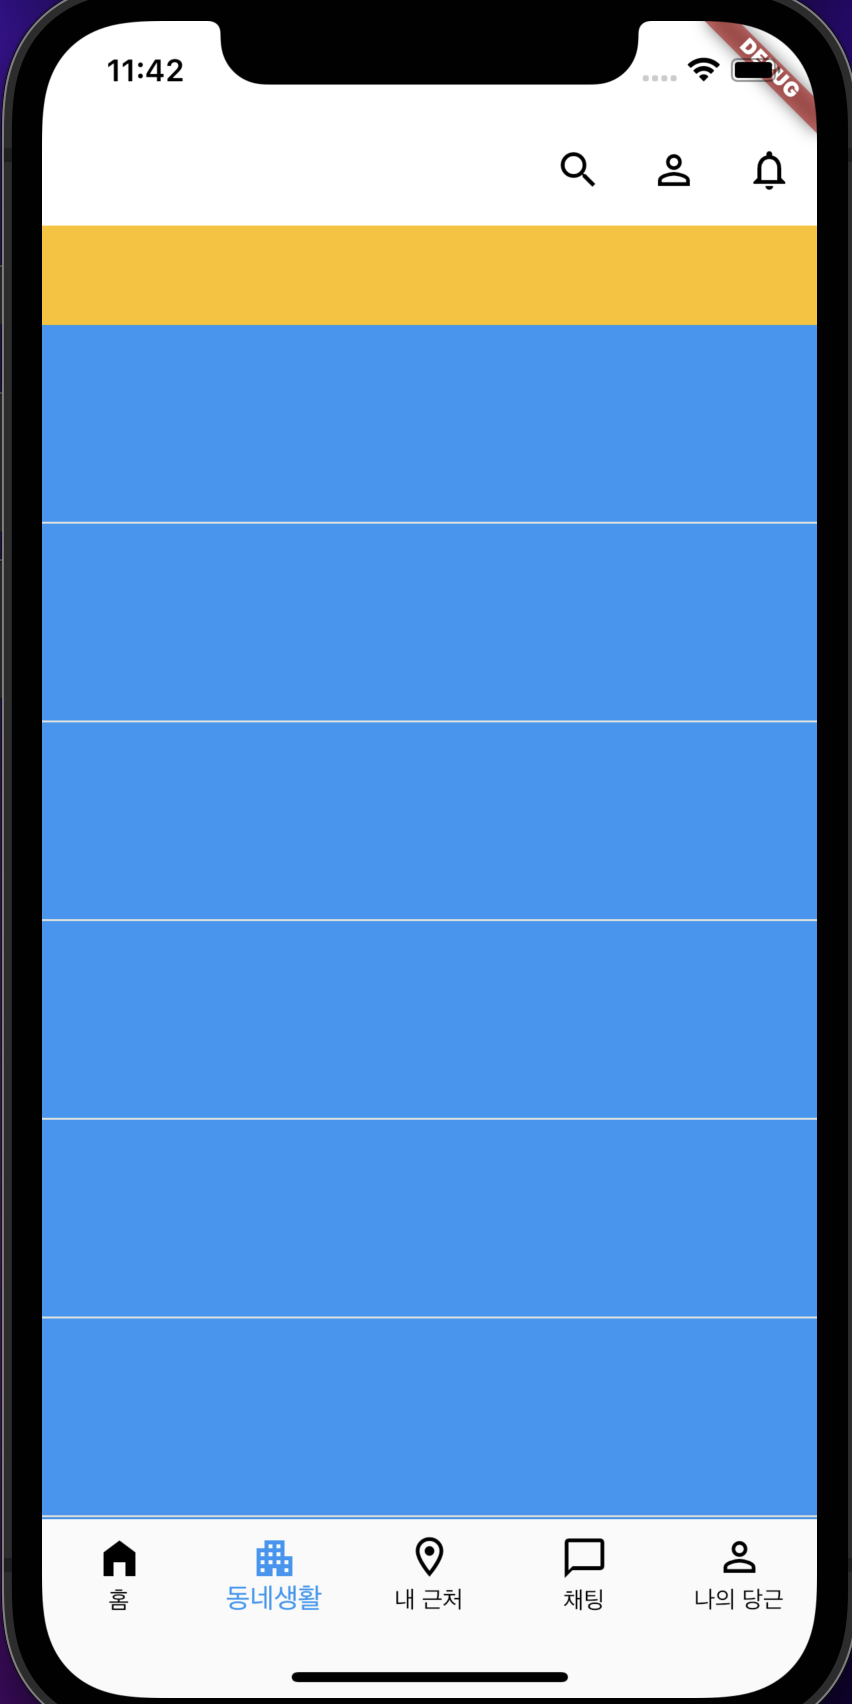
하지만 이렇게 되면 당근마켓에서는 최상단의 카테고리 리스트까지 포함되어 스크롤이 되지만 나는 ListView에서 따로 빼낸 위젯이기에 스크롤이 되지 않는다.
그래서 리스트의 index가 0일때 따로 위젯을 만들어줘야 할 듯하다.
body: ListView.separated(
  itemBuilder: (context, index) {
    if (index == 0) {
      return Padding(
        padding: const EdgeInsets.only(bottom: 8.0),
        child: SizedBox(
          height: 30,
          child: ListView.separated(
            scrollDirection: Axis.horizontal,
            itemBuilder: (context, index) {
              return InkWell(
                borderRadius: BorderRadius.circular(20.0),
                onTap: () {

                },
                child: Container(
                  decoration: BoxDecoration(
                    border: Border.all(width: 1, color: getColorGrey()),
                    borderRadius: BorderRadius.circular(20.0)
                  ),
                  child: Padding(
                    padding: const EdgeInsets.symmetric(horizontal: 8.0),
                    child: Center(
                      child: getTextFont14(text: categories[index], color: getColorBlack())
                    ),
                  ),
                ),
              );
            },
            itemCount: categories.length,
            separatorBuilder: (BuildContext context, int index) {
              return Padding(
                padding: const EdgeInsets.all(4.0),
                child: Container(),
              );
            },
          ),
        ),
      );
    } else {
      return Container(height: 100, color: Colors.blue);
    }
  },
  separatorBuilder: (context, index) {
    return getDivider();
  },
  itemCount: 10
),
이렇게 index == 0라는 조건을 주어 따로 수평 리스트뷰를 만들어 주었다.
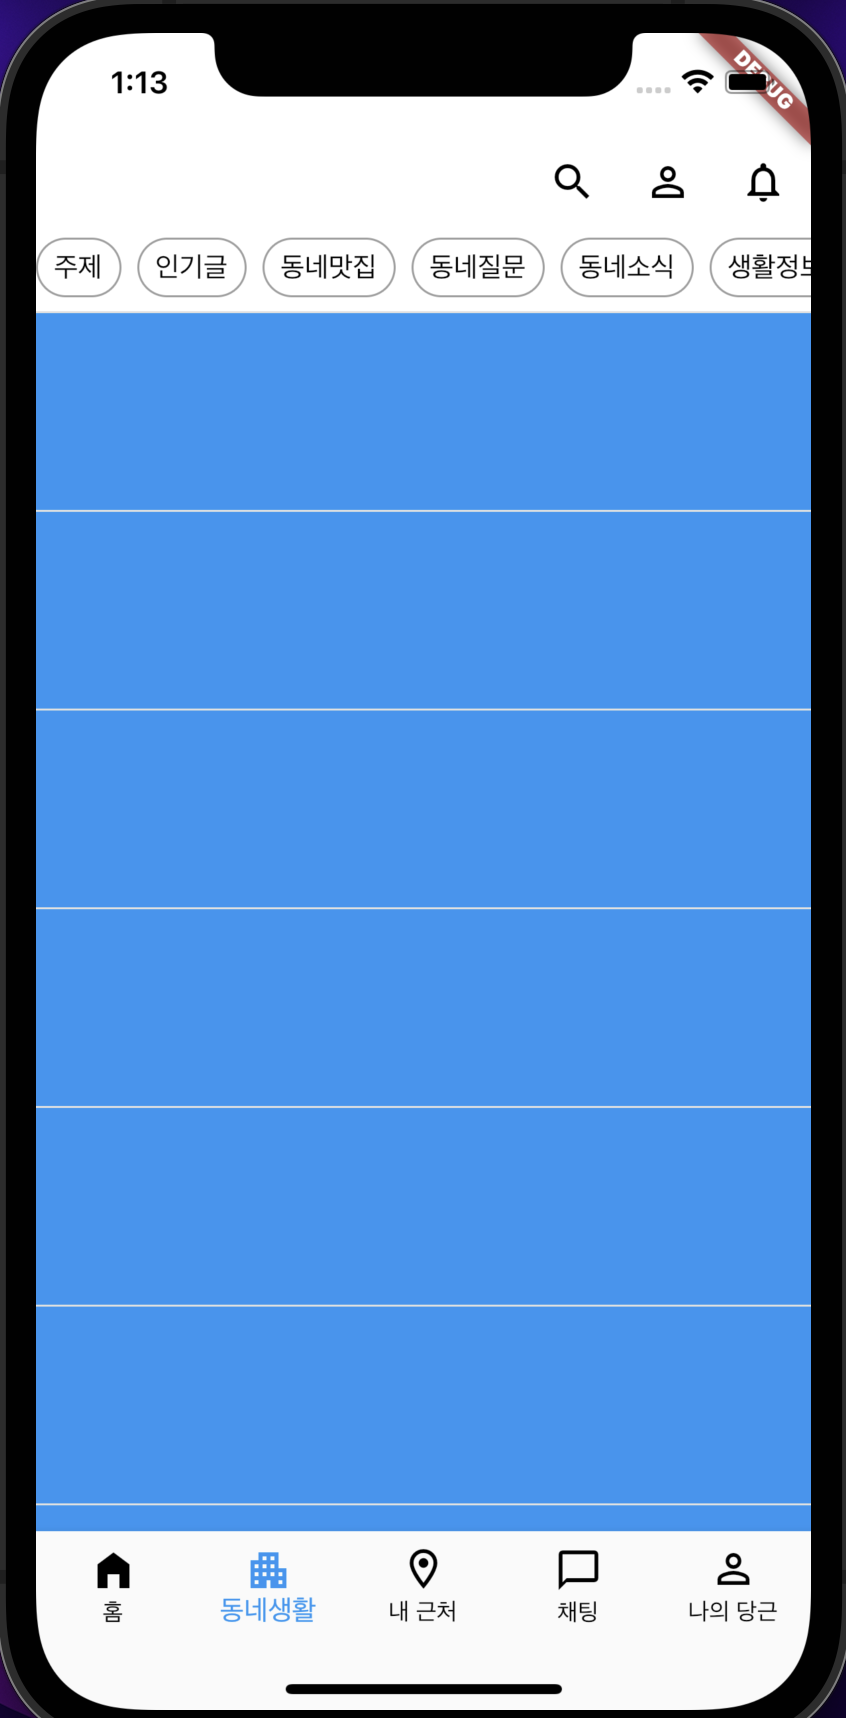
그리고 나머지 인덱스들을 꾸며 주면 된다.
제목과 본문, 시간 밖에 없어서 텍스트로 다 꾸며 주었다.