flutter_당근마켓(1)
플러터 공부를 하기 위해 어떤것을 만들까 하다가 당근마켓을 "무작정" 따라해보기로 했다.
프로젝트를 만들고 프로젝트 구성을 어떻게 할 것인지 정했다.
폴더는 위젯, 페이지, 라우터 정도로 나누었다. 후에 API 연동까지 한다면 API를 위한 Repository가 생길것 같다.
또 이번에 플러터 3.10이 나와서 업그레이드를 진행했다.
맥북이므로 에뮬레이터는 일단 아이폰12로 하였다..
flutter upgrade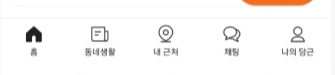
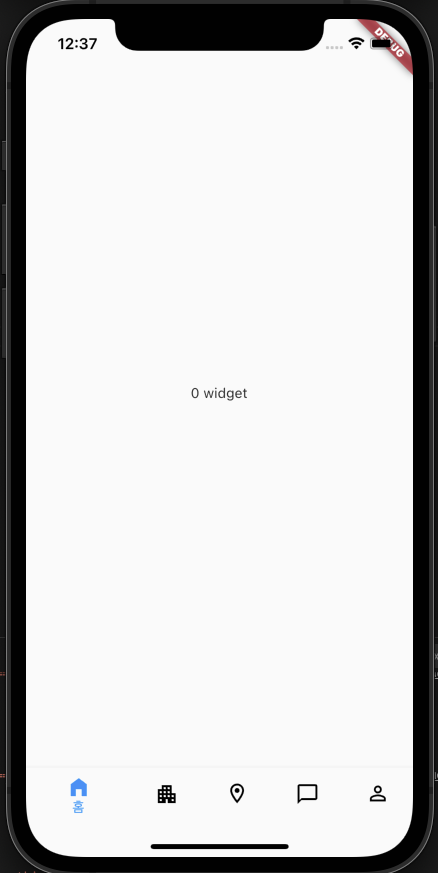
우선 당근마켓의 하단 탭바를 만들었다.
import 'package:flutter/material.dart';
class MainPage extends StatefulWidget {
const MainPage({super.key});
State<MainPage> createState() => _MainPageState();
}
class _MainPageState extends State<MainPage> {
int _currentIndex = 0;
void onChangedIndex(int index) {
setState(() {
_currentIndex = index;
});
}
Widget build(BuildContext context) {
return Scaffold(
// body: bottomWidgetList.elementAt(_currentIndex),
body: Center(child: Text("$_currentIndex widget"),),
bottomNavigationBar: BottomNavigationBar(
onTap: (value) {
onChangedIndex(value);
},
currentIndex: _currentIndex,
items: [ // 하단 탭
BottomNavigationBarItem(
icon: Icon(Icons.home_filled),
label: '홈',
),
BottomNavigationBarItem(
icon: Icon(Icons.apartment),
label: '동네생활',
),
BottomNavigationBarItem(
icon: Icon(Icons.location_on_outlined),
label: '내 근처',
),
BottomNavigationBarItem(
icon: Icon(Icons.chat_bubble_outline),
label: '채팅',
),
BottomNavigationBarItem(
icon: Icon(Icons.person_outline),
label: '나의 당근',
),
],
selectedItemColor: Colors.blue,
unselectedItemColor: Colors.black,
type: BottomNavigationBarType.fixed,
),
);
}
}여기서 BottomNavigationBarType.fixed 부분을
BottomNavigationBarType.shifting로 바꿀 수 있는데, shifting으로 하면 클릭한 탭만의 label 텍스트가 나오게 된다.