flutter_당근마켓(2)

홈 탭
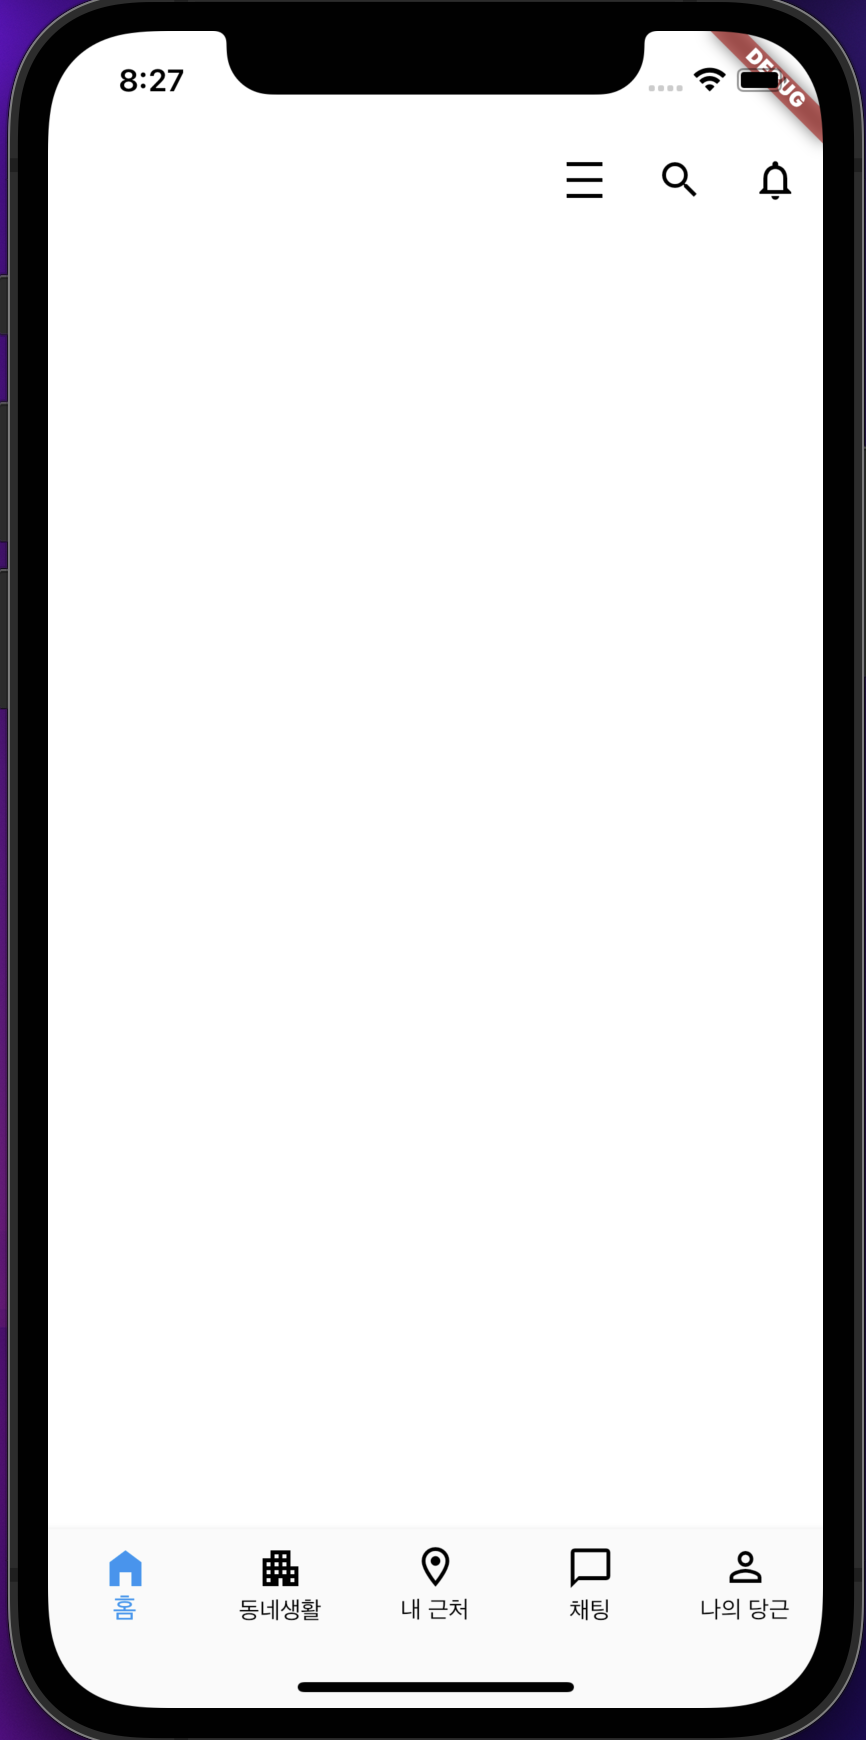
홈 탭의 화면을 만들어보자.
당근마켓 상단 앱바에 좌측에는 지역, 우측에는 세가지의 아이콘이 들어간다.
Scaffold의 appBar를 설정해서 만들어준다.
    return Scaffold(
      backgroundColor: getColorWhite(),
      appBar: AppBar(
        backgroundColor: getColorWhite(),
        elevation: 0,
        leading: null,
        actions: [
          IconButton(
            onPressed: () {},
            icon: Icon(Icons.density_medium, color: getColorBlack())
          ),
          IconButton(
            onPressed: () {},
            icon: Icon(Icons.search, color: getColorBlack())
          ),
          IconButton(
            onPressed: () {},
            icon: Icon(Icons.notifications_none, color: getColorBlack())
          ),
        ],
      ),
    );
좌측에 나오는 아이콘은 leading속성을 통해 정해주면 된다. 일단 지금은 아무것도 없이 진행해보기로 한다.
우측에 나오는 아이콘들은 action속성을 통해 정해주면 된다.
비슷한 아이콘을 찾기 위해서는 https://fonts.google.com/icons 페이지에서 훑어보면서 찾아보면 된다.
이 앱바 위젯은 탭마다 동일하게 사용되고 있으므로 따로 빼내서 공통으로 사용하면 될 듯하다.
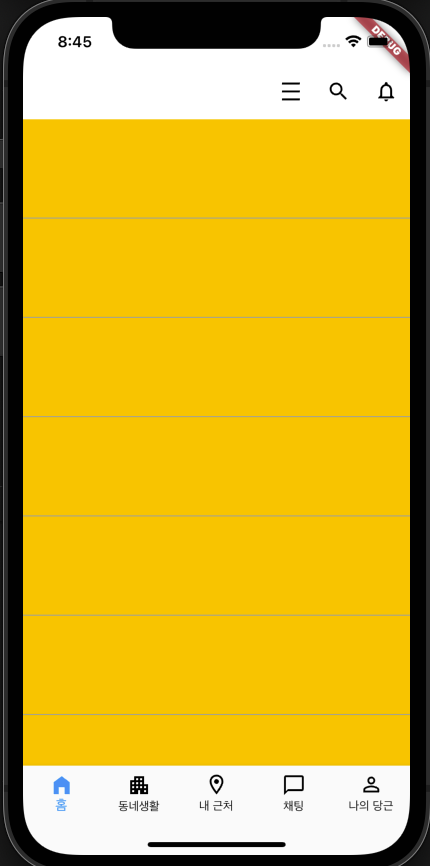
내부에 리스트 형식으로 중고거래 게시글들이 있다. ListView위젯을 사용해서 만들어준다.
위젯 사이사이에 줄이 있으므로 ListView.separated를 사용한다.
Divider는 공통으로 사용되는 곳이 많아서 따로 위젯을 만들어 불러오고 있다.
body: ListView.separated(
        itemBuilder: (context, index) {
          return Container(
            height: 100,
            color: Colors.amber,
          );
        },
        separatorBuilder: (BuildContext context, int index) {
          return getDivider();
        },
        itemCount: 10,
      ),
이제 내부 위젯을 꾸며주면된다.
return InkWell(
  onTap: () {

  },
  child: Row(
    children: [
      Expanded(
        flex: 1,
        child: Padding(
          padding: const EdgeInsets.all(8.0),
          child: Container(
            decoration: BoxDecoration(
              border: Border.all(width: 1, color: getColorGrey()),
              borderRadius: BorderRadius.circular(12.0)
            ),
            child: ClipRRect(
              borderRadius: BorderRadius.circular(12.0),
              child: Image.network(
                "https://cdn.pixabay.com/photo/2015/06/19/21/33/beach-815303_1280.jpg
                height: (Get.width / 3) - 16.0,
                fit: BoxFit.cover,
              ),
            ),
          ),
        ),
      ),
      Expanded(
        flex: 2,
        child: SizedBox(
          height: (Get.width / 3) - 16.0,
          child: Column(
            crossAxisAlignment: CrossAxisAlignment.start,
            mainAxisAlignment: MainAxisAlignment.spaceEvenly,
            children: const [
              Text("책상 팔아요"),
              Text("동명동 - 1시간 전"),
              Text("10000원"),
            ],
          ),
        ),
      ),
    ],
  ),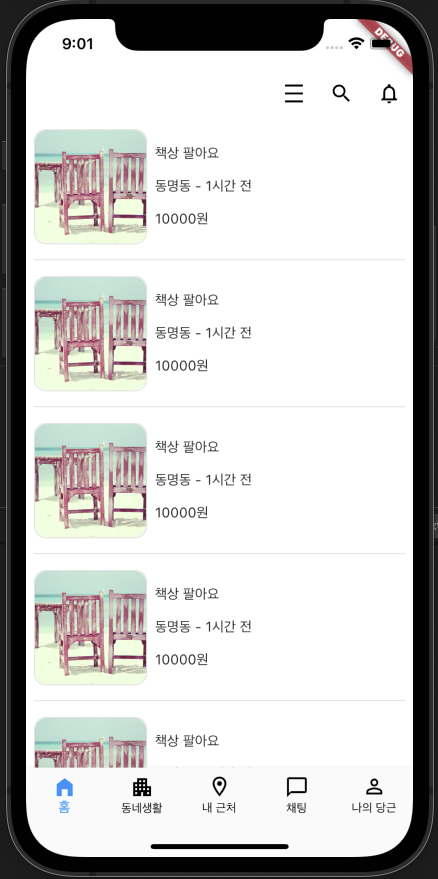
데이터를 몇개 만들어서 넣으면 더욱 보기 괜찮아진다.
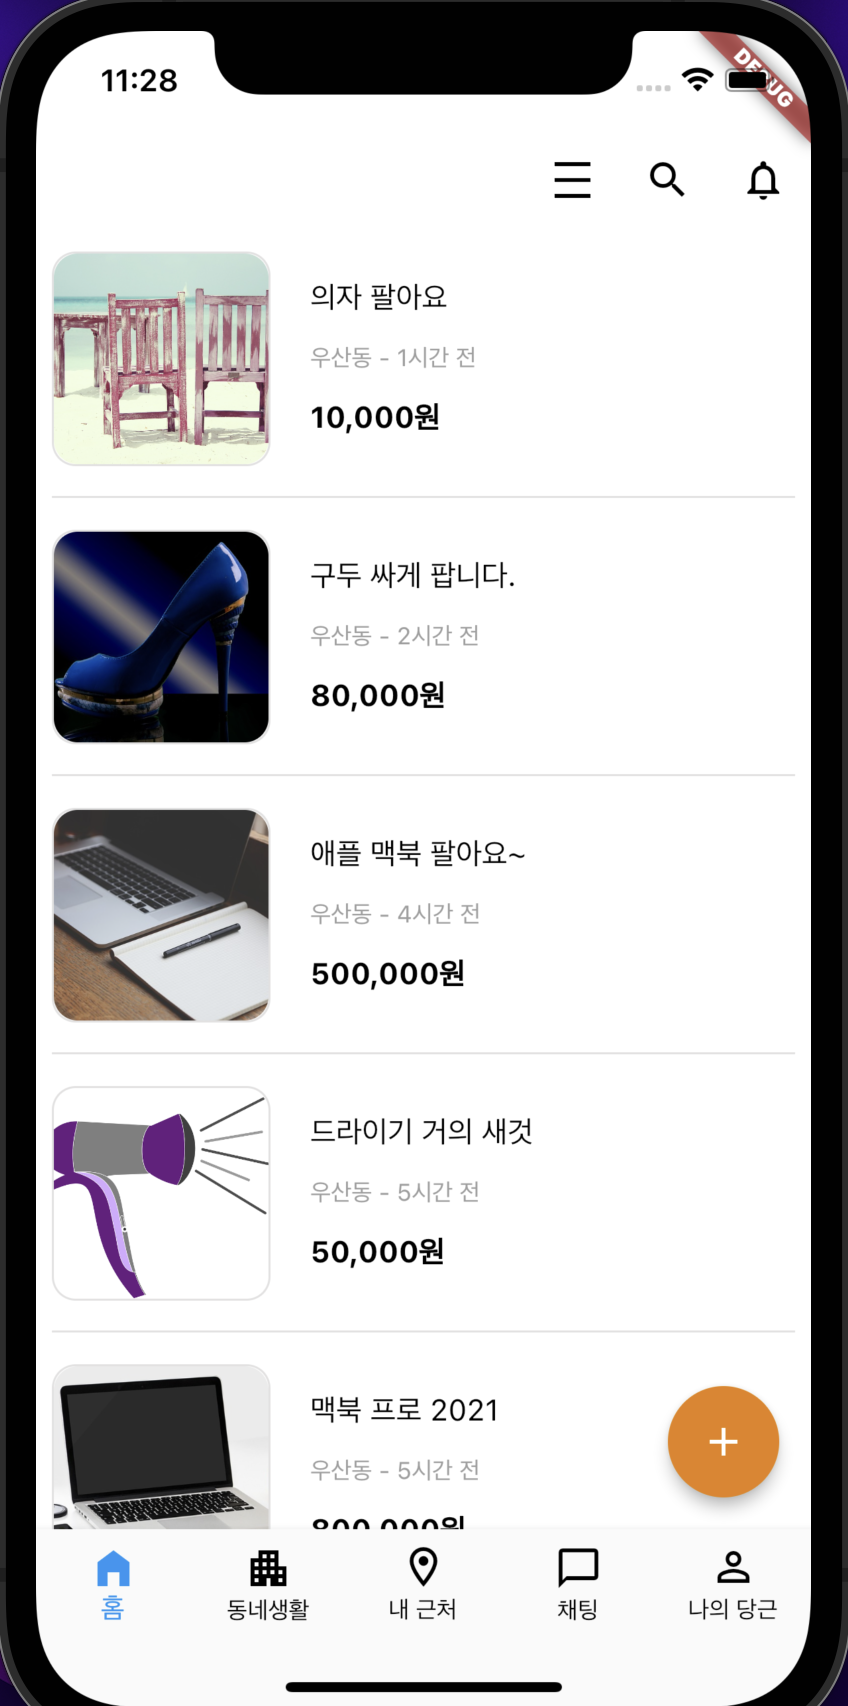
플로팅 버튼
게시글을 추가할 수 있게끔 하단에 동그란 +버튼이 있다.
이를 위해 Scaffolod의 floatingActionButton속성을 추가한다.
floatingActionButton: FloatingActionButton(
        backgroundColor: getColorCarrot(),
        onPressed: () {

        },
        child: Icon(Icons.add, color: getColorWhite(),),
      ),
색상을 최대한 당근마켓과 유사하기 위해 색상코드를 구글링했다.
색상
hex값이 e78111이라고 나온다.
플러터에서 적용하기 위해 Color()안에 적어주면 된다. 이때 hex값 앞에 0xff를 붙혀서 넣어주면 된다.
Color getColorCarrot() {
  return const Color(0xffe78111);
}
공통 앱바 만들어주기
class CarrotAppBar extends StatelessWidget implements PreferredSizeWidget {
const CarrotAppBar({super.key, required this.appBar});
final AppBar appBar;
Widget build(BuildContext context) {
return Scaffold(
backgroundColor: getColorWhite(),
appBar: AppBar(
backgroundColor: getColorWhite(),
elevation: 0,
leading: null,
actions: [
IconButton(
onPressed: () {},
icon: Icon(Icons.density_medium, color: getColorBlack())
),
IconButton(
onPressed: () {},
icon: Icon(Icons.search, color: getColorBlack())
),
IconButton(
onPressed: () {},
icon: Icon(Icons.notifications_none, color: getColorBlack())
),
],
),
);
}
Size get preferredSize => Size.fromHeight(appBar.preferredSize.height);
}PreferredSizeWidget를 상속하지 않으면 이러한 오류가 뜬다. 앱바의 크기를 설정해줘야 한다는 것이다.

@override되는 곳에 앱바의 높이를 넣어주면 된다.
