궁금증
SpringBoot는 어떻게 Application이 초기화 되고 run이 되도록 하였을까?
springboot 2.7.6을 바탕으로 글을 작성하였습니다.
1. SpringApplication run 메서드 호출
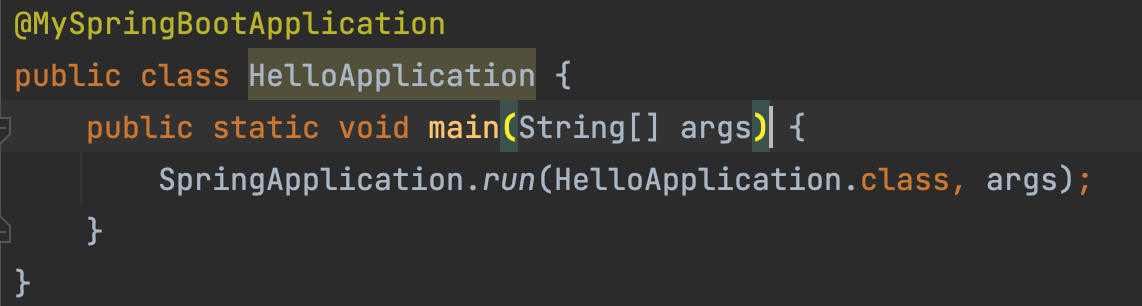
우리가 프로젝트를 만들면 다음과 같은 메인 클래스와 메인 메서드를 볼 수 있다. (@MySpringBootApplication은 @SprinbootApplication과 같은 역할을 하도록 사용자가 만든 것)
SpringApplication 클래스를 먼저 들어가면
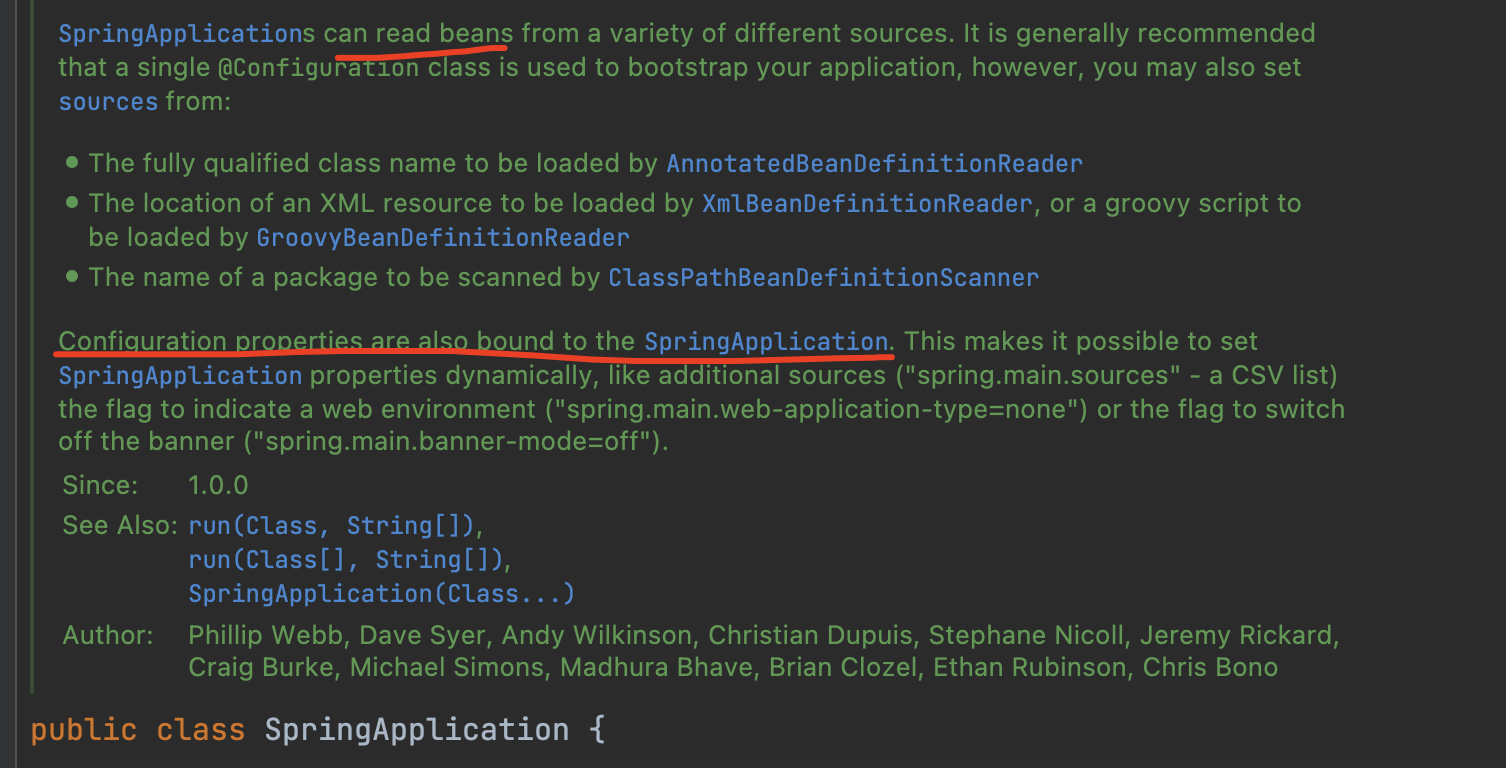
@Configuration 애노테이션이 붙은 클래스들을 통해 빈을 찾고 관리하는 것이다. run 메서드를 들어가서 보면 return 타입이 ConfigurableApplicationContext이다. SpringApplication은 부모 클래스가 존재하지 않는다.
public class SpringApplication {
    ...
    public static ConfigurableApplicationContext run(Class<?> primarySource, String... args) {
        return run(new Class<?>[] { primarySource }, args);
    }

    public static ConfigurableApplicationContext run(Class<?>[] primarySources, String[] args) {
        return new SpringApplication(primarySources).run(args);
    }
    ...
}
즉, run 내부에서 ApplicationContext를 만들어서 실행하고 반환한다는 의미이다.
2. SpringApplication 초기화 및 실행과정
생성자
public class SpringApplication {
	public SpringApplication(ResourceLoader resourceLoader, Class<?>... primarySources) {
		this.resourceLoader = resourceLoader;
		Assert.notNull(primarySources, "PrimarySources must not be null");
		this.primarySources = new LinkedHashSet<>(Arrays.asList(primarySources));
		this.webApplicationType = WebApplicationType.deduceFromClasspath();
		this.bootstrapRegistryInitializers = new ArrayList<>(
				getSpringFactoriesInstances(BootstrapRegistryInitializer.class));
		setInitializers((Collection) getSpringFactoriesInstances(ApplicationContextInitializer.class));
		setListeners((Collection) getSpringFactoriesInstances(ApplicationListener.class));
		this.mainApplicationClass = deduceMainApplicationClass();
	}
}
primarySources가 애플리케이션의 메인 클래스이며, null이면 에러를 나타나도록 하였다.
메인클래스가 null 인지 아닌지 확인한 후에 다음과 같은 5가지 과정이 이루어지는 것 같다. (정말 하나도 감이 안왔다..)
1. WebApplicationType.deduceFromClasspath()
2. getSpringFactoriesInstances(BootstrapRegistryInitializer.class)
3. getSpringFactoriesInstances(ApplicationContextInitializer.class)
4. getSpringFactoriesInstances(ApplicationListener.class)
5. deduceMainApplicationClass()
1. 클래스패스로부터 WebApplicationType 타입을 추론하기
WebApplicationTyped은 NONE, SERVLET, REACTIVE가 있다.
public enum WebApplicationType {
	NONE,
	SERVLET,
	REACTIVE;
}
NONE : AnnotationConfigApplicationContext으로 웹이 아닌 어플리케이션
SERVLET : AnnotationConfigServletWebServerApplicationContext으로 서블릿 기반 웹 애플리케이션
REACTIVE : AnnotationConfigReactiveWebServerApplicationContext으로 리액티브 웹 애플리케이션 (스프링 5.0 부터 리액티브 앱이 추가되었다고 한다.)
클래스 로더를 통해 클래스 패스에 해당하는 클래스가 존재하는지를 바탕으로 웹 애플리케이션 타입을 분류해내는 것 같다.
static WebApplicationType deduceFromClasspath() {
		if (ClassUtils.isPresent(WEBFLUX_INDICATOR_CLASS, null) && !ClassUtils.isPresent(WEBMVC_INDICATOR_CLASS, null)
				&& !ClassUtils.isPresent(JERSEY_INDICATOR_CLASS, null)) {
			return WebApplicationType.REACTIVE;
		}
		for (String className : SERVLET_INDICATOR_CLASSES) {
			if (!ClassUtils.isPresent(className, null)) {
				return WebApplicationType.NONE;
			}
		}
		return WebApplicationType.SERVLET;
	}
run을 실행하면 이렇게 결정된 애플리케이션 타입을 통해 초기 환경설정을 해두는 것으로 보인다.
2. BootstrapRegistryInitializer을 불러오고 Set한다.
2번 3번 4번 모두 getSpringFactoriesInstances() 메서드를 사용하고 파라미터가 바뀌는 것이다. 다음의 코드를 보면 중복을 막기 위해 set을 활용한 것을 알 수 있다.
private <T> Collection<T> getSpringFactoriesInstances(Class<T> type, Class<?>[] parameterTypes, Object... args) {
		ClassLoader classLoader = getClassLoader();
		// Use names and ensure unique to protect against duplicates
		Set<String> names = new LinkedHashSet<>(SpringFactoriesLoader.loadFactoryNames(type, classLoader));
		List<T> instances = createSpringFactoriesInstances(type, parameterTypes, classLoader, args, names);
		AnnotationAwareOrderComparator.sort(instances);
		return instances;
	}
BootstrapRegistry 설명을 찾아보면 다음과 같다.
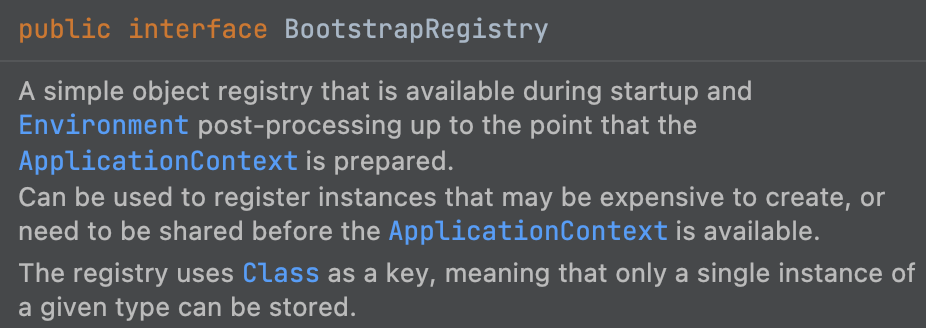
즉, ApplicationContext이 준비되기 전에 해당 공유해야 하는 인스턴스들이 등록할 수 있도록 만들어둔 임시 컨텍스트 객체이다.
3. ApplicationContextInitializer을 불러오고 Set한다.
3번 4번부터 나오는 setInitializers()을 보면 여기서부터 이제 ApplicationContext에 적용되기 시작한다.
	/**
	 * Sets the {@link ApplicationContextInitializer} that will be applied to the Spring
	 * {@link ApplicationContext}.
	 * @param initializers the initializers to set
	 */
	public void setInitializers(Collection<? extends ApplicationContextInitializer<?>> initializers) {
		this.initializers = new ArrayList<>(initializers);
	}
여기서는 ApplicationContext를 위한 Initializer들을 로딩한다.
4. ApplicationListener를 불러오고 Set한다.
application event을 다루는 ApplicationListener들을 불러오고 listener 값을 셋해주는 부분이다.
5. MainApplicationClass을 추론한다.
SpringApplication을 생성하는 마지막 단계로 메인 클래스를 찾는 과정이다.
private Class<?> deduceMainApplicationClass() {
		try {
			StackTraceElement[] stackTrace = new RuntimeException().getStackTrace();
			for (StackTraceElement stackTraceElement : stackTrace) {
				if ("main".equals(stackTraceElement.getMethodName())) {
					return Class.forName(stackTraceElement.getClassName());
				}
			}
		}
		catch (ClassNotFoundException ex) {
			// Swallow and continue
		}
		return null;
	}
코드를 보면 먼저 RuntimeExcetpion을 발생시켜 추적하여 main메서드를 찾는 것으로 보인다. main메서드를 갖고 있는 클래스가 Main 클래스로 판단하고 해당 클래스의 이름을 찾는다.
위의 단계들을 살펴봄으로써 SpringApplication 객체를 만드는 과정에서 웹 애플리케이션 타입인지 판단하고, 임시 객체도 만들고, 객체들을 준비하는 등의 작업이 진행되는 것을 파악할 수 있었다.
정말 쉽지 않은 공부였다.
아직도 모든 것이 이해되지 않았지만, 반복해서 보고, 나중에 한 번 더 보아야 겠다.
참고자료
https://docs.spring.io/spring-boot/docs/current/api/
[Spring boot] ApplicationContext 와 WebApplicationType
토비의 스프링부트 이해와 원리
