import cv2
import numpy as np
import matplotlib.pyplot as plt
import urllib
import requests
from io import BytesIO
1. 자주쓰는 기능 함수 정의
def url_to_image(url, gray=False): # url 이미지 불러오기
  resp = urllib.request.urlopen(url)
  image = np.asarray(bytearray(resp.read()), dtype="uint8")

  if gray == True:
    image = cv2.imdecode(image, cv2.IMREAD_GRAYSCALE)
  else:
    image = cv2.imdecode(image, cv2.IMREAD_COLOR)
    image = cv2.cvtColor(image, cv2.COLOR_BGR2RGB)

  return image
# 이미지 필터
def filtered_image(image, filter, output_size):
  filtered_img = np.zeros((output_size, output_size))
  filter_size = filter.shape[0]

  for i in range(output_size):
    for j in range(output_size):
      multiply_values = image[i:(i + filter_size), j:(j+filter_size)] * filter
      sum_value = np.sum(multiply_values)

      if (sum_value > 255):
        sum_value = 255

      filtered_img[i, j] = sum_value

  return filtered_img
# 이미지를 2차원 배열로 변환해주는 함수
def im2col(input_data, filter_h, filter_w, stride=1, pad=0):
N, C, H, W = input_data.shape
out_h = (H + 2*pad - filter_h) // stride + 1
out_w = (W + 2*pad - filter_w) // stride + 1
img = np.pad(input_data, [(0,0), (0,0), (pad, pad), (pad, pad)], 'constant')
col = np.zeros((N, C, filter_h, filter_w, out_h, out_w))
for y in range(filter_h):
y_max = y + stride * out_h
for x in range(filter_w):
x_max = x + stride * out_w
col[:, :, y, x, :, :] = img[:, :, y:y_max:stride, x:x_max:stride]
col = col.transpose(0, 4, 5, 1, 2, 3).reshape(N * out_h * out_w, -1)
return col
# 2차원 배열을 이미지로 변환해주는 함수
def col2im(col, input_shape, filter_h, filter_w, stride=1, pad=0):
N, C, H, W = input_shape
out_h = (H + 2*pad - filter_h) // stride + 1
out_w = (W + 2*pad - filter_w) // stride + 1
col = col.reshape(N, out_h, out_w, C, filter_h, filter_w).transpose(0, 3, 4, 5, 1, 2)
img = np.zeros((N, C, H + 2*pad + stride - 1, W + 2*pad + stride -1))
for y in range(filter_h):
y_max = y + stride * out_h
for x in range(filter_w):
x_man = x + stride * out_w
img[:, :, y:y_max:stride, x:x_man:stride] = img[:, :, y, x, :, :]
return img[:, :, pad:H + pad, pad:W + pad]2. 합성곱층 만들기
class conv2D: #
  def __init__(self, W, b, stride=1, pad=0):
    self.W = W
    self.b = b
    self.stride = stride
    self.pad = pad

    self.input_data = None
    self.col = None
    self.col_w = None

    self.dW = None
    self.db = None

  def forward(self, input_data): # 순전파
    FN, C, FH, FW = self.W.shape
    N, C, H, W = input_data.shape
    out_h = (H + 2*self.pad - FH) // self.stride + 1
    out_w = (W + 2*self.pad - FW) // self.stride + 1

    col = im2col(input_data, FH, FW, self.stride, self.pad )
    col_W = self.W.reshape(FN, -1).T

    out = np.dot(col, col_W) + self.b
    output = out.reshape(N, out_h, out_w, -1).transpose(0, 3, 1, 2)

    self.input_data = input_data
    self.col = col
    self.col_W = col_W

    return output

  def backward(self, dout): # 역전파
    FN, C, FH, FW = self.W.shape
    dout = dout.transpose(0, 2, 3, 1).reshape()

    self.db = np.sum(dout, axis=0)
    self.dW - np.dot(self.col.T, dout)
    self.dW = self.dw.transpose(1, 0).reshape(FN, C, FH, FW)

    dcol = np.dot(dout, self.col_W.T)
    dx = col2im(dcol, self.input_data.shape, FH, FW, self.stride, self.pad)

    return dx
3. 컨볼루션 레이어 테스트
- 가중치와 편향값 변경에 따라 이미지 처리가 어떻게 달라지는지 살펴본다
def init_weight(num_filters, data_dim, kernel_size, stride=1, pad=0, weight_std=0.01):

  weights = weight_std * np.random.randn(num_filters, data_dim, kernel_size, kernel_size)
  biases = np.zeros(num_filters)

  return weights, biases
# gray 이미지 불러오기
img_url = "https://upload.wikimedia.org/wikipedia/ko/thumb/2/24/Lenna.png/440px-Lenna.png"
image_gray = url_to_image(img_url, gray=True)
image_gray = image_gray.reshape(image_gray.shape[0],-1,1)
print("image.shape:", image_gray.shape)
image_gray = np.expand_dims(image_gray.transpose(2, 0, 1), axis = 0)
plt.imshow(image_gray[0, 0, :, :], cmap='gray')
plt.show()image.shape: (440, 440, 1)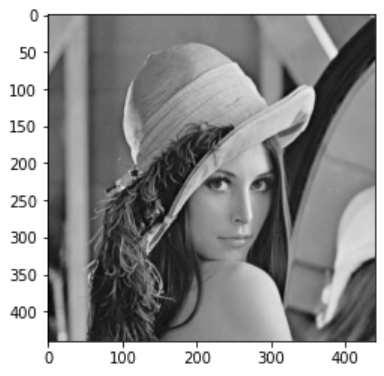
W, b = init_weight(1, 1, 3)
conv = conv2D(W, b)
output = conv.forward(image_gray)

print("Conv Layer size: ", output.shape)
Conv Layer size: (1, 1, 438, 438)plt.imshow(output[0,0, :, :], cmap='gray')
plt.show()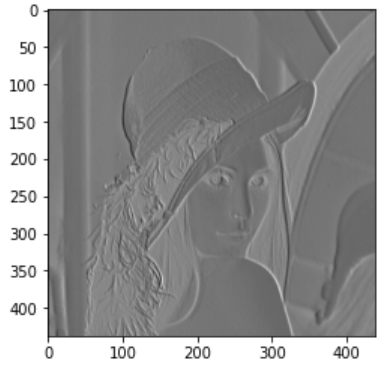
# stride를 1에서 2로 변경
W2, b2 = init_weight(1, 1, 3, stride=2)
conv2 = conv2D(W2, b2, stride=2)
output2 = conv2.forward(image_gray)

print("Conv Layer size: ", output2.shape)
Conv Layer size: (1, 1, 219, 219)plt.imshow(output2[0,0, :, :], cmap='gray')
plt.show()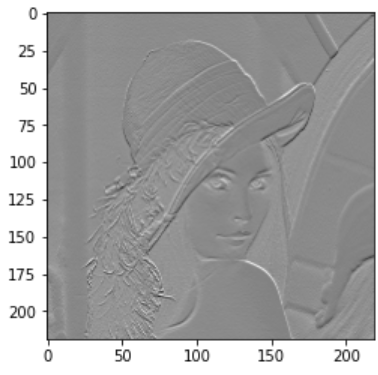
# 컬러이미지 불러오기
img_url = "https://upload.wikimedia.org/wikipedia/ko/thumb/2/24/Lenna.png/440px-Lenna.png"
image_color = url_to_image(img_url)
print("image.shape:", image_color.shape)

plt.imshow(image_color)
plt.show()

image_color = np.expand_dims(image_color.transpose(2, 0, 1), axis=0)
print("image.shape", image_color.shape) # 이미지에 차원 더하기
image.shape: (440, 440, 3)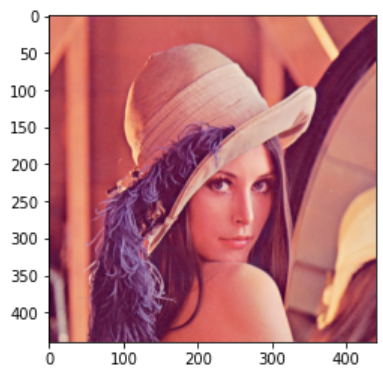
image.shape (1, 3, 440, 440)# init_weight 첫번째, 두번째 매개변수 변경(filter 갯수와 차원)
W3, b3 = init_weight(10, 3, 3)
conv3 = conv2D(W3, b3)
output3 = conv3.forward(image_color)
print("Conv Layer size: ", output3.shape)Conv Layer size: (1, 10, 438, 438)plt.imshow(output3[0,3, :, :], cmap='gray')
plt.show()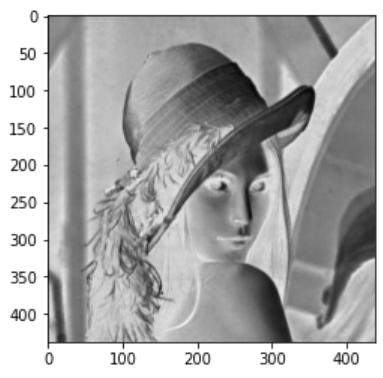
plt.imshow(output3[0,8, :, :], cmap='gray')
plt.show()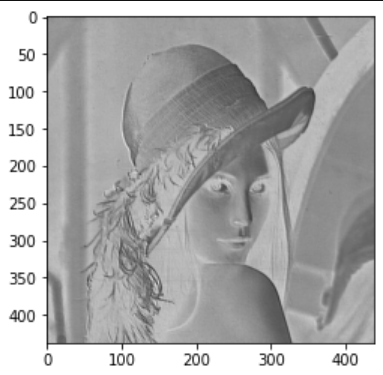

나무를 심는 사람