JSP (Java Server Page)

-
HTML + Java
-
실행순서 사진 참고
※ 자바 콤파일러와의 차이점 : 변환시켜주고 실행까지 시킨다.
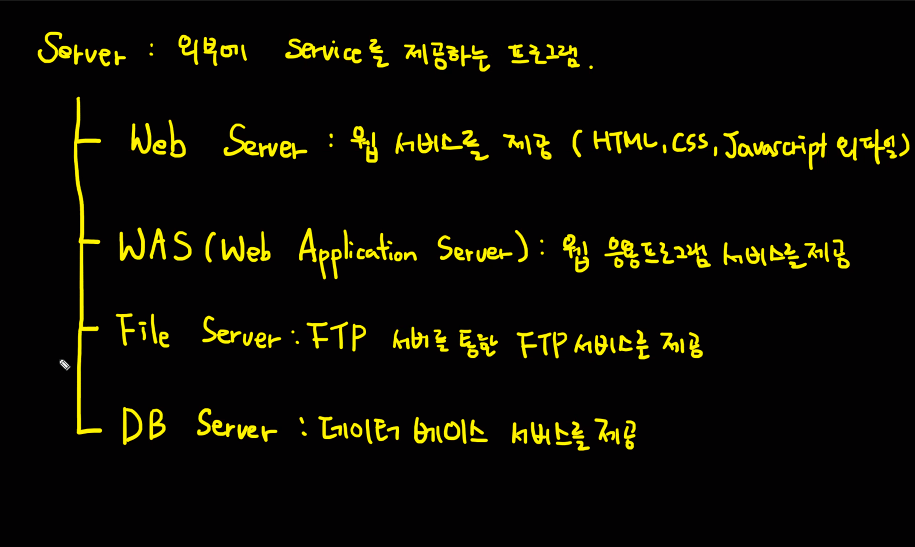
- Web Server : 웹 서비스를 제공 ( HTML, css , Javascript 외 파일)
-
WAS( Web Application Server) : 웹 응용프로그램 서비스를 제공
- 우리는 현재 tomcat을 사용 중
-
File Server: FTP(File Transfer Protocol) 서버를 통한 FTP 서비스를 제공
-
DB Server : 데이터 베이스 서비스를 제공
WAS
- Tomcat : Apache 재단, 무료
- Zeus : Tmax 소프트, 유료, 공공위주, Tomcat 개조본
- Web logic : Oracle 유료, 삼성진행 프로젝트
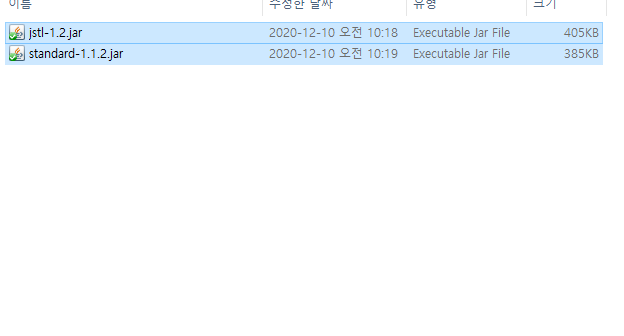

WEB-INF - lib 폴더에 넣기
Java 문법 -> Tag 변환
-
Core Tag, JSTL : 기능 <c:>
-
el Tag : 값 , $ { } , 화면에 값 처리
test01 참고
<%@ page language="java" contentType="text/html; charset=UTF-8"
    pageEncoding="UTF-8"%>
<%@ taglib prefix="c"  uri="http://java.sun.com/jsp/jstl/core"%>
<!DOCTYPE html>
<html>
<head>
<meta charset="UTF-8">
<title>Insert title here</title>
</head>
<body>
<%--  권한에 따라서 기능 보이게 하기 응용 가능 --%>
<%-- jsp 주석. core tag 안에서는 무조건 이 주석을 사용 --%>
<c:if test="${2 > 0 }">
2가0보다 크다.<br/>
</c:if>
<c:forEach var="i" begin="0" end="9" step="1">
<c:choose>
<%--  조건추가시 when을 추가해주면 된다. --%>
	<c:when test="${i  eq 0}">
	<b>${i}</b><br/>
	</c:when>
	<c:when test="${i % 2 eq 0}">
		${i}<br/>
	</c:when>
	<c:otherwise>
		<b>${i}</b><br/>
	</c:otherwise>
</c:choose>
</c:forEach>
<%-- 2단부터 9단까지 출력  core tab 와 el tag 활용 --%>
<c:forEach var="i" begin="2" end="9" step="1">
	<c:forEach var="j" begin="1" end="9" step="1">
		${i}*${j}=${i*j}<br/>
	</c:forEach>
	<br/>
</c:forEach>
<c:import url="test2.jsp"></c:import>
</body>
</html>
test2
<%@ page language="java" contentType="text/html; charset=UTF-8"
    pageEncoding="UTF-8"%>

이것은 test2입니다.
쓸 내용만 보듯이 쓰기만 해도 됨
실습결과

MVC 설명

쉽지않으나 언젠간 이해해야되는 개념 같다.

호텔리어 출신 비전공자