Docker 환경이 아닌 실제 Ubuntu(리눅스) 서버에서 NGINX를 설치한 경험이 있는 사람이라면, 우선 Ubuntu에 NGINX를 설치하고 /etc/nginx 등의 directory로 이동하여 nginx.conf 파일을 수정하고 service nginx restart 명령어를 통해서 바뀐 nginx 설정을 서버에 적용했던 기억이 있을 것이다.
Docker를 사용하는 수많은 이유가 있겠지만, 나는 그 중에서도 container를 언제든 올리고 내리고를 반복할 수 있는 reproducable 한 점을 좋아한다. NGINX conf 파일 역시 외부에서 들고 있으면서 이것을 docker volume을 통해서 연결해주면 NGINX container를 언제든 reproducable 하게 관리할 수 있다.
docker cp
Docker volume을 사용해서 conf 파일을 연결한다고 한 말의 뒤에는 기존의 conf를 덮어쓴다는 말이다. 그렇다면 이왕이면 기존의 conf 파일을 먼저 나의 로컬에 옮기고 나서 작업하는 것이 편할 것이다.
그러기 위해 우선 nginx container를 하나 생성해주자(container name: tmp-nginx):
docker run -d --name tmp-nginx nginx이제 docker cp 명령어를 사용하여 container에 있는 파일 및 폴더를 로컬에 옮길 것이다. 그 전에 이번 프로젝트를 진행하기 위해 새로운 폴더를 만들자. 그 다음 nginx에 대한 설정을 모아두기 위한 nginx라는 이름의 폴더를 만들어주자:
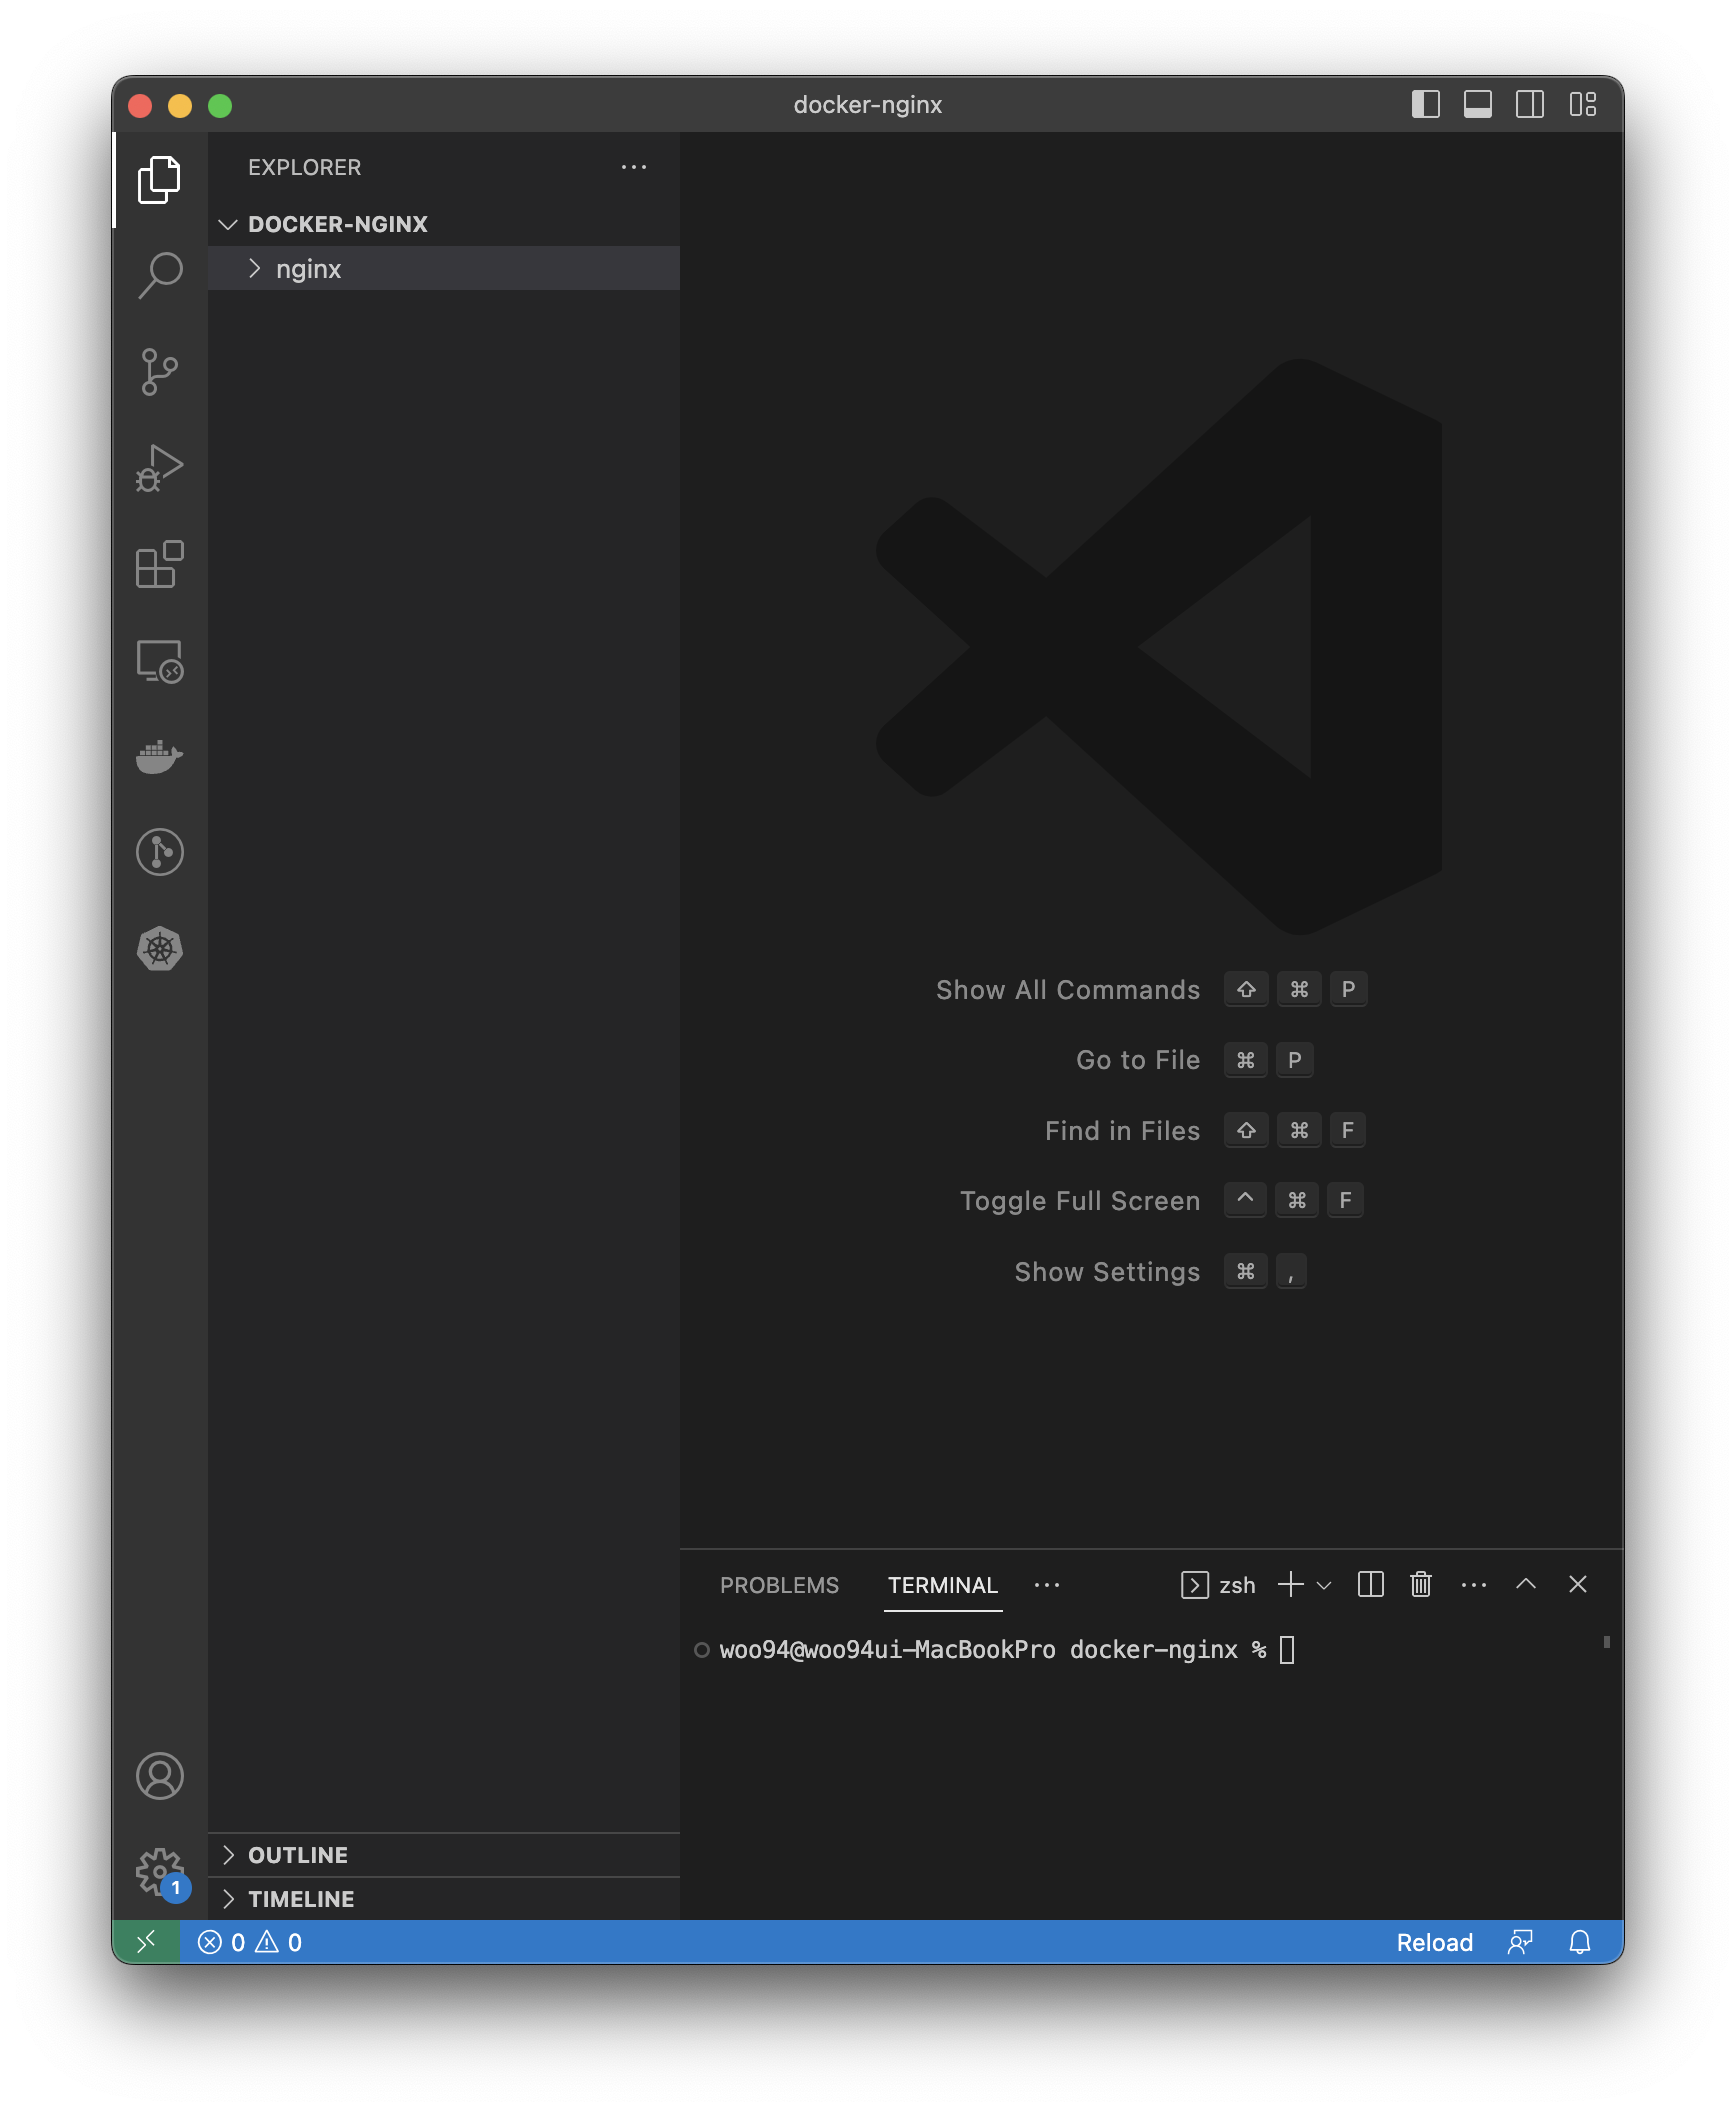
그 다음엔 이 프로젝트 폴더에 conf 파일들을 옮겨주기 위해 vscode의 터미널을 사용하겠다.
docker cp 명령어를 사용하여 container의 /etc/nginx/nginx.conf 파일을 현재 프로젝트 폴더의 ./nginx/nginx.conf 로 옮겨보자:
nginx.conf파일 옮기기
docker cp tmp-nginx:/etc/nginx/nginx.conf ./nginx/nginx.confnginx/conf.d폴더 옮기기
docker cp tmp-nginx:/etc/nginx/conf.d ./nginx이제 필요한 파일들을 모두 옮겼으니 tmp-nginx container를 삭제해주자:
- stop
docker stop tmp-nginx- rm
docker rm tmp-nginx설정 파일 설명
1. nginx.conf 파일
우선 nginx.conf 파일을 먼저 열어보자:
# ./nginx/nginx.conf

user  nginx;
worker_processes  auto;

error_log  /var/log/nginx/error.log notice;
pid        /var/run/nginx.pid;


events {
    worker_connections  1024;
}


http {
    include       /etc/nginx/mime.types;
    default_type  application/octet-stream;

    log_format  main  '$remote_addr - $remote_user [$time_local] "$request" '
                      '$status $body_bytes_sent "$http_referer" '
                      '"$http_user_agent" "$http_x_forwarded_for"';

    access_log  /var/log/nginx/access.log  main;

    sendfile        on;
    #tcp_nopush     on;

    keepalive_timeout  65;

    #gzip  on;

    include /etc/nginx/conf.d/*.conf;
}
기본적인 설정(events block, http block)이 포함되어 있다. 그 중 마지막 부분에 있는 include /etc/nginx/conf.d/*.conf 를 보자.
이 말은 conf.d 폴더 아래에 있는 .conf 확장자를 가진 모든 파일을 가져온다는 의미이다. 이로써 nginx 설정을 모듈화하여 관리할 수 있게 된다.
2. conf.d 폴더
conf.d 폴더에는 기본 파일이 들어가있다.
default.conf 라는 파일을 열어보자:
server {
    listen       80;
    listen  [::]:80;
    server_name  localhost;

    #access_log  /var/log/nginx/host.access.log  main;

    location / {
        root   /usr/share/nginx/html;
        index  index.html index.htm;
    }

    #error_page  404              /404.html;

    # redirect server error pages to the static page /50x.html
    #
    error_page   500 502 503 504  /50x.html;
    location = /50x.html {
        root   /usr/share/nginx/html;
    }

    # proxy the PHP scripts to Apache listening on 127.0.0.1:80
    #
    #location ~ \.php$ {
    #    proxy_pass   http://127.0.0.1;
    #}

    # pass the PHP scripts to FastCGI server listening on 127.0.0.1:9000
    #
    #location ~ \.php$ {
    #    root           html;
    #    fastcgi_pass   127.0.0.1:9000;
    #    fastcgi_index  index.php;
    #    fastcgi_param  SCRIPT_FILENAME  /scripts$fastcgi_script_name;
    #    include        fastcgi_params;
    #}

    # deny access to .htaccess files, if Apache's document root
    # concurs with nginx's one
    #
    #location ~ /\.ht {
    #    deny  all;
    #}
}
위에서 설명한 nginx.conf 파일의 include directive에 의해서 실제로는 아래와 같은 구조를 띄고 있다:
http {
	...

    # gzip on;

    # from conf.d/default.conf
	server {
	    listen       80;
    	listen  [::]:80;
	    server_name  localhost;
        ...
	}
}
대략적으로 해석해보면, localhost 80번 포트를 listen 하고 있으며 / location으로 접속하면 /usr/share/nginx/html/index.html 파일을 static하게 serve 하고 있다.
Docker compose 파일 작성
services:
  api_gateway:
    image: nginx
    volumes:
      - ./nginx/nginx.conf:/etc/nginx/nginx.conf
      - ./nginx/conf.d/:/etc/nginx/conf.d
    ports:
      - 8080:80
  server1:
    build: ./server1
  server2:
    build: ./server2
3개의 서비스를 만든다:
- api_gateway
- server1
- server2
api_gateway 서비스는 NGINX로 만든다. 여기에 우리가 docker cp 명령어로 로컬에 빼놓은 NGINX 설정파일들을 volume을 사용하여 mount 해준다. 그리고 이 container를 host pc의 8080번 port를 container의 80번 port로 forwarding 하였다.
server1, server2 는 실제 web server이다. API gateway의 route path(location block)에 따라서 다른 web server로 연결을 시켜줄 것이다. 이 web server들은 외부에 IP를 노출시키지 않고 오직 api_gateway를 통한 interanl network만을 수행할 것이기 때문에 ports를 사용해서 port forwarding을 해주지 않는다.

감사합니다!