Serverless로 GatherTown 스타일의 "Small Village" 구현 - Part 1
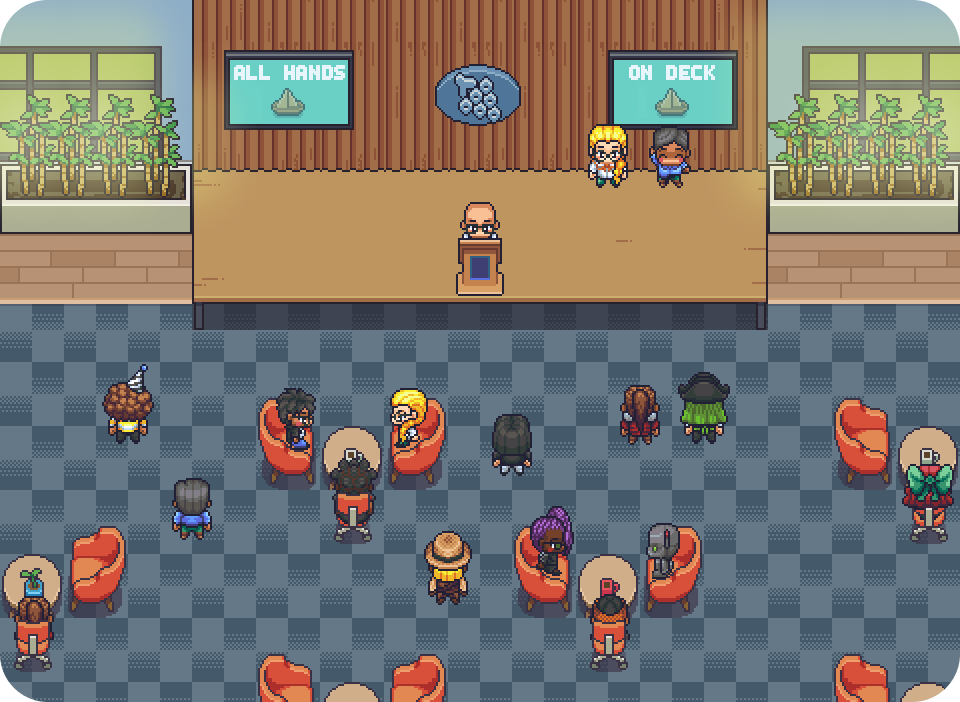
GatherTown은 가상 공간에서 아바타를 통해 다른 사용자들과 실시간으로 소통할 수 있는 메타버스 플랫폼입니다. 전에는 이런 걸 어떻게 만드나 싶었는데 얼마전에 우연히 phaser 게임 엔진을 알게 되면서 가능할 것 같다는 생각이 들어 시작합니다.
아래 링크를 클릭해 "Small Village"를 바로 방문해 보실 수 있습니다.
👉 smallvillage.netlify.app
Small Village
GatherTown의 모든 기능을 구현하기는 어려우니, 작은 마을 정도의 규모로 시작해보려고 합니다. 따라서 프로젝트명을 Small Village로 정했습니다. serverless 아키텍처를 활용하여 개발할 예정입니다.
필요한 기술스택을 정리해 보면
-
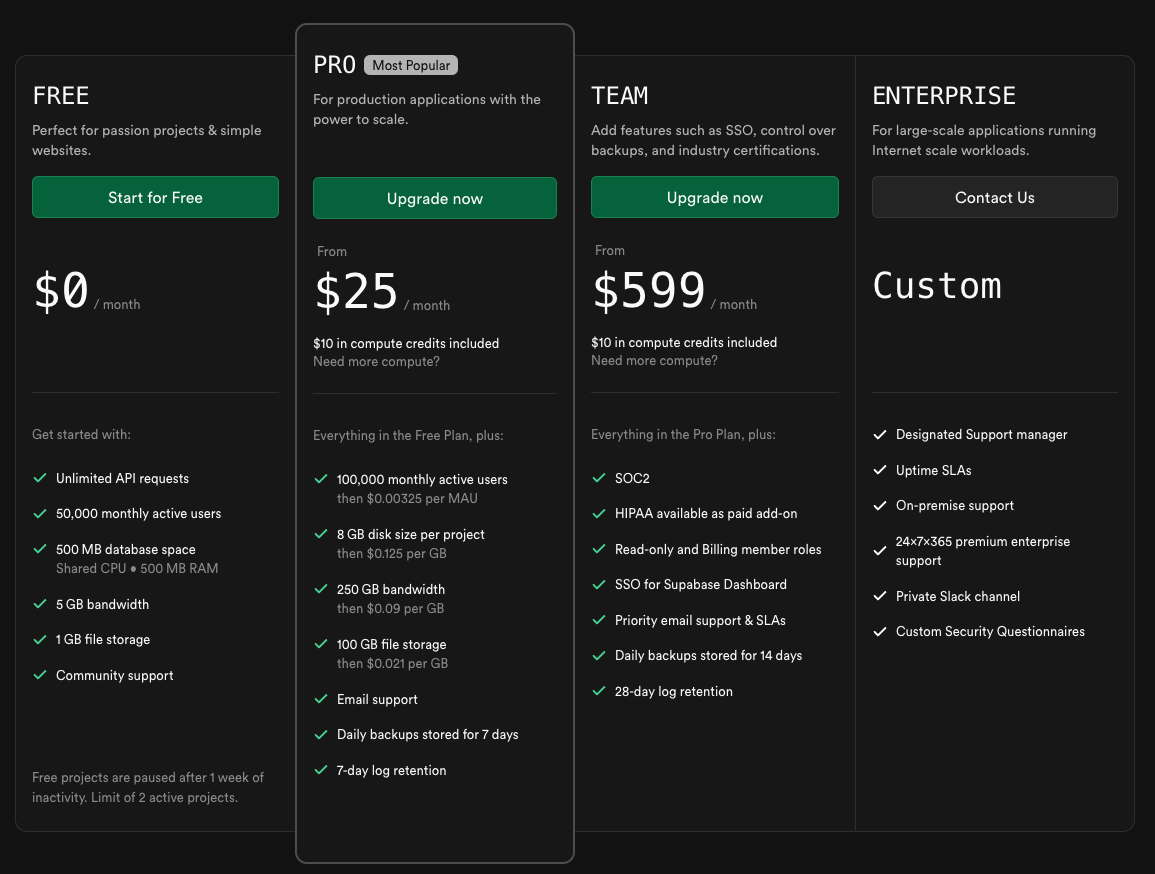
Supabase: Firebase와 유사한 기능을 제공하는 오픈소스 백엔드 플랫폼입니다. 무료 플랜으로도 토이 프로젝트에 충분하며, WebRTC 시그널링 서버 역할도 수행할 수 있습니다.
-
ReactJS: 프론트엔드 개발을 위한 JavaScript 라이브러리입니다.
-
WebRTC: 실시간 음성/화상 통화 및 데이터 통신을 위한 웹 표준 기술입니다.
-
Phaser: HTML5 게임 개발을 위한 2D 게임 엔진으로, 캐릭터 애니메이션과 상호작용을 쉽게 구현할 수 있습니다.
-
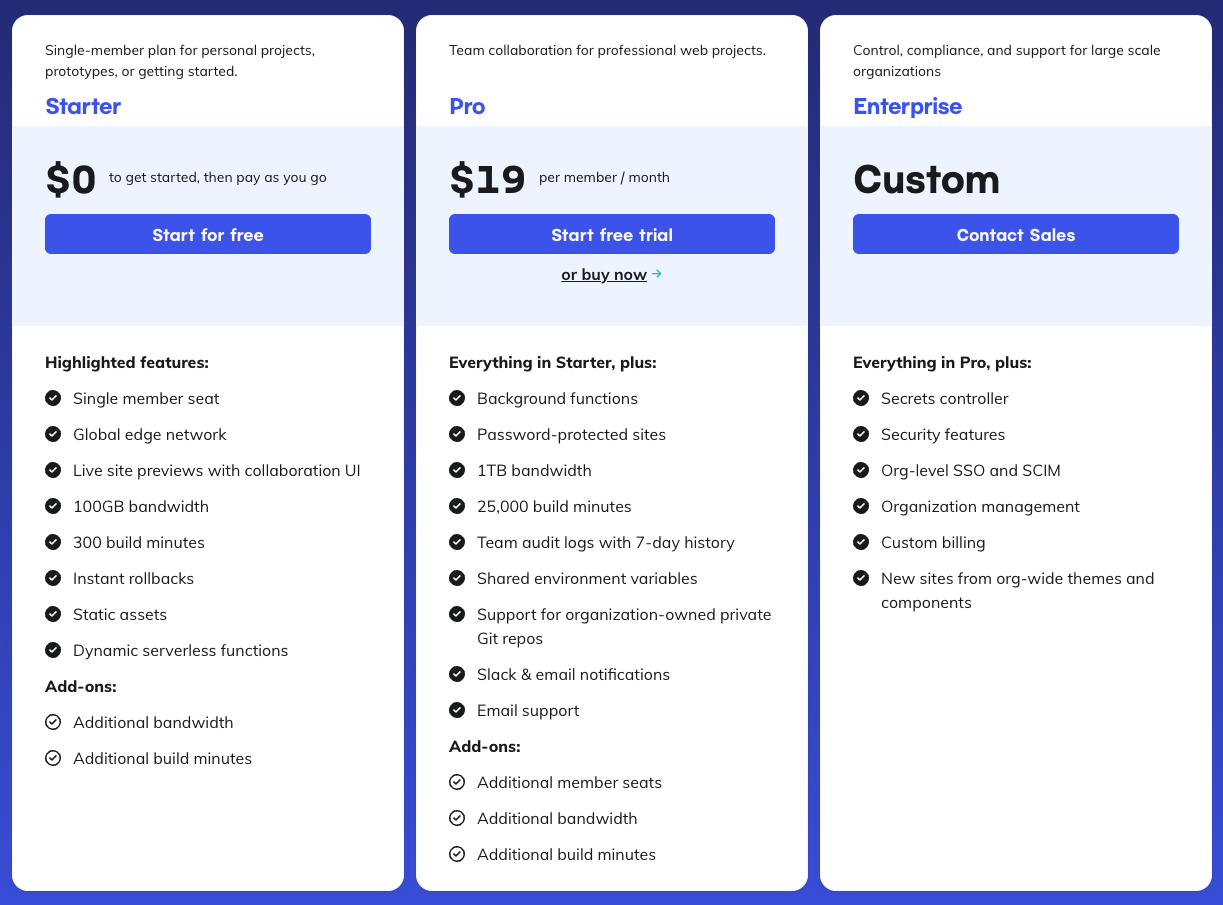
Netlify: 정적 웹사이트 호스팅과 CI/CD를 제공하는 플랫폼입니다. GitHub 저장소와 연동하여 자동 배포가 가능합니다.
Supabase
Supabase는 Firebase와 비슷한 기능을 제공하면서도, 무료 플랜이 toy 프로젝트나 간단한 백엔드로 사용하기에 적합한 장점이 있습니다. 또한 WebRTC 시그널 서버로도 쓸 수 있습니다.
Netlify
Netlify는 정적 웹사이트와 프론트엔드 애플리케이션을 손쉽게 배포하고, CI/CD 파이프라인 및 서버리스 기능을 제공하는 클라우드 플랫폼입니다. github repo에 커밋만 하면 바로 deploy 할 수 있습니다.
Phaser
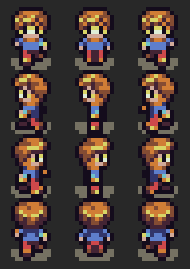
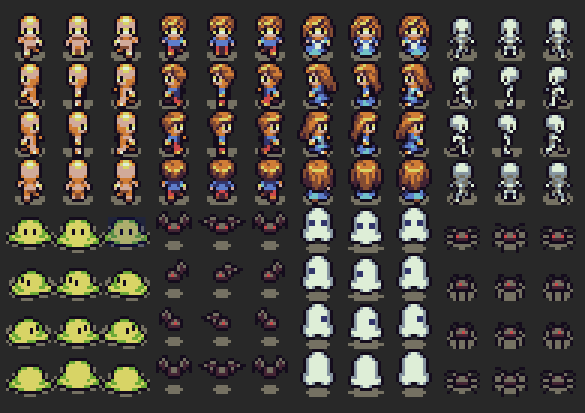
Phaser는 2D 게임 개발을 위한 오픈소스 프레임워크로, 웹 브라우저에서 동작하는 HTML5 게임을 쉽게 만들 수 있게 해줍니다. 이미지를 사용해서 2D 애니메이션 sprite을 만들고 움직이게 할 수 있습니다.
아래와 같은 이미지로 애니메이션을 만들게 됩니다.
이번 글에서는 캐릭터 선택하는 화면을 만들어 볼 예정입니다.
Small Village 프로젝트 생성
react + typescript 기반의 프로젝트를 생성
npx create-react-app smallvillage --template typescriptphaser도 설치해 줍니다.
npm install -s phaser캐릭터 선택을 위한 scene 생성
sprite sheet 로드
사용할 이미지를 load 합니다. 이미지파일은 /public/assets 폴더에 넣으시면 됩니다. 그리고 우리가 사용하는 이미지의 각 캐릭터 사이즈는 16 pixel x 16 pixel 입니다.
this.load.spritesheet("characters", "/assets/characters.png", {
	frameWidth: 16,
	frameHeight: 16,
});
우리가 load한 이미지는 여러 캐릭터 이미지를 포함하고 있습니다. 이것을 스프라이트 시트라고 합니다. 스프라이트 시트의 각 이미지는 프레임이라고 부르고 왼쪽 상단이 0번 프레임입니다.
애니메이션 생성
이미지의 여러 캐릭터들 중에서 왼쪽 상단의 캐릭터로부터 오른쪽으로 총 3개의 캐릭터만 사용합니다. 그리고 캐릭터 선택 화면에서는 앞을 보고 있는 이미지만 사용할 예정입니다.
- 첫번째 캐릭터의 start 프레임은 0이고, end 프레임은 2입니다.
- 두번째 캐릭터의 start 프레임은 3이고, end 프레임은 5입니다.
- 세번째 캐릭터의 start 프레임은 6이고, end 프레임은 8입니다.
private createAnimations() {
  for (let i = 0; i < 3; i++) {
    // 각 캐릭터에 대한 애니메이션 정의
    this.anims.create({
      key: `walk_${i}`,
      frames: this.anims.generateFrameNumbers("characters", {
        start: i * 3, // 각 캐릭터의 첫 번째 프레임 인덱스
        end: i * 3 + 2, // 세 번째 프레임까지 사용 (0, 1, 2)
      }),
      frameRate: 5, // 초당 프레임 수
      repeat: -1, // 무한 반복
    });
  }
}
캐릭터 출력
각 캐릭터별로 애니메이션을 생성했으니 이제 화면에 출력해 봅시다.
private showCharacter(index: number) {
  if (this.sprite) {
    this.sprite.destroy();
  }

  const frameIndex = index * 3;
  this.sprite = this.add.sprite(60, 50, "characters", frameIndex);
  this.sprite.setScale(4);
  this.sprite.setOrigin(0.5, 0.5);
  this.sprite.texture.setFilter(Phaser.Textures.FilterMode.NEAREST);
  this.sprite.play(`walk_${index}`); // 애니메이션 실행
}
캐릭터의 사이즈가 가로 16p, 세로 16p 이다 보니 setScale()을 사용해서 사이즈를 4배 스케일링 해줍니다. 그리고 NEAREST 필터링으로 픽셀의 선명도를 유지합니다.
CharacterPreviewScene Class
Phaser Scene을 생성하는 전체 코드 입니다.
interface CharacterSelectModalProps {
  onSelect: (characterIndex: number, name: string) => void;
}

class CharacterPreviewScene extends Phaser.Scene {
  private currentIndex = 0;
  private sprite: Phaser.GameObjects.Sprite | null = null;

  constructor() {
    super({ key: "CharacterPreviewScene" });
  }

  preload() {
    this.load.spritesheet("characters", "/assets/characters.png", {
      frameWidth: 16,
      frameHeight: 16,
    });
  }

  create() {
    this.createAnimations();
    this.showCharacter(this.currentIndex);
  }
  private createAnimations() {
    for (let i = 0; i < 3; i++) {
      // 각 캐릭터에 대한 애니메이션 정의 (위쪽 방향 걷기)
      this.anims.create({
        key: `walk_${i}`,
        frames: this.anims.generateFrameNumbers("characters", {
          start: i * 3, // 각 캐릭터의 첫 번째 프레임 인덱스
          end: i * 3 + 2, // 세 번째 프레임까지 사용 (0, 1, 2)
        }),
        frameRate: 5, // 초당 프레임 수
        repeat: -1, // 무한 반복
      });
    }
  }

  updateCharacter(index: number) {
    this.currentIndex = index;
    this.showCharacter(this.currentIndex);
  }

  private showCharacter(index: number) {
    if (this.sprite) {
      this.sprite.destroy();
    }

    const frameIndex = index * 3;
    this.sprite = this.add.sprite(60, 50, "characters", frameIndex);
    this.sprite.setScale(4);
    this.sprite.setOrigin(0.5, 0.5);
    this.sprite.texture.setFilter(Phaser.Textures.FilterMode.NEAREST);
    this.sprite.play(`walk_${index}`); // 애니메이션 실행
  }
}
Phaser 생성
Phaser.Game를 생성하면서 위에서 만든 scene을 넣어줍니다.
const config: Phaser.Types.Core.GameConfig = {
  type: Phaser.AUTO,
  width: 120,
  height: 100,
  parent: previewContainer.current as HTMLDivElement,
  scene: CharacterPreviewScene,
  pixelArt: true,
};

const game = new Phaser.Game(config);
픽셀아트 최적화를 위해서 pixelArt: true 설정으로 이미지 스케일링 시 블러 현상을 방지합니다.
CharacterSelectModal Component
생성한 Scene으로 Phaser Game 객체를 만들고 React Component와 연동하는 전체 코드입니다.
const CharacterSelectModal: React.FC<CharacterSelectModalProps> = ({
  onSelect,
}) => {
  const [name, setName] = useState("");
  const [currentIndex, setCurrentIndex] = useState(0);
  const previewContainer = useRef<HTMLDivElement>(null);
  const gameInstance = useRef<Phaser.Game | null>(null);
  const sceneRef = useRef<CharacterPreviewScene | null>(null);

  useEffect(() => {
    if (!gameInstance.current) {
      const config: Phaser.Types.Core.GameConfig = {
        type: Phaser.AUTO,
        width: 120,
        height: 100,
        parent: previewContainer.current as HTMLDivElement,
        scene: CharacterPreviewScene,
        pixelArt: true,
      };

      const game = new Phaser.Game(config);
      gameInstance.current = game;

      game.events.once(Phaser.Scenes.Events.READY, () => {
        const scene = game.scene.getScene(
          "CharacterPreviewScene"
        ) as CharacterPreviewScene;
        if (scene) {
          sceneRef.current = scene;
        }
      });
    }

    return () => {
      gameInstance.current?.destroy(true);
      gameInstance.current = null;
    };
  }, []);

  const handleNext = () => {
    if (!sceneRef.current) return;
    const nextIndex = (currentIndex + 1) % 3;
    setCurrentIndex(nextIndex);
    sceneRef.current.updateCharacter(nextIndex);
  };

  const handlePrevious = () => {
    if (!sceneRef.current) return;
    const prevIndex = (currentIndex - 1 + 3) % 3;
    setCurrentIndex(prevIndex);
    sceneRef.current.updateCharacter(prevIndex);
  };

  const handleNameChange = React.useCallback(
    (e: React.ChangeEvent<HTMLInputElement>) => {
      setName(e.target.value);
    },
    []
  );

  return (
    <Modal show centered>
      <Modal.Header>
        <Modal.Title>Select Your Character</Modal.Title>
      </Modal.Header>
      <Modal.Body>
        <Container>
          <Row className="justify-content-center mb-3 align-items-center">
            <Col xs="auto">
              <Button variant="outline-secondary" onClick={handlePrevious}>
                ◀
              </Button>
            </Col>
            <Col xs="auto">
              <div
                ref={previewContainer}
                style={{ width: "120px", height: "100px" }}
              />
            </Col>
            <Col xs="auto">
              <Button variant="outline-secondary" onClick={handleNext}>
                ▶
              </Button>
            </Col>
          </Row>
          <Form.Group className="mt-3">
            <Form.Label>Enter Your Name</Form.Label>
            <Form.Control
              type="text"
              placeholder="Name"
              value={name}
              onChange={handleNameChange}
            />
          </Form.Group>
        </Container>
      </Modal.Body>
      <Modal.Footer>
        <Button
          variant="primary"
          onClick={() => onSelect(currentIndex, name)}
          disabled={!name}
        >
          Confirm
        </Button>
      </Modal.Footer>
    </Modal>
  );
};
Netlify으로 배포
처음 배포하는 분들을 위해 단계별로 자세히 설명해드리겠습니다. 저는 GitHub와 연동해서 사용 중이어서 GitHub으로 설명하겠습니다.
1. Netlify 가입하기
- Netlify 웹사이트(https://www.netlify.com)에 접속합니다
- 우측 상단의 "Sign up" 버튼을 클릭합니다
- GitHub, GitLab, Bitbucket, 이메일 중 선택하여 가입합니다
2. 새 프로젝트 추가하기
- Netlify 대시보드에서 "Add new site" 버튼을 클릭합니다
- 드롭다운 메뉴에서 "Import an existing project" 선택합니다
3. GitHub 연동하기
- "Deploy with GitHub" 버튼을 클릭합니다
- GitHub 계정 접근 권한을 허용합니다
- 배포하고 싶은 레포지토리를 검색하고 선택합니다
4. 배포 설정하기
-
"Site name"에 원하는 사이트 이름을 입력합니다
-
이 이름은 [사이트이름].netlify.app 형태의 URL로 사용됩니다.
-
"Deploy site" 버튼을 클릭하여 배포를 시작합니다
배포가 시작되면 자동으로 빌드와 배포가 진행됩니다. 보통 2-3분 정도 소요되며, 배포가 완료되면 [사이트이름].netlify.app 주소로 접속할 수 있습니다.
- Site name은 나중에 'Site settings'에서 언제든지 변경할 수 있습니다
- GitHub 레포지토리에 변경사항을 push하면 자동으로 재배포됩니다
- 배포 과정은 'Deploys' 탭에서 실시간으로 확인할 수 있습니다
이제 Small Village 프로젝트를 전 세계 어디서나 접속할 수 있게 되었습니다! 🎉
마치며
Small Village의 첫 번째 단계인 캐릭터 선택 기능 구현을 완료했습니다.

메타버스 플랫폼 개발이라는 도전적인 프로젝트를 시작하면서, ChatGPT와 같은 AI 도구들의 도움을 받아 진행했습니다. 처음 시도해보는 분야다 보니 일부 설명이나 접근 방식에 개선의 여지가 있을 수 있습니다. 더 나은 구현 방법이나 개선점이 있다면 댓글로 알려주세요
다음번 글에서는 선택한 캐릭터로 Small Village에 입장해보도록 하겠습니다.
프로젝트 전체 코드는 GitHub 저장소에서 확인하실 수 있습니다. https://github.com/hissinger/small-village

이 글을 읽고 정말 흥미로운 프로젝트라는 생각이 듭니다!
특히 serverless 아키텍처로 메타버스를 구현한다는 아이디어가 참신하네요.
몇 가지 인상 깊었던 점들을 공유하고 싶습니다:
기술 스택 선택이 매우 실용적이에요
Supabase + Netlify 조합으로 무료로 시작할 수 있다는 점이 개인 프로젝트나 토이 프로젝트에 정말 좋은 것 같습니다
Phaser를 선택한 것도 웹에서 2D 게임을 만들기에는 최적인 것 같아요
코드 구조도 깔끔하게 정리되어 있네요
CharacterPreviewScene 클래스에서 스프라이트 시트를 다루는 방식이 이해하기 쉽게 작성되어 있어서 Phaser 입문자도 따라하기 좋을 것 같습니다
React와 Phaser 연동 부분도 useRef를 활용해서 깔끔하게 처리하신 것 같아요
궁금한 점이 하나 있어요
WebRTC 시그널링 서버로 Supabase를 사용한다고 하셨는데, Supabase의 realtime 기능을 활용하시는 건가요? 아니면 별도의 서버리스 함수를 구성하실 예정인지 궁금합니다.
다음 파트에서 실제 마을에 입장하는 부분이 기대됩니다! 특히 여러 사용자가 동시에 접속했을 때 실시간 동기화가 어떻게 구현될지 정말 궁금하네요.
좋은 튜토리얼 감사합니다!
우디님 항상 좋은글 감사드립니다 건강하세요