1. 개발 환경 구축하기
1. IntelliJ 설치하기
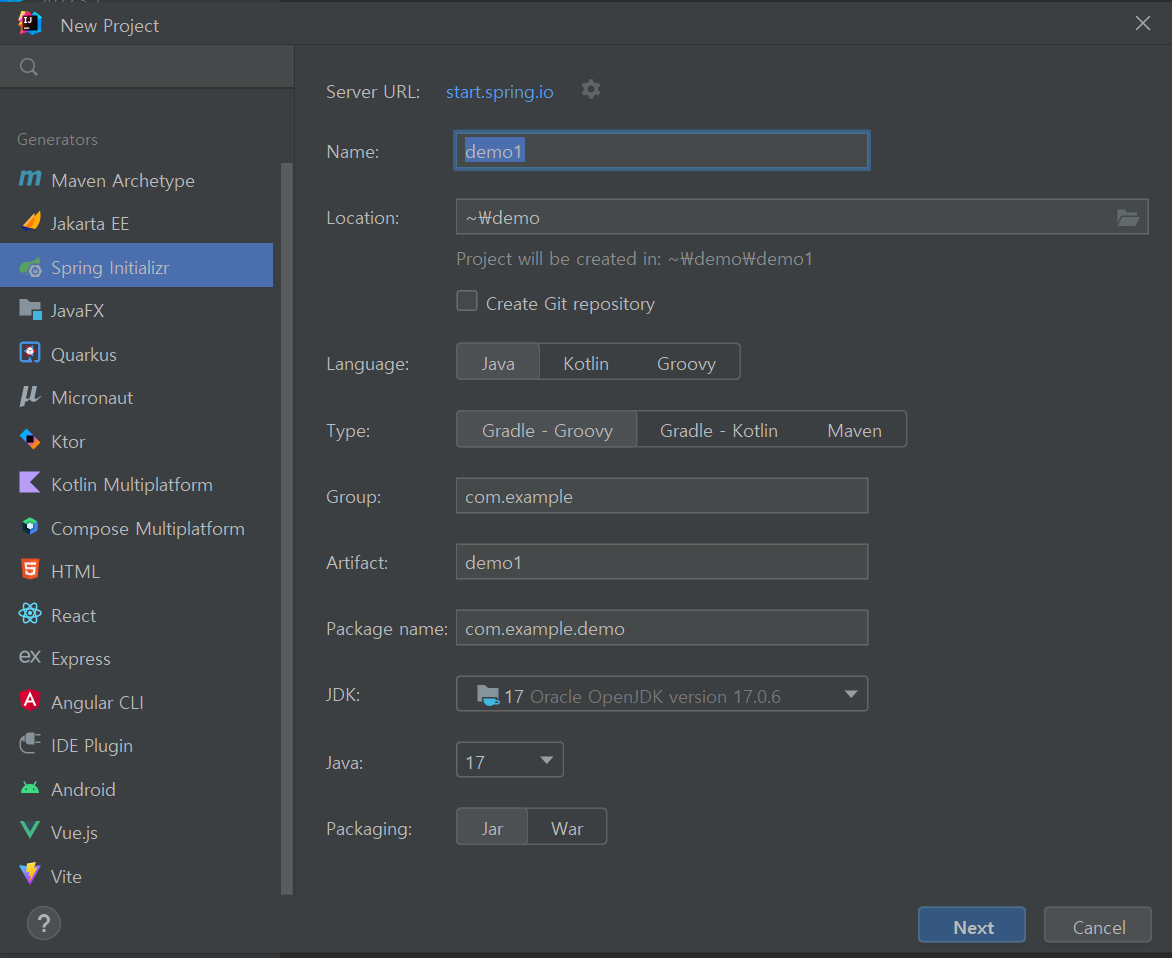
2. SprigBoot 프로젝트 생성
- 학생이라 Ultimate를 사용할 수 있다.
- 이름 설정 > Gradle > JDK 17 > Next
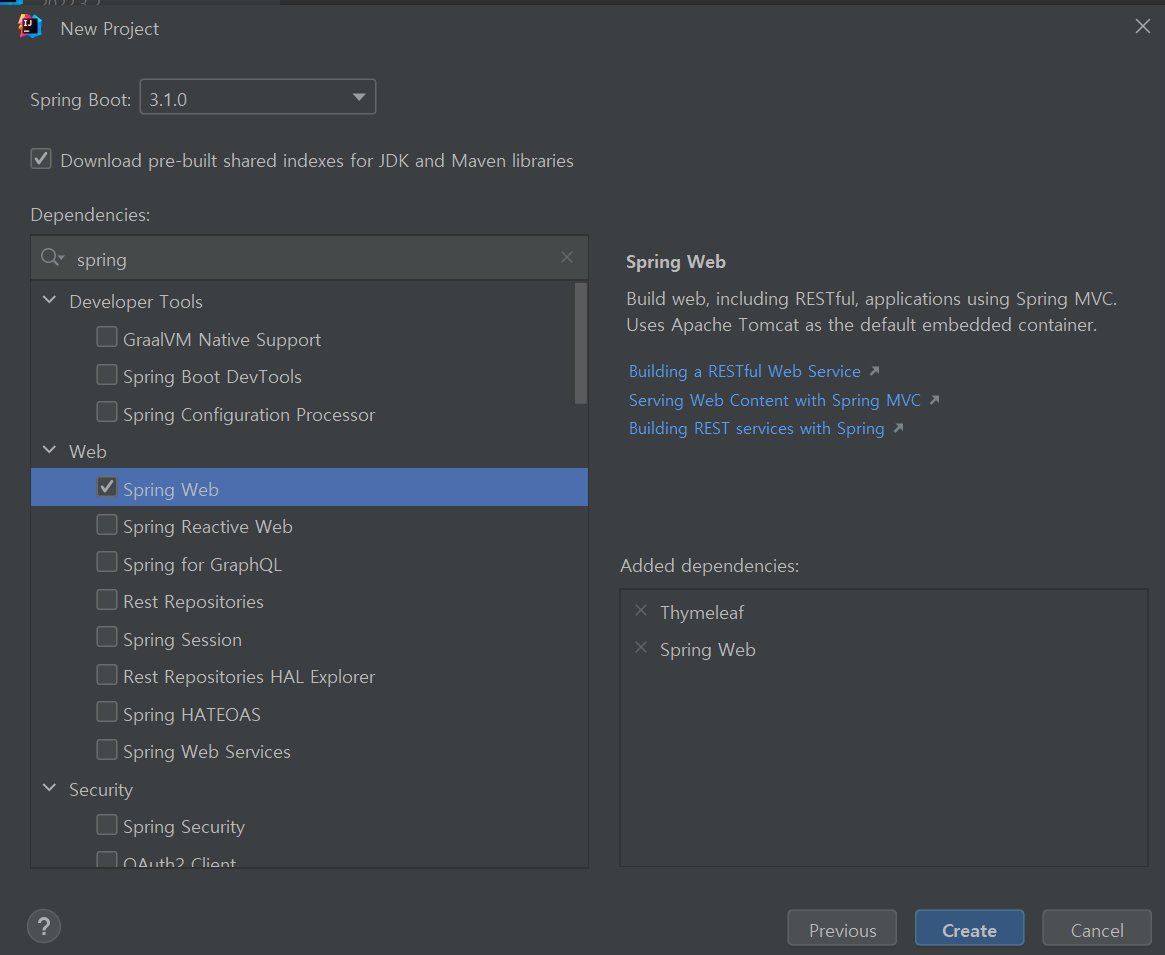
- 버전 : 3.1.0 / Thymeleaf, Spring Web을 선택했다.
- Create를 누르면 끝이다.
2. DB와 연동해서 API 설계 (CRUD)
1. MySQL 연결하기
- 의존성 추가하기
- build.gradle 에 추가하면 된다.
implementation 'mysql:mysql-connector-java'
implementation 'org.springframework.boot:spring-boot-starter-data-jpa'
🔥 ERROR 1. mysql.cj.jdbc.Driver
- appication.properties를 추가하면 아마 이 부분에서 에러가 날 것이다.

👀 해결방법
- MySQL 버전을 추가해주면 해결된다.
implementation 'mysql:mysql-connector-java:mysql 버전'
- application.properties
- 밑의 코드를 추가해주면 된다. {비밀번호} 부분은 {}를 빼고 쓰면 된다... 난 {}를 같이 써서 고생했다...ㅎㅎㅎ
# MySQL 설정
spring.datasource.driver-class-name=com.mysql.cj.jdbc.Driver

# DB Source URL
spring.datasource.url=jdbc:mysql://127.0.0.1:3306/sys?serverTimezone=UTC&characterEncoding=UTF-8

# DB username
spring.datasource.username=root

# DB password
spring.datasource.password={비밀번호}

# true 설정 시 실행되는 쿼리문 로그로 확인 가능
spring.jpa.show-sql=true

# DDL(create, alter, drop) 자동 실행 기능
spring.jpa.hibernate.ddl-auto=update

# JPA의 구현체인 Hibernate가 동작하면서 발생한 SQL의 가독성을 높여준다.
spring.jpa.properties.hibernate.format_sql=true

# JPA 데이터베이스 플랫폼 지정 (현재 MYSQL InnoDB를 사용중)
spring.jpa.database-platform=org.hibernate.dialect.MySQL5InnoDBDialect
2. 테이블 생성해보기
- Entity 추가하기
import javax.persistence.*;

@Table
@Entity
public class TestTable {
    @Id
    @GeneratedValue(strategy = GenerationType.IDENTITY)
    private Long id;

    @Column
    private String name;

    public TestTable() {
    }
}
🔥 ERROR 2. entityManagerFactory
- 테이블 생성하려니까 갑자기 오류가 생겼다.
👀 해결방법
- SpringBoot 버전 바꾸기 : 3.XX 에서 2.7.8로 바꾸니 해결됐다.
id 'org.springframework.boot' version '2.7.8'
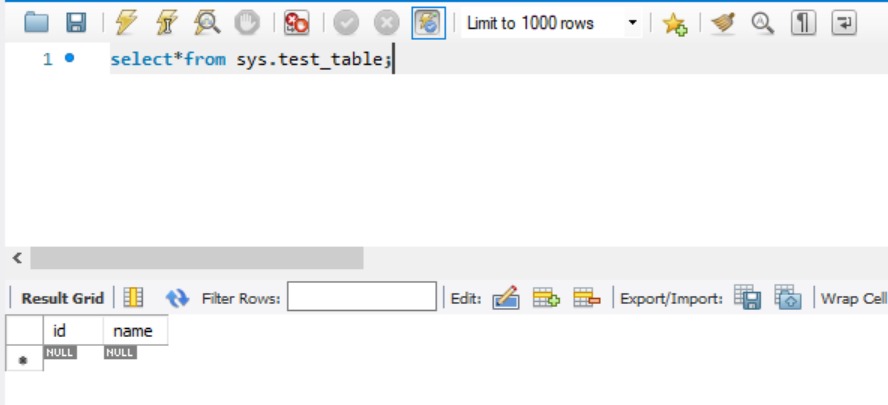
- MySQL Workbench에서 확인해보기
- test_table이 생겨서
select*from sys.test_table로 확인해보았다.

소뎡