Sonatype Nexus Repository Manager
- 가장 일반적으로 "Nexus"라고 부를 때, Sonatype에서 개발한 "Nexus Repository Manager"를 의미한다.
- 이는 소프트웨어 저장소 관리 시스템으로, 소프트웨어 개발에서 사용되는 다양한 라이브러리, 의존성 및 아티팩트를 효율적으로 관리하고 저장하는 데 사용된다.
- Maven, npm, Docker, NuGet 등 다양한 패키지 형식을 지원하며, 프록시 리포지토리, 호스트 리포지토리, 보안 기능 등을 포함하고 있다.
Supported Operating Systems
- Windows
- Linux (most commonly used)
- MacOS
Sonaype는 다른 운영 체제를 지원하지 않는다.
Dedicated Operating System User Accoun
- 특정 호스트에서 각 고유 프로세스를 실행하려면 전용 운영 체제 사용자 계정을 사용하는 것이 좋다.
- Sonatype Nexus Repository 프로세스 사용자는 유효한 쉘을 생성할 수 있어야 한다.
- 보안 예방 조치로 Sonatype Nexus Repository를 root사용자로 실행하면 안된다.
- Sonatype Nexus Repository는 일반적으로 Linux 또는 MacOS 운영 체제에서 허용하는 사용자별 기본값보다 더 많은 파일 핸들을 사용한다.
- file descriptors가 부족하면 데이터가 손실될 수 있으므로, Sonatype Nexus Repository를 실행하는 사용자에 대한 file descriptors 제한을 영구적으로 65,536 이상으로 늘려야한다.
linux
- Linux에서는 일반적으로 /etc/security/limits.conf 파일을 편집하여 특정 사용자에 대한 지속적인 제한을 설정할 수 있다.
# <userid>가 Sonatype Nexus Repository를 실행하는 데 사용하는 사용자 ID인 이 파일에 아래와 같은 줄을 추가
EX) <userid> - nofile 65536
cat /etc/security/limits.conf
yang - nofile 65536
# 변경 사항을 적용하려면 Sonatype Nexus Repository를 다시 시작
systemd Users
- systemd을 사용하여 서버를 시작하는 경우 위의 단계를 사용하면 안된다.
- 대신 구성 파일을 수정하여 다음 LimitNOFILE 줄을 추가
[Unit]
Description=nexus service
After=network.target

[Service]
Type=forking
LimitNOFILE=65536             <------------------
ExecStart=/opt/nexus/bin/nexus start
ExecStop=/opt/nexus/bin/nexus stop
User=yang
Restart=on-abort

[Install]
WantedBy=multi-user.target
# 변경 사항을 적용하려면 Sonatype Nexus Repository를 다시 시작
docker
- Nexus Repository Docker 이미지는 적절한 파일 제한으로 구성됩니다. Amazon ECS와 같은 일부 컨테이너 플랫폼은 기본 제한을 재정의한다.
- 이러한 플랫폼에서는 다음 플래그를 사용하여 Docker 이미지를 실행하는 것이 좋다.
--ulimit nofile=65536:65536
사전 준비 작업
$ sudo yum install -y java-1.8.0
Nexus Repository Download
- Nexus <- 클릭 후 사용할 버전 URL Copy 후에 다운
# 현 시점 가장 최신 버전 설치 진행
$ mkdir nexus; cd nexus;

$ wget https://download.sonatype.com/nexus/3/nexus-3.61.0-02-unix.tar.gz
$ tar -xvzf nexus-3.61.0-02-unix.tar.gz
- 사용자로 실행하기 위해서 vi ~/nexus/nexus-3.61.0-02/bin/nexus.rc 파일을 수정
$ pwd
/home/yang/nexus/nexus-3.61.0-02/bin

$ vi nexus.rc
run_as_user="yang"
Nexus 실행
- Nexus 포트 확인 (default port - 8081 )
$ pwd
/home/yang/nexus/nexus-3.61.0-02/etc

$ cat nexus-default.properties
## DO NOT EDIT - CUSTOMIZATIONS BELONG IN $data-dir/etc/nexus.properties
##
# Jetty section
application-port=8081
application-host=0.0.0.0
nexus-args=${jetty.etc}/jetty.xml,${jetty.etc}/jetty-http.xml,${jetty.etc}/jetty-requestlog.xml
nexus-context-path=/

# Nexus section
nexus-edition=nexus-pro-edition
nexus-features=\
 nexus-pro-feature

nexus.hazelcast.discovery.isEnabled=true
 $ firewall-cmd --permanent --zone=public --add-port=8082/tcp
 $ firewall-cmd --reload
 $ firewall-cmd --permanent --list-all
$ pwd
/home/yang/nexus/nexus-3.61.0-02/bin

$ ./nexus start
$ ps -ef | grep nexus | grep -v grep
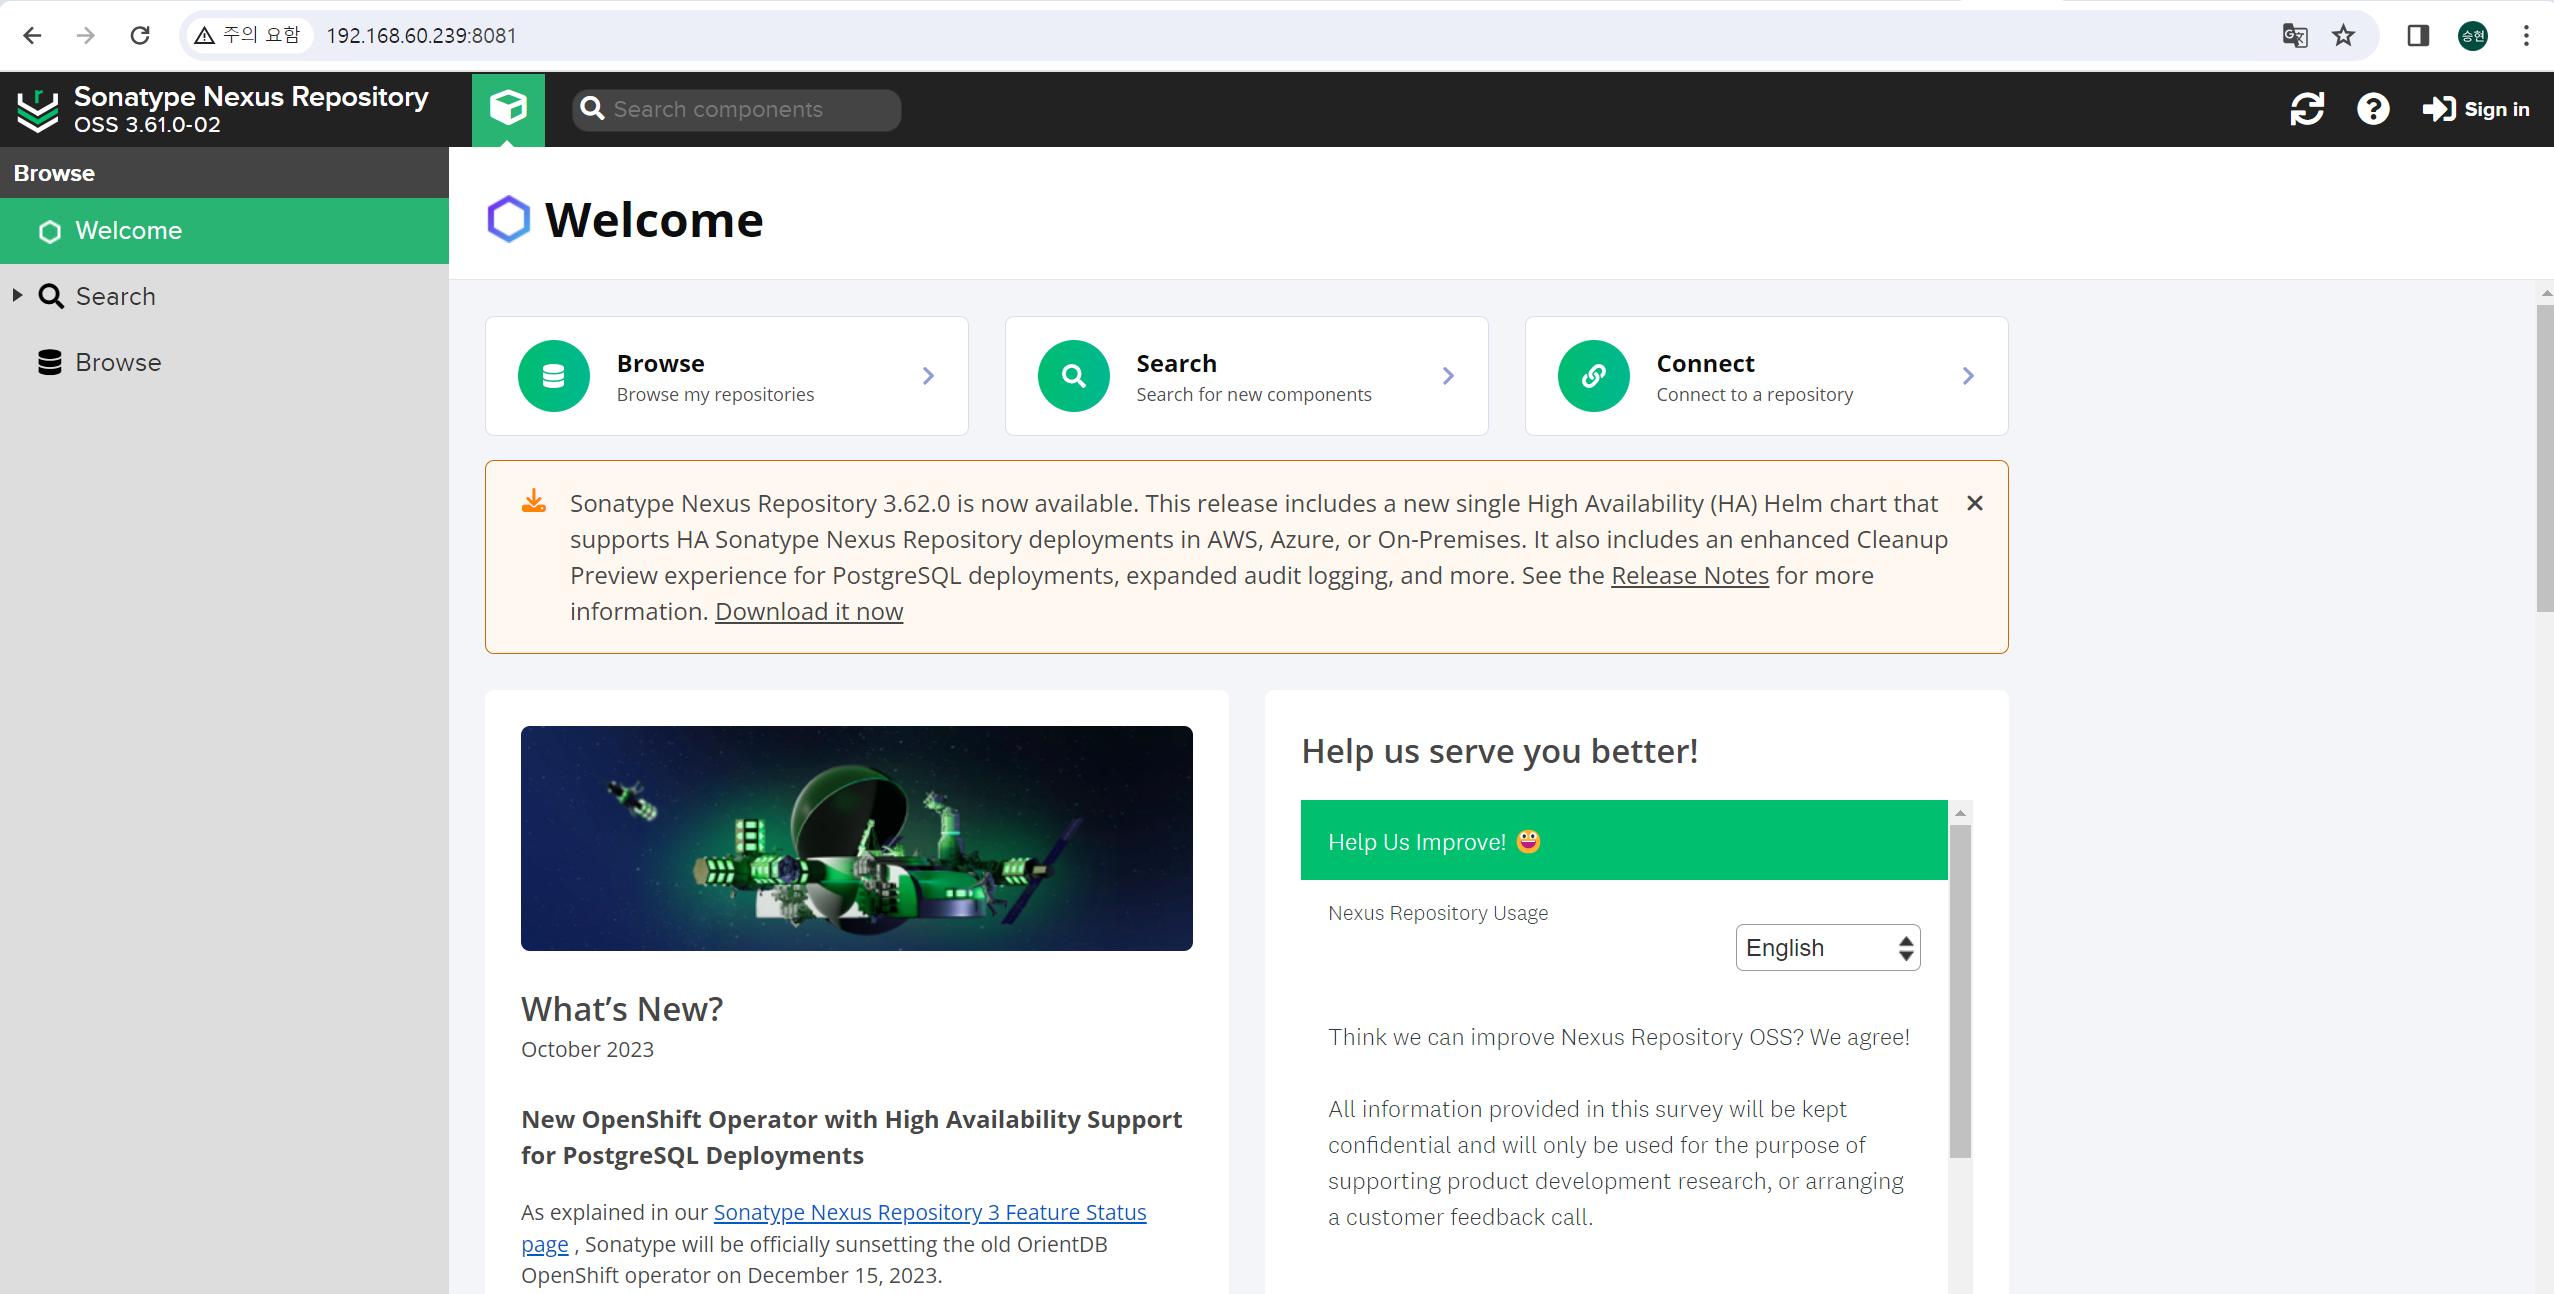
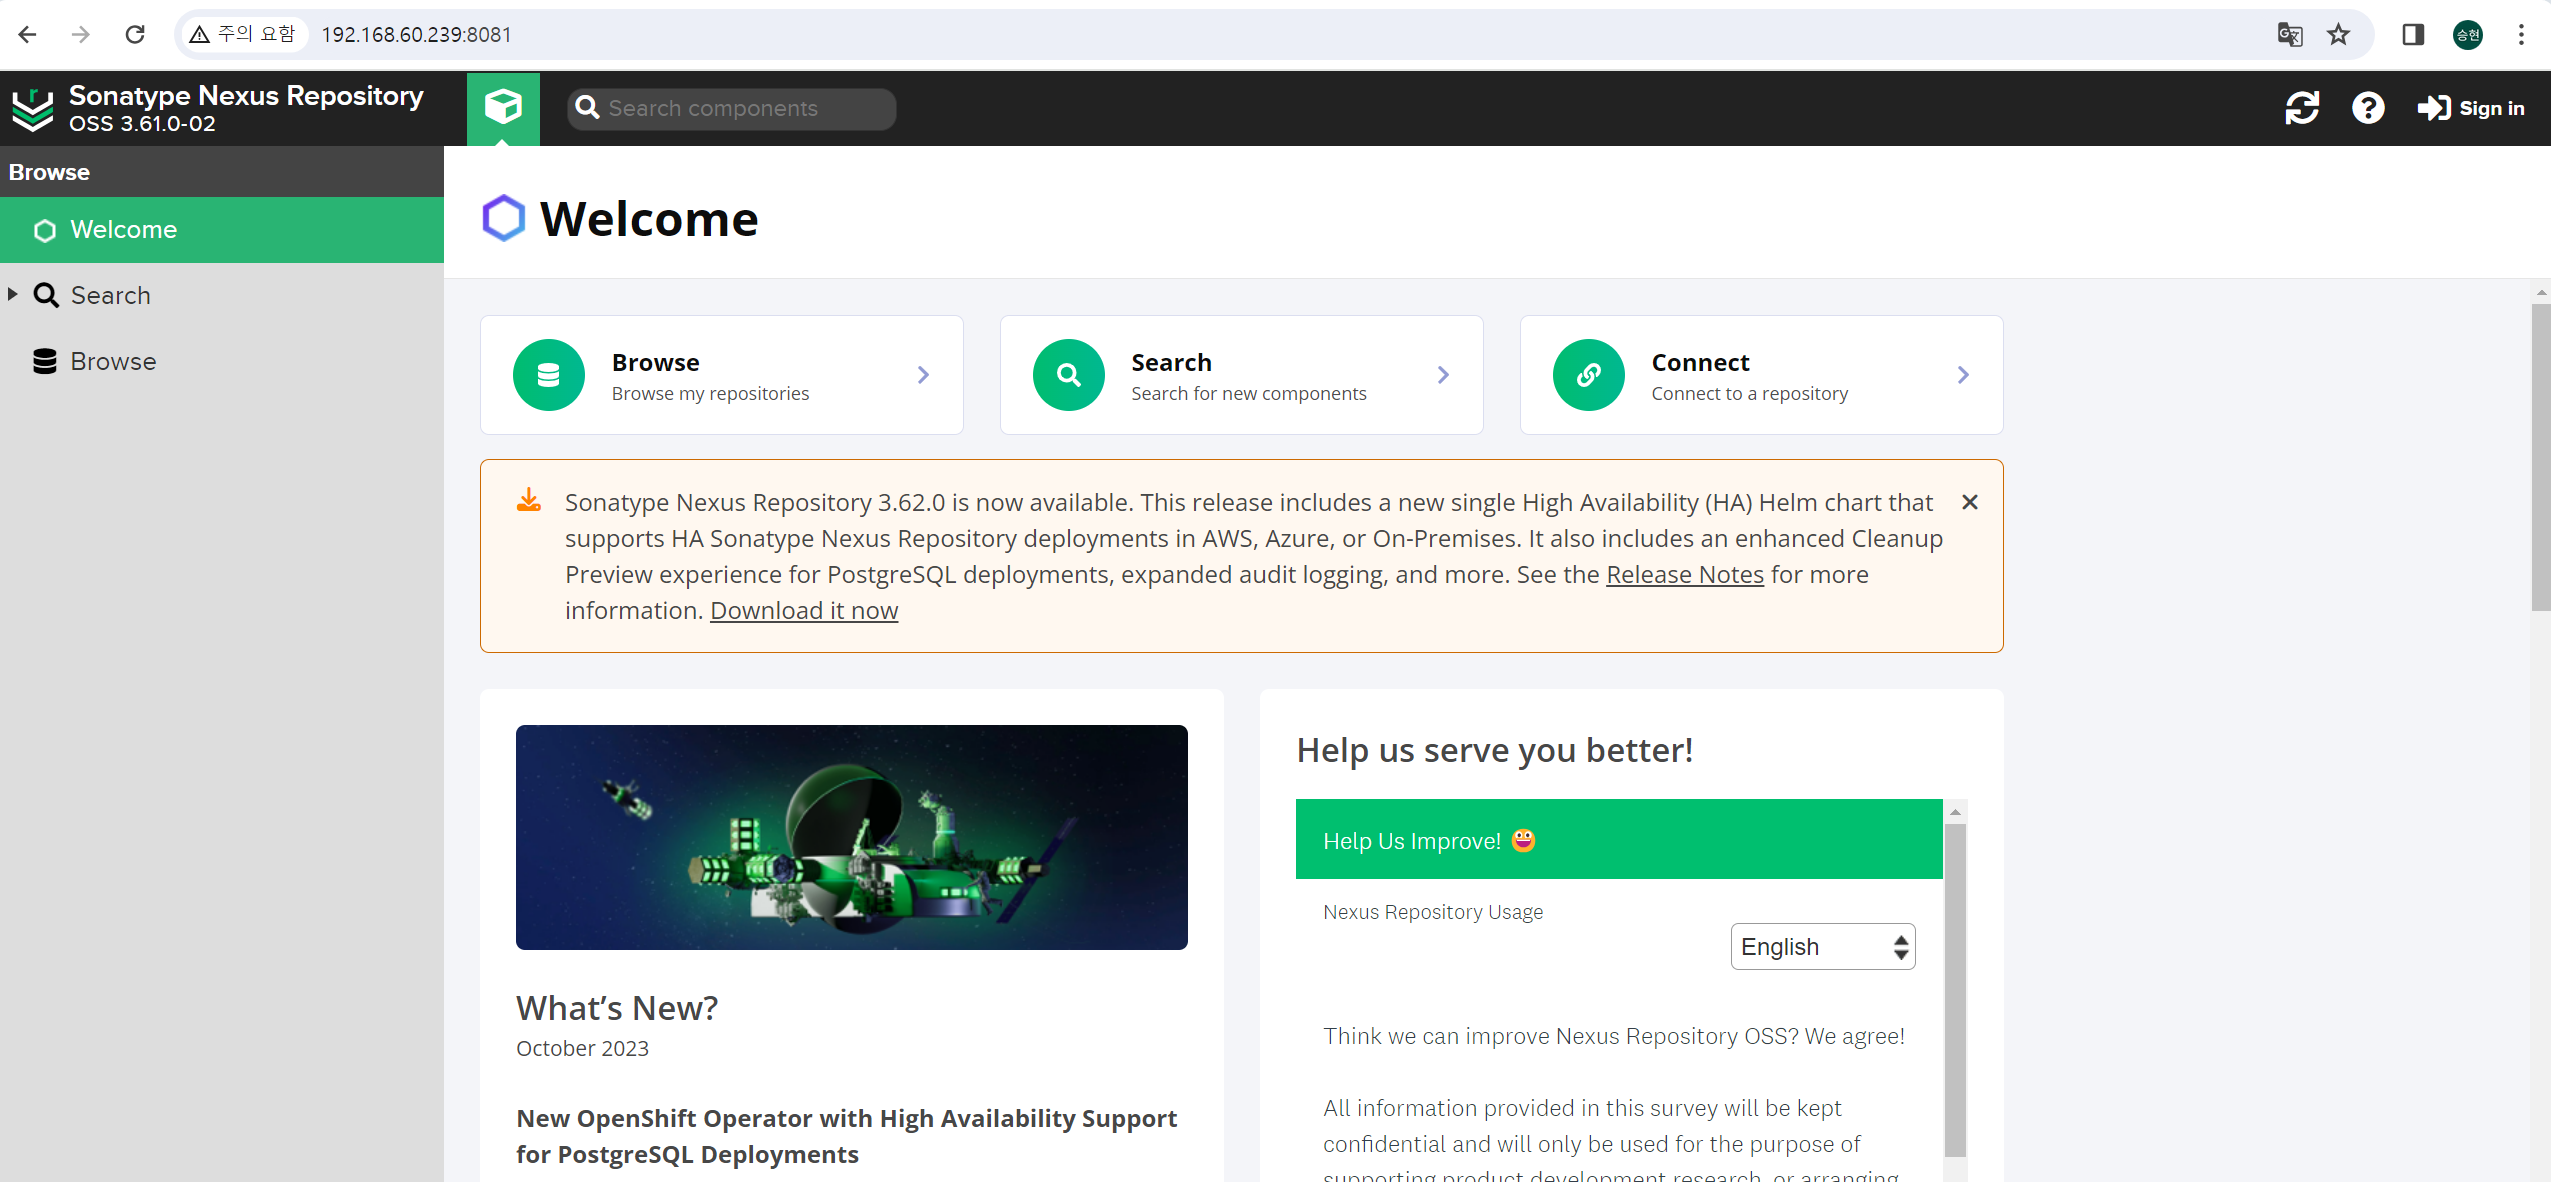
http://localhost:8081
- init.d 또는 systemd를 사용하여 서비스로 실행되도록 저장소 관리자를 구성할 수 있다.
- 사용자로 실행하기 위해서 vi ~/nexus/nexus-3.61.0-02/bin/nexus.rc 파일을 수정
$ pwd
/home/yang/nexus/nexus-3.61.0-02/bin

$ vi nexus.rc
run_as_user="yang"
- Symlink $installdir/bin/nexus -> /etc/init.d/nexus
$ sudo ln -s ~/nexus/nexus-3.61.0-02/bin/nexus /etc/init.d/nexus
- /etc/systemd/system/nexus.service 파일을 생성 후 아래 내용을 추가하여 파일을 디렉터리에 저장
$ cat /etc/systemd/system/nexus.service

[Unit]
Description=nexus service
After=network.target

[Service]
Type=forking
LimitNOFILE=65536
ExecStart=/etc/init.d/nexus start
ExecStop=/etc/init.d/nexus stop
User=yang        # 사용자 유저로 변경
Restart=on-abort
TimeoutSec=600

[Install]
WantedBy=multi-user.target
- 데몬 실행
# 데몬 실행전 넥서스를 실행했다면 neuxs stop 후 진행
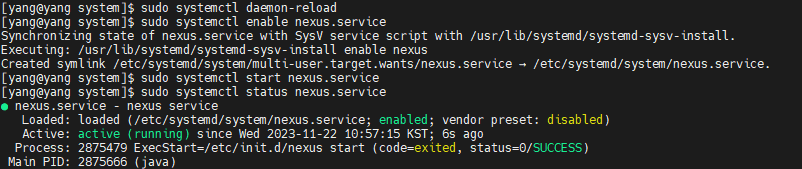
$ sudo systemctl daemon-reload
$ sudo systemctl enable nexus.service
$ sudo systemctl start nexus.service
$ tail -f ~/nexus/sonatype-work/nexus3/log/nexus.log

2023-11-22 10:58:02,099+0900 INFO  [jetty-main-1]  *SYSTEM org.sonatype.nexus.bootstrap.jetty.JettyServer -
-------------------------------------------------

Started Sonatype Nexus OSS 3.61.0-02

-------------------------------------------------
2023-11-22 10:58:52,029+0900 INFO  [qtp1632575802-95]  *UNKNOWN org.apache.shiro.session.mgt.AbstractValidatingSessionManager - Enabling session validation scheduler...
2023-11-22 10:58:52,069+0900 INFO  [qtp1632575802-95]  *UNKNOWN org.sonatype.nexus.internal.security.anonymous.AnonymousManagerImpl - Using default configuration: OrientAnonymousConfiguration{enabled=true, userId='anonymous', realmName='NexusAuthorizingRealm'}
2023-11-22 11:00:00,025+0900 INFO  [quartz-10-thread-1]  *SYSTEM org.sonatype.nexus.quartz.internal.task.QuartzTaskInfo - Task 'Storage facet cleanup' [repository.storage-facet-cleanup] state change WAITING -> RUNNING
2023-11-22 11:00:00,055+0900 INFO  [quartz-10-thread-1]  *SYSTEM org.sonatype.nexus.quartz.internal.task.QuartzTaskInfo - Task 'Storage facet cleanup' [repository.storage-facet-cleanup] state change RUNNING -> WAITING (OK)
- 만약 서비스 실패시 selinux 종료 후, nexus 서비스 시작
$ journalctl -xe
-- Unit nexus.service has begun starting up.
Nov 27 10:27:21 sh-yang systemd[14874]: nexus.service: Failed to execute command: Permission denied
Nov 27 10:27:21 sh-yang systemd[14874]: nexus.service: Failed at step EXEC spawning /etc/init.d/nexus: Permission denied

$ sudo setenforce 0
$ getenforce
Permissive

$ sudo systemctl start nexus
$ sudo systemctl status nexus
● nexus.service - nexus service
   Loaded: loaded (/etc/systemd/system/nexus.service; enabled; vendor preset: disabled)
   Active: active (running) since Mon 2023-11-27 10:53:17 KST; 16s ago
  Process: 17518 ExecStart=/etc/init.d/nexus start (code=exited, status=0/SUCCESS)
 Main PID: 17703 (java)
    Tasks: 46 (limit: 49318)
   Memory: 876.2M
   CGroup: /system.slice/nexus.service
           └─17703 /usr/lib/jvm/java-1.8.0-openjdk-1.8.0.362.b08-3.el8.x86_64/jre/bin/java -server -Dinstall4j.jvmDir=/usr/lib/jvm/java-1.8.0-openjdk-1.8.0.362.b08-3.el8.x86_64/jre -Dexe4j.moduleName=/home>
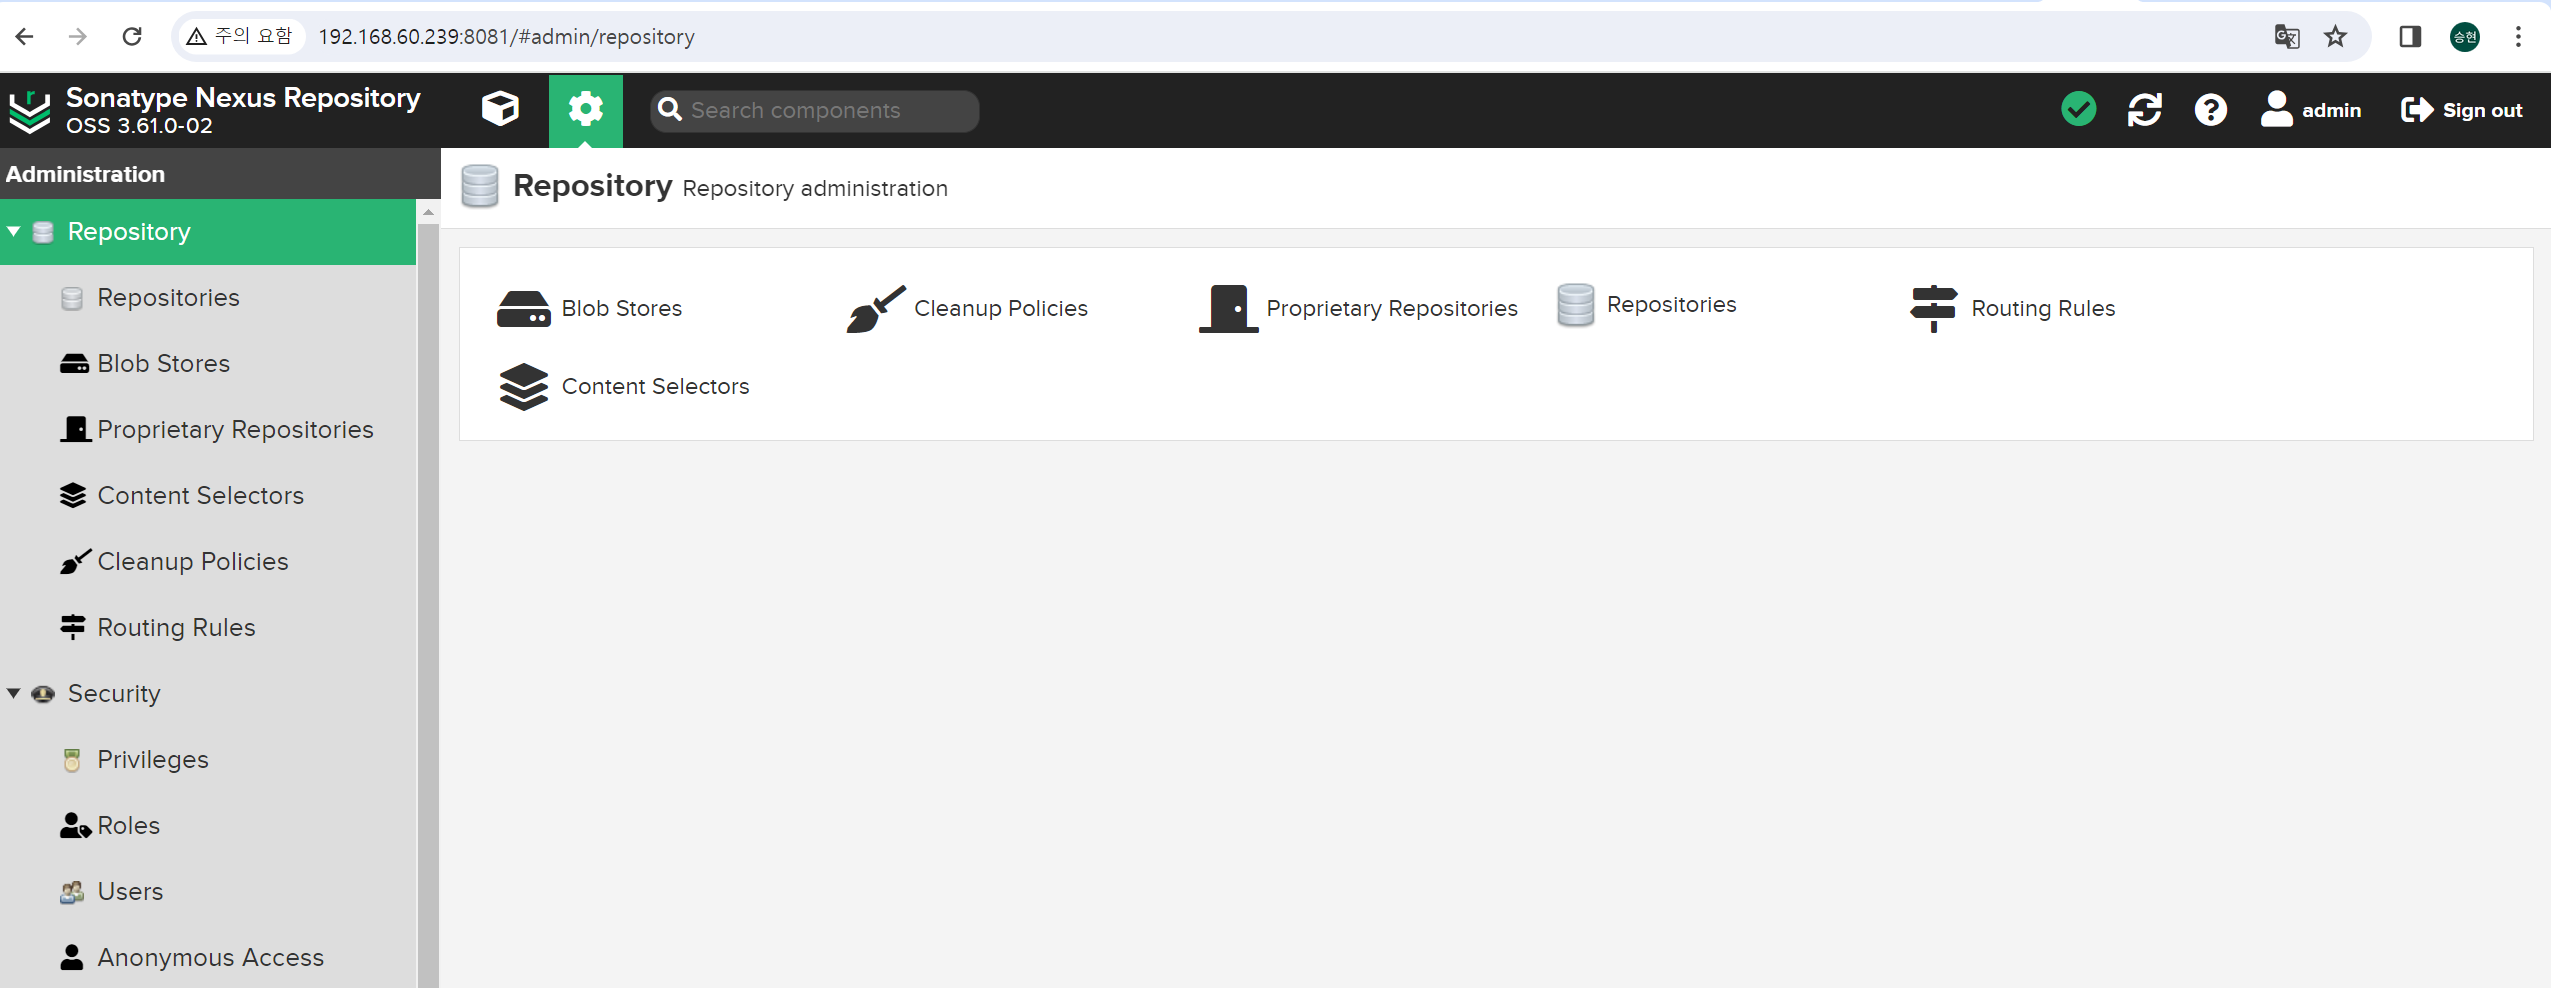
Nexus dashboard
nexus login
- 최초 로그인시 Username은 admin Password는 아래 경로에서 확인 가능하며 최초 로그인시 아래 경로 파일은 삭제된다.

$ cat /home/yang/nexus/sonatype-work/nexus3/admin.password
f1fcc0d7-ff86-443a-8311-2c62cedasdweaf