웹개발의 봄 spring 강의를 참고해 네이버 api를 사용해보았다
https://developers.naver.com/main/
먼저 위에 링크에 접속해서
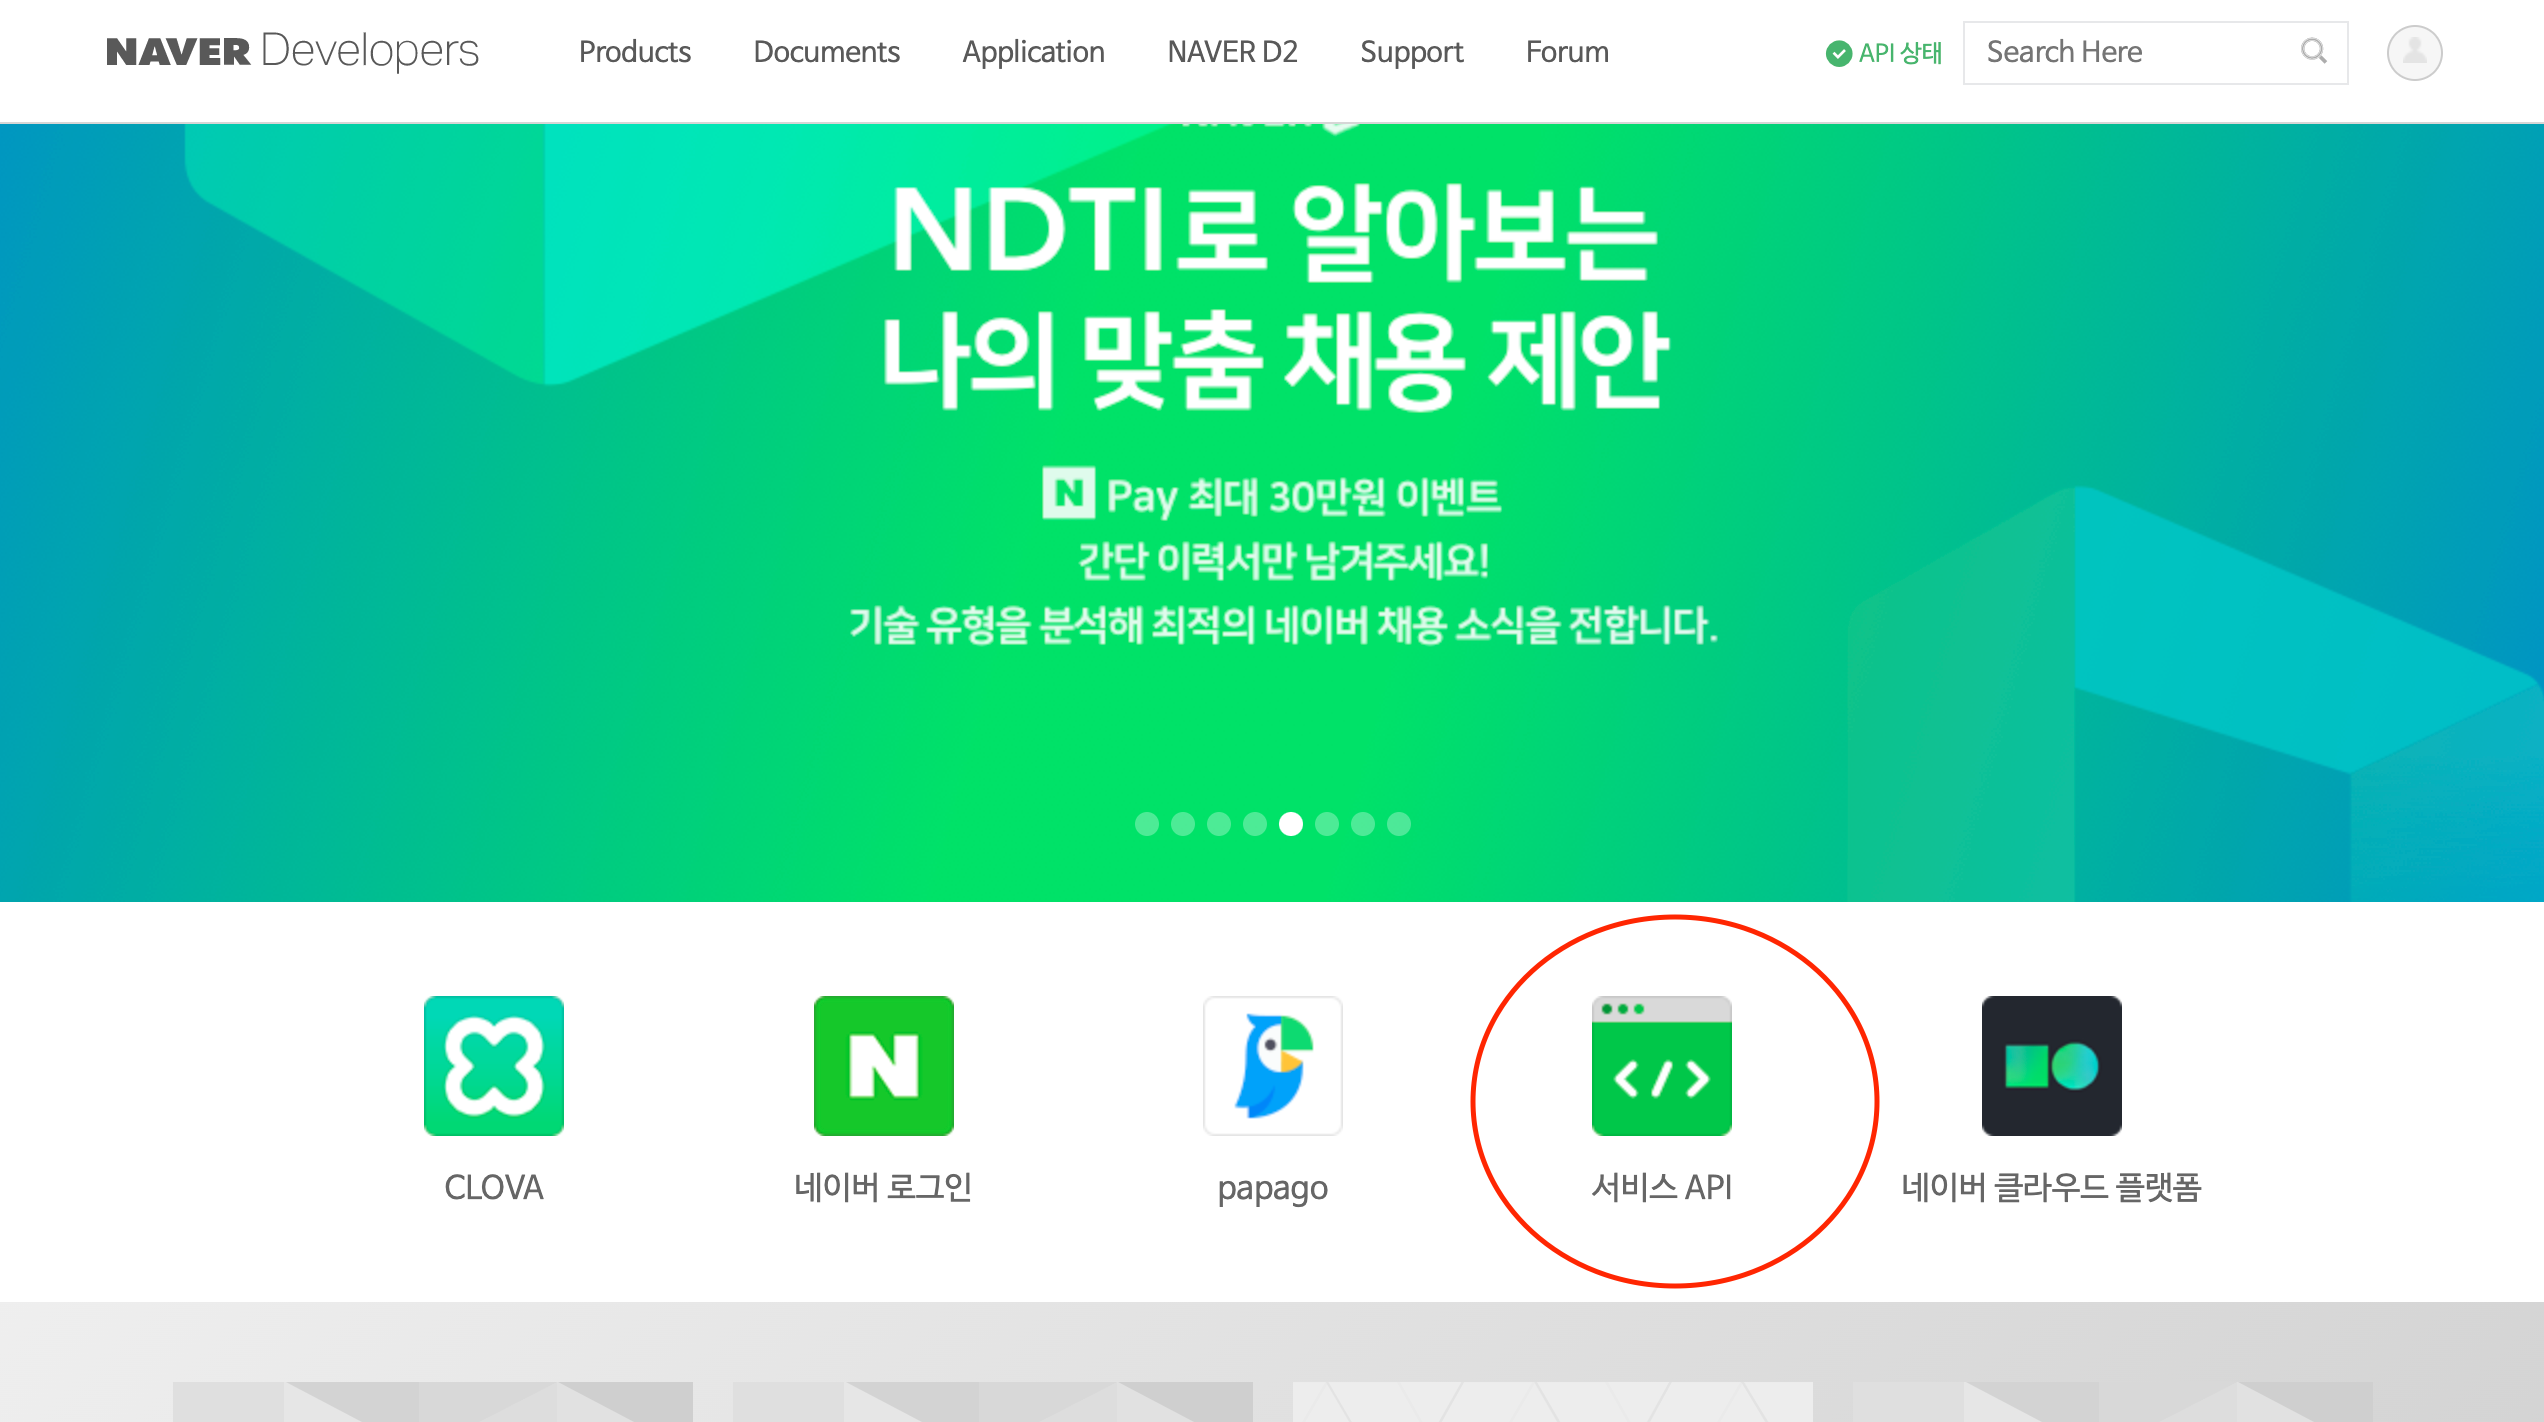
서비스 api를 클릭한다
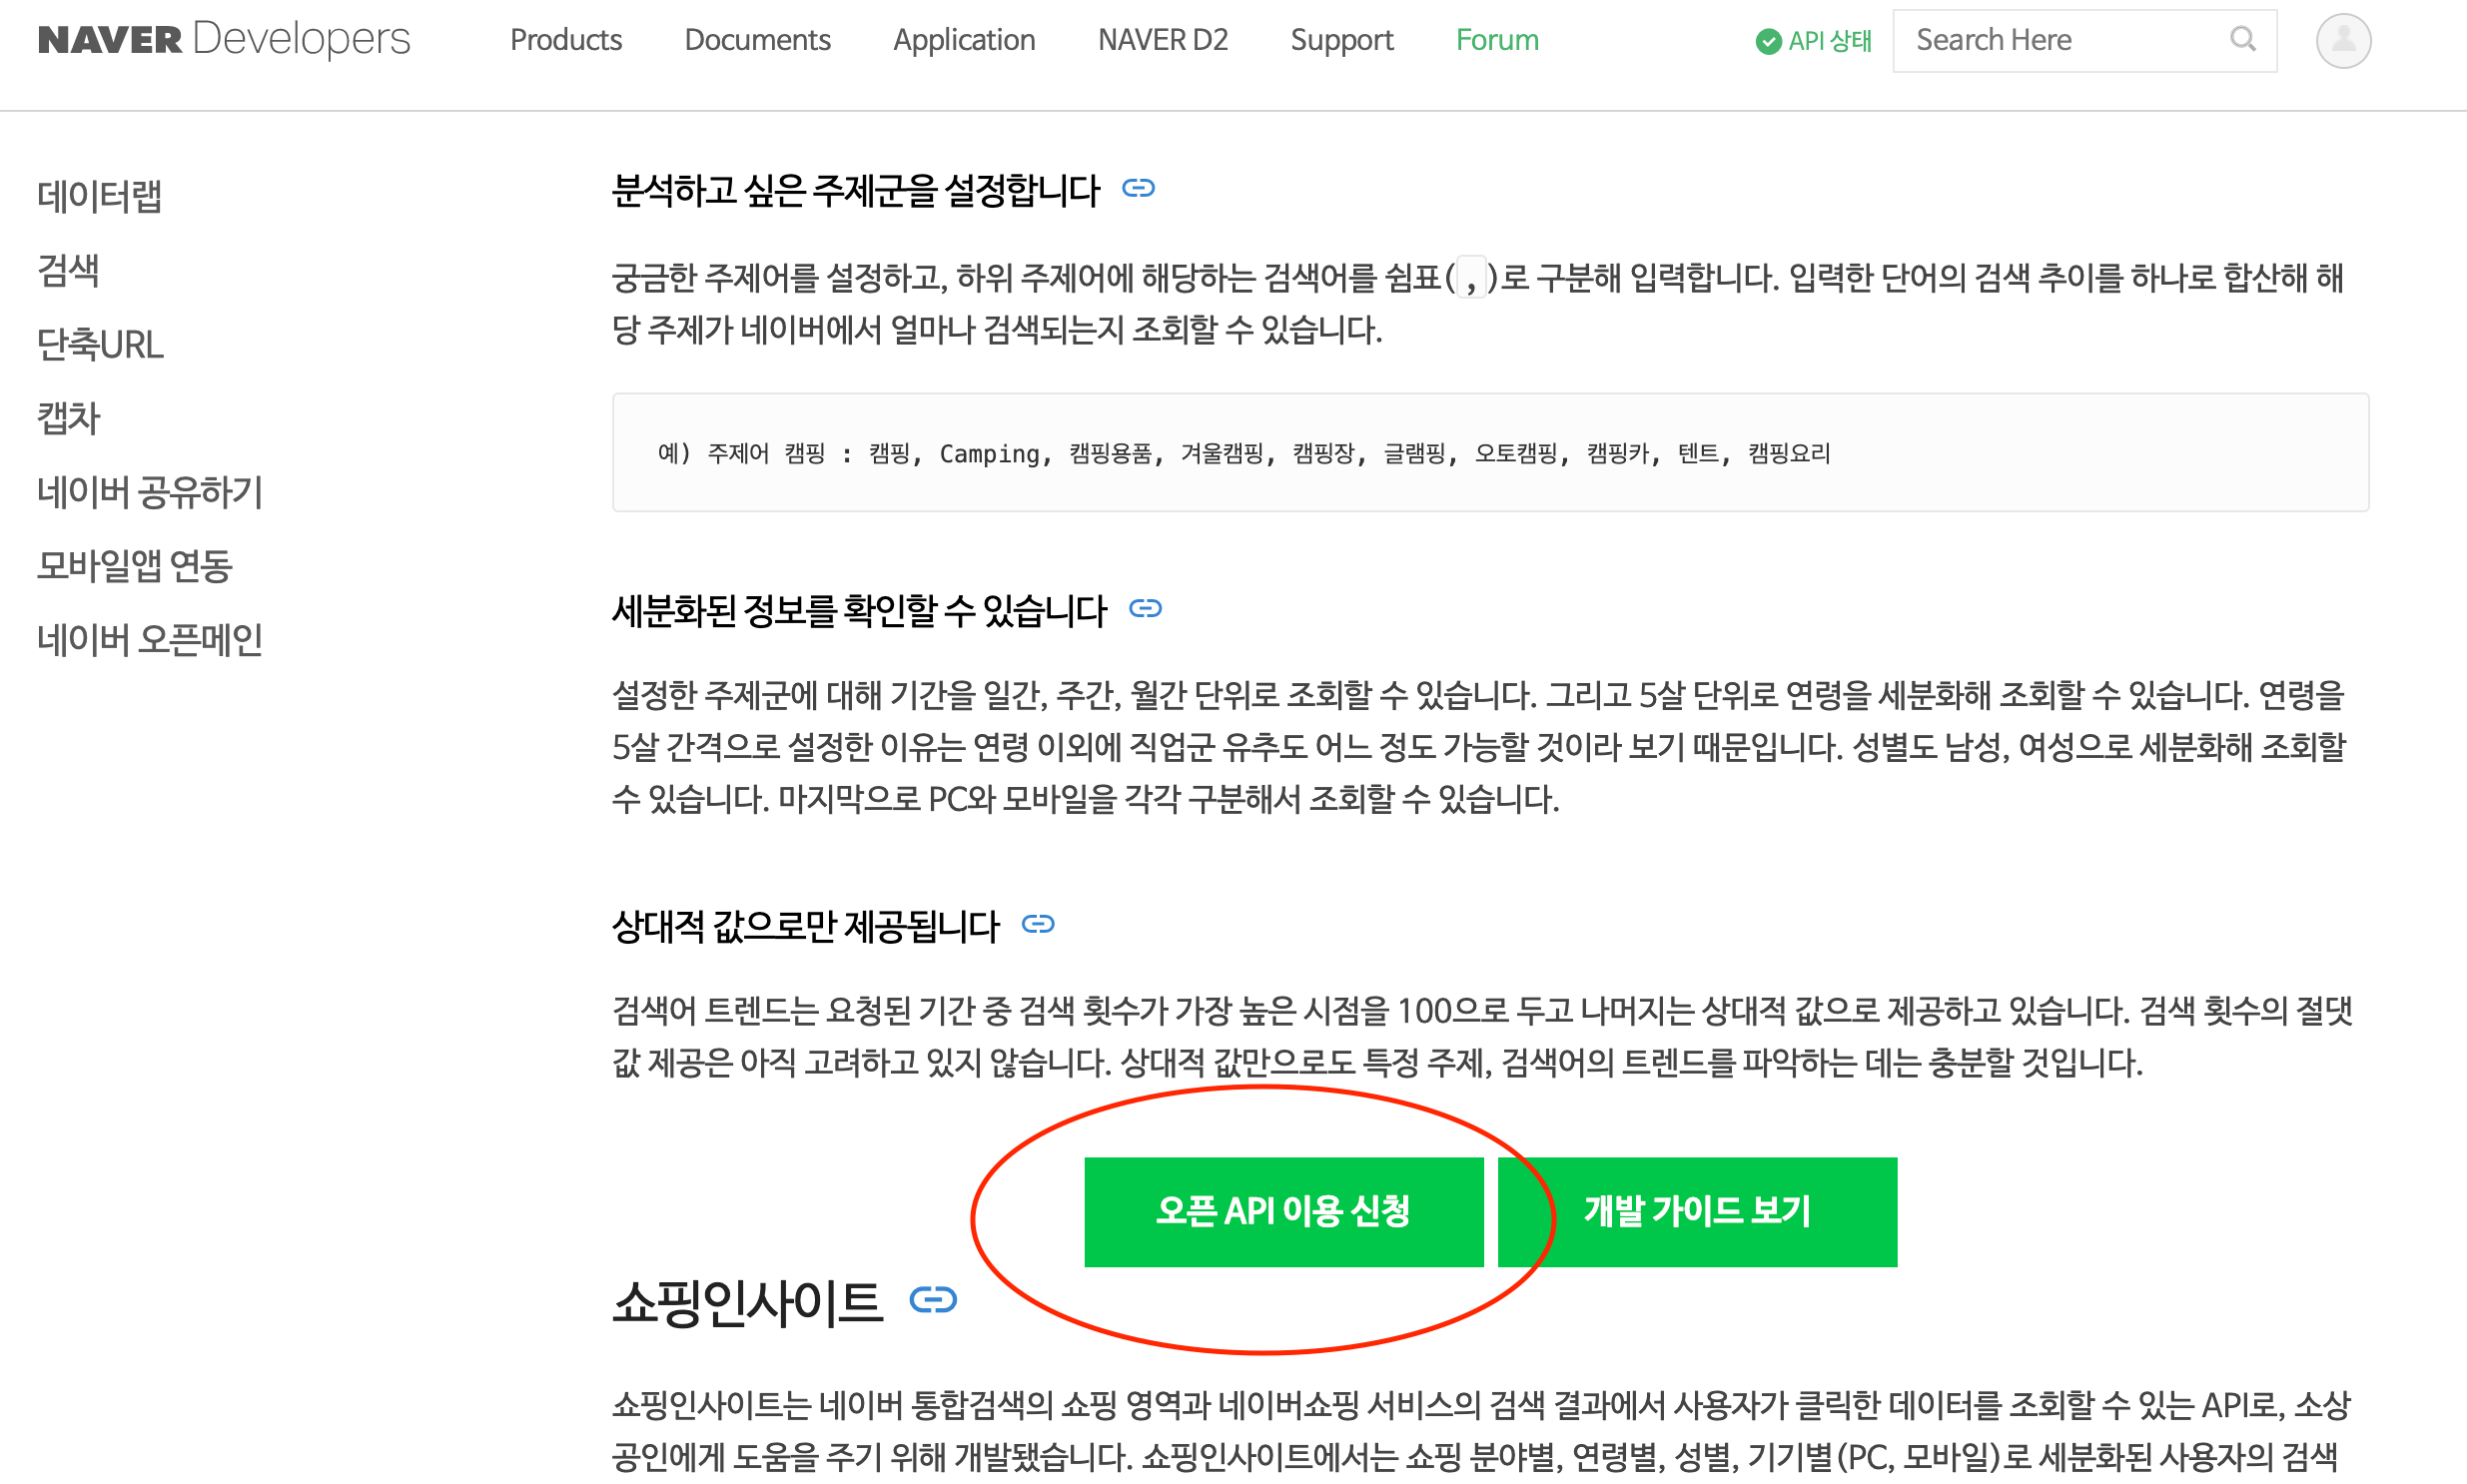
그리고 오픈 api 이용 신청을 클릭한다
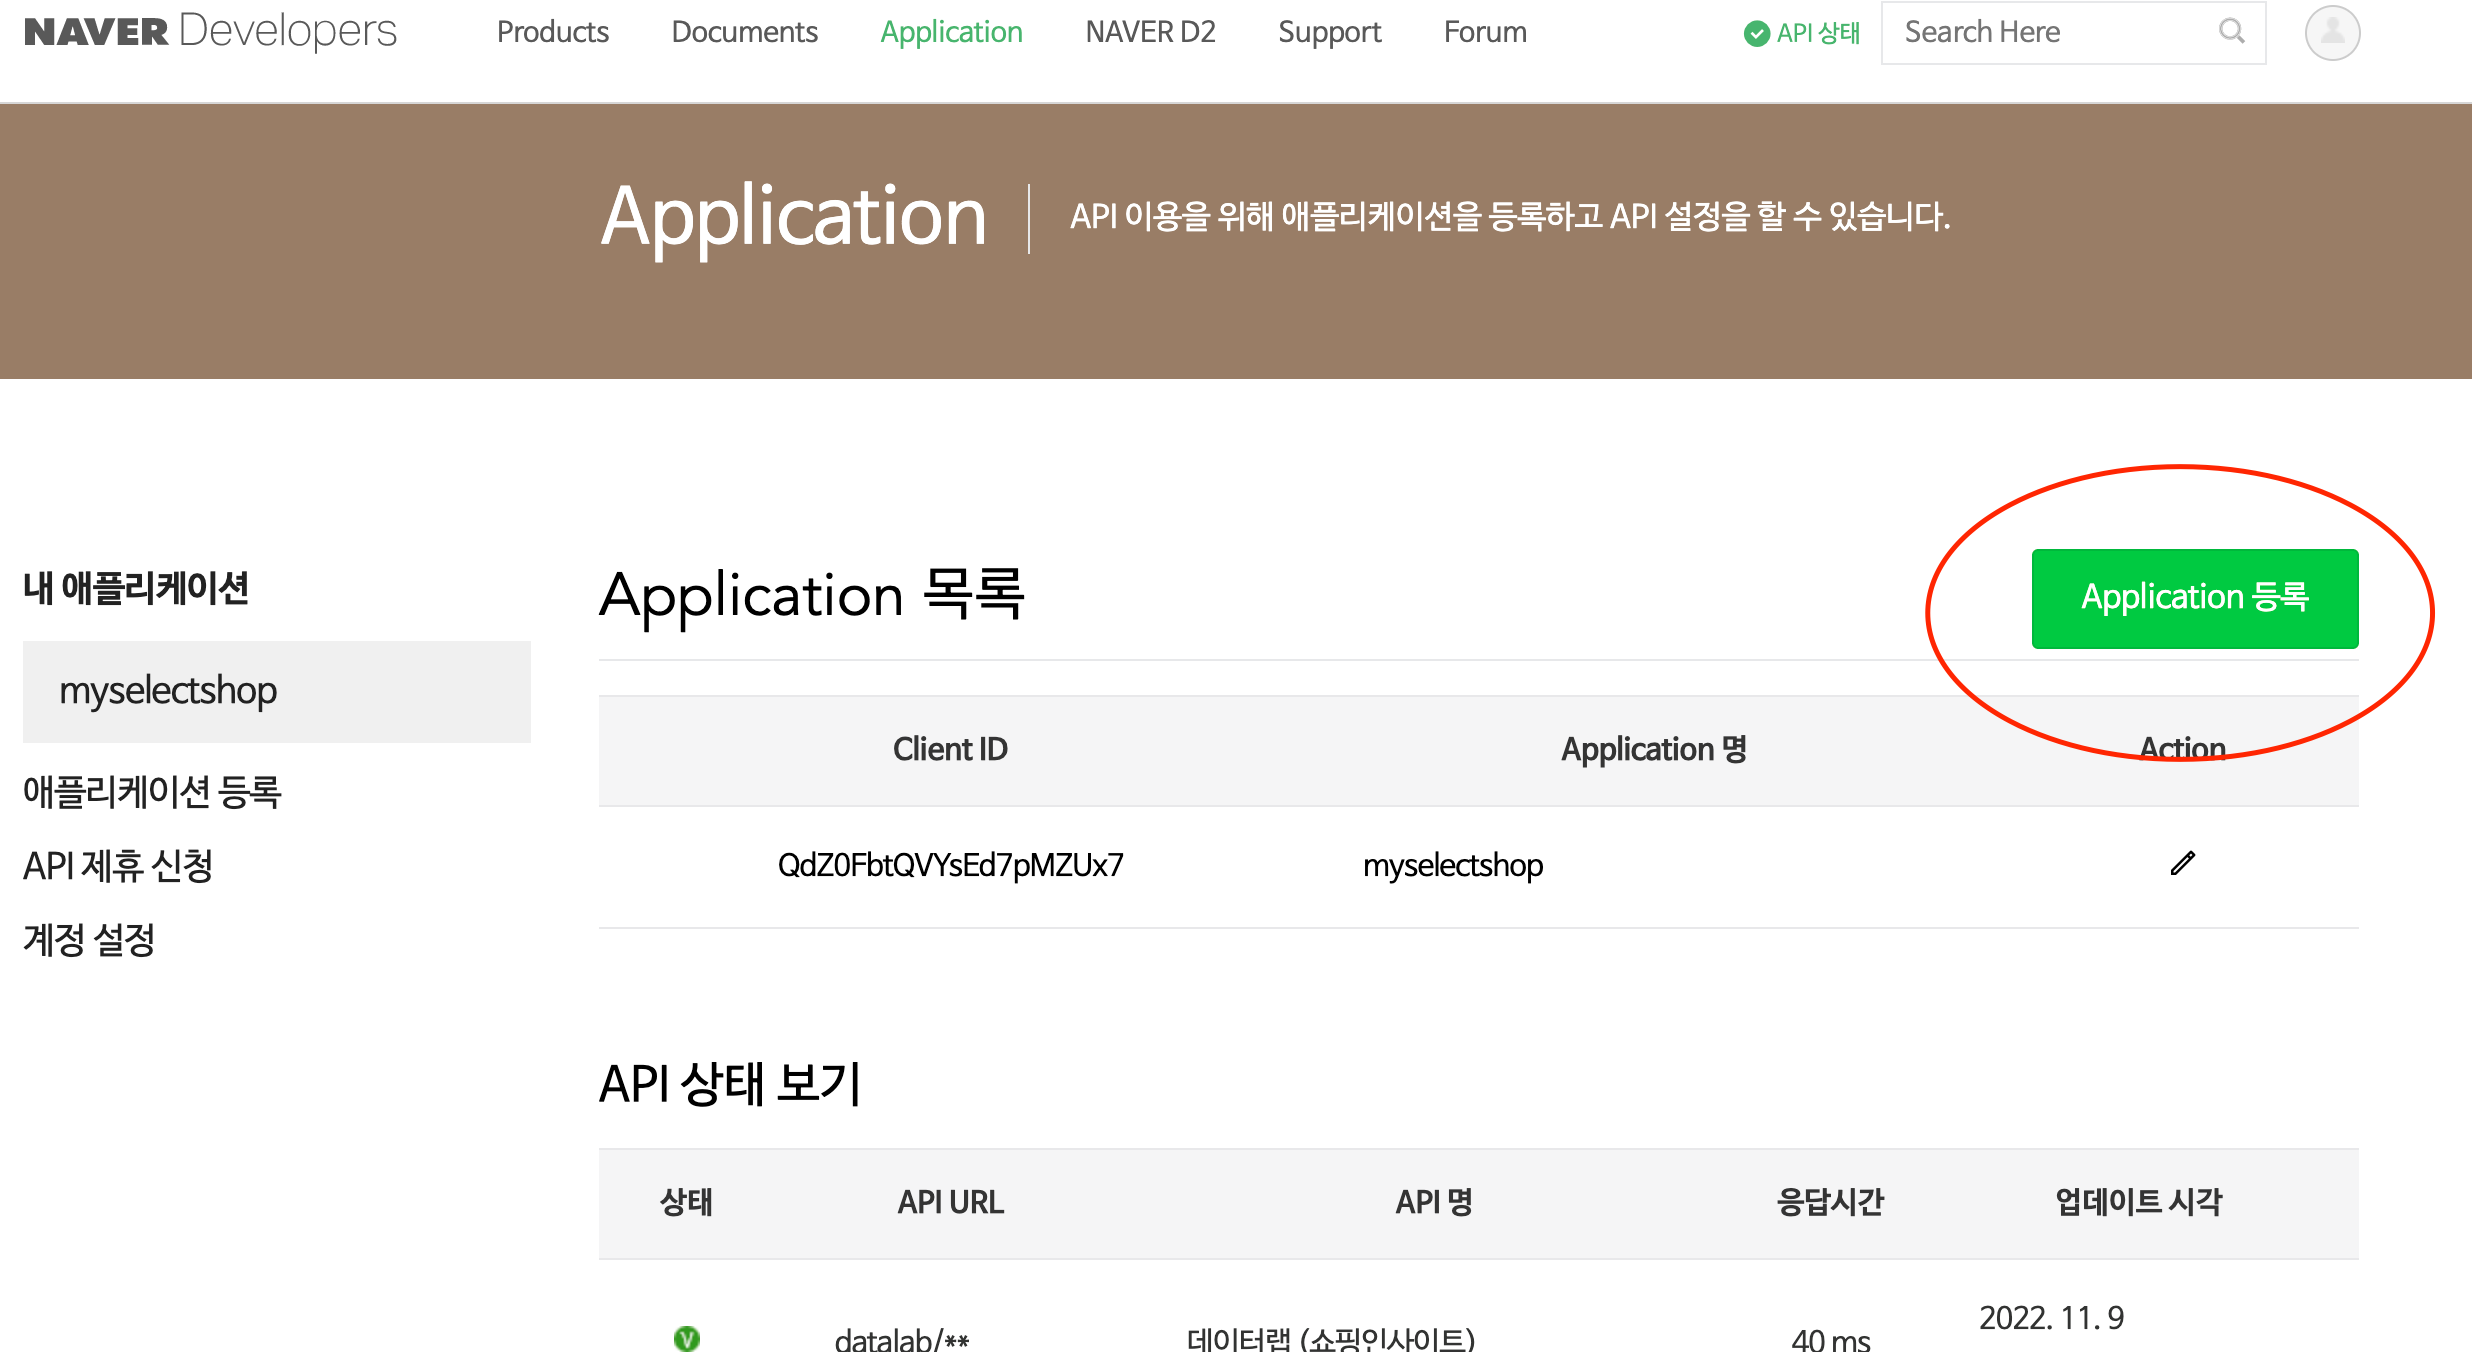
Application등록을 클릭한다
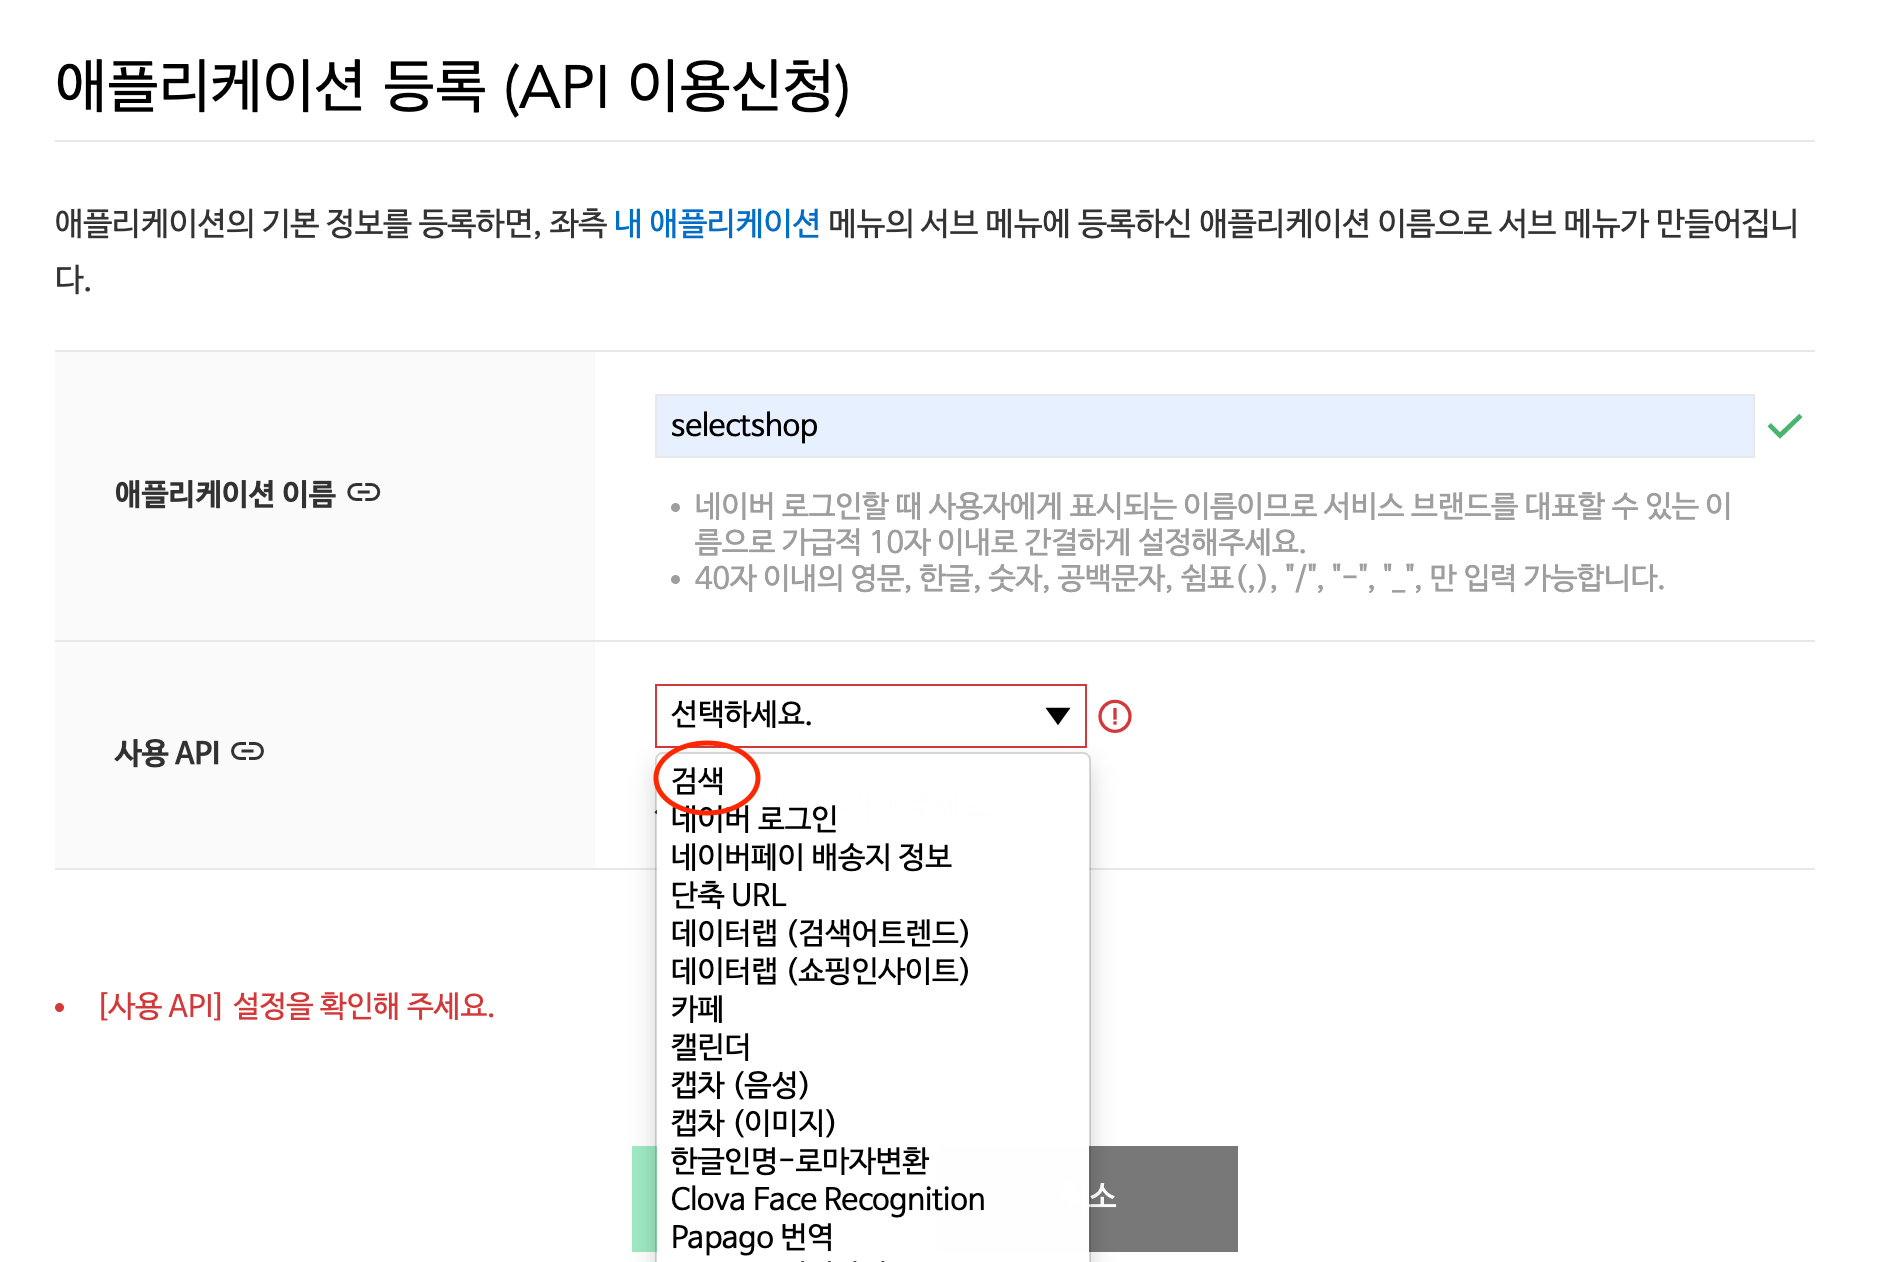
애플리케이션 이름과 사용 API를 작성해준다 나는 네이버 쇼핑 api를 받고 싶어 검색을 선택했다
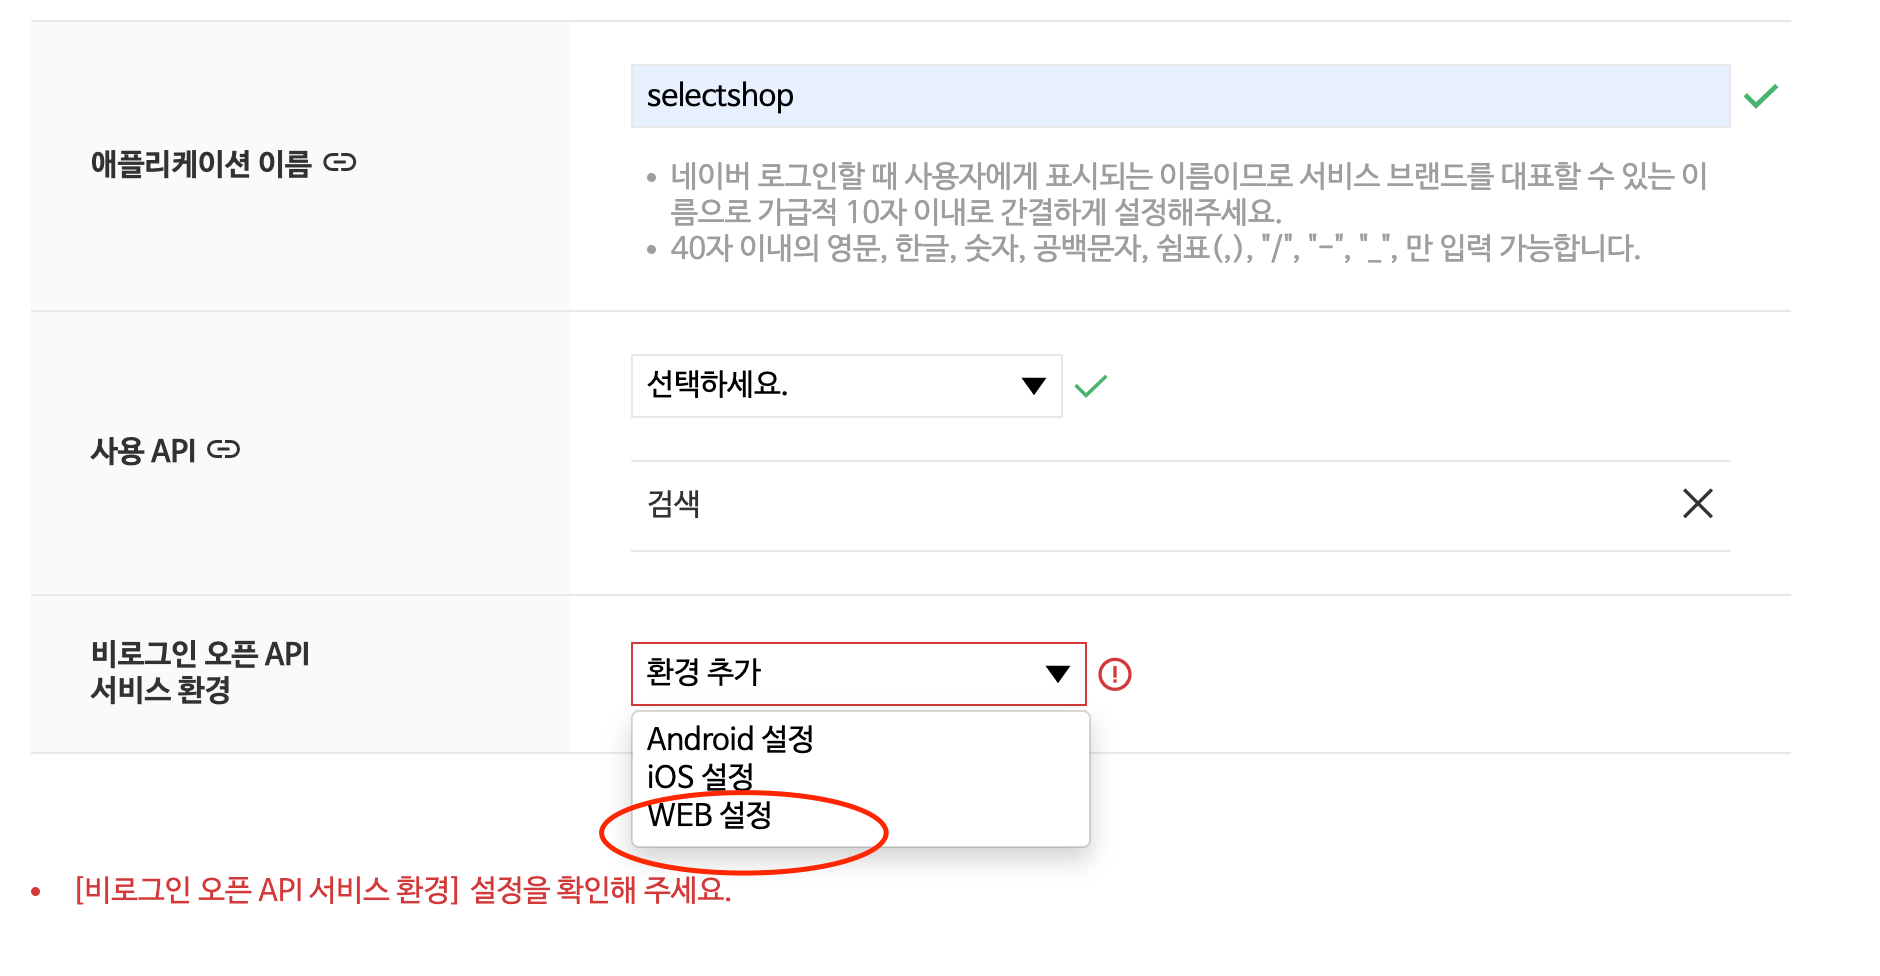
나는 웹을 만들어서 WEB설정을 선택했다
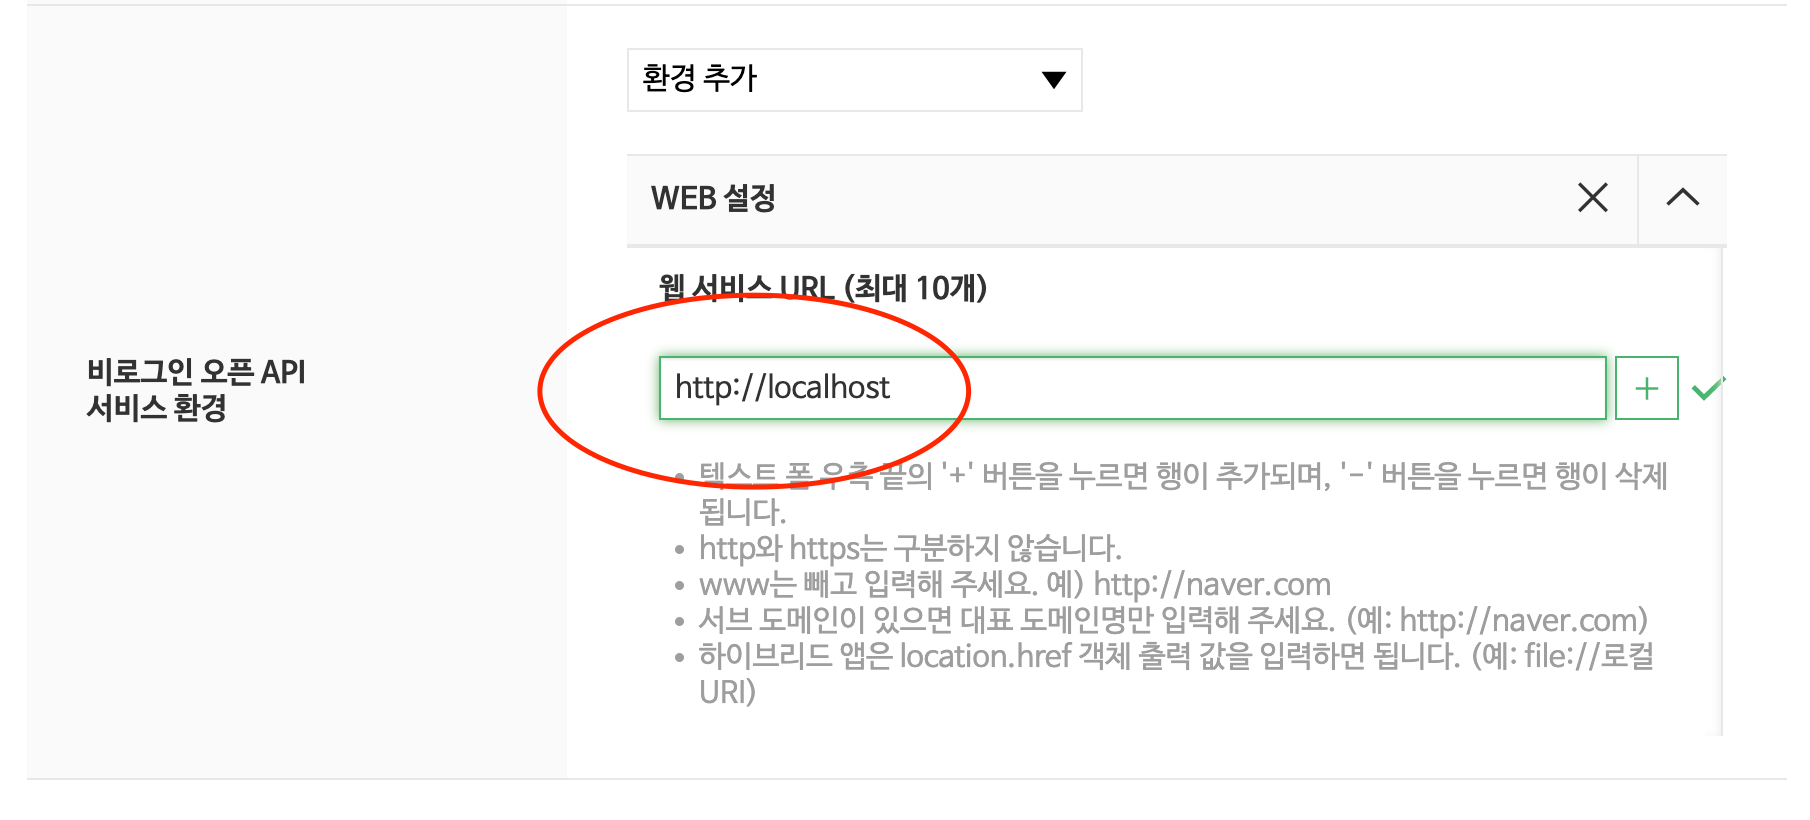
내 컴퓨터에서 사용할 거기 때문에 localhost로 주소를 넣었다
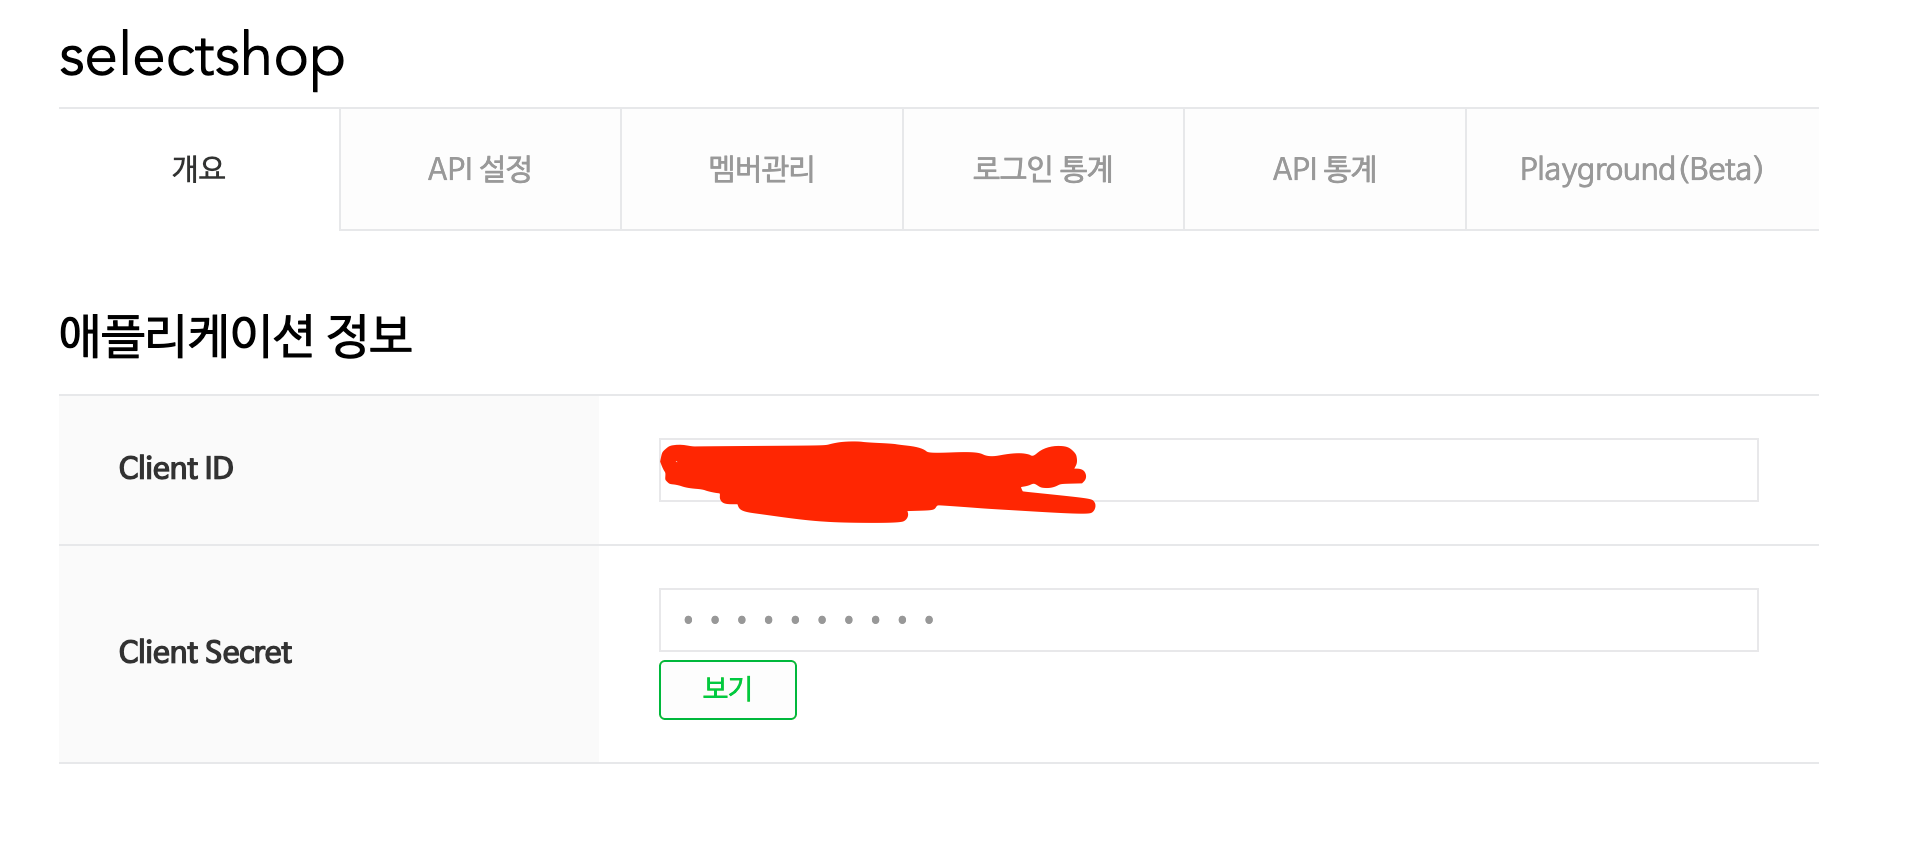
api등록이 완성된 모습이다 이제 api를 이용할 것이다
https://developers.naver.com/docs/serviceapi/search/shopping/shopping.md
먼저 arc에서 api가 잘 들어오는지 확인먼저 해보았다
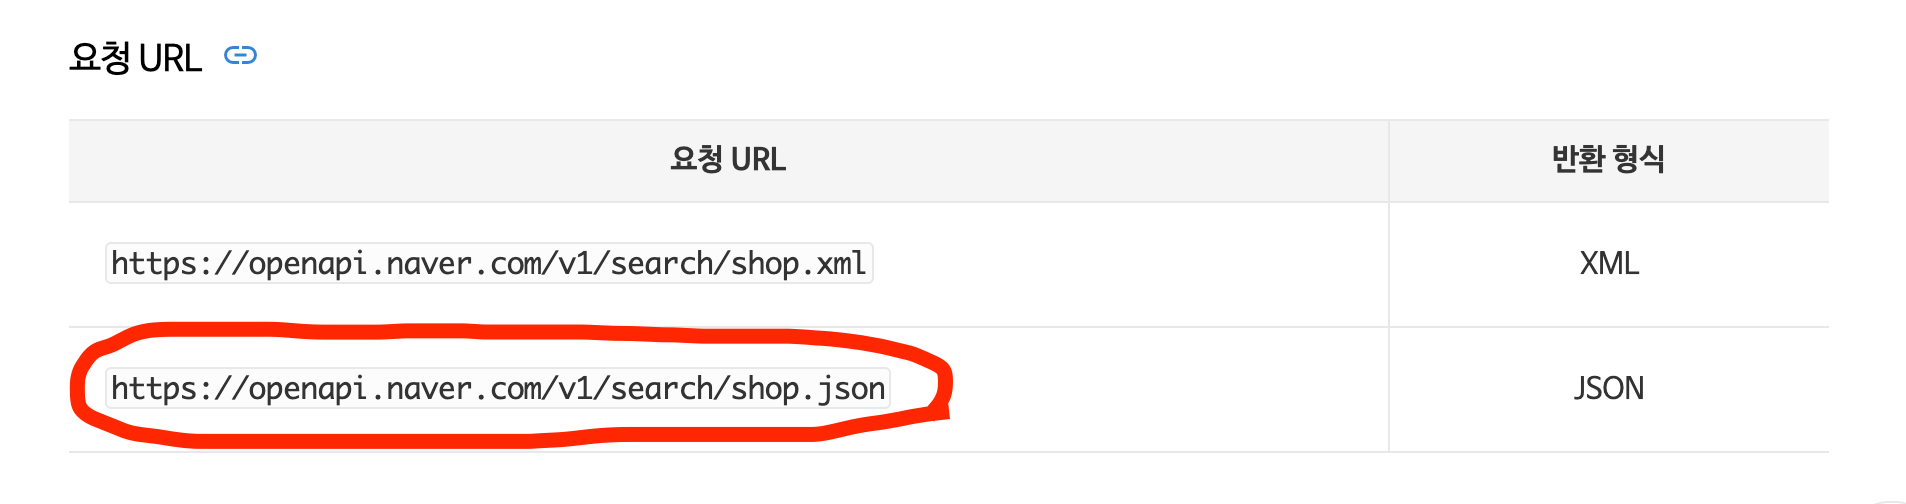
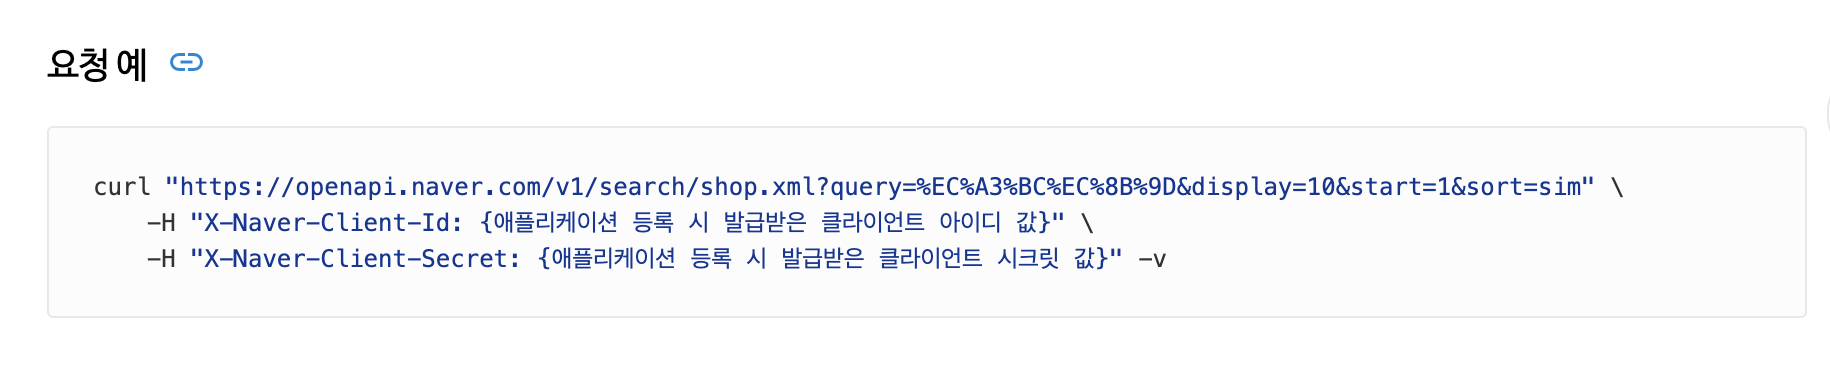

메소드는 get으로 설정하고 url은 요청url의 json반환형식 url을 사용했다
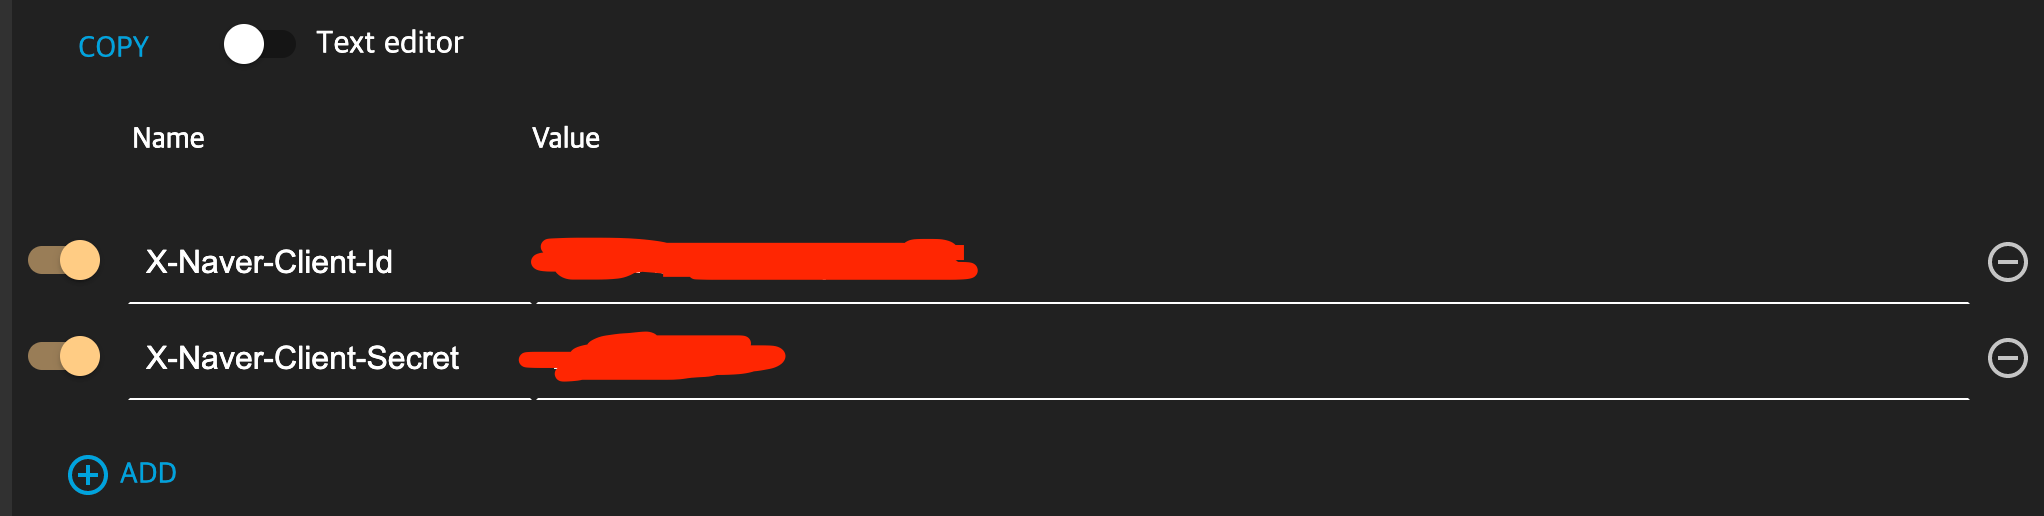
그리고 요청 예시 처럼 헤더를 2개 추가하여 위에 api등록하여 받은 cliend Id와 cliend Secret을 넣어준다

api가 잘 들어온 모습이다
이제 자바에서 api를 받아보았다
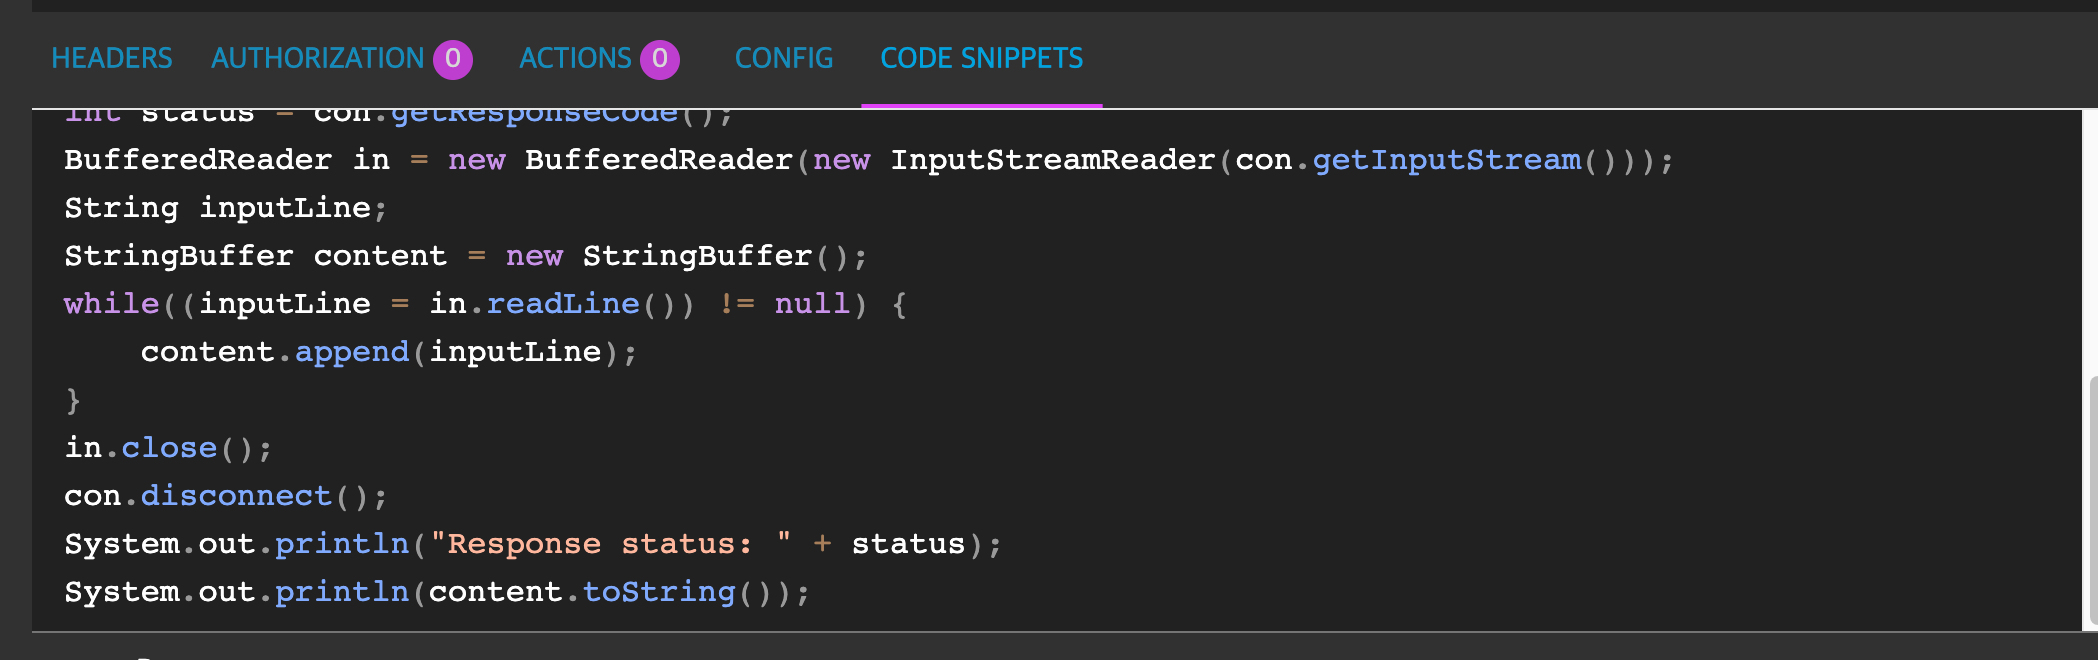
arc에 code snippets을 클릭하여 코드를 복사해 붙여넣는다
NaverShopSearch.java
package com.sparta.week04.utils;

import org.springframework.http.*;
import org.springframework.web.client.RestTemplate;

import java.io.BufferedReader;
import java.io.InputStreamReader;

public class NaverShopSearch {
    public String search() {
        RestTemplate rest = new RestTemplate();
        HttpHeaders headers = new HttpHeaders();
        headers.add("X-Naver-Client-Id", "본인의 Cliend ID");
        headers.add("X-Naver-Client-Secret", "본인의 Client Secret");
        String body = "";

        HttpEntity<String> requestEntity = new HttpEntity<String>(body, headers);
        ResponseEntity<String> responseEntity = rest.exchange("https://openapi.naver.com/v1/search/shop.json?query=아이폰", HttpMethod.GET, requestEntity, String.class);
        HttpStatus
                httpStatus = responseEntity.getStatusCode();
        int status = httpStatus.value();
        String response = responseEntity.getBody();
        System.out.println("Response status: " + status);
        System.out.println(response);

        return response;
    }

    public static void main(String[] args) {
        NaverShopSearch naverShopSearch = new NaverShopSearch();
        naverShopSearch.search();
    }
}
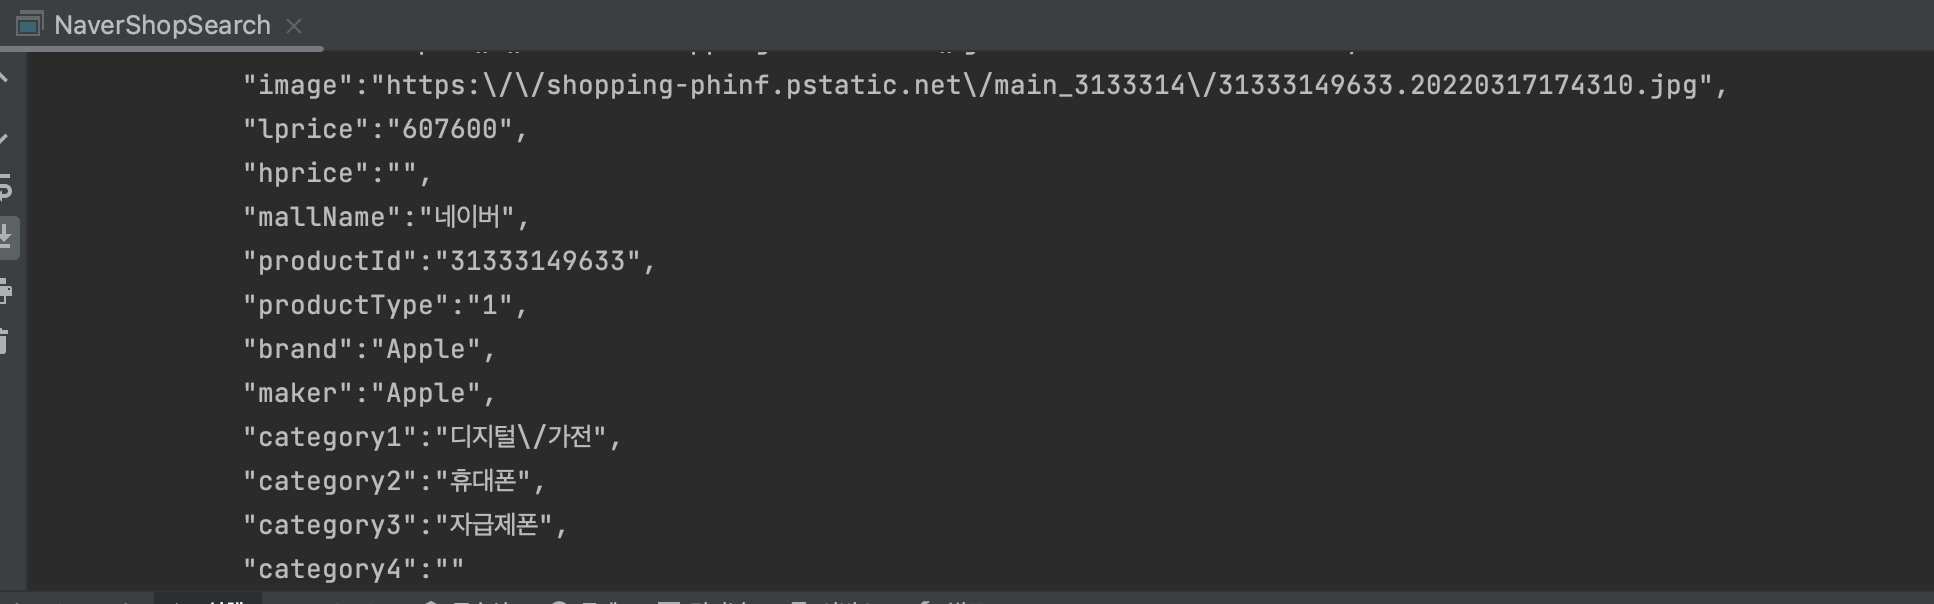
자바에서도 api가 잘 들어왔다