
복잡한 날씨 데이터는 필요 없고 지금 당장의 날씨만 필요하다.
그리고 난 자바스크립트 밖에 다룰 줄 모르는 프론트엔드 개발자다.
그렇다면 OpenWeatherMap을 사용해봅시다!
1. HTML 구조 짜기
  <body>
    <button class="button" type="button">현재 날씨는?</button>
    <dl>
      <dt>기온</dt>
      <dd class="temperature"></dd>
      <dt>위치</dt>
      <dd class="place"></dd>
      <dt>설명</dt>
      <dd class="description"></dd>
    </dl>
    <script src="weather.js"></script>
  </body>
날씨 API에서 받아올 데이터를 브라우저에 띄울 수 있도록 HTML을 작성한다.
2. API 키 받아오기
위 사이트에 방문에 회원가입을 한다.
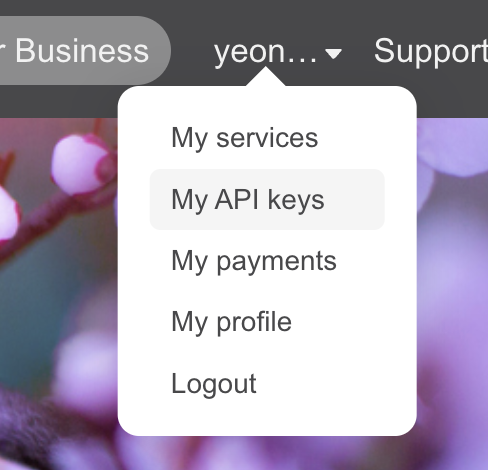
로그인을 하면 우측 상단에서 My API keys 에 들어간다.
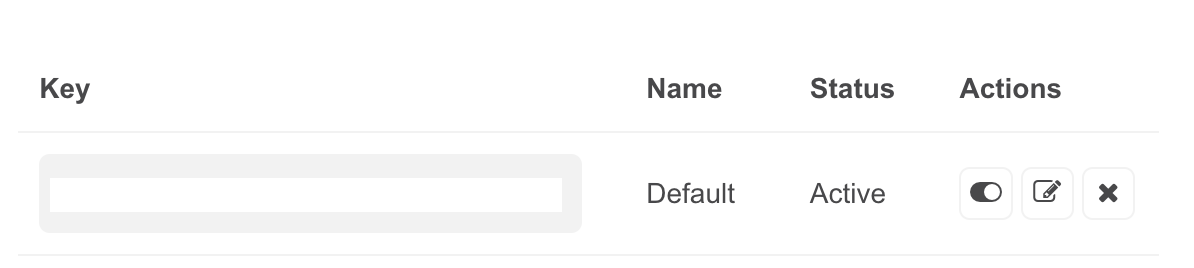
해당 Key 값을 복사해 사용하면 된다.
단, 회원가입 후 바로 사용할 순 없다. 나는 몇 시간 후에 시도하니 됐던 것 같다.
3. 버튼에 클릭 시 현재 위치 정보 받기
3-1. 버튼 클릭 이벤트 생성
const button = document.querySelector('.button');

button.addEventListener('click', () => {
  console.log(button);
});
버튼 클릭 시 콘솔에 로그가 찍히도록 구현해본다.
3-2. 정보 받기 성공한 경우
button.addEventListener('click', () => {
  navigator.geolocation.getCurrentPosition(success);
});

const success = (position) => {
  console.log(position);
}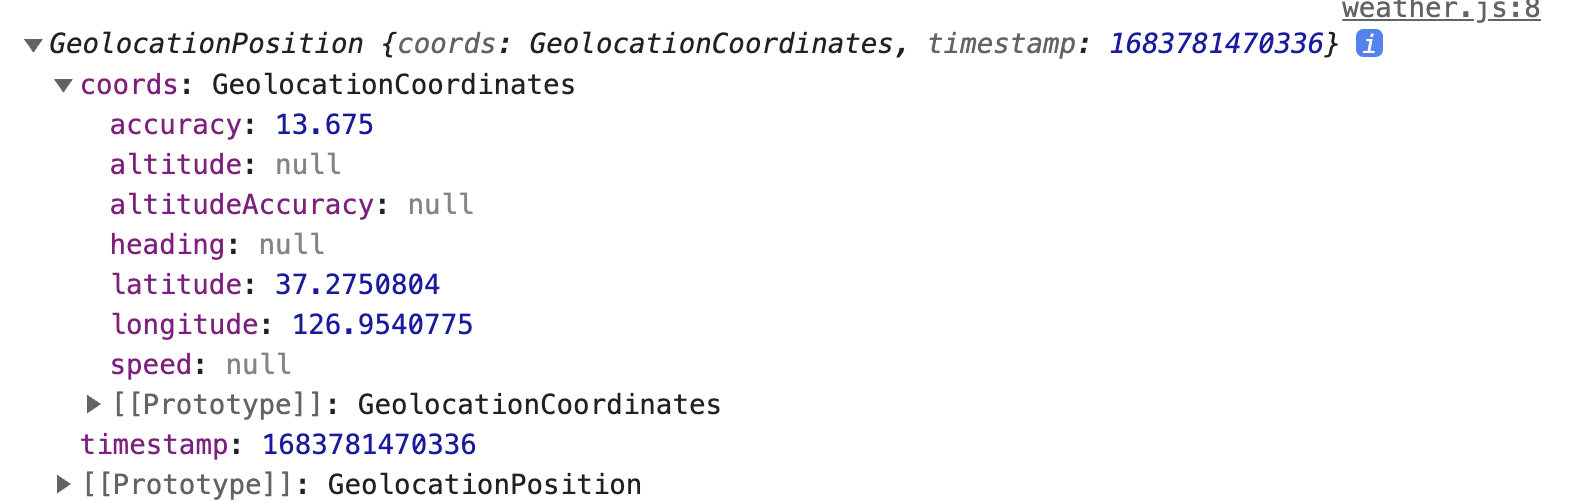
navigator.geolocation.getCurrentPosition() 을 통해 position에 대한 정보를 얻을 수 있다.
날씨 API에서 필요한 정보는 좌표의 경도와 위도이기 때문에 position.coords.longitude와 position.coords.latitude 만 가져오면 된다.
3-3. 정보 받기 실패한 경우
button.addEventListener('click', () => {
  navigator.geolocation.getCurrentPosition(success, fail);
});
...
const fail = () => {
  alert("좌표를 받아올 수 없음");
}
getCurrentPosition() 의 두번째 인자는 실패할 경우를 반환한다.
사용자가 현재 위치 추적을 허용하지 않은 경우 fail() 로 넘어간다.
4. 날씨 정보 가져오기
4-1. API 호출하기
const API_KEY = 'KEY값';
...
const success = (position) => {
  const latitude = position.coords.latitude;
  const longitude = position.coords.longitude;

  getWeather(latitude, longitude);
};

...

const getWeather = (lat, lon) => {
  fetch(
    `https://api.openweathermap.org/data/2.5/weather?lat=${lat}&lon=${lon}&appid=${API_KEY}&units=metric&lang=kr`
  )
}
발급한 API key를 가져와서 위도, 경도, key를 이용해 fetch() 함수로 API를 호출한다.
4-2. json으로 변환
const getWeather = (lat, lon) => {
  fetch(
    `https://api.openweathermap.org/data/2.5/weather?lat=${lat}&lon=${lon}&appid=${API_KEY}&units=metric&lang=kr`
  )
    .then((response) => {
      return response.json();
    })
}
fetch()를 사용하면 응답 데이터를 JSON으로 인코딩해야 사용할 수 있다.
4-3. json 데이터 가져오기
const getWeather = (lat, lon) => {
  ...
    .then((json) => {
      console.log(json);
    })
}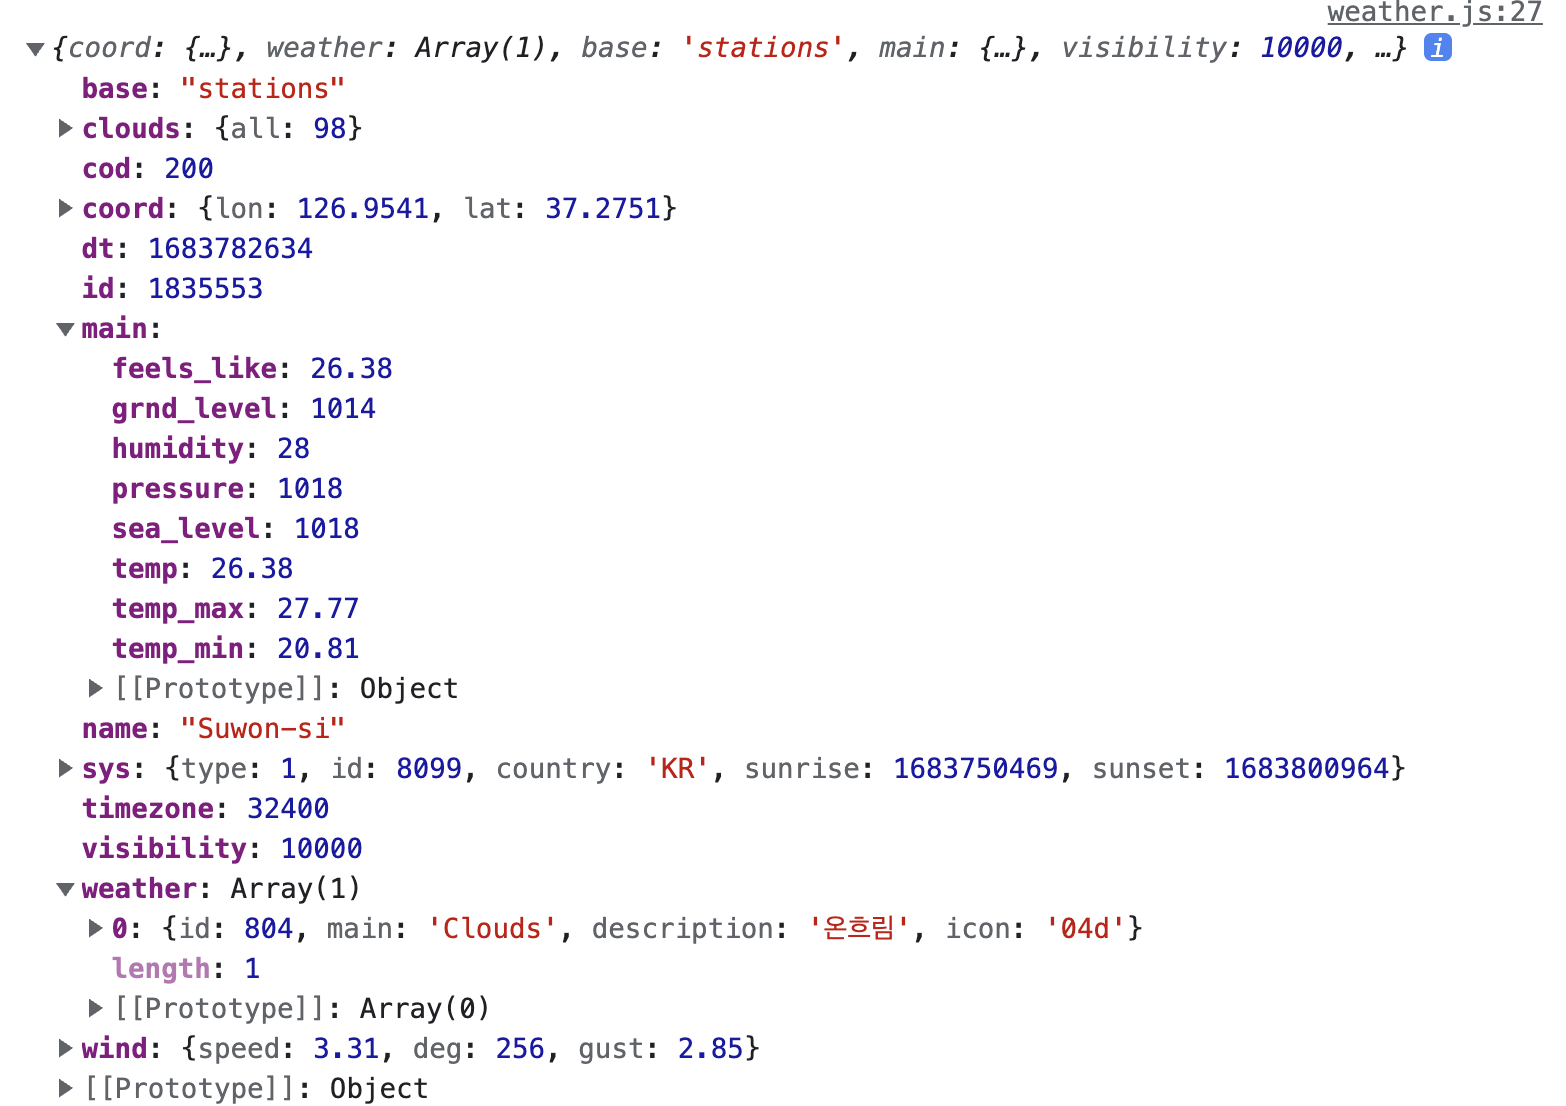
json에 이렇게 많은 정보들이 담겨있다. 이 중 필요한 것만 쏙쏙 꺼내온다.
4-4. 에러 처리하기
const getWeather = (lat, lon) => {
  ...
   .catch((error) => {
      alert(error);
    });
}
정상적으로 fetch가 되지 않을 경우 에러를 반환한다.
5. 화면에 출력하기
const tempSection = document.querySelector('.temperature');
const placeSection = document.querySelector('.place');
const descSection = document.querySelector('.description');
...
const getWeather = (lat, lon) => {
  ...
    .then((json) => {
      const temperature = json.main.temp;
      const place = json.name;
      const description = json.weather[0].description;

      tempSection.innerText = temperature;
      placeSection.innerText = place;
      descSection.innerText = description;
    })
  ...
};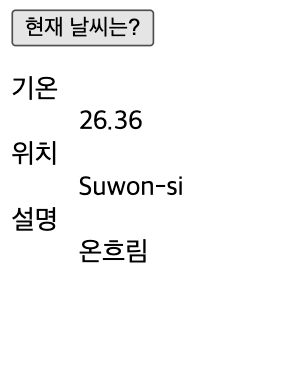
이렇게 간단하게 날씨 API를 가져왔다!
5-1. 추가적인 기능
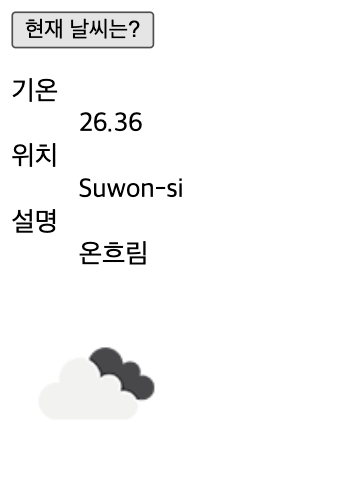
OpenWeatherMap은 날씨에 따른 아이콘을 제공한다.
아이콘을 가져오는 방법은 다음과 같다.
<body>
  ...
   <img class="icon" />
  ...
</body>
const iconSection = document.querySelector('.icon');
const getWeather = (lat, lon) => {
...
.then((json) => {
const icon = json.weather[0].icon;
const iconURL = `http://openweathermap.org/img/wn/${icon}@2x.png`;
iconSection.setAttribute('src', iconURL);
})
...
};

혹시 완성된 자바스크립트 자료 좀 받아볼 수 있을까요?