날짜 선택 컴포넌트 만들기 1탄에 이어서 2탄으로 넘어왔다.
날짜 선택 컴포넌트에서 가장 중요한 기능을 만들어 볼 것이다.
6. 날짜 유효성 체크
// ./components/DateSelection.jsx
...
import moment from 'moment';

const DateSelection = () => {
  ...
  const checkValidDate = (e) => {
    const { value } = e.target;
    const selectedDate = moment(value, format, true);
    const isValid = selectedDate.isValid();

    if (!isValid) {
      setDate('');
    }
  };

  return (
    <section>
      <input
        ...
        onBlur={checkValidDate}
      />
  ...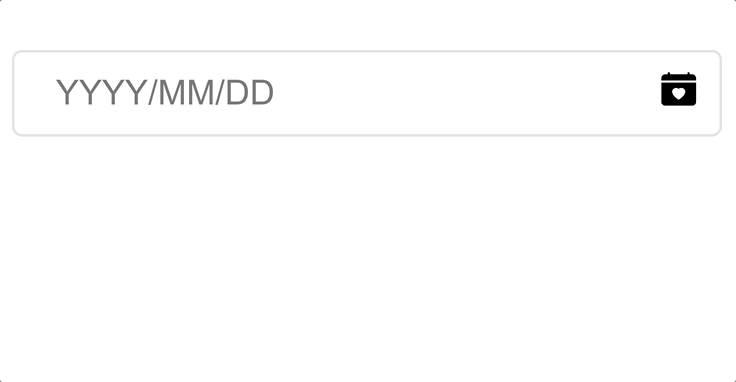
input의 focus가 해제(blur)되면 checkValidDate 함수를 호출시켜 날짜 유효성을 검사한다.
이것은 Moment.js 라이브러리를 활용하면 간단하게 검사할 수 있다.
그 중 moment 함수로 날짜나 시간을 포맷팅 할 수 있다.
매개변수는 값, 형식, 값이 형식에 맞는지 확인하는가(옵션)로 이루어져 있으며,
우리가 만들고 있는 컴포넌트는 value가 format에 정확히 맞아야 하기 때문에 moment(value, format, true)라고 한다.
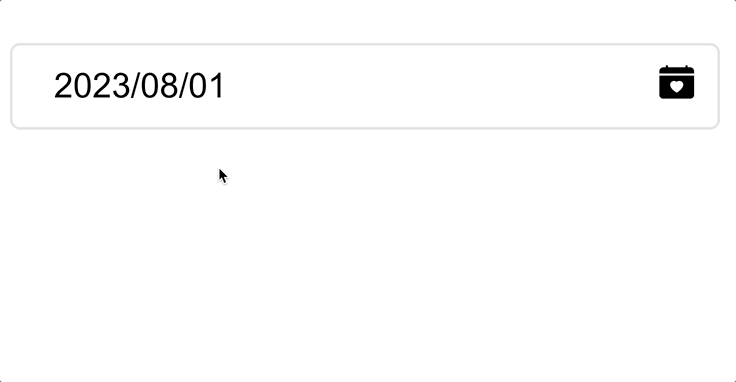
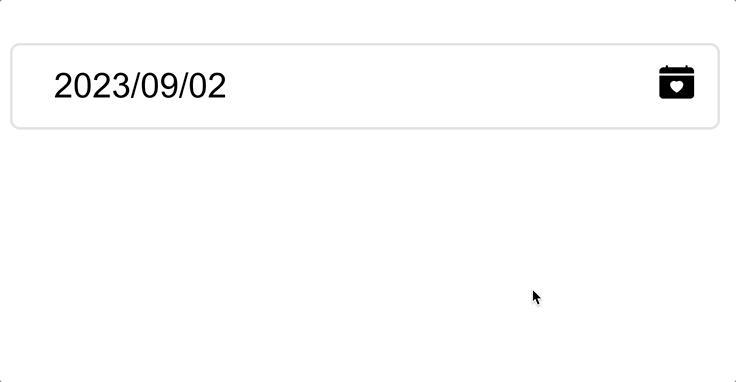
selectedDate는 Moment {_isAMomentObject: true, _i: '2023/07/30', _f: 'YYYY/MM/DD', _strict: true, _isUTC: false, …}와 같은 Object를 나타낸다.
Moment.js 라이브러리의 메서드 중 하나인 isValid로 해당 객체가 유효한 날짜인지 알 수 있다.
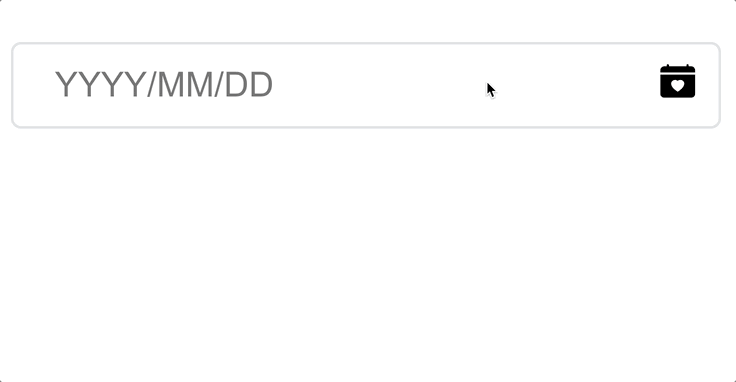
유효하지 않은 경우 빈 값으로 초기화한다.
React-datetime
npm install moment --save
공식문서에서 다양한 기능과 속성을 볼 수 있습니다.
7. format 및 autoFormatting 사용자 커스텀
// ./components/DateSelection.jsx
...
const DateSelection = ({
  format = 'YYYY-MM-DD',
  autoFormatting = true
}) => {
  // const format = 'YYYY-MM-DD';
  ...
    const handleChangeDate = (e) => {
    let currentDate = e.target.value;

    if (autoFormatting) {
      if (separator.symbol && separator.indexes.length > 0) {
        ...
      }
    }

    setDate(currentDate);
  };
  ...
// ./App.jsx
function App() {
return (
<div style={{ margin: '20px' }}>
<DateSelection format='YYYY/MM/DD' autoFormatting={false} />
</div>
);
}DateSelection.jsx 파일 안에서 format을 선언해 사용했지만
DateSelection을 사용할 다른 컴포넌트에서 format을 커스텀 할 수 있도록 props로 전달한다.
format은 YYYY/MM/DD, YYYY-MM-DD, DD.MM.YY, YYMMDD과 같이
년(YY/YYYY)월(MM)일(DD)만 제대로 제공하면 원하는 대로 사용할 수 있다.
Moment.js 덕분이다 :)
autoFormatting은 날짜 입력 시 format에 맞게 자동으로 수정해주는 지 선택하는 것이다.
seperator.indexes를 순환하여 숫자 사이에 symbol을 넣어주는 코드를 조건문 안에 옮겨준다.
8. 타이핑 오류 수정
// ./components/DateSelection.jsx
  ...
  const handleChangeDate = (e) => {
    const { target } = e
    const { value } = target;

    if (autoFormatting) {
      let currentDate = [...value]
        .filter((str) => str !== separator.symbol)
        .join('');

      if (separator.symbol && separator.indexes.length > 0) {
        separator.indexes.forEach((index) => {
          // if (currentDate.length > index && date[index] !== separator.symbol) {
          if (currentDate.length > index) {
            currentDate =
              currentDate.slice(0, index) +
              separator.symbol +
              currentDate.slice(index);
          }
        });
      }
      setDate(currentDate);
    } else {
      setDate(value);
    }
  };
  ...
autoFormatting이 true인 경우에 한 가지 오류가 발견된다.
입력된 날짜의 중간에 커서를 두고 값을 수정하면 형식이 완전히 깨져버린다.
값을 수정할 때마다 indexes 위치에 symbal이 존재하지 않으면 symbol을 추가하는 기능만 있을 뿐,
symbal이 제자리에 없으면 삭제하는 기능은 없다.
따라서 값을 입력 받으면 symbol을 모두 빼서 숫자만 남긴 후에 symbol을 다시 추가한다.
더 이상 date[index]가 symbol과 다른지 체크할 필요도 없기 때문에 삭제한다.
형식이 깨지는 오류는 해결하였지만 또 다른 문제가 발생했다.
중간 값을 수정하면 커서가 맨 뒤로 이동하는 것이다.
이 것은 handleChangeDate 함수를 거치고 값이 date로 통째로 바뀌었기 때문이다.
그렇다면 중간에 수정한 부분의 커서 위치를 알아내야 한다.
// ./components/DateSelection.jsx
  ...
  const handleChangeDate = (e) => {
    const { target } = e;
    const { value, selectionStart } = target;

    if (autoFormatting) {
      let cursorPosition = selectionStart || value.length;

      if (cursorPosition === value.length) {
        cursorPosition += 1;
      }

      setTimeout(() => {
        target.setSelectionRange(cursorPosition, cursorPosition);
      });

      let currentDate = [...value]
        .filter((str) => str !== separator.symbol)
        .join('');
...e.target.selectionStart를 통해 cursor가 선택된 첫 번째 자리를 알 수 있다.
cursor 위치인 cursorPosition은 cursor가 있는 경우 selectionStart로, 없는 경우 맨 뒤인 value.length로 지정한다.
cursorPosition과 value의 길이가 동일할 때 cursor 위치를 오른쪽으로 한 칸 이동하는 이유는
중간에 기호가 들어오면 selectionStart가 그것을 인지하지 못하기 때문이다.
커서 위치가 옮겨지는 시간을 벌기 위해 setTimeout을 사용한다.
e.target.setSelectionRange를 통해 해당 커서로 이동한다.
첫 번째 매개변수는 커서의 시작 위치, 두 번째 매개변수는 커서의 마지막 위치를 나타낸다.
// ./components/DateSelection.jsx
  ...
  const handleCursorPosition = (target) => {
    const { value, selectionStart } = target;
    let cursorPosition = selectionStart || value.length;

    if (cursorPosition === value.length) {
      cursorPosition += 1;
    }

    setTimeout(() => {
      target.setSelectionRange(cursorPosition, cursorPosition);
    });
  };

  const handleChangeDate = (e) => {
    const { target } = e;
    const { value } = target;

    if (autoFormatting) {
      handleCursorPosition(target);

      let currentDate = [...value]
        .filter((str) => str !== separator.symbol)
        .join('');
      ...
handleChangeDate 함수에서는 날짜 값을 바꾸는 역할만 하기 때문에
커서 위치를 바꾸는 기능을 handleCursorPosition 함수로 리팩터링한다.
키보드 이벤트까지 끝내려 했는데 벌써 시간이...
그것은 3탄에서 꼭 하도록 하겠다!