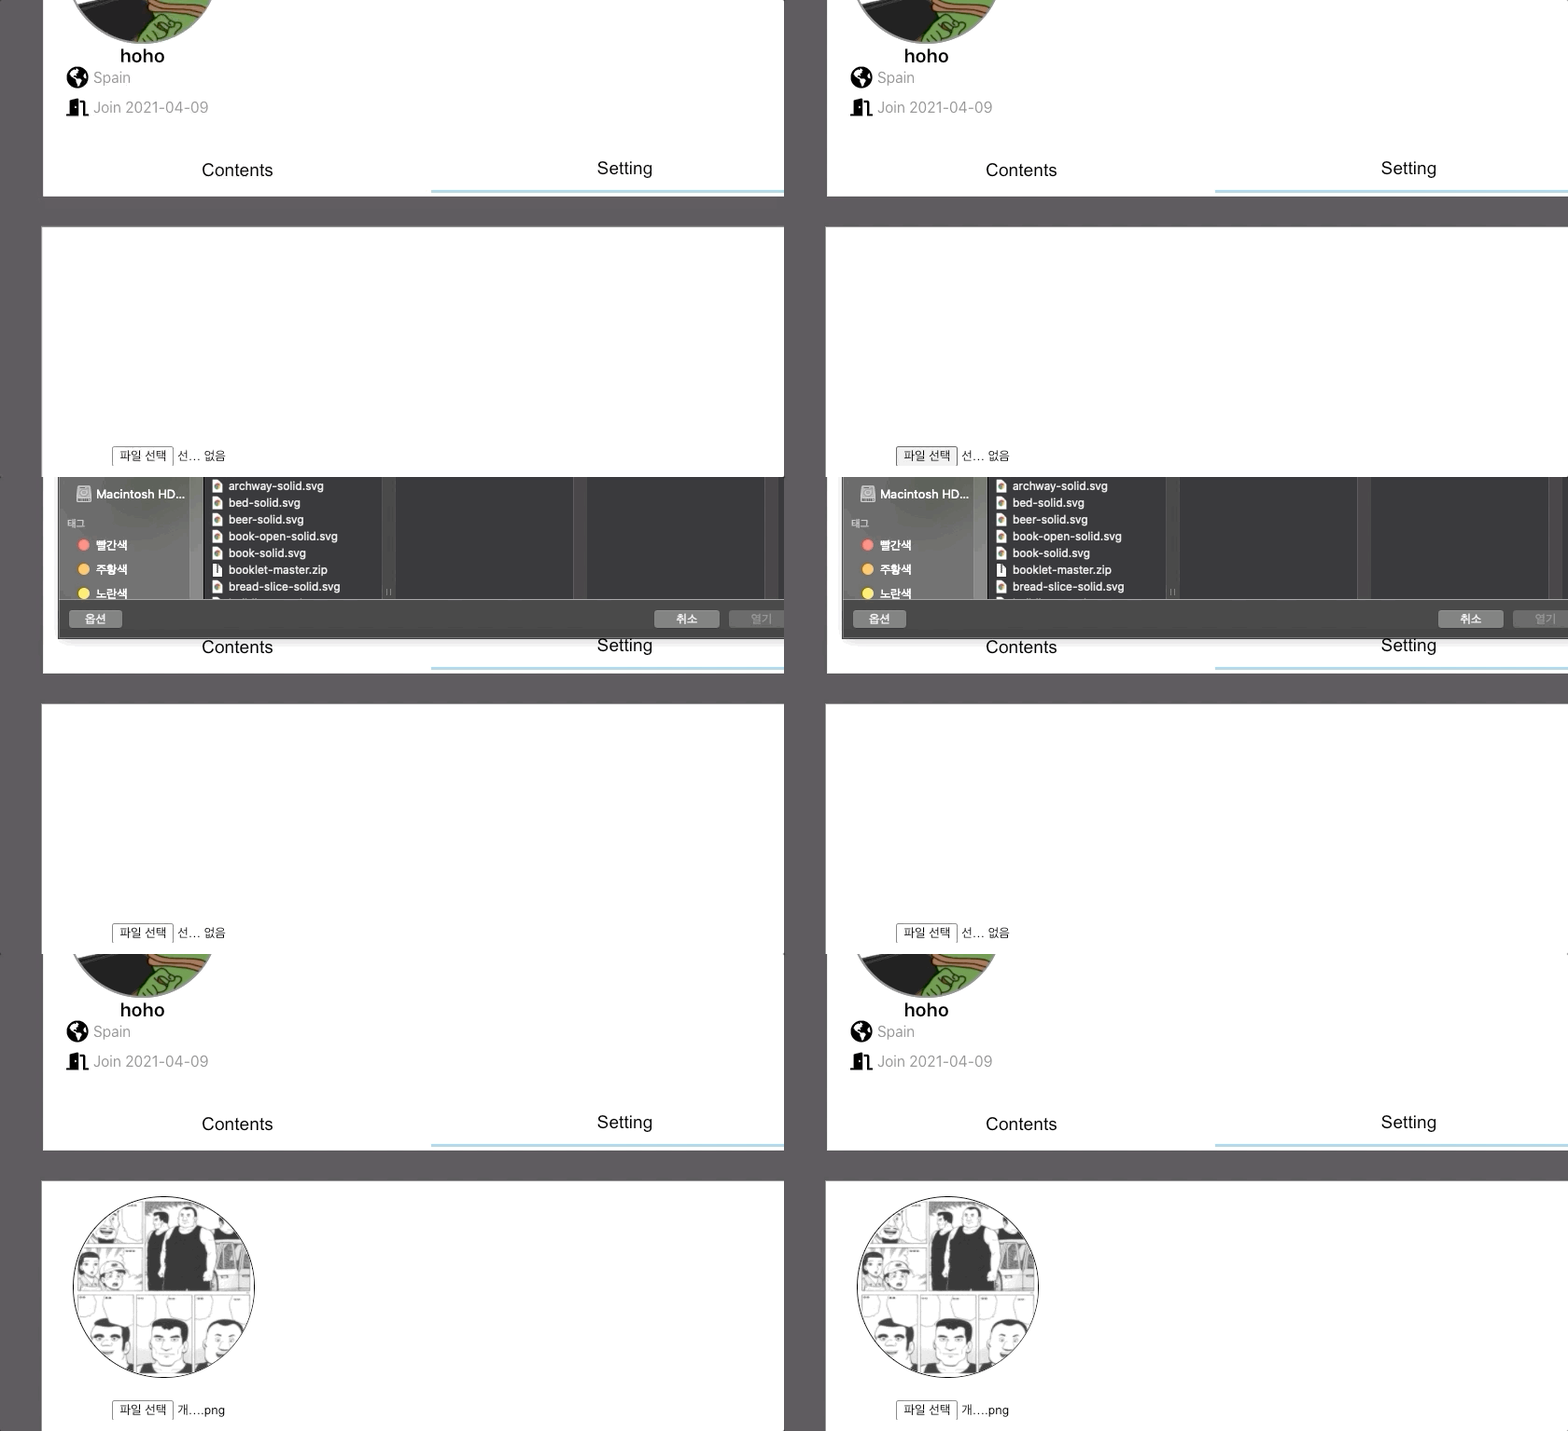
input 태그의 type을 file로 지정하면 지정된 형식의 파일을 업로드할 수 있다.
Form & Input 예시
[예시]
<form method="post" target="imgs" encType="multipart/form-data" action="uploadForm">
  <input onchange={imgOnChange} accept="image/png, image/jpeg" type="file"/ multiple>
</form>
업로드 함수
DOM으로 부모에 자식 엘리먼트를 추가해주는 방식으로 preview를 만들었다.
Function code
async function imageOnchange(event: React.ChangeEvent<HTMLInputElement>) {
    const reader = new FileReader();
    const file: any = event.target.files;
    const previewImgs: any = document.querySelector(".imgbox");
    const previewImgLength = previewImgs.childElementCount;

    reader.onload = () => {
      const img: any = document.createElement("imgbox");
      img.setAttribute("src", reader.result);
      img.setAttribute("style", "border-radius: 50%; border:0.1rem solid black; width:12rem; height:12rem;");

      if (previewImgLength >= 1) {
        alert("you can upload only 1 image");
      } else {
        previewImgs.appendChild(img);
      }
    };
    if (file.length !== 0) {
      reader.readAsDataURL(file[0]);
      if (event.target.files !== null && previewImgLength < 1) {
        const fd: any = new FormData();
        fd.append("imgs", event.target.files[0]);
        axios.post("/image", fd).then((res) => setImage(res.data[0].location));
      }
    }
  }
과정
대략적인 순서는 아래와 같다.
- DOM 문법(querySelector)으로 html div element를 찾는다.(classname ="imgbox")
- DOM 문법(createElement,setAttribute)으로 자식 생성 및 속성 부여
- 부모에 appendchild 해준다
onload
전체 코드를 보면 reader.onload가 보인다.
파일이 성공적으로 로드되면 특정 동작을 하도록 코딩했다.
const reader = new FileReader()
reader.onload
서버로 전송
const fd: any = new FormData();
        fd.append("imgs", event.target.files[0]);
        axios.post("/image", fd).then((res) => setImage(res.data[0].location));
폼 데이터를 만들고 이미지 post API(multer 활용)에 값을 넣어준다.
해당 AWS s3 버킷에 성공적으로 업로드 되면 응답으로 url과 이미지 정보들을 준다.
받은 url을 다시 DB에 저장하는 등 활용하면 된다.
JSX / HTML code
(React with styled-components)
      <ImgBox>
        <ImgPreview className="imgbox" />
        <UploadImgBtn onChange={imageOnchange} type="file" />
      </ImgBox>
