1. weather.js 추가(API를 이용한 WEATHER 정보 추가)
openweathermap 사이트에서 정보를 가져온다. 우선 기존 weather.js 에서 몇가지 코드를 추가해줄것이다. html 에서 js_weather 아래에 추가해준 틀은 도시, 날씨아이콘, 온도, 체감온도이다.
json을 log 해보면 현재 위도, 경도를 통해 검색한 결과값을 볼 수 있다. 그리고 openweathermap 에서 날씨 아이콘을 추출 할 수 있는 방법을 알 수 있으니 잘 찾아보면 된다.
const js_weather = document.querySelector(".js_weather"),
  weather_box = js_weather.querySelector(".weather_box"),
  city = weather_box.querySelector(".city"),
  weather = weather_box.querySelector(".weather"),
  weather_icon = weather.querySelector(".weather_icon"),
  current_temp = weather_box.querySelector(".current_temp"),
  feel_like = weather_box.querySelector(".feel_like");
// DOM 변수를 설정해준다

function getWeather(lat, lng) {
  fetch(
    `https://api.openweathermap.org/data/2.5/weather?lat=${lat}&lon=${lng}&appid=${API_KEY}&units=metric&lang=kr`
  )
    .then((response) => {
      return response.json();
    })
    .then((json) => {
      // 위의 then을 통해 받은 api 데이터안에서 원하는 값을 extract 한다.
      const cityJson = json.name,
        weatherJsonIcon = json.weather[0].icon,
        currentTempJson = json.main.temp,
        feelLiksJson = json.main.feels_like;
      // JSON을 로그해서 나온 값을 보고 원하는 정보만 추출해보았다
      city.innerHTML = `도시: ${cityJson}`;
      weather_desciption.innerHTML = "날씨:";
      weather_icon.src = `http://openweathermap.org/img/wn/${weatherJsonIcon}.png`;
      current_temp.innerHTML = `현재기온: ${currentTempJson}℃`;
      feel_like.innerHTML = `체감기온: ${feelLiksJson}℃`;
      // 그리고 DOM 변수에 추출한 정보를 담아준다
    });
}
2. toggle.js 추가
그리고 마지막으로 버튼에 기능을 추가해준다.
관건은 빈 변수를 설정하고 클릭할 때마다 false와 true를 왔다갔다 하도록 함수 코드를 짜는 것이다.
const functionButton = document.querySelector(".see_function"),
fucntionList = document.querySelector(".section"),
functionArrow = functionButton.querySelector(".functionArrow");
const weatherButton = document.querySelector(".see_weather"),
weatherList = document.querySelector(".weather_box"),
weatherArrow = weatherButton.querySelector(".weatherToggleImg");
let b_pressed = false;
function displayWeather() {
if (b_pressed === false) {
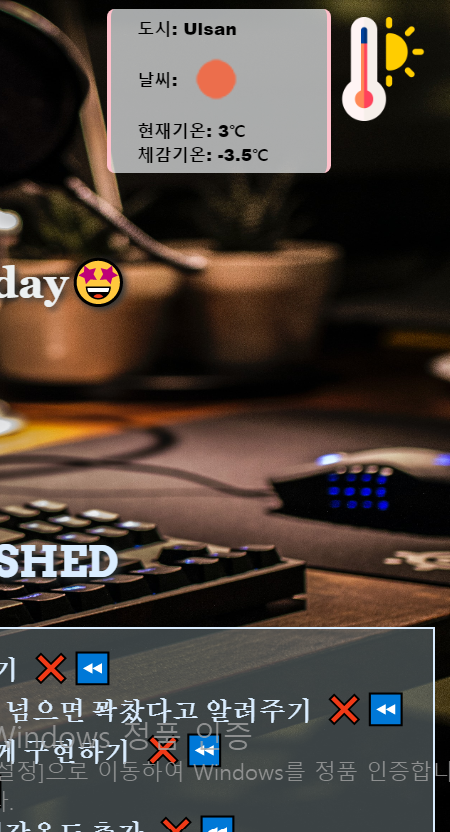
weatherButton.classList.add("forWeatherBtnWidth"); // 버튼의 크기와 모양 위치가 weather.css 에서 설정해준 forWeatherBtnWidth에 의해 바뀐다.
weatherList.classList.remove("non-showing"); // 날씨 정보 박스가 나타난다.
weatherArrow.classList.add("non-showing"); // 화살표가 없어진다
b_pressed = true;
// 버튼을 클릭했을때 b_pressed는 false 상태이므로 위의 코드가 실행될 것이다. 그리도 다시 클릭하면 아래의 함수가 설정된다.
} else {
weatherButton.classList.remove("forWeatherBtnWidth");
weatherList.classList.add("non-showing");
weatherArrow.classList.remove("non-showing");
b_pressed = false;
}
}
function init() {
weatherButton.addEventListener("click", displayWeather);
}
init();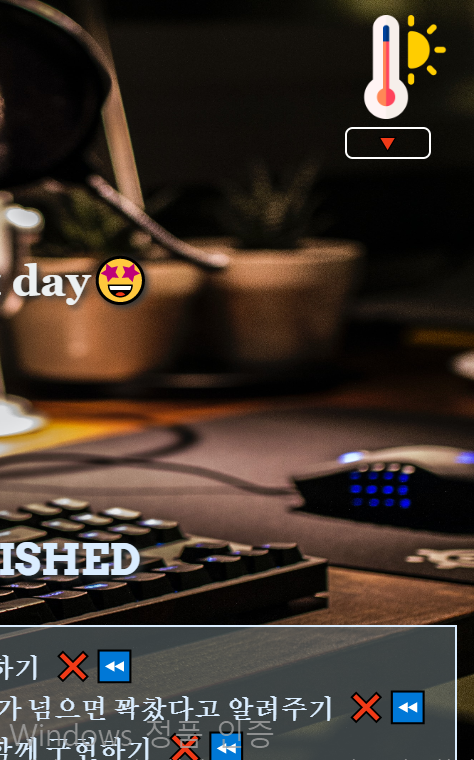
디버그: label img를 클릭하면 실행이 되지만 버튼을 클릭하면 실행이 안된다. 그래서 개발자툴을 봤더니 main이 버튼을 가리고 있었던 것이다. 그래서 main{z-index: -1} 을 해주었고 화면 가장 안쪽으로 이동했기 때문에 버튼을 클릭할 수 있게 되었다.

'과연 이게 최선일까?' 끊임없이 생각하기