프리팹을 만들어서 중요 오브젝트를 한 번에 관리
Enemy와 Player를 프리팹으로 만든다.
Level Data라는 빈 오브젝트 하위에 다른 난이도의 맵을 만들때 사용할 프리팹으로 생성
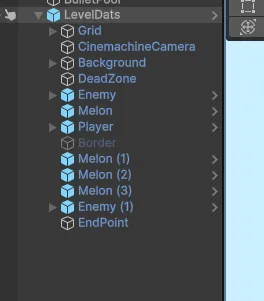
프리팹으로 만들었기 때문에 프리팹을 지웠다 다시 올리면 Missing이 뜸
해결 방법!

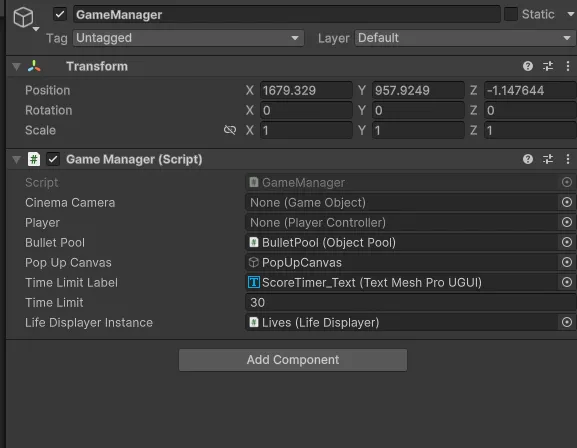
LevelLoader 스크립트에서 Missing이 뜨는 오브젝트를 다시 불러와준다
using UnityEngine;

public class LevelLoader : MonoBehaviour
{
    public PlayerController Player;
    public GameObject Cinemachine;
    private void Start()
    {
        GameManager.Instance.Player = Player;
        GameManager.Instance.CinemaCamera = Cinemachine;
    }

}
Start가 아니라 Awake로 하려니까 GameManager에 Awake에서 Instance로 만들어주는게 우선순위가 더 높아서 오류가 뜸(인스턴스를 만들고 찾아야하는데 찾고 만들려니까 안 찾아짐)
다른 방법(Scripts Execution Order)
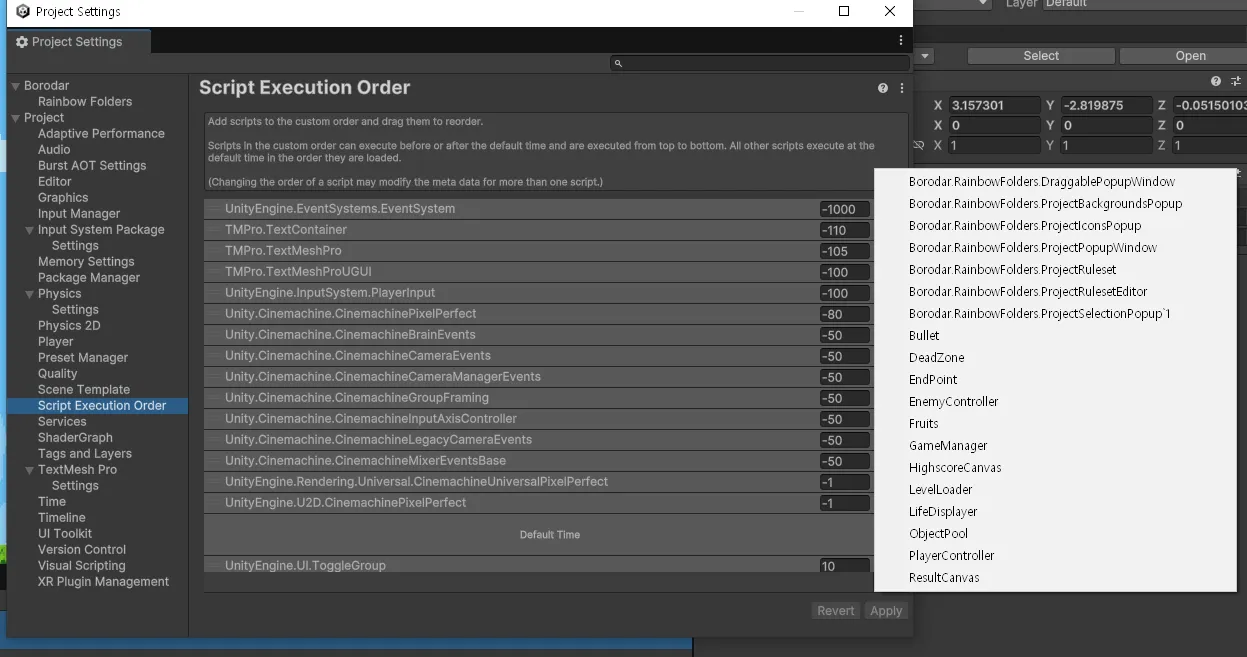
우선순위를 정해주는 설정창으로
[ Project Settings - Scripts Execution Order - +버튼에서 내 스크립트 할당 ]하면 어떤 스크립트가 먼저 실행될지 정할 수 있다.
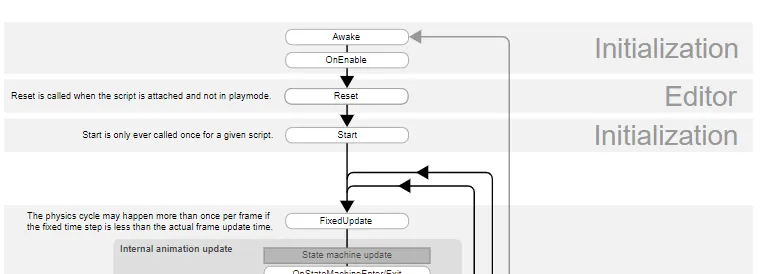
유니티는 기본적으로 아래와 같은 순서로 실행된다
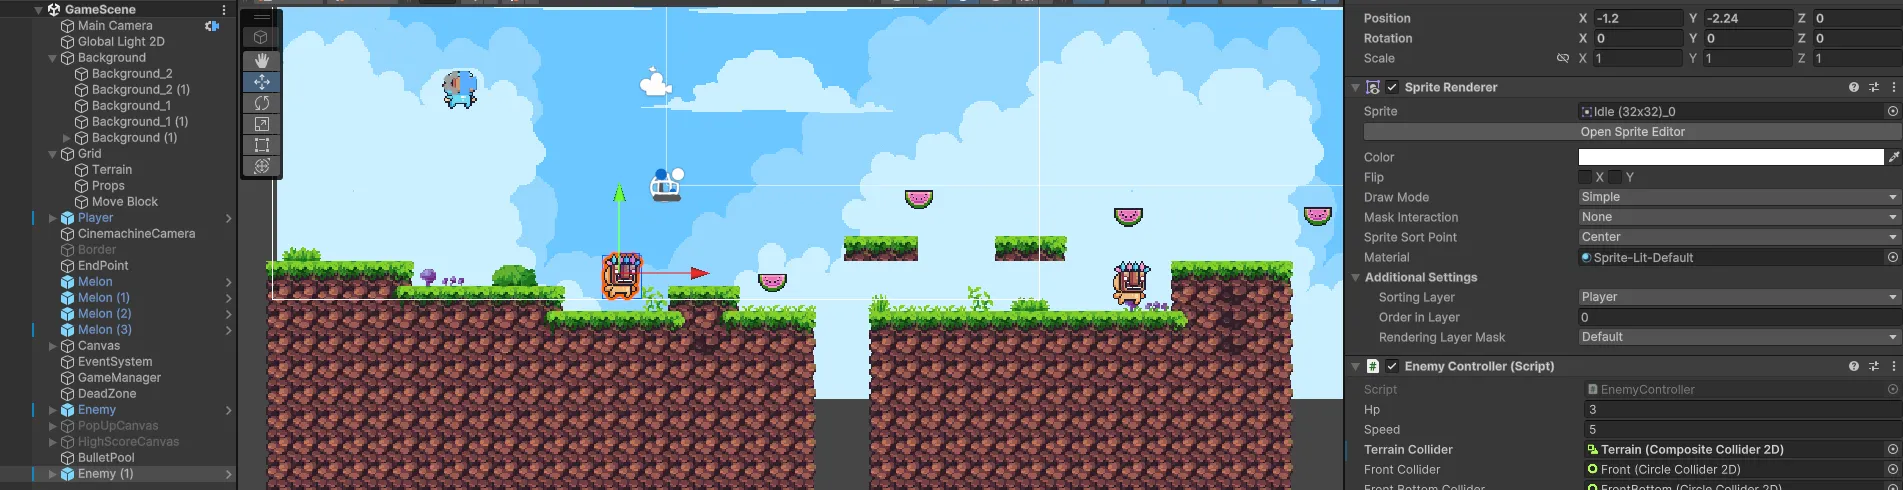
Enemy를 새로 만들때마다 Terrain만 계속 추가해주어야해서 스크립트에서 할당해주자.

using UnityEngine;

public class EnemyController : MonoBehaviour
{
    public int Hp = 3;
    public float Speed = 3;
    public CompositeCollider2D TerrainCollider;
    public Collider2D FrontCollider;
    public Collider2D FrontBottomCollider;

    Vector2 vx;

    private void Awake()
    {
        GameObject.FindGameObjectWithTag("Terrain").GetComponent<CompositeCollider2D>();
    }
FindGameObjectWithTag 를 사용해서 태그로 찾아 할당해주기
레벨 선택창 만들기
LevelSelect 씬을 만들고 캔버스를 만들어준다
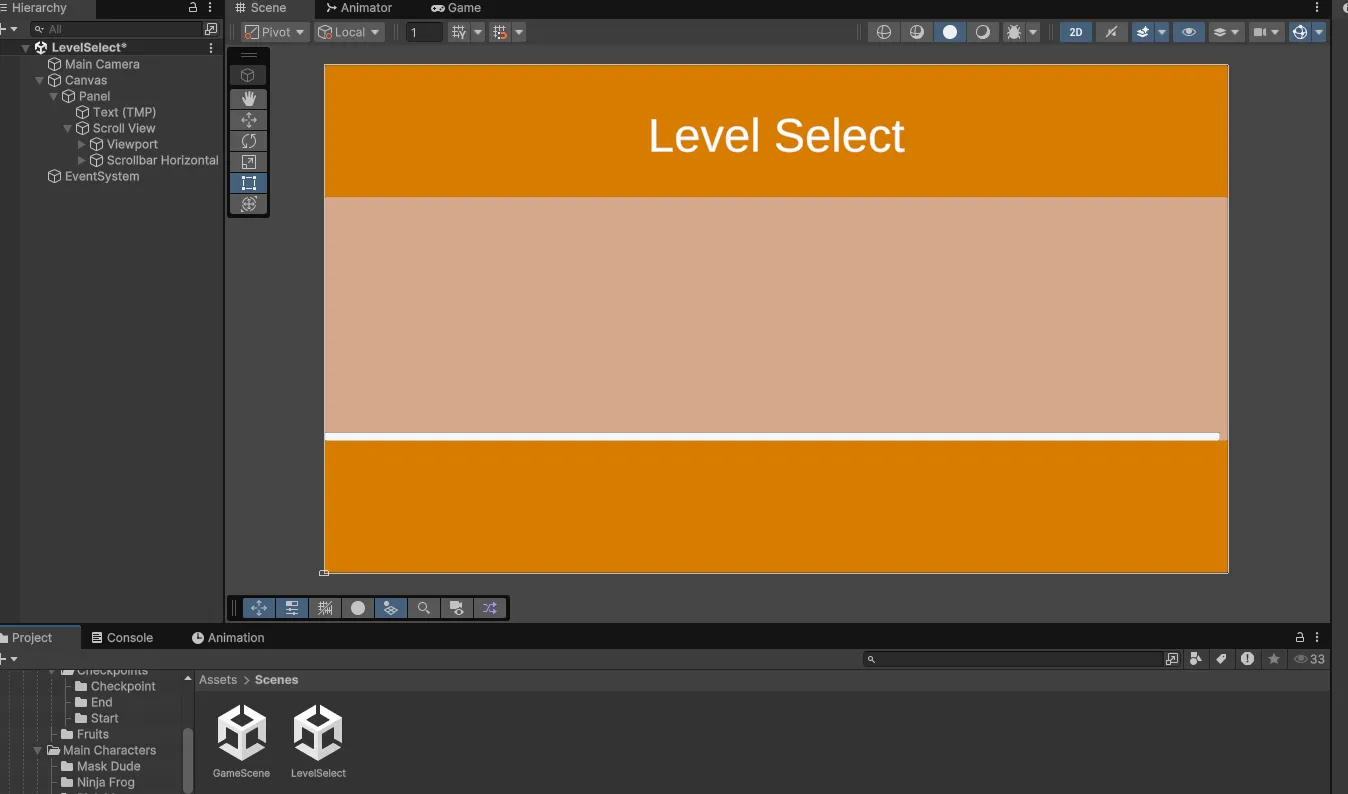
이런식으로 Panel - Scroll View 순서로 만들어주고, 아래처럼 설정
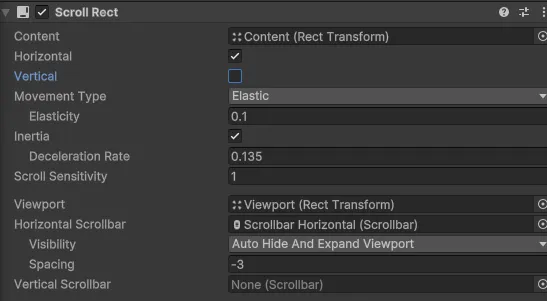
가로로 스크롤할거기 때문에 Vertical 체크 해제
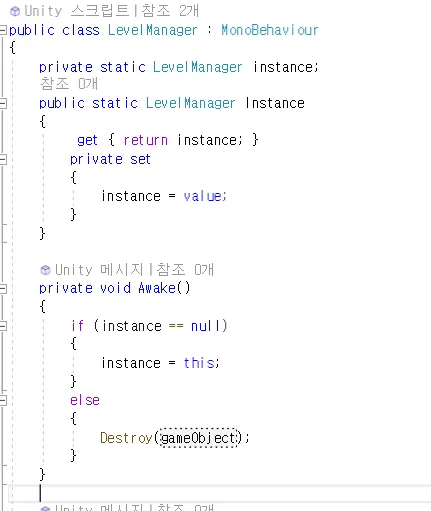
Level Manager를 싱글톤으로 작성
싱글톤 : 무조건 한번만 만들어야함
이런식으로 instance가 있으면(null이 아니면) 삭제해야함
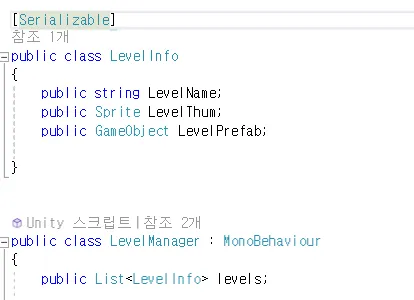
LevelManager위에 class를 만들어주고 list를 만들어줌
using System;
using System.Collections.Generic;
using UnityEngine;

[Serializable]
public class LevelInfo
{
    public string LevelName;
    public Sprite LevelThum;
    public GameObject LevelPrefab;

}

public class LevelManager : MonoBehaviour
{
    public List<LevelInfo> levels;

    private static LevelManager instance;
    public static LevelManager Instance
    {
         get { return instance; }
        private set
        {
            instance = value;
        }
    }

    private void Awake()
    {
        if (instance == null)
        {
            instance = this;
            DontDestroyOnLoad(gameObject);
        }
        else
        {
            Destroy(gameObject);
        }
    }
}
Class를 Serializable로 해주어서 인스펙터창에 나타나게 된다.
Serializable : 구조체나 클래스에서만 사용하는 인스펙터에서 접근할 수 있도록 하는 키워드
맵 프리팹을 다르게 두개 만들어서 각각에 할당해주면 된다.
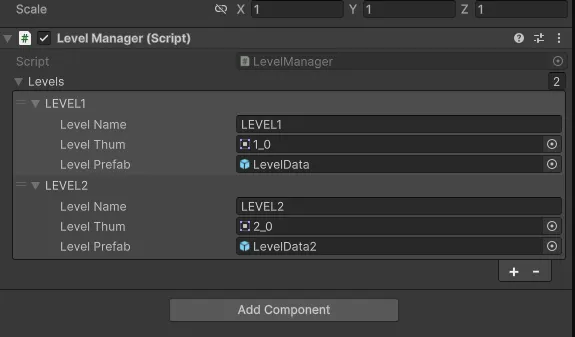

public List levels;에는 Name, Thum, Prefab 각각 할당해준 것들이 들어가게 된다.
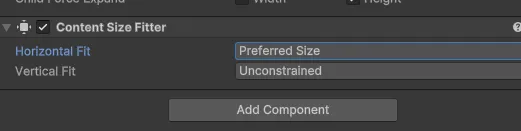
가로로 정렬하는 Horizontal Layout Group 생성
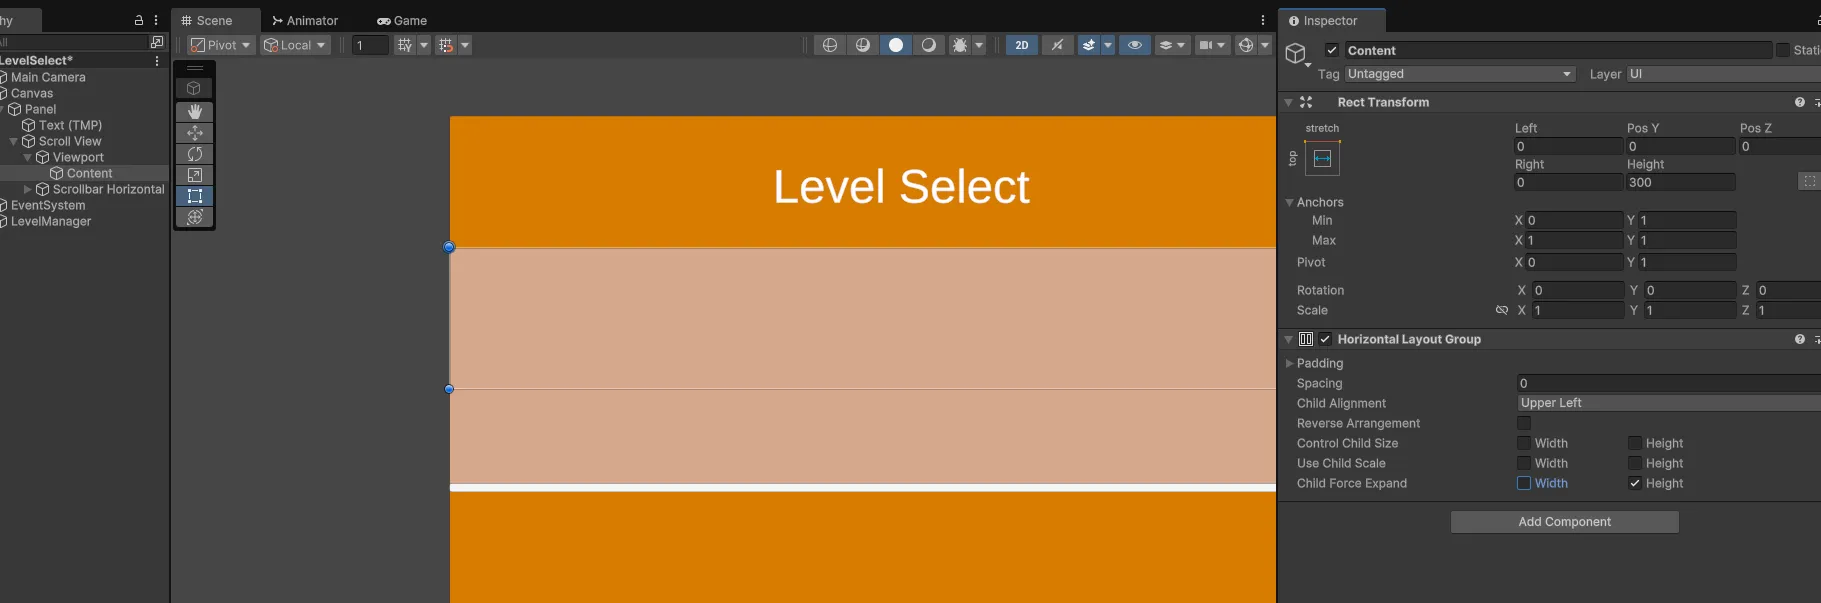
content size fitter : 컨텐츠의 크기에 따라 자동으로 컨텐트의 길이가 달라지도록(크기가 작으면 스크롤이 그 크기밖에 안됨)
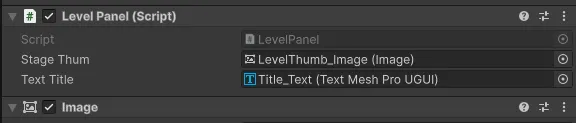
LevelPanel 스크립트 생성
using TMPro;
using UnityEngine;
using UnityEngine.UI;

public class LevelPanel : MonoBehaviour
{
    int StageIndex;
    public Image StageThum;
    public TextMeshProUGUI TextTitle;

    public void SetLevelInfomation(int stageIndex, Sprite thumnail, string title)
    {
        StageThum.sprite = thumnail;
        this.StageIndex = stageIndex;
        TextTitle.text = title;
    }

}
위에 LevelTitle + 사진 + 버튼 이 들어가있는 패널을 컨트롤하는 스크립트
패널들의 내용들을 넣어주는 스크립트
using UnityEngine;

public class LevelSelectManager : MonoBehaviour
{
    public GameObject LevelPanelPrefab;
    public GameObject ScrollViewContent;

    private void Start()
    {
        for(int i = 0;i<LevelManager.Instance.levels.Count;i++)
        {
            LevelInfo Info = LevelManager.Instance.levels[i];
            GameObject go = Instantiate(LevelPanelPrefab, ScrollViewContent.transform);
            go.GetComponent<LevelPanel>().SetLevelInfomation(i, Info.LevelThum, Info.LevelName);
        }
    }
} 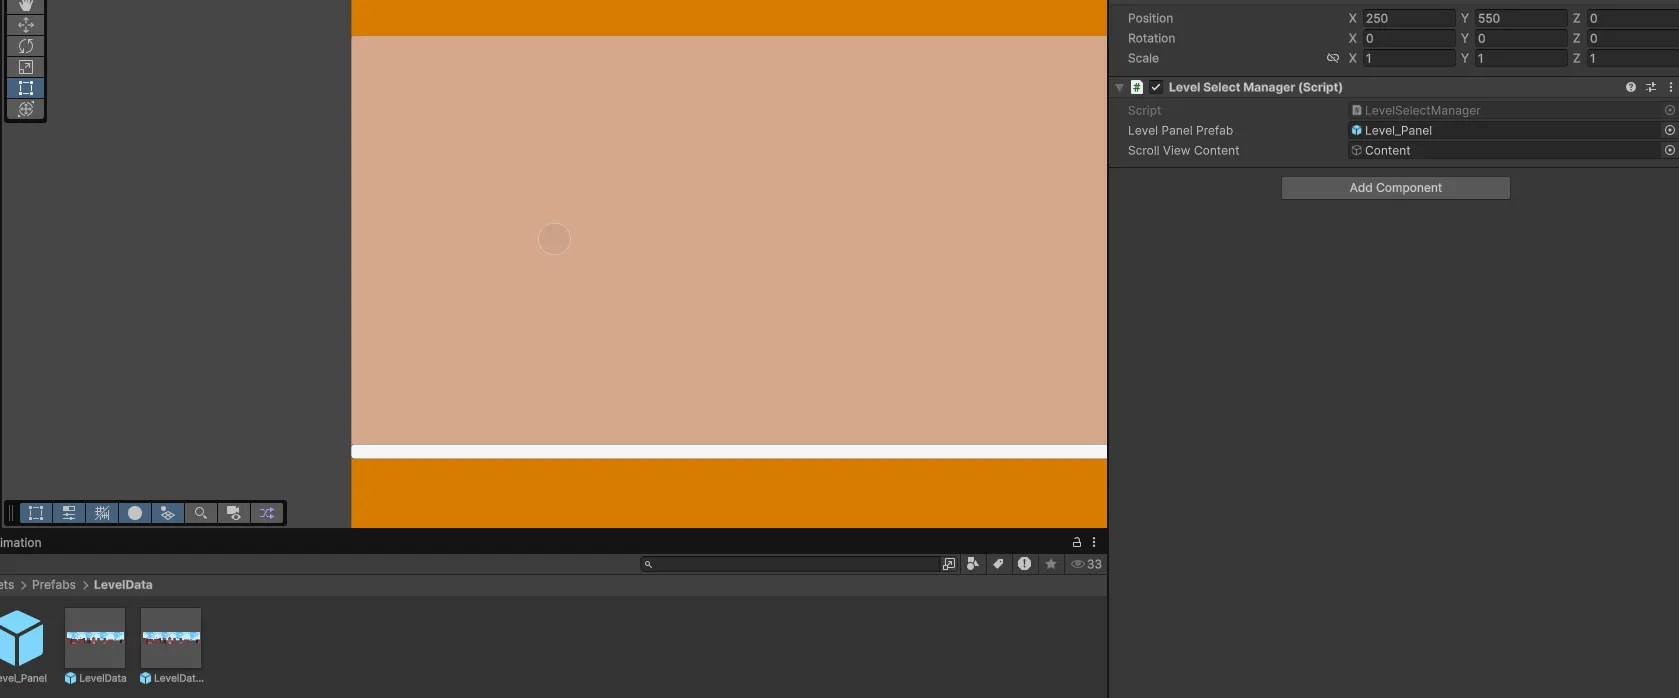
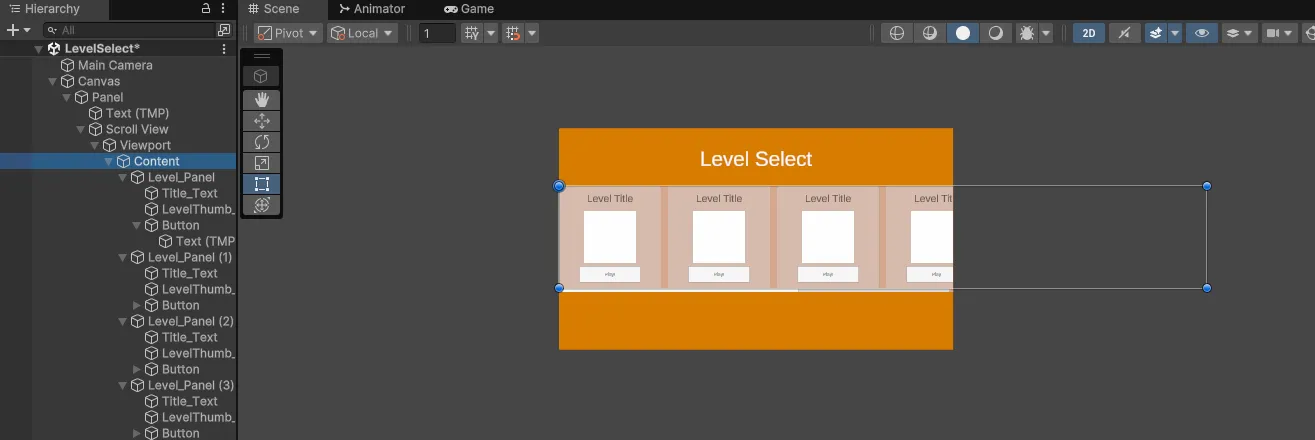
LevelSelectManager 설명
for(int i = 0;i<LevelManager.Instance.levels.Count;i++)▲ Name, Thum, Prefab 각각 할당해준 것들(몇개 지정해주었는지)의 수까지 반복문을 돌린다.
LevelInfo Info = LevelManager.Instance.levels[i];▲ class에 넣어준다.
GameObject go = Instantiate(LevelPanelPrefab, ScrollViewContent.transform);▲ LevelPanelPrefab을 ScrollViewContent 자식에 clone해준다.
go.GetComponent<LevelPanel>().SetLevelInfomation(i, Info.LevelThum, Info.LevelName);▲ LevelPanel스크립트의 SetLevelInfomation함수로 인자 전달 (LevelThum(이미지)와 Name)
LevelPanel.cs
public void SetLevelInfomation(int stageIndex, Sprite thumnail, string title)
{
    StageThum.sprite = thumnail;
    this.StageIndex = stageIndex;
    TextTitle.text = title;
}
각각 전달받은 인자들 대입
난이도에 따른 플레이 버튼 설정
using System;
using System.Collections.Generic;
using UnityEngine;
using UnityEngine.SceneManagement;

[Serializable]
public class LevelInfo
{
    public string LevelName;
    public Sprite LevelThum;
    public GameObject LevelPrefab;
}

public class LevelManager : MonoBehaviour
{
    public List<LevelInfo> levels;

    private static LevelManager instance;
    public GameObject SelectedPrefab;
    public static LevelManager Instance
    {
         get { return instance; }
        private set
        {
            instance = value;
        }
    }
...생략

    public void StartLevel(int index)
    {
        SelectedPrefab = levels[index].LevelPrefab;
        SceneManager.LoadScene("GameScene");
    }

}
GameManager.cs
    void Start()
    {
        Instantiate(LevelManager.Instance.SelectedPrefab);
        life = 3;
        **LifeDisplayerInstance.SetLives(life);**
    }
using TMPro;
using UnityEngine;
using UnityEngine.UI;
public class LevelPanel : MonoBehaviour
{
int StageIndex;
public Image StageThum;
public TextMeshProUGUI TextTitle;
public void SetLevelInfomation(int stageIndex, Sprite thumnail, string title)
{
StageThum.sprite = thumnail;
this.StageIndex = stageIndex;
TextTitle.text = title;
}
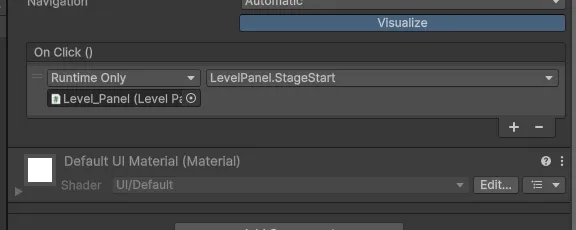
public void StageStart()
{
LevelManager.Instance.StartLevel(StageIndex);
}
}
StageStart를 Level Prefab의 버튼에 할당!
그럼 이제 버튼을 누르면 다른 난이도의 맵들을 볼 수 있답니다~
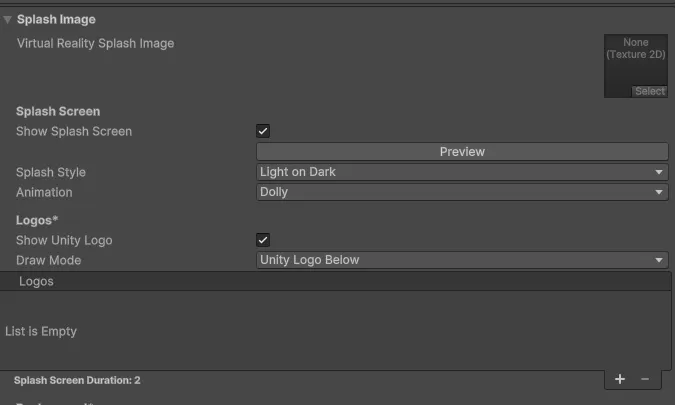
빌드 세팅(아이콘, 이름, 회사이름, 등등)
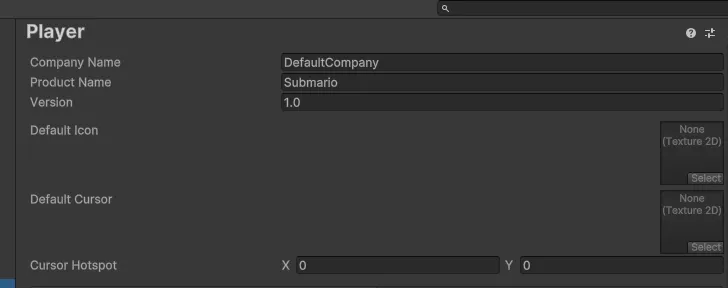
게임 시작하자마자 나오는 화면
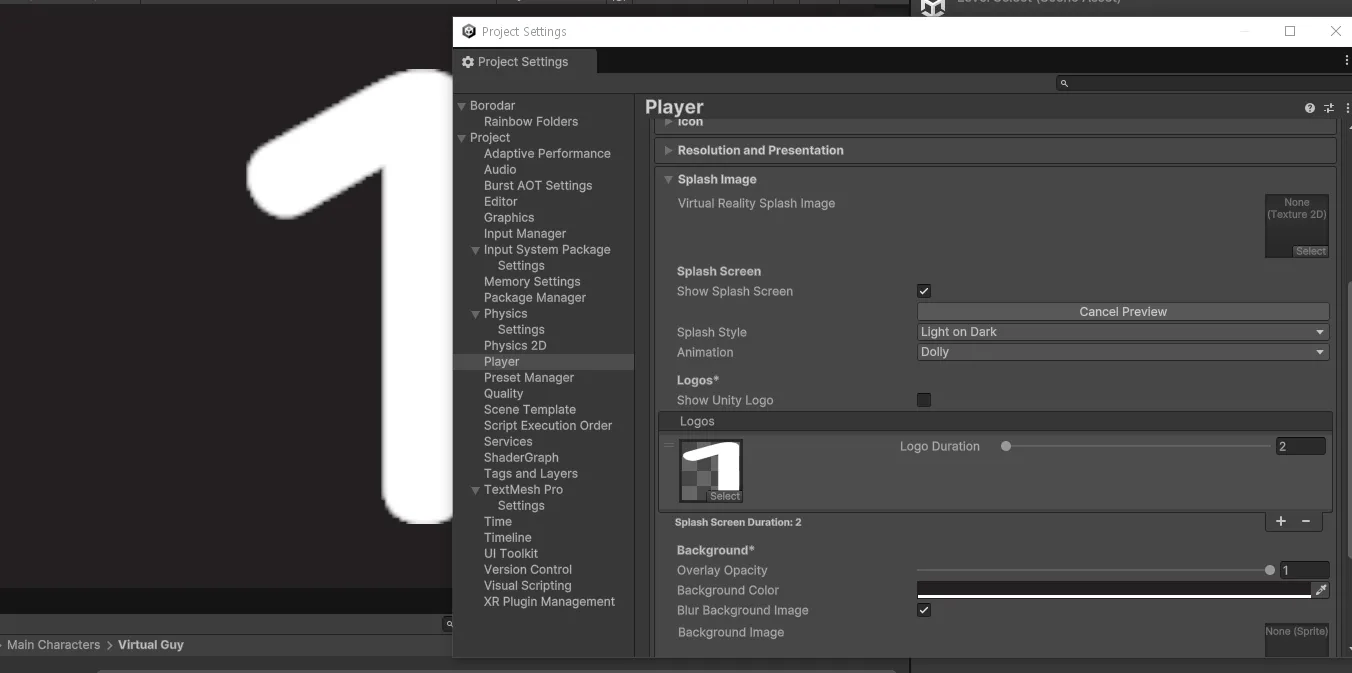
끝~