앱 레이아웃과 Window Inset 제어
iOS 디스플레이가 m자 탈모 이슈가 있는 것에 비해 안드로이드는 조금 평화롭지만, 그래도 사용자에게 탁 트인 앱 화면과 기능의 효과를 최대화할 수 있는 방법이 있다. 바로 Window Inset을 제어함으로써 서비스가 의도한 화면을 구성할 수 있다.
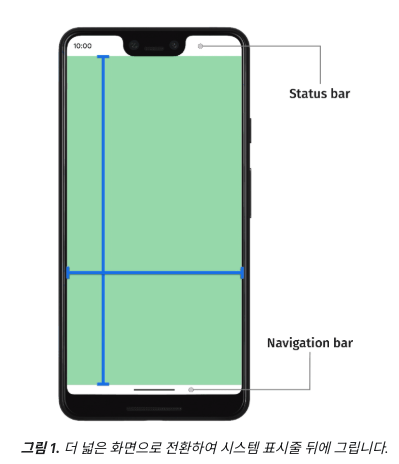
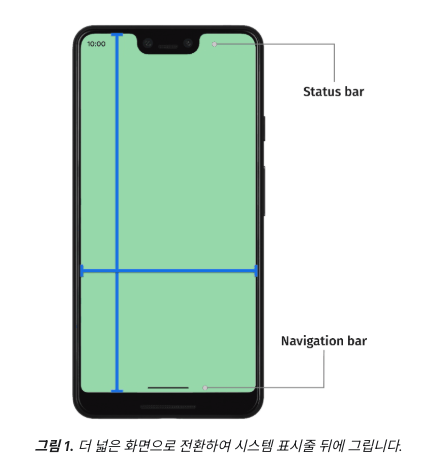
Android 14(SDK 34) 이하에서는 앱의 UI가 기본적으로 시스템 표시줄 및 디스플레이 컷아웃 아래에 표시되지 않는다. 우리가 알고 있는 Full Screen이라는 건 시스템 UI 뒤까지 콘텐츠를 표시하는 것이다. 그리고 이런 Full Screen을 사용하게 되면, 인셋 API를 활용해서 UI에 애니메이션과 패딩을 적용해서 앱 콘텐츠가 짤리고 가려지지 않도록 하는 방법을 알아야 한다.
Non-Full-Screen
Full-screen
Inset 기본 사항
시스템 UI의 크기와 배치 위치에 관한 정보는 Inset을 통해 지정된다.
아래 코드는 WindowInsets 인터페이스인데, 하단, 왼쪽, 오른쪽, 상단 4가지로 구성된다. 시스템 UI가 앱 창의 해당 측면에서 얼마나 확장되는지를 지정한다.
package androidx.compose.foundation.layout

@androidx.compose.runtime.Stable public interface WindowInsets {
    public companion object {
    }

    public abstract fun getBottom(density: androidx.compose.ui.unit.Density): kotlin.Int

    public abstract fun getLeft(density: androidx.compose.ui.unit.Density, layoutDirection: androidx.compose.ui.unit.LayoutDirection): kotlin.Int

    public abstract fun getRight(density: androidx.compose.ui.unit.Density, layoutDirection: androidx.compose.ui.unit.LayoutDirection): kotlin.Int

    public abstract fun getTop(density: androidx.compose.ui.unit.Density): kotlin.Int
}
WindowInsets 종류
몰랐던 인셋이 굉장히 많았다...공식 문서에서 상세 설명을 참고하자.
WindowInsets.statusBars
WindowInsets.statusBars
WindowInsets.statusBarsIgnoringVisibility
WindowInsets.navigationBars
WindowInsets.navigationBarsIgnoringVisibility
WindowInsets.captionBar
WindowInsets.captionBarIgnoringVisibility
WindowInsets.systemBars
WindowInsets.systemBarsIgnoringVisibility
WindowInsets.ime
WindowInsets.imeAnimationSource
WindowInsets.imeAnimationTarget
WindowInsets.tappableElement
WindowInsets.tappableElementIgnoringVisibility
WindowInsets.systemGestures
WindowInsets.mandatorySystemGestures
WindowInsets.displayCutout
WindowInsets.waterfall
Full-screen 이었던 Loopy 앱 개발을 하면서 내가 개인적으로 많이 다뤘던 인셋은 아래와 같다.
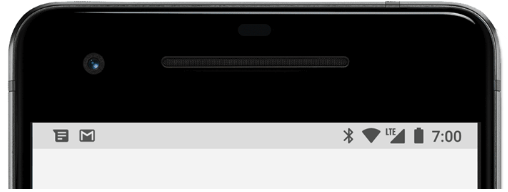
statusBars
상태 표시줄을 말한다.
화면 위의 그거..그 바
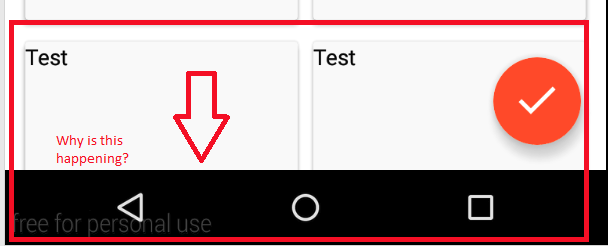
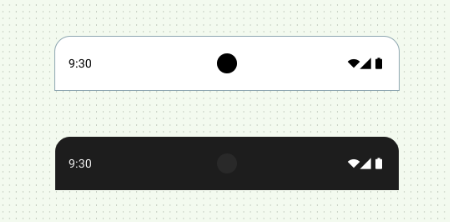
navigationBars
systemBars
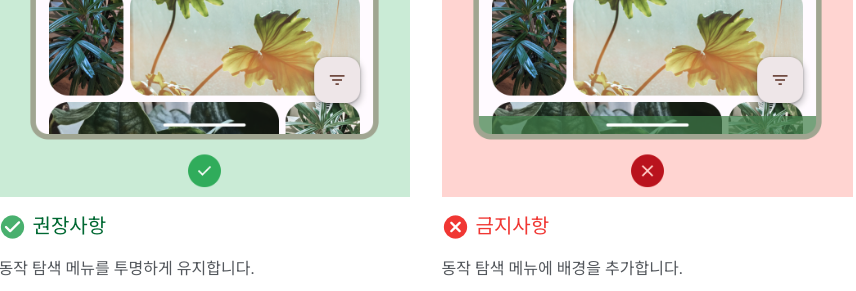
시스템 표시줄 인셋은 상태 표시줄, 탐색 메뉴, 자막 표시줄을 포함한 시스템 표시줄 인셋의 합집합이라는데... 그럼 시스템 표시줄도 그 합집합이라고 이해하면 되는 거겠지...?(아니면 댓글 부탁합니다)
시스템 표시줄과 관련해서는 안드로이드 공식문서의 권장사항이 있으니 참고하자!
ime
input method editor의 약자로, 키보드이다.
Window Inset 활용 예제
ModalBottomSheet에 windowInsets 적용
아래 화면과 같이 키보드가 올라왔을 때 모달 컴포넌트도 모두 올라와야 한다.
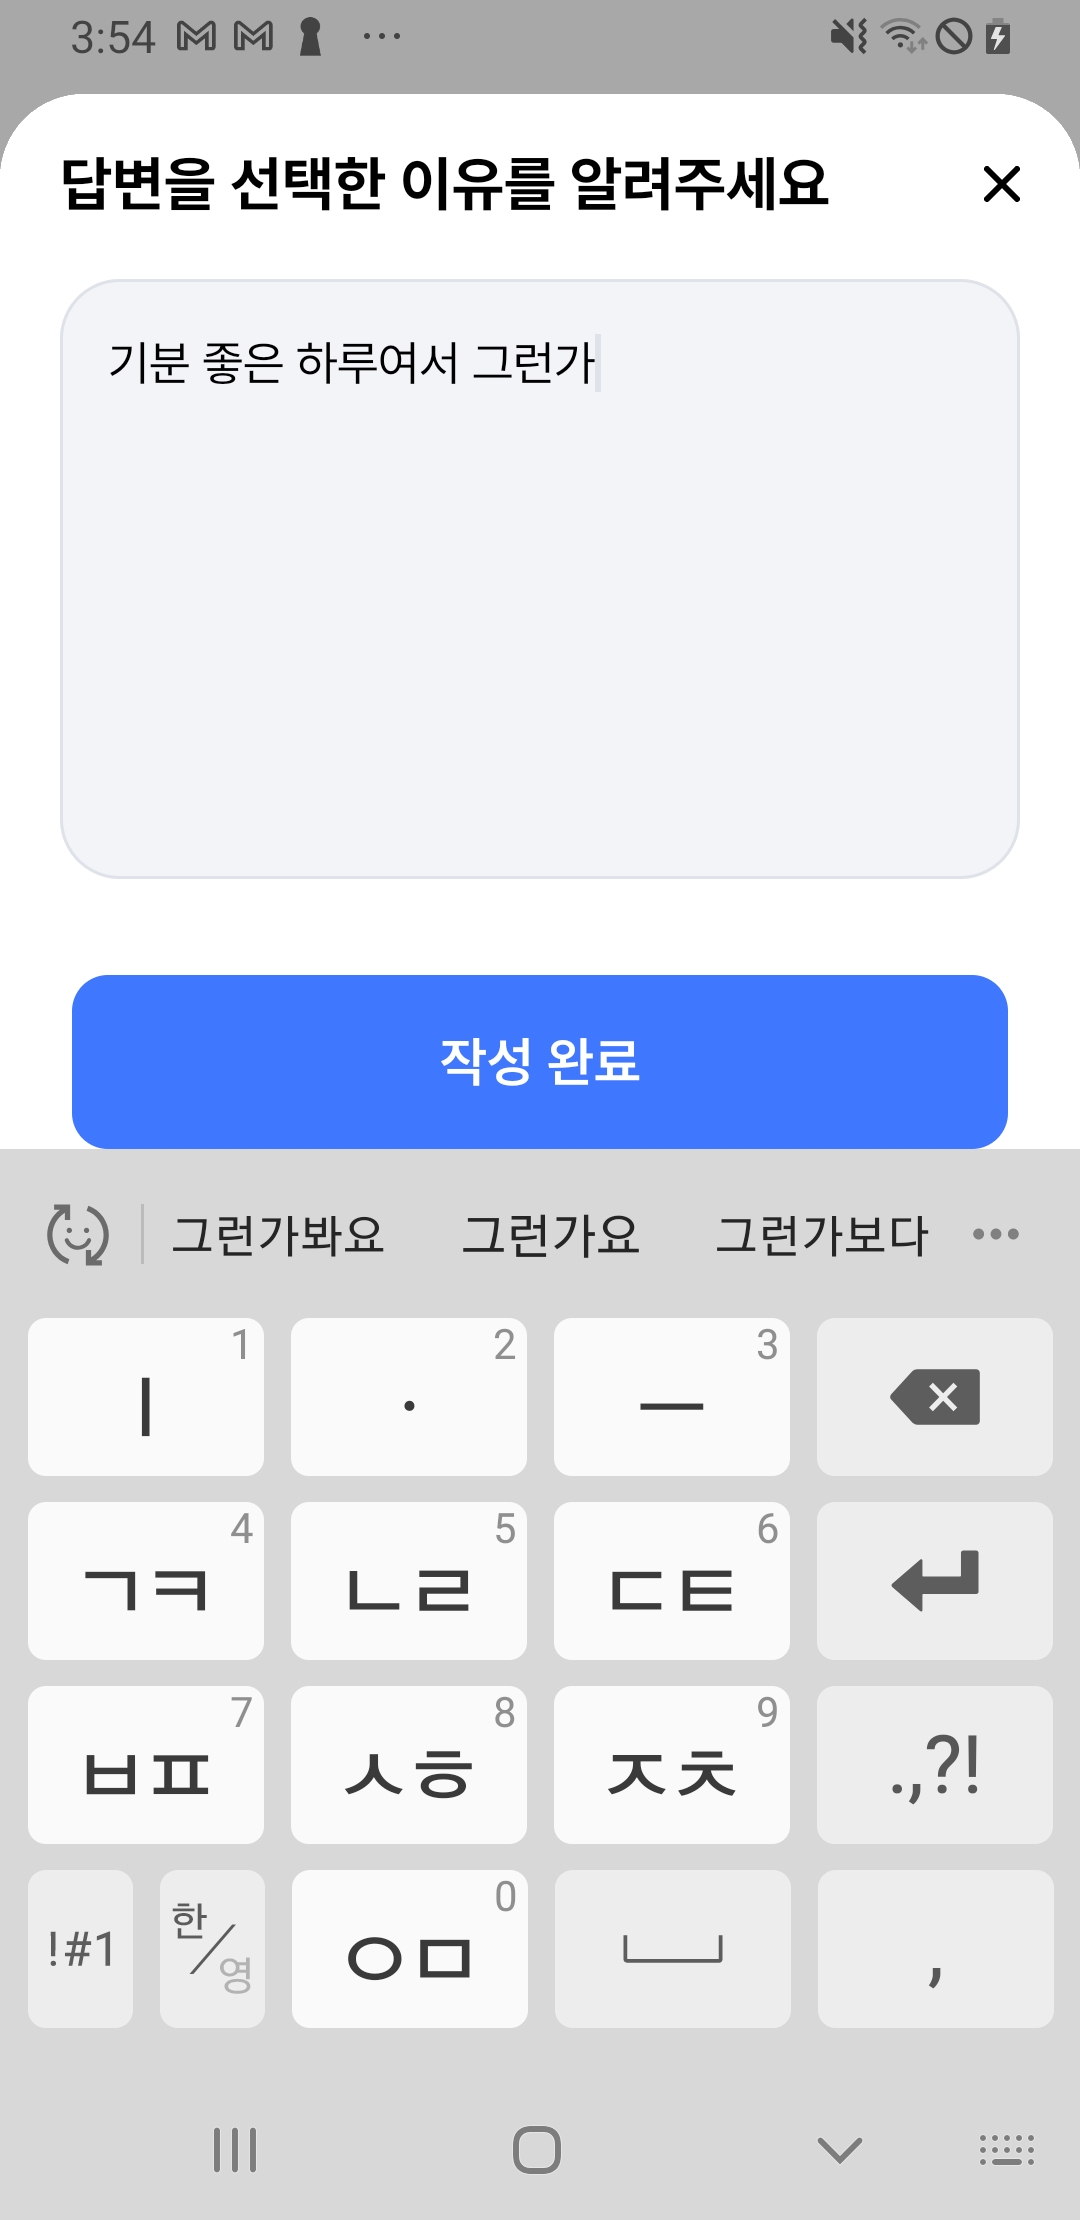
아래 코드와 같이 ModalBottomSheet는 windowInsets이라는 매개변수가 있으니 추가주도록하자.
ModalBottomSheet(
        onDismissRequest = { handleEvent(RoundEvent.CloseModal) },
        modifier = Modifier.background(color = Color.Transparent).fillMaxWidth(),
        sheetState = sheetState,
        contentColor = Color.White,
        dragHandle = { DragHandle(onClick = {}) },
        windowInsets = WindowInsets.ime
    ) {
        Column(
            modifier = Modifier.background(color = Color.White).padding(horizontal = 20.dp)
                .fillMaxWidth(1f),
            horizontalAlignment = Alignment.Start,
            verticalArrangement = Arrangement.Center
        ) {
            Spacer(modifier = Modifier.fillMaxWidth().height(8.dp))
            Row(
                modifier = Modifier.fillMaxWidth(1f),
                horizontalArrangement = Arrangement.SpaceBetween,
                verticalAlignment = Alignment.CenterVertically
            ) {
                Text("답변을 선택한 이유를 알려주세요", style = TextStyles.title03, color = Color.Black)
                Icon(
                    painter = painterResource(R.drawable.ic_close),
                    contentDescription = null,
                    tint = Color.Black,
                    modifier = Modifier.clickable { handleEvent(RoundEvent.CloseModal) })
            }
            Spacer(modifier = Modifier.fillMaxWidth().height(20.dp))
            LoopyTextField(
                value = enteredComment,
                placeHolderValue = "오늘의 나에게 집중해서 적어보세요",
                onValueChange = { onChangedCommentValue(it) },
                modifier = Modifier.fillMaxWidth()
                    .onFocusEvent {
                        scope.launch { sheetState.expand() }
                    }
            )
            Spacer(modifier = Modifier.fillMaxWidth().height(32.dp))
            Row(
                horizontalArrangement = Arrangement.SpaceBetween,
                modifier = Modifier
            ) {
                LoopyFilledButton(
                    "작성 완료",
                    onClick = {
                        handleEvent(RoundEvent.CloseModal)
                        handleEvent(RoundEvent.ClickSubmitAnswer)
                    },
                    modifier = Modifier.weight(1f).padding(horizontal = 4.dp)
                )
            }
        }
    }
그리고 ModalBottomSheet의 windowInset이 어디까지 전달되나 따라가보면, ModalBottomSheet > ModalBottomSheetPopup의 Box 컴포넌트의 Modifier.windowInsetsPadding()으로 전달되는 것을 볼 수 있다.


그러니 ModalBottomSheet 를 사용하지 않더라도 원하는 컴포저블 컨텐츠를 Box로 감싸고 Modifier.windowInsetsPadding()을 적용한다면 같은 효과를 낼 수 있을 것이다.
    Box(
        Modifier
            .semantics { this.popup() }
            .windowInsetsPadding(windowInsets)
            .then(
                // TODO(b/290893168): Figure out a solution for APIs < 30.
                if (Build.VERSION.SDK_INT >= 33)
                    Modifier.imePadding()
                else Modifier
            )
    ) {
        currentContent()
참고자료
https://developer.android.com/develop/ui/compose/layouts/insets?hl=ko
https://soda1127.github.io/deep-dive-in-android-full-screen-2/