
기본 흐름
1. Installation 설치
- (방법1) init 명령어
yarn init playwright # root 디렉토리

yarn init playwright new-project # 또는 새로운 프로젝트 만들기- (방법2) 수동으로 설치
yarn add -D @playwright/test
yarn playwright install

# 또는 특정 브라우저만 설치
yarn playwright install webkit

# 지원하는 모든 브라우저 확인
yarn playwright install --help
2 . 테스트 시작하기
테스트 작성
(예시) tests 폴더 > example.spec.ts=> 테스트를 정의하는 파일
import { test, expect } from '@playwright/test';

test('basic test', async ({ page }) => {
  await page.goto('localhost:3000');
  const title = page.locator('title');
  await expect(title).toHaveText('루닛케어');
});
3. configuration 파일
(예시) playwright.config.js => 옵션을 설정 (글로벌 또는 로컬)
=> 작성한 configuration 설정을 통해 다수의 브라우저에 대해 테스트를 실행할 수 있음
// playwright.config.ts
import { PlaywrightTestConfig, devices } from '@playwright/test';

const config: PlaywrightTestConfig = {
  forbidOnly: !!process.env.CI,
  retries: process.env.CI ? 2 : 0,
  use: {
    trace: 'on-first-retry',
  },
  projects: [
    {
      name: 'chromium',
      use: { ...devices['Desktop Chrome'] },
    },
    {
      name: 'firefox',
      use: { ...devices['Desktop Firefox'] },
    },
    {
      name: 'webkit',
      use: { ...devices['Desktop Safari'] },
    },
  ],
};
export default config;
4. 테스트 실행
yarn playwright test # headless (Chronium browser)

yarn playwright test --headed # headed- headless : UI가 없는 mode
- headed : UI가 존재하는 mode
주요 사용법
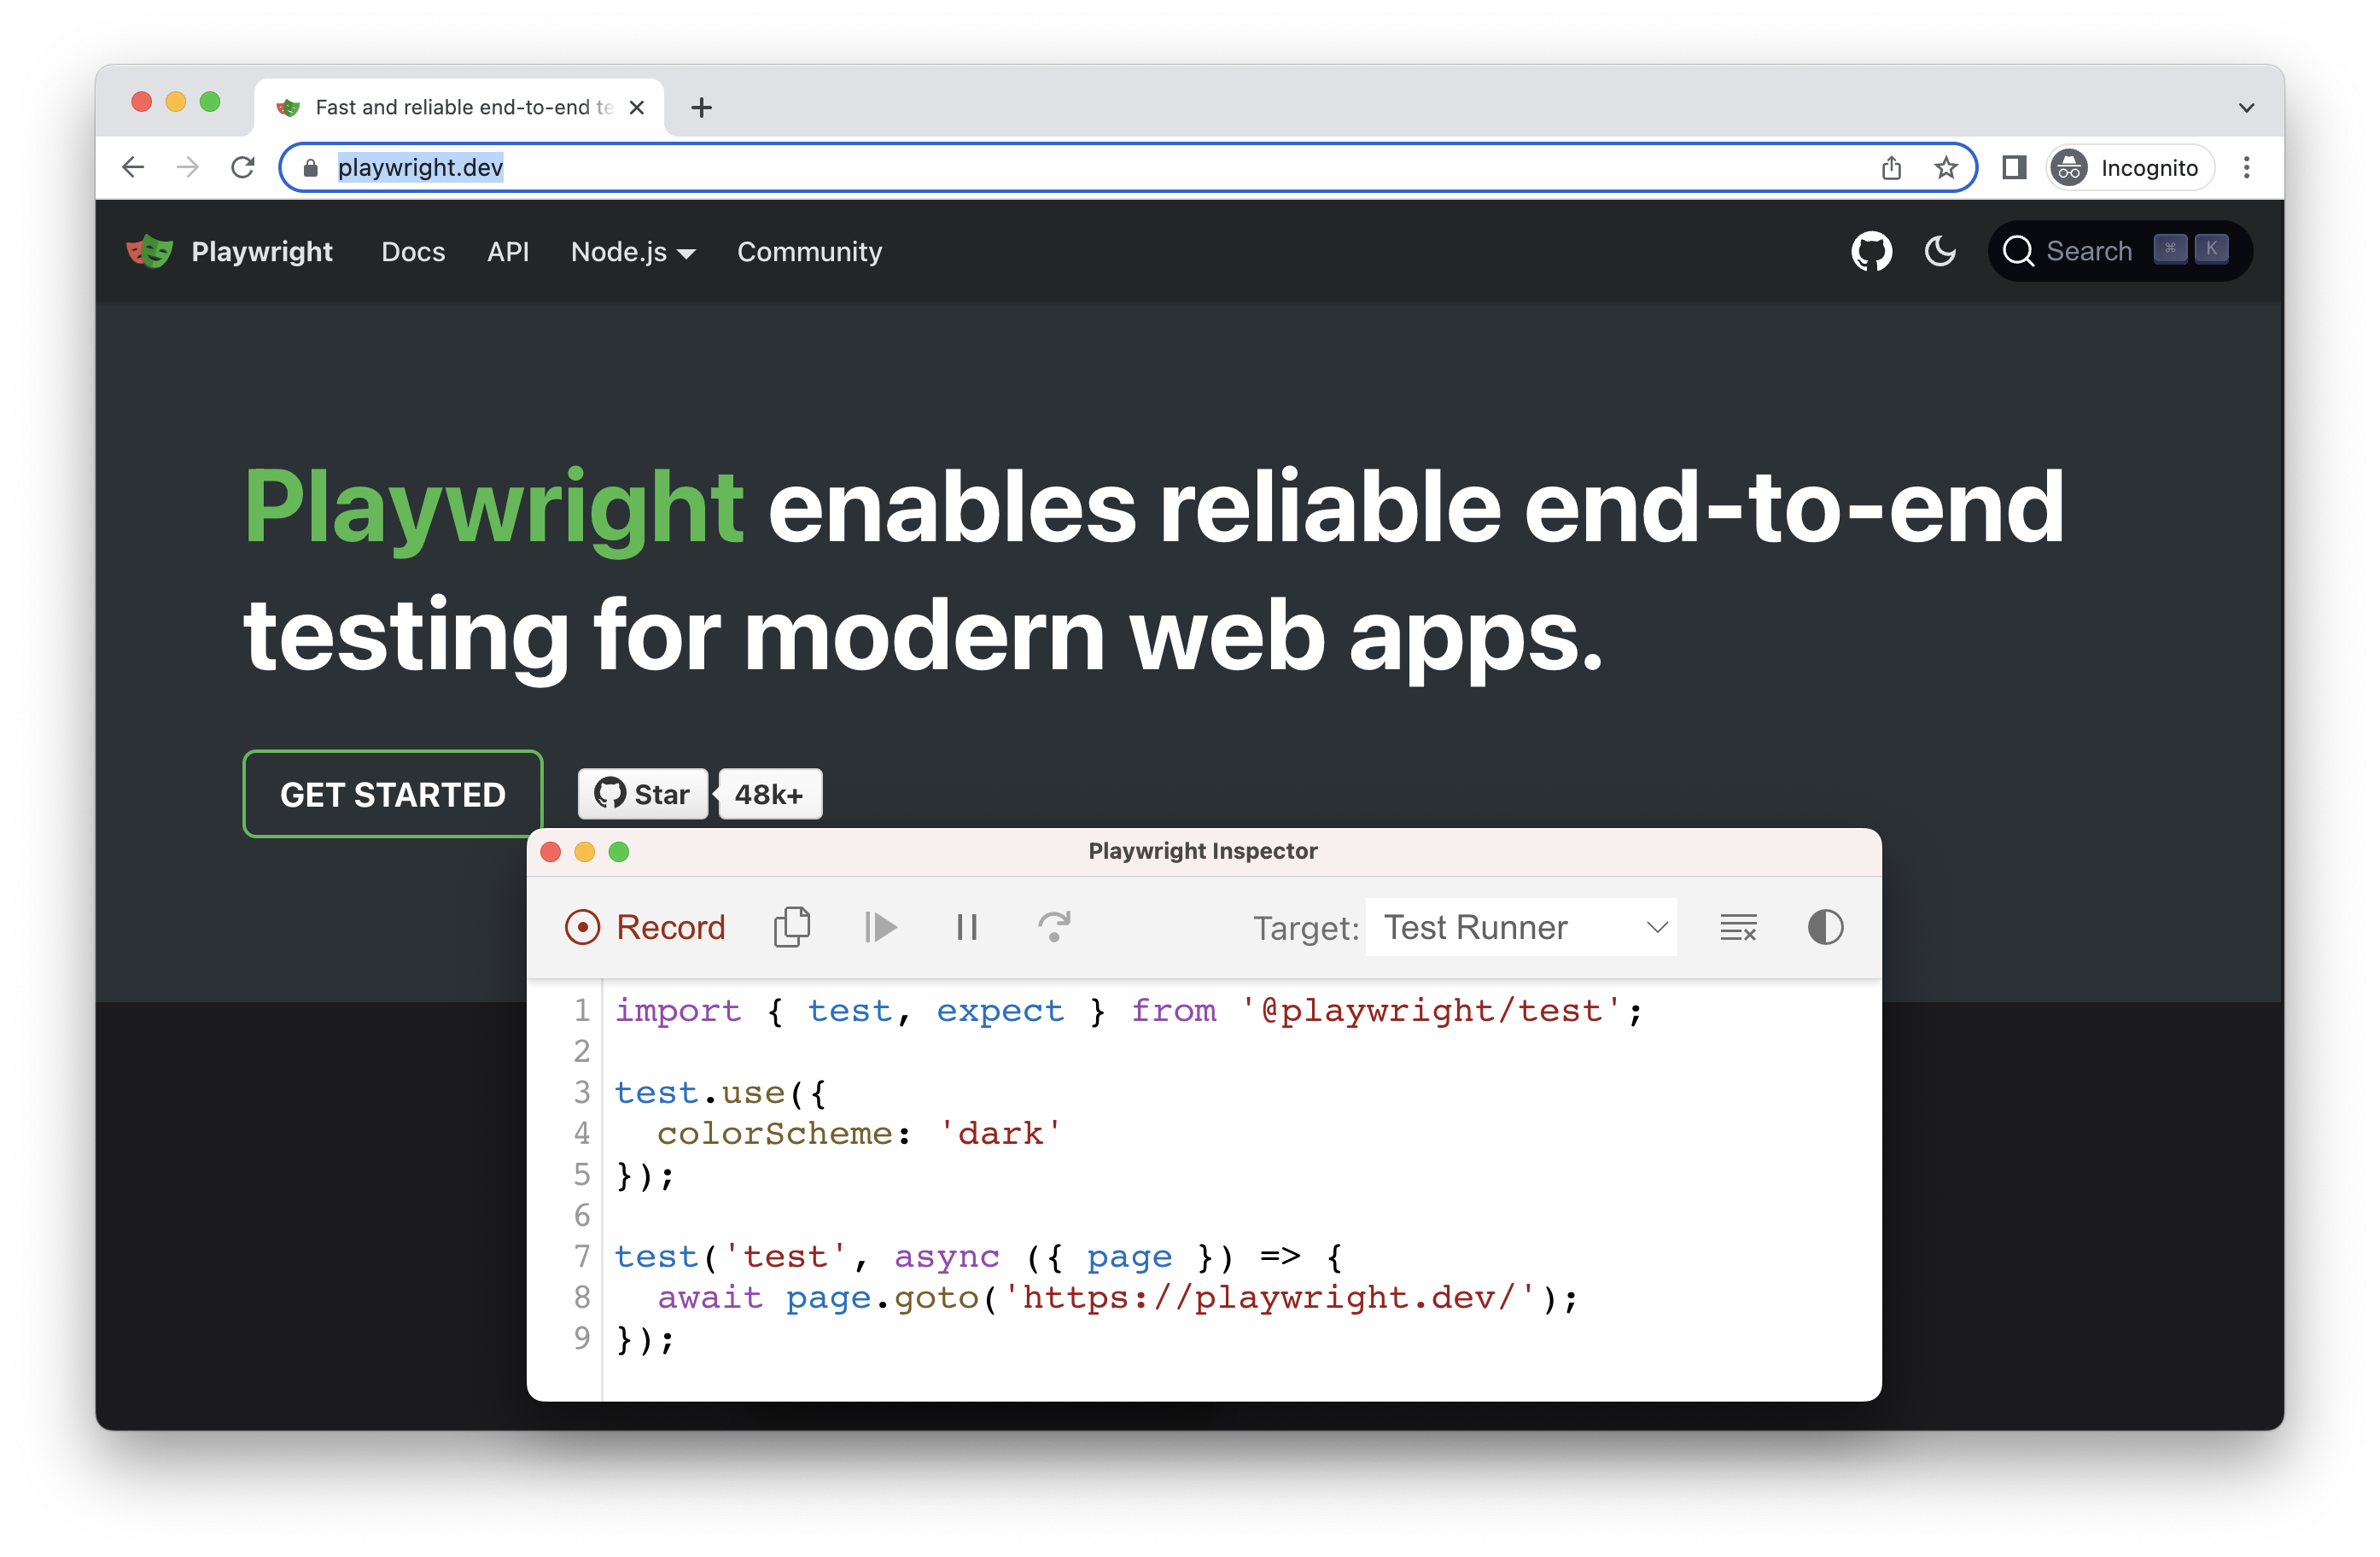
* Test Generator
테스트를 만들 수 있는 방법
yarn playwright codegen localhost:3000
playwright inspector 창을 통해서 테스트 코드를 함께 확인해볼 수 있다
* Annotations
- focus : 특정 테스트만 수행
test.only('focus this test', async ({ page }) => {
  // Run only focused tests in the entire project.
});- skip : 특정 테스트 실행하지 않기
test.skip('skip this test', async ({ page }) => {
  // This test is not run
});
+ 특정 조건의 테스트 스킵
test('skip this test', async ({ page, browserName }) => {
  test.skip(browserName === 'firefox', 'Still working on it');
});- group tests : 다수의 테스트를 묶어서 group으로 정의
test.describe('two tests', () => {
  test('one', async ({ page }) => {
    // ...
  });

  test('two', async ({ page }) => {
    // ...
  });
});- Tag tests : 특정 태그를 가지는 테스트만 수행
test('Test login page @fast', async ({ page }) => {
  // ...
});
yarn playwright test --grep @fast # 해당 태그의 테스트만 수행
yarn playwright test --grep invert @fast # 해당 태그의 텍스트 skip
* Assertions
playwright은 expect 라이브러리 사용 => 테스트를 작성하면서 특정 조건을 체크해야하는 경우
( toEqual, toContain, toMatch ..)
expect(success).toBeTruthy()또한 async matchers 제공함으로써 기대하는 조건이 충족될때까지 기다릴 수 있다
(반대의 경우 .not 키워드)
expect(value).not.toEqual(0);
await expect(locator).not.toContainText("some text");
matching
(예시)
await expect(page.locator('.status')).toHaveText('Submitted');node가 'Submitted' 텍스트를 가질 때까지 playwright test는 .status selector를 가진 노드를 re-testing
(해당 조건이 만족하거나 timeout이 될 때까지 반복적으로 re-fetching 하고 checking)
* Authentication
(방법1)
beforeEach 를 활용하여 각 test 이전에 로그인 로직을 실행 (매번 로그인을 실행하는 것은 테스트 수행 효율을 낮추게 됨 => 로그인 상태를 재사용하는 아래의 방법)
test.beforeEach(async({page})=> {
  await page.goto('localhost:3000/signin');
  await page.type('[name=email]', 'test@lunit.io');
  await page.type('[name=password]', 'password~~~');
  await page.keyboard.press('Enter',{delay: 3000});
})

test('first', async({page})=> {
})

test('second', async({page})=> {
})
(방법2)
signed-in state를 재사용 (로그인을 한번만 수행)
=> global-setup 스크립트 작성
// global-setup.ts
import { chromium, FullConfig } from '@playwright/test';

async function globalSetup(config: FullConfig) {
    const browser = await chromium.launch();
    const page = await browser.newPage();
    await page.goto('localhost:3000/signin');
    await page.type('[name=email]', 'test@lunit.io');
    await page.type('[name=password]', 'password~~~');
    await page.keyboard.press('Enter');
    // Save signed-in state to 'storageState.json'.
    await page.context().storageState({ path: 'storageState.json' });
    await browser.close();
}

export default globalSetup;
import { PlaywrightTestConfig, devices } from '@playwright/test';
const config: PlaywrightTestConfig = {
globalSetup: require.resolve('./tests/global-setup'),
use: {
storageState: 'storageState.json'
},
projects: [
// ..
],
};
export default config;* Configuration
default browser, context, page 설정을 할 수 있다
-
Global Configuration : 전역적으로 적용되도록 설정
-
Local Configuration : 특정 테스트 파일에서 별도로 설정하여 override
test.use또는test.describe블록 사용 -
Basic Options
- baseURL : context의 모든 페이지에서 사용되는 base URL을 정의
- browserName
- headless : headless 모드 여부 설정 (boolean)
- storageState : 해당 storage state로 context 사용 (위의 authentication 예제)
// playwright.config.ts
import { PlaywrightTestConfig, devices } from '@playwright/test';

const config: PlaywrightTestConfig = {
  use: {
    headless: true,
    baseURL: 'http://localhost:3000'
  },
  projects: [
    {
      name: 'chromium',
      use: {
        ...devices['Desktop Chrome'],
    },
  ],
};
export default config;
주요 API
* BrowserContext
다수의 독립적인 브라우저 세션을 운영할 수 있도록 제공
browser.newContext(): 새로운 브라우저 컨텍스트를 생성 (다른 browser context와 쿠키, 캐시를 공유 x)browser.newPage(): 새로운 브라우저 컨텍스트에서 새로운 페이지 생성 (해당 page를 닫으면 context 또한 종료)- single-page scenario 에서만 사용할 것
* test
테스트를 정의하기
* test.describe
테스트들의 그룹을 설정할 수 있다
test.describe('test', ()=> {
})
* test.step
테스트의 세부적인 step을 설정할 수 있다
// 예시
test.describe('first test', async()=> {
  test('test', async({page})=> {
    await test.step('Navigate to SignIn Page', async()=> {
      await page.goto('localhost:3000/signin');
    })

    await test.step('Sign In', async()=> {
      await page.type('[name=email]', 'test@lunit.io');
      await page.type('[name=password]', 'password~~~');
      await page.keyboard.press('Enter',{delay: 3000});
    })
  })
})
* test.fixme
테스트가 fix 되어야한다는 의도에서 사용 => 해당 코드 만나면 테스트가 중단됨(skip)
test.fixme(condition, description)
condition === true→ 테스트 중단
test('broken in WebKit', async ({ page, browserName }) => {
  test.fixme(browserName === 'webkit', 'This feature is not implemented on Mac yet');
  // ...
});
* ElementHandle
const hrefElement = await page.$('a');
await hrefElement.click();
=> ElementHandle 을 통해 DOM element를 조작할 수 있는데, 공식문서에 따르면 이는 지양하고 Locator 사용을 권장하고 있다
* Locator
페이지 내에서 element를 찾을 수 있도록 하며, 특정 action을 수행할 수 있음
page.locator() # locator 생성locator.check([options])locator.click([options])locator.fill(value[,options])locator.innerText([options])locator.setChecked(checked[, options])
*Selector
Locator를 생성하는 데에 사용되는 string
await page.locator('text=Log in').click(); # text selector
await page.locator('button').click(); # css selector

# <article> 태그 내에서 탐색
await page.locator('article:has-text("Playwright")').click() # text + css selector
(예시)
await page.locator('id=username', 'value').fill(); # input값 채우기
await page.locator('data-test-id=submit').click();
* Page
하나의 Browser 인스턴스는 다수의 Page 인스턴스를 가질 수 있음
Page는 browser context에서 하나의 tab 혹은 popup 이라고 할 수 있다
다른 URL로 이동할 때 사용될 수 있다
const page = await context.newPage();
await page.goto('http://example.com');
[작성 시 고려할 점]
-
test 파일은 페이지 단위로 작성한다
consumer.spec.ts❌ => 어떤 페이지에 해당하는 테스트인지 파악하기 어려움signin.spect.ts=> 로그인 페이지에 해당하는 테스트
-
test.describe로 테스트에 대한 description을 정의하고 안에 test문을 통해 특정 테스트를 작성한다
describe('signin', async () => {
  test('example1', async ({ page }) => {
  // .. example1
  })
  test('example2', async({ page }) => {
  // .. example2
  })
})