시작하며 🌈
이번에는 토글 버튼을 구현 후 글을 쓰게 되네요 😝
역시 새벽 감성 코딩이 저와 좀 잘 맞는 거 같습니다!
사실 이건 좀 헷갈리는 게 몇 가지 있었는데요! 결국 해결해냈다는 것에 큰 만족을 하려 합니다 😄
feat:
document.querySelector의 통수...
사실, 크게 어려운 건 없었어요! (굳이 아쉽다면... api를 제가 직접 건드리지 못한다는 것?!
정말 어려운 일이라면, 곧 다가올 텍스트 에디터 만들기....
벌써부터 당이 땡기는 군요!
얼른 목표를 달성하기 위해, 호다닥 출발해볼까요?!
본론 📃
일단, 기존에 갖고 있던 DOM 커스텀 메서드들이 쌓이자, 뭔가 관리하기 귀찮아졌어요.
저는
프로 귀찮러이기 때문에, 그냥 한 번에 처리하기로 결심했어요!
따라서 모듈로 통일 갑시다~ 땅땅땅!👏
/*
  _: 기존 이름과 헷갈리지 않기 위해 사용한 custom rule입니다!
*/
export const _createElemWithAttr = (
  elemTagName = 'div',
  classNames = [],
  text = '',
) => {
  const $elem = document.createElement(elemTagName);
  if (classNames) $elem.classList.add(...classNames);
  if (text.length) $elem.textContent = text;
  return $elem;
};

export const _appendChilds = (node, ...rest) => {
  if (rest) rest.map(child => node.appendChild(child));
};

export const _removeAllChildNodes = node => {
  while (node.hasChildNodes()) {
    node.removeChild(node.lastChild);
  }
};
보통 이렇게 커스텀을 하면, 기존 메서드와 헷갈릴 수도 있으니, 자신만의 코드를 붙이는 컨벤션도 있다고 해요. 그래서 저는 이렇게 _로 표기를 해줬답니다!
이렇게 커스텀 메서드를 쓰면 장점이 나중에 boiler-plate처럼, 다른 자바스크립트 프로젝트에서도 쓸 수 있죠?! 조습니다👍👍
classNames.js
또, 이렇게 클래스 selector name도 정리를 해놓으면, 나중에 클래스 변수명 바꿀 때 처리하기 매~우 유용합니다 👍👍
const names = {
  //Material Icon
  outlinedIcon: 'material-icons-outlined',
  sharpIcon: 'material-icons-sharp',
  // Block
  sideBarContainer: 'sidebar-container',
  postsBlock: 'posts',
  postBlock: 'post',

  /* Element */
  // post-next
  postNext: 'post-next',
  // post
  postsItem: 'posts__item',
  sideBarItem: 'sidebar__item',
  postLink: 'post__link',
  postNow: 'post__now',
  postToggleBtn: 'post__toggle-btn',
  postRemoveBtn: 'post__remove-btn',

  // icon-size
  sz100: 'size-100',
  sz125: 'size-125',
  sz150: 'size-150',
  sz175: 'size-175',
  sz200: 'size-200',
  sz250: 'size-250',
  sz300: 'size-300',

  // icon-name
  arrowRightIcon: 'arrow_right',
  editOffIcon: 'edit_off',
  clearIcon: 'clear',
  createPostIcon: 'create',
  removePostIcon: 'delete',
};

export default names;
renderPosts.js
결국에는 현재 api로는 [{id, title, text, [documents: {...}}, ...] 의 형태인데요! 이는 documents를 계속해서 재귀로 뱉어가며 처리해주는 게 가장 직관적이라고 생각이 들었어요.
따라서 다음과 같이 재귀로 처리해줬답니다! 또한, Post라는 컴포넌트를 아싸리 그냥 새롭게 만들어줬어요!
import Post from '../components/Post.js';

export default function renderPosts($parentNode, nowDocuments) {
  if (!nowDocuments.length) return;
  nowDocuments.map(doc => {
    const { id, title, documents: nextDocs } = doc;

    const post = new Post({
      $target: $parentNode,
      initialState: {
        id,
        title,
      },
    });

    renderPosts(post.$postNext, nextDocs);
  });
}
어때요? 깔끔하죠?!
여기서 특이한 게, $postNext라는 post 컴포넌트 내 엘리먼트에 넣네요! 이게 뭔지 살펴볼까요?!
Post.js
여기서 저는 크게 고민을 했어요.
어떻게 하면 재귀를 좀 더 노션처럼 하위로 들어가면서, 토글이 되도록 만들까?!
결국에는 하위로 들어가면서, 토글이 되도록 만드려면, 두 개로 나뉘어야 한다는 결론을 냈습니다
- 하나는 현재의 토글을 시키는
post와- 포스트의 하위항목을 묶는 하위 엘리먼트
post-next를 말이죠!
import names from '../utils/classNames.js';
import {
  _appendChilds,
  _createElemWithAttr,
} from '../utils/customDOMMethods.js';

/*
  id, title
*/
const {
  postsItem,
  postToggleBtn,
  postRemoveBtn,
  postLink,
  postBlock,
  postNext,
  outlinedIcon,
  sharpIcon,
  sz150,
  sz175,
  arrowRightIcon,
  removePostIcon,
} = names;

export default function Post({ $target, initialState }) {
  this.state = initialState;
  const { id, title } = this.state;

  this.$post = _createElemWithAttr('section', [postsItem, postBlock]);
  this.$postToggleButton = _createElemWithAttr(
    'button',
    [postToggleBtn, outlinedIcon, sz175, 'toggle'],
    arrowRightIcon,
  );
  this.$post.dataset['id'] = id;

  this.$postLink = _createElemWithAttr('a', [postLink]);
  this.$postLink.dataset['id'] = id;
  this.$postLink.textContent = title;

  this.$postRemoveButton = _createElemWithAttr(
    'button',
    [postRemoveBtn, sharpIcon, sz150],
    removePostIcon,
  );
  this.$postNext = _createElemWithAttr('section', [postNext]);
  this.$postNext.dataset['id'] = id;

  _appendChilds(
    this.$post, // append 대상
    this.$postToggleButton,
    this.$postLink,
    this.$postRemoveButton,
  );

  this.render = () => {
    $target.appendChild(this.$post);
    $target.appendChild(this.$postNext);
  };

  this.render();
}
그리고 이제 남은 건
- 토글 기능 시 화살표가 회전해야 하죠!
- 토글 시
post-next가 사라져야 돼요!
이 부분들을 살펴보면 끝나겠네요!
SideBar.js
저는 event bubbling을 이용했어요!
특히나 이게 포스트가 한 몇 백개 되면, 분명 이벤트 리스너에 있어 부담이 존재하니까요!
이때, 저는 post-next라는 엘리먼트로 하위 내용들을 분할했기에 이를 조회하기 위해서 data attribute을 이용해 data-id로 고유 값을 부여해줬답니다!
결과적으로, 여기에 클래스를 토글해주며 invisible하게만 만들어주면 되요!
import classNames from '../utils/classNames.js';
import {
_removeAllChildNodes,
_createElemWithAttr,
} from '../utils/customDOMMethods.js';
import renderPosts from '../utils/renderPosts.js';
import names from '../utils/classNames.js';
/*
{
documents: []
}
*/
const { postsBlock, sideBarItem, postBlock, postToggleBtn, postNext } = names;
export default function SideBar({ $target, initialState, onClick }) {
const $sideBar = document.createElement('nav');
$sideBar.className = classNames.sideBarContainer;
$target.appendChild($sideBar);
const $posts = _createElemWithAttr('section', [sideBarItem, postsBlock]);
this.state = initialState;
this.setState = nextState => {
if (JSON.stringify(this.state) !== JSON.stringify(nextState)) {
_removeAllChildNodes($sideBar);
this.state = nextState;
const { documents } = this.state;
const $fragment = new DocumentFragment();
renderPosts($fragment, documents);
$posts.appendChild($fragment);
$sideBar.appendChild($posts);
}
this.render();
};
this.render = () => {
$target.appendChild($sideBar);
};
$sideBar.addEventListener('click', e => {
if (e.target.tagName !== 'A') return;
const postId = e.target.getAttribute(['data-id']);
onClick(postId);
});
$posts.addEventListener('click', e => {
const { target } = e;
if (!target.classList.contains(postToggleBtn)) return;
const closestPostId = target.closest(`.${postBlock}`).dataset.id;
const $nextItem = $posts.querySelector(
`.${postNext}[data-id="${closestPostId}"]`,
);
$nextItem.classList.toggle('invisible');
target.classList.toggle('toggle');
});
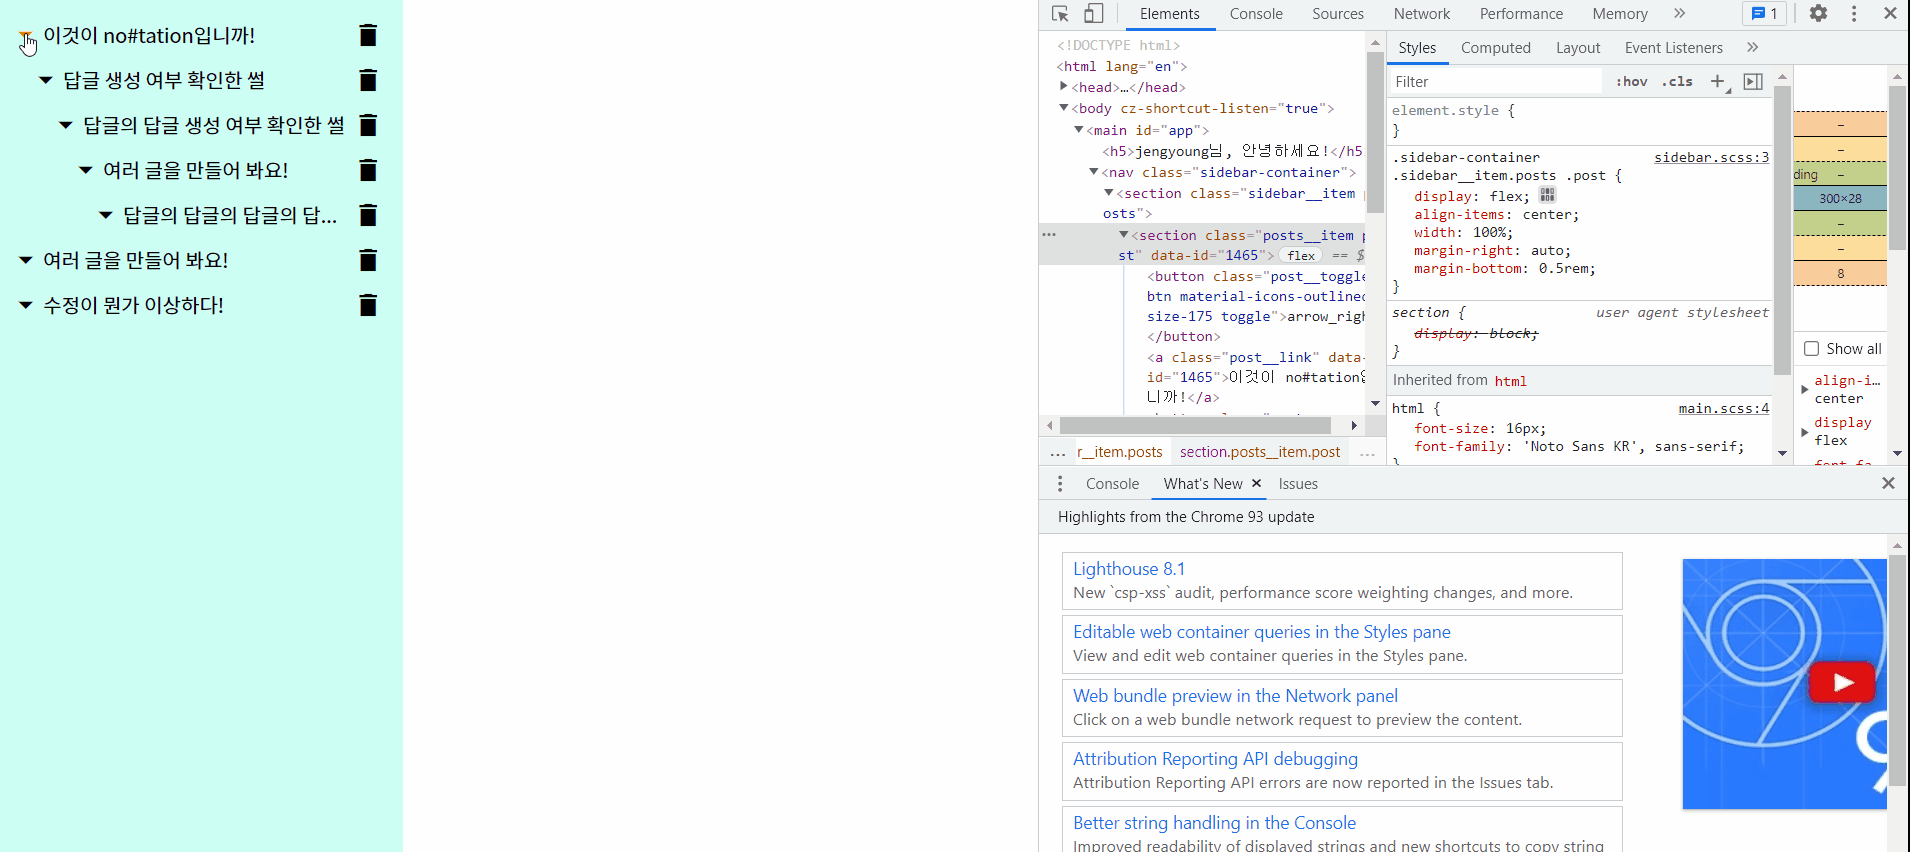
}자, 이제 css 효과만 살펴보면 되겠죠?!
main.scss
invisible이라는 건 어디서든 쓸 수 있으니, 그냥 여기에 넣어줬어요! 토글도 마찬가지구요!
.invisible {
  display: none;
}

.toggle {
  transform: rotate(90deg);
}
sidebar.scss
여기서 보면, toggle될 때 버튼을 transition을 통해 좀 더 동적으로 효과를 넣어줬답니다!
@import "../color";

.sidebar-container {
  position: fixed;
  top: 0;
  width: 300px;
  height: 100vh;
  padding: 1rem;
  background: $mint100;
  .sidebar__item.posts {
    width: 100%;
    .post {
      display: flex;
      align-items: center;
      width: 100%;
      margin: {
        right: auto;
        bottom: 0.5rem;
      }
      &:hover {
        cursor: pointer;
      }
      &__link {
        text-decoration: none;
        color: black;
        text-overflow: ellipsis;
        white-space: nowrap;
        overflow: hidden;
      }
      &__toggle-btn {
        transition: all 0.3s;
        &:hover {
          color: rgb(255, 145, 0);
        }
      }
      &__remove-btn {
        margin-left: auto;
      }
    }
    .post-next {
      padding-left: 1rem;
    }
  }
}
결과는 어떨까요!
어썸하군요!
마치며 👏
이제 모달을 통해 삭제를 진행하는 것과 생성만 하면 CRUD는 끝나는 군요!
리치한 텍스트 에디터 만들기가 머지 않았어오! 좀만 더 고생해볼게유 😆
.jpg)