Truffle, Foundry, Hardhat?
Development Framework for writing, testing, deploying smart contracts
실습 시작
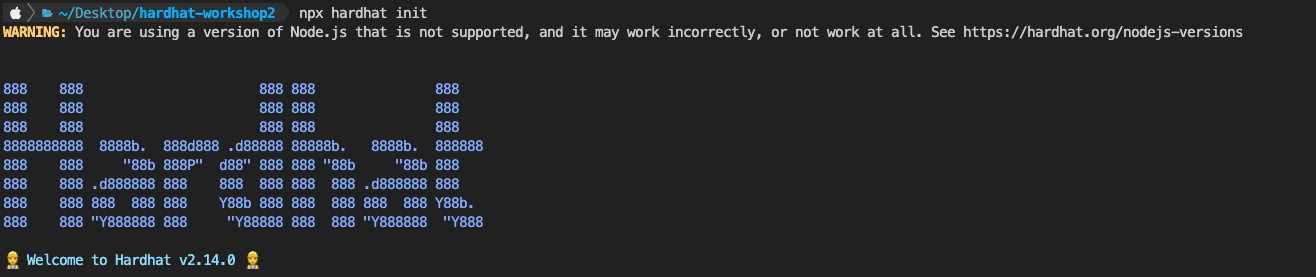
지원하지 않는 노드 버전이라고 해서 npx install --lts 로 다운 받고 버전을 바꿨다.
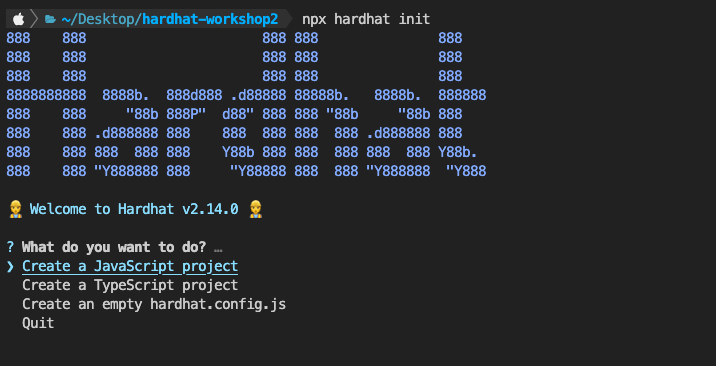 나는 TS를 선택했다.
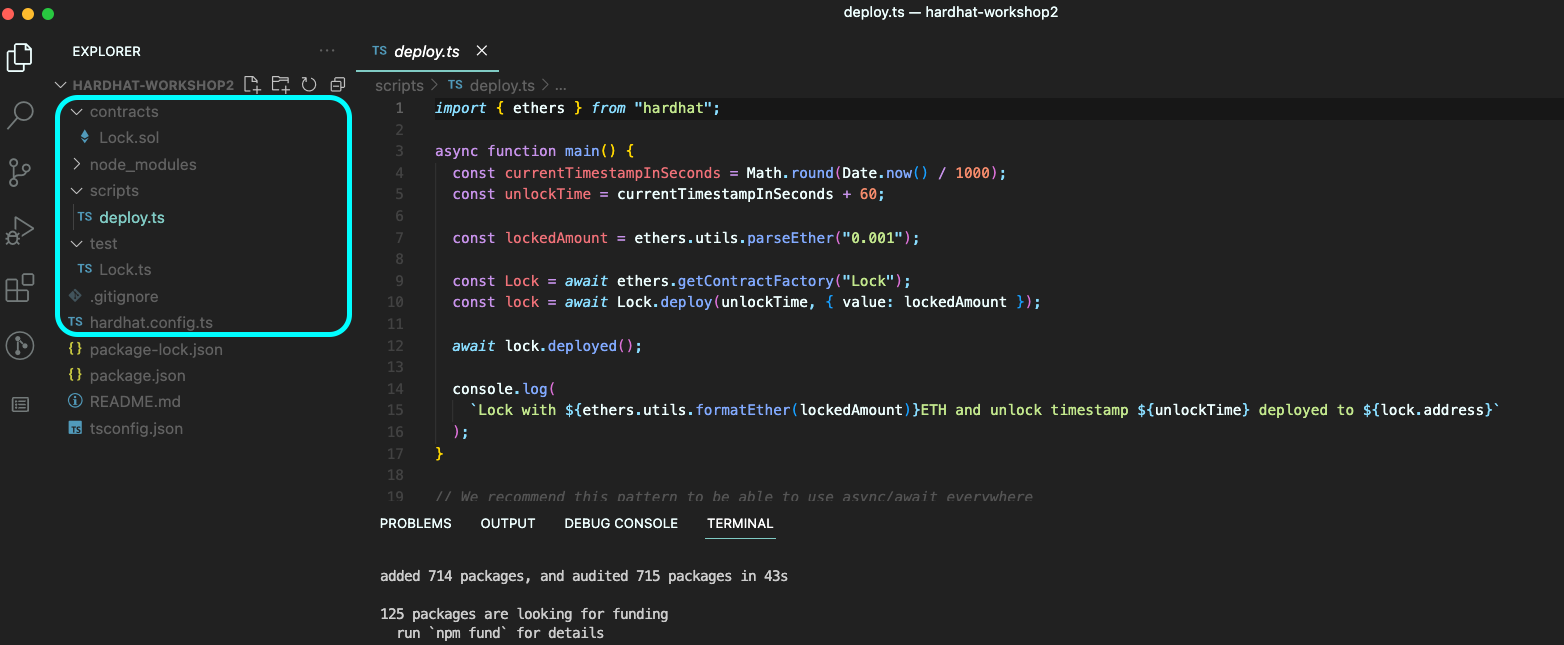
다른 폴더는 다 알 거고,
scripts는 deploy를 위한, 배포를 위한 script를 쓰는 폴더라고 한다.
기본으로 제공하는 Lock.sol 컨트랙트가 있으니
npx hardhat compile컨트랙트를 컴파일 해보자.
컨트랙트를 컴파일하면 abi, byte 코드들이 나와야 한다.

(typechain~ 은 ts를 사용하기 때문에 생성된다고 한다)
컨트랙트 작성
내가 직접 컨트랙트 작성을 하면서 연습을 해보자
SimpleStorage.sol
// SPDX-License-Identifier: UNLICENSED
pragma solidity ^0.8.0;

contract SimpleStorage {
    string public message; // "" by default
    address public owner;

    event NewMessage(string message);

    modifier onlyOwner() {
        require(msg.sender == owner, "Error: Only onwer can ");
        _;
    }

    // gonna be executed during the deployment process only!
    constructor() {
        message = "hello world!";
    }

    function setMessage(string memory newMessage) public onlyOwner{
        message = newMessage;

        emit NewMessage(message);
    }
}
ㅈㄴ 별 거 없는 거 안다.
딱 하나 중요한 건 event에 관한 것이다.
예를 들어, 위에서 setMessage를 할 때 마다 message가 바뀔 것인데, message 변수를 컨트랙트에 저장하고 조회하면 항상 최신값 1개만 받아올 것이고, 저장 비용이 비쌀 것이다.
이벤트를 사용하면 역대 message들을 다 볼 수 있고, 비용도 아낄 수 있는 것이다.
이벤트를 실행하면 트랜잭션에 기록된다.
(나도 70점짜리 설명인 것을 안다. 블로깅 했던 거 찾아보는데 안 보이넹)
방심하지 마라. 이제 시작이다.
SimpleStorage.spec.ts
테스트 파일이다.
import {loadFixture } from "@nomicfoundation/hardhat-network-helpers";
import { ethers } from "hardhat"
import {assert, expect} from "chai"
describe.only("SimpleStorage Unit Tests", function() {
//fixtures
async function deploySimpleStorageFixture(){
const _message = "Somthing Else :)";
// Contracts are deployed using the first signer/account by default
const [owner, otherAccount] = await ethers.getSigners();
const SimpleStorageFactory = await ethers.getContractFactory("SimpleStorage");
const simpleStorage = await SimpleStorageFactory.connect(owner).deploy(_message);
return {simpleStorage, _message, owner, otherAccount}
}
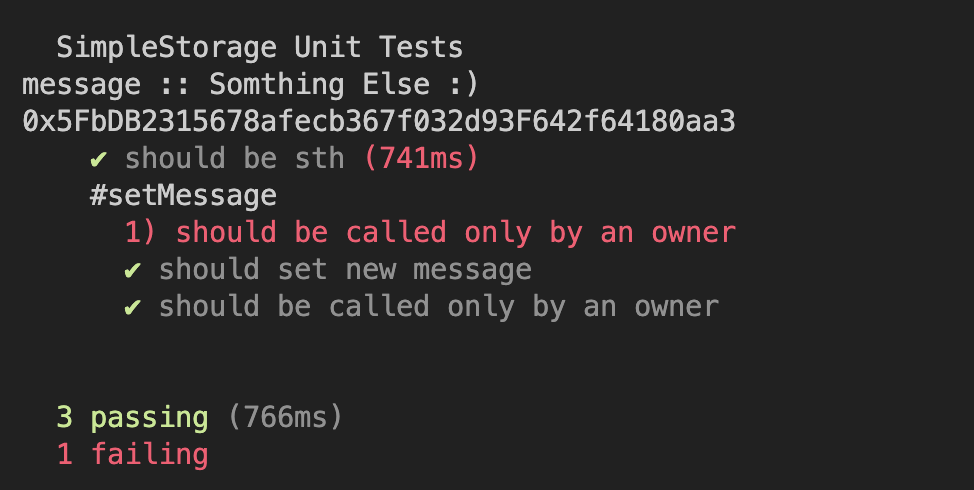
it("should be sth", async function () {
const {simpleStorage, _message, owner, otherAccount} = await loadFixture(deploySimpleStorageFixture);
const message = await simpleStorage.message();
assert(message == _message, "Messages are not same")
const currentOwner = await simpleStorage.owner();
assert(currentOwner == owner.address, "Owner was not set properly")
});
describe("#setMessage", async function () {
it("should be called only by an owner", async function() {
const {simpleStorage, otherAccount, owner} = await loadFixture(deploySimpleStorageFixture);
await expect(
simpleStorage
.connect(otherAccount)
.setMessage("HELLO"))
.to.be.reverted.revertedWith( "Error: Only onwer can ");
})
it("should set new message", async function() {
const {simpleStorage, owner} = await loadFixture(deploySimpleStorageFixture);
const newMessage = "Chainlink Spring hackathon"
await simpleStorage.connect(owner).setMessage(newMessage);
const actualMessage = await simpleStorage.message();
assert(actualMessage == newMessage, "Message not set")
})
it("should be called only by an owner", async function() {
const {simpleStorage, owner} = await loadFixture(deploySimpleStorageFixture);
const newMessage = "this is fun";
await expect(
simpleStorage
.connect(owner)
.setMessage(newMessage))
.to.emit(simpleStorage, "NewMessage").withArgs(newMessage)
})
})
})어질어질 하지?
테스트와 디버깅은 매우 중요하고 프로다운 작업이라고 했다.
나는 아직까지 테스트 디버깅을 해본 적이 없었는데, 드디어 만나게 되었다.
맨날 부트캠프에서 과제할 때나 보던 test 파일들인데, 직접 작성하게 될 줄 몰랐다.
먼저 테스트 파일의 기본 구조부터 보자.
번외 : 테스트 프레임워크, 어셜션 라이브러리
mocha, chai
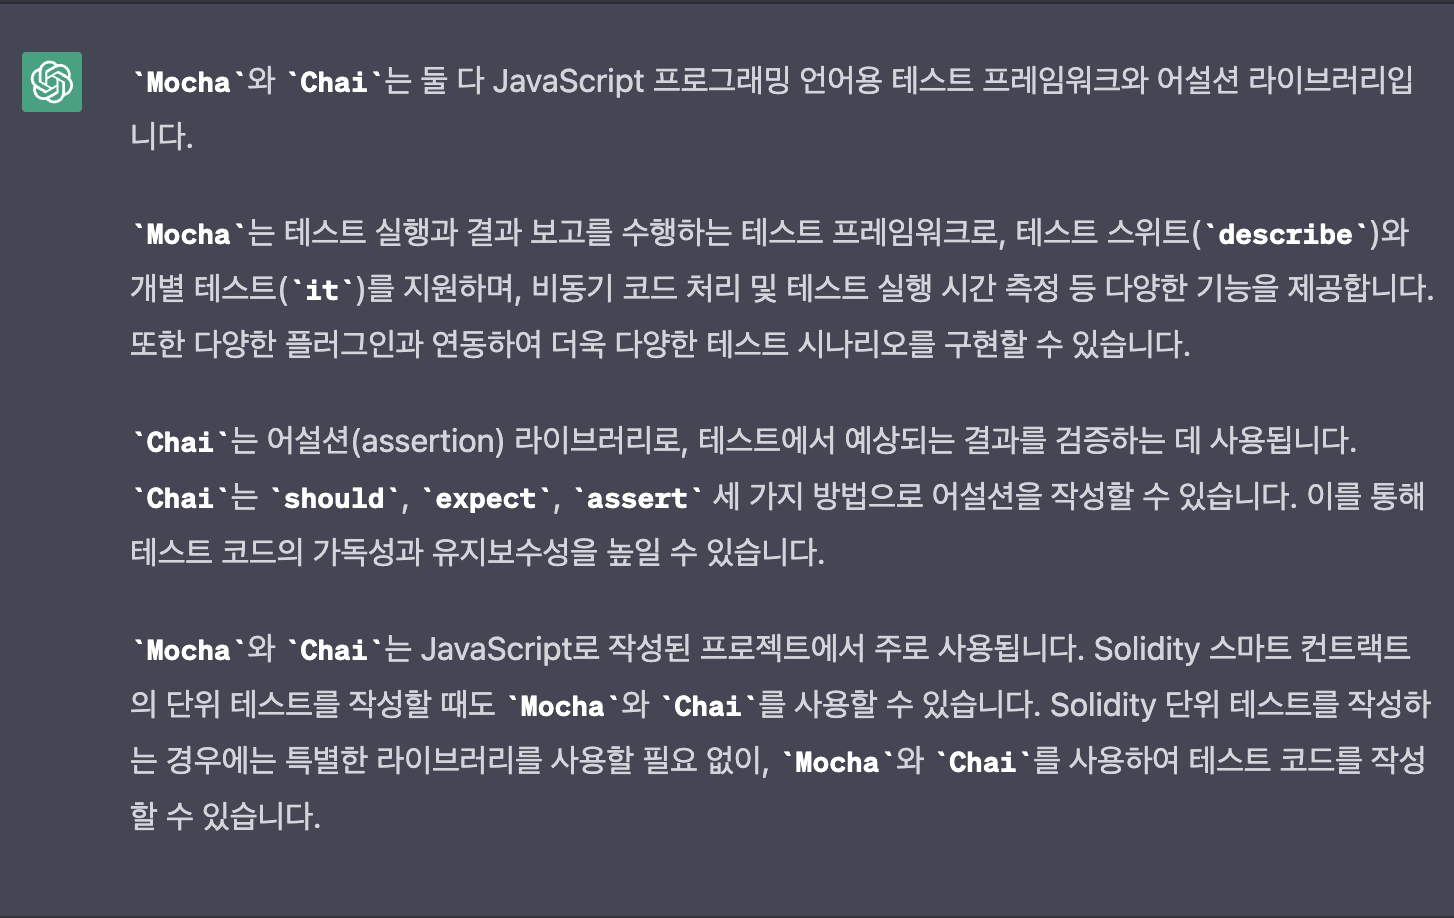
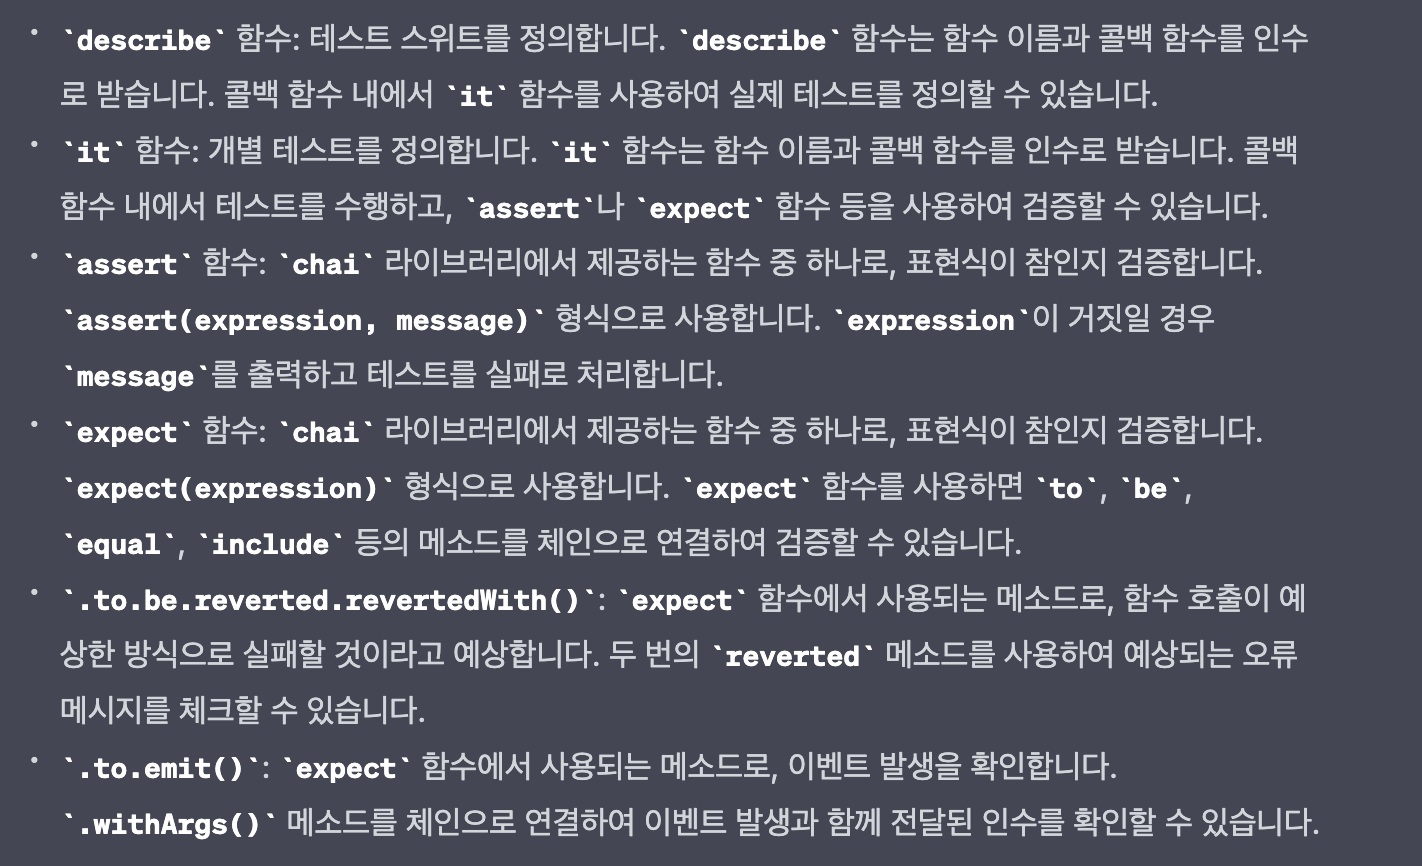
describe, it, expect, assert
진짜 쉽게 설명하면
describe가 큰 단위고 (국어, 수학)
it가 작은 단위 (국어 시험의 화작문/문법/비문학...)
assert : 일치하는지 확인 (boolean 조건문)
expect : 일치하는지 확인 (값 직접 들어감)
이 정도 알면 됐다.
다시 메인으로 돌아가자.
지금 하는게 뭐라고? 스마트 컨트랙트 작성, 배포, 테스트를 하는 hardhat 실습이다.
컨트랙트를 테스트한다는 뜻은 뭔 소린가?
컨트랙트를 블록체인 네트워크에 배포하고, 컨트랙트 내용을 테스트해야 할 거 아닌가?
그래서 hardhat은 자체 로컬 블록체인 네트워크를 제공하고 거기에 배포를 하고
값을 읽어오고, 입력하면서 테스트를 하는 것이다.
그 부분까지가 코드 상에서
describe.only("SimpleStorage Unit Tests", function() {
    //fixtures
    async function deploySimpleStorageFixture(){
        const _message = "Somthing Else :)";

            // Contracts are deployed using the first signer/account by default
    const [owner, otherAccount] = await ethers.getSigners();

      // 컨트랙트 파일을 불러와서, 배포하는 것이다. 참 쉽죠?

        const SimpleStorageFactory = await ethers.getContractFactory("SimpleStorage");
        const simpleStorage = await SimpleStorageFactory.connect(owner).deploy(_message);

        return {simpleStorage, _message, owner, otherAccount}

    }
(여담으로 npx hardhat test 하면 테스트 폴더의 모든 파일을 테스트 하는데, describe.only를 붙이면 얘만 한다고 한다)
나머진 크게 볼 거 없다.
fixture로 테스트 마다 필요한 부분을 선언해놓고 (반복하기 귀찮으니까)
"컨트랙트" 코드를 보면서 어떤 부분을 테스트할지 머리를 쓰고 코드를 써야 하는 것이다.
예를 들어, 아래를 보자. 컨트랙트의 일부이다.
function setMessage(string memory newMessage) public onlyOwner{
        message = newMessage;

        emit NewMessage(message);
    }
이 함수에서 어떤 부분을 테스트해야 할지 감이 오는가?
- onlyOwner만 실행 가능한지,
- message는 잘 바뀌는지,
- emit 이벤트는 잘 실행되는지
이렇게 머리를 써야 하는 것이다.
(물론 난 생각 못했다. 강사의 말을 빌린거임)
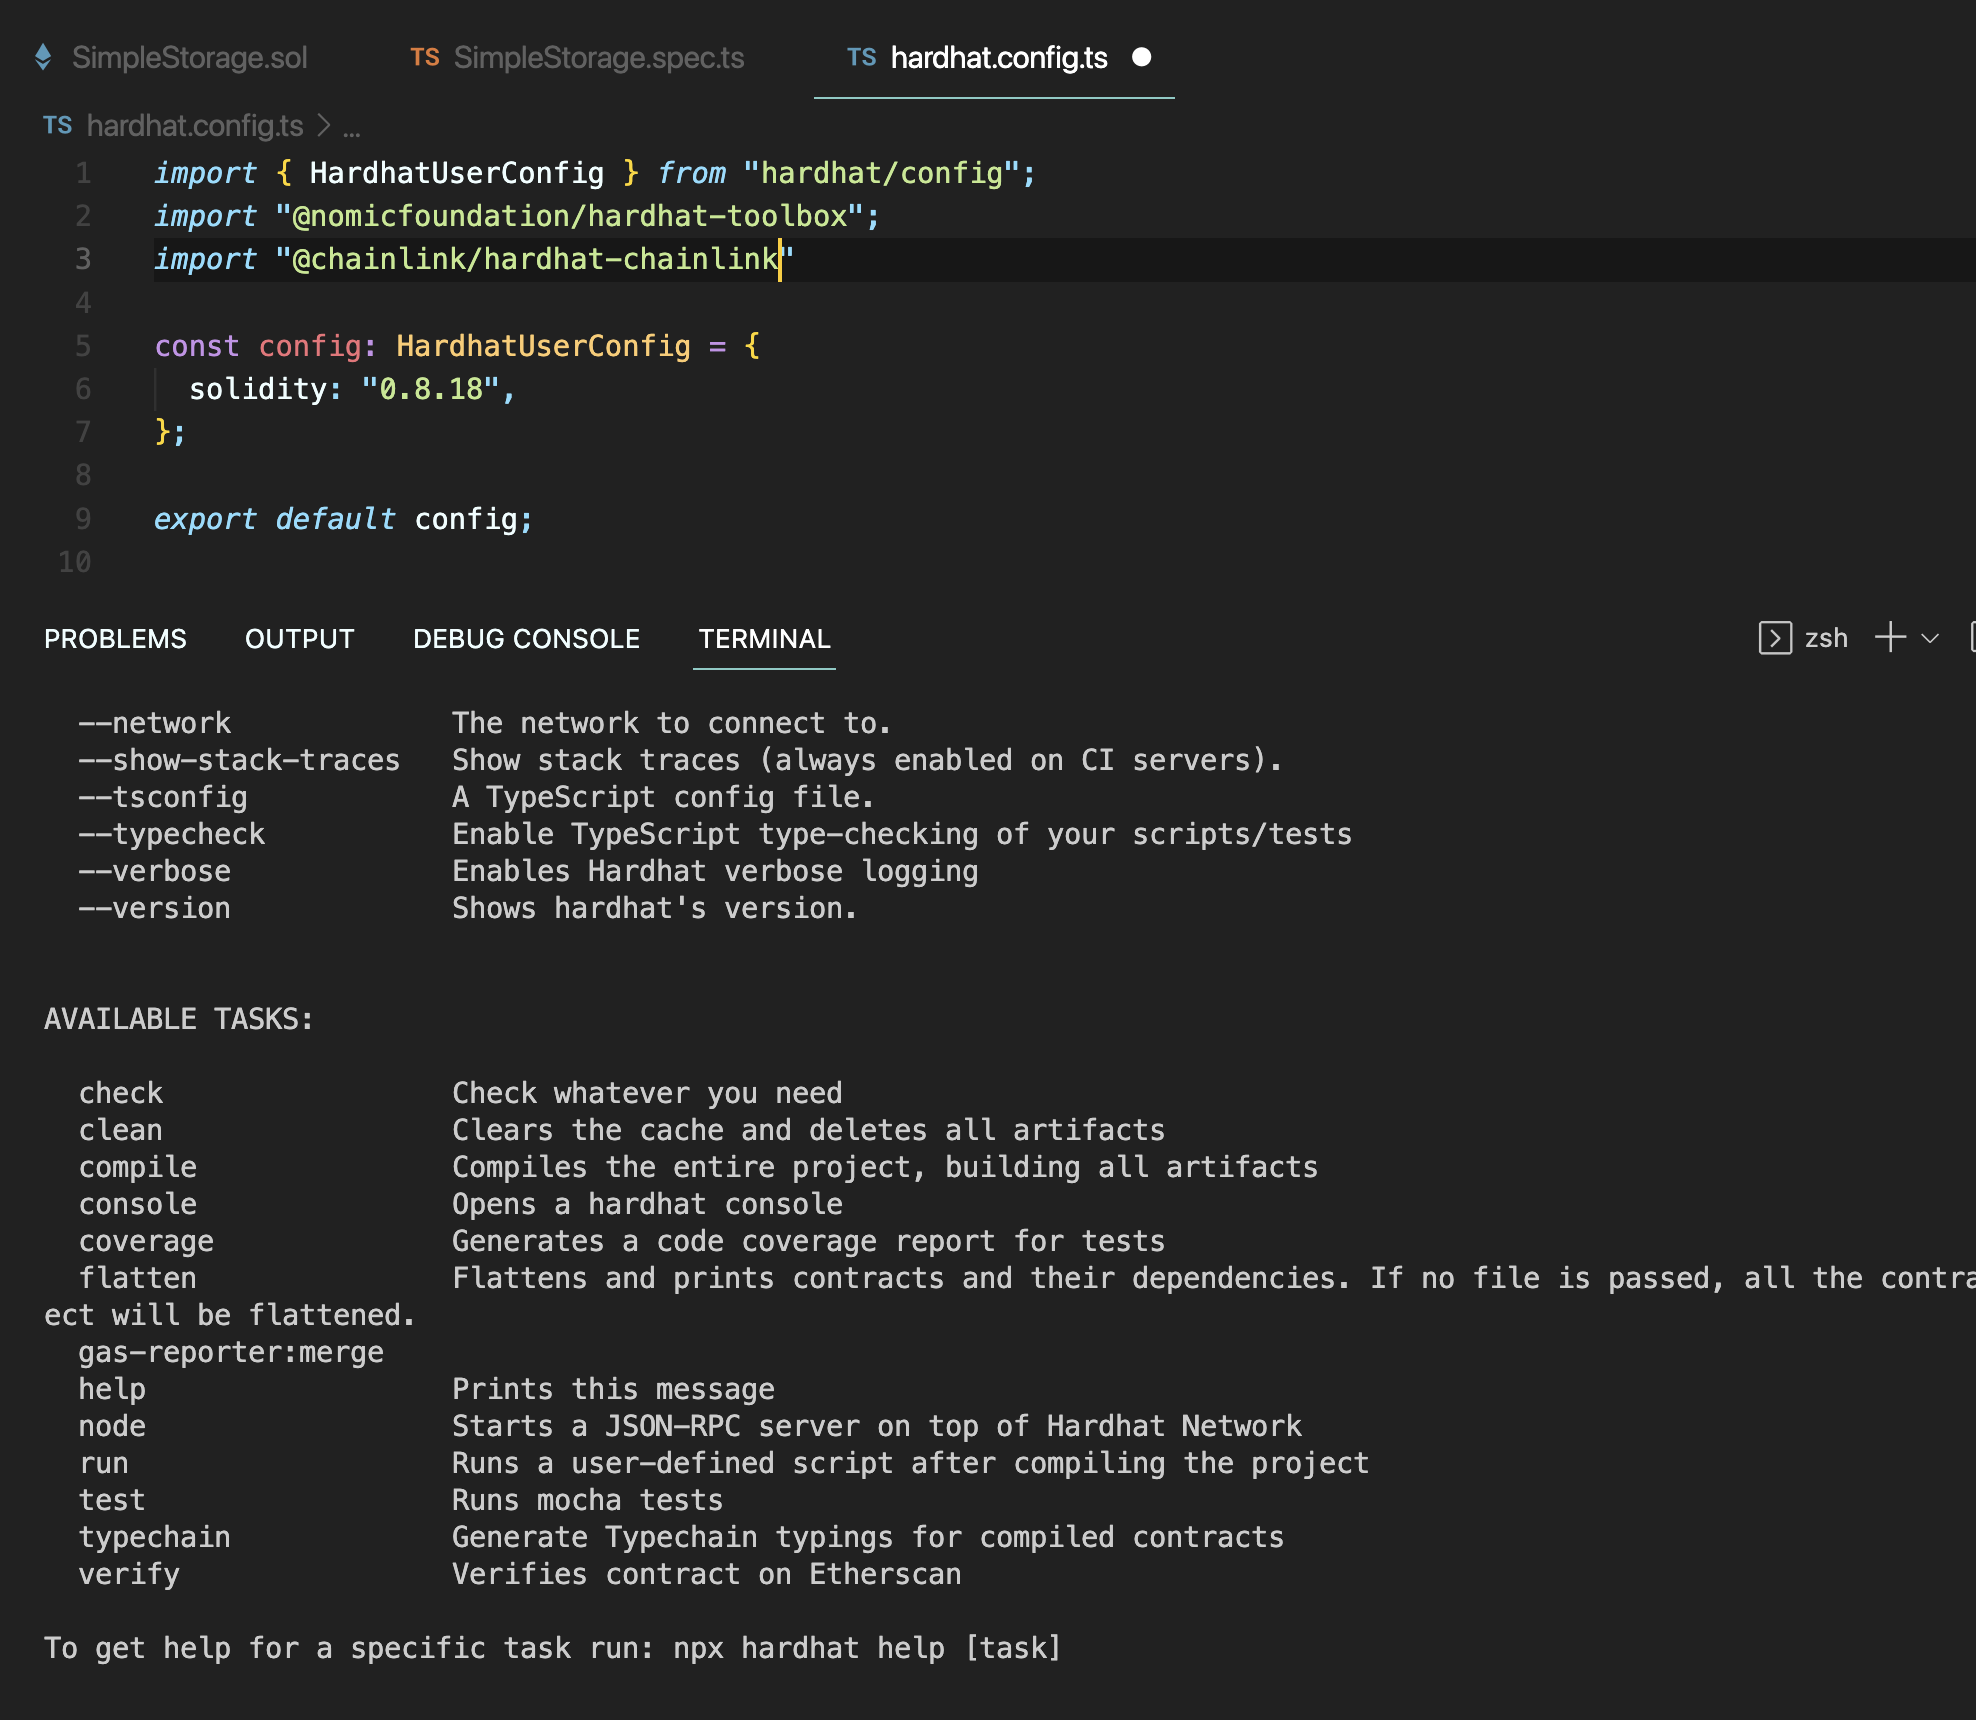
@chainlink/hardhat-chainlink
체인링크 노드를 여기서 사용해보자.
chainlink-hardhat 플러그인이다.
플러그인 :
플러그인(Plugin)은 소프트웨어에서 특정한 기능을 수행하도록 설계된 모듈입니다. 일반적으로 플러그인은 다른 소프트웨어나 프레임워크와 함께 작동하도록 설계되어 있습니다.
플러그인은 대개 독립적으로 개발되며, 별도의 제어를 통해 추가 또는 제거할 수 있습니다. 예를 들어 웹 브라우저에서 플러그인은 웹 사이트에서 사용할 수 있는 다양한 기능을 제공하고, 음악 재생기에서 플러그인은 다양한 음악 파일 형식을 지원하고, 통계 분석 도구에서 플러그인은 추가적인 분석 기능을 제공합니다.
플러그인은 개발자들이 소프트웨어를 개발하거나 유지보수할 때 매우 유용합니다. 다른 소프트웨어나 프레임워크에서 제공하는 기능을 확장하거나 변경할 수 있으며, 개발자가 직접 구현할 필요 없이 추가 기능을 구현할 수 있습니다. 따라서 플러그인은 소프트웨어의 생산성을 향상시키고 유지보수성을 높여줍니다.
chainlink에서는 hardhat에서 쓸 수있는 체인링크 플러그인을 제공한다.
npx hardhat --help로 명령어를 쳐보면
여기서
npm i --save-dev @chainlink/hardhat-chainlink를 하고,
hardhat.config.ts 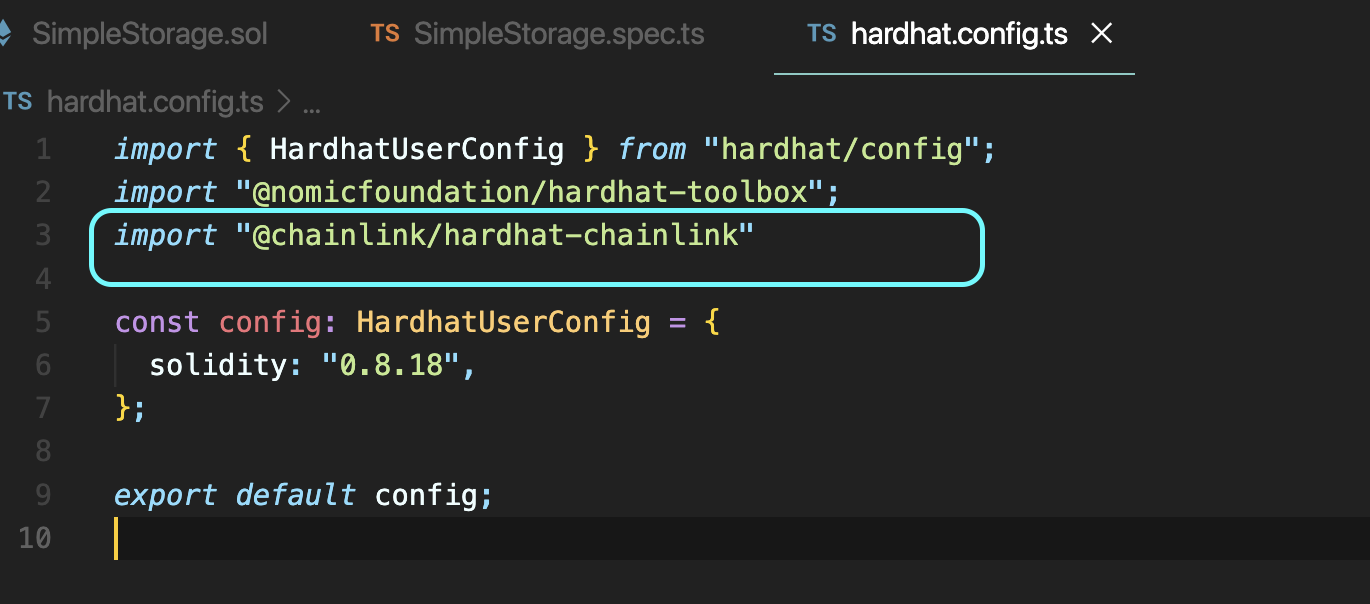
import 만 해주고 다시 치면
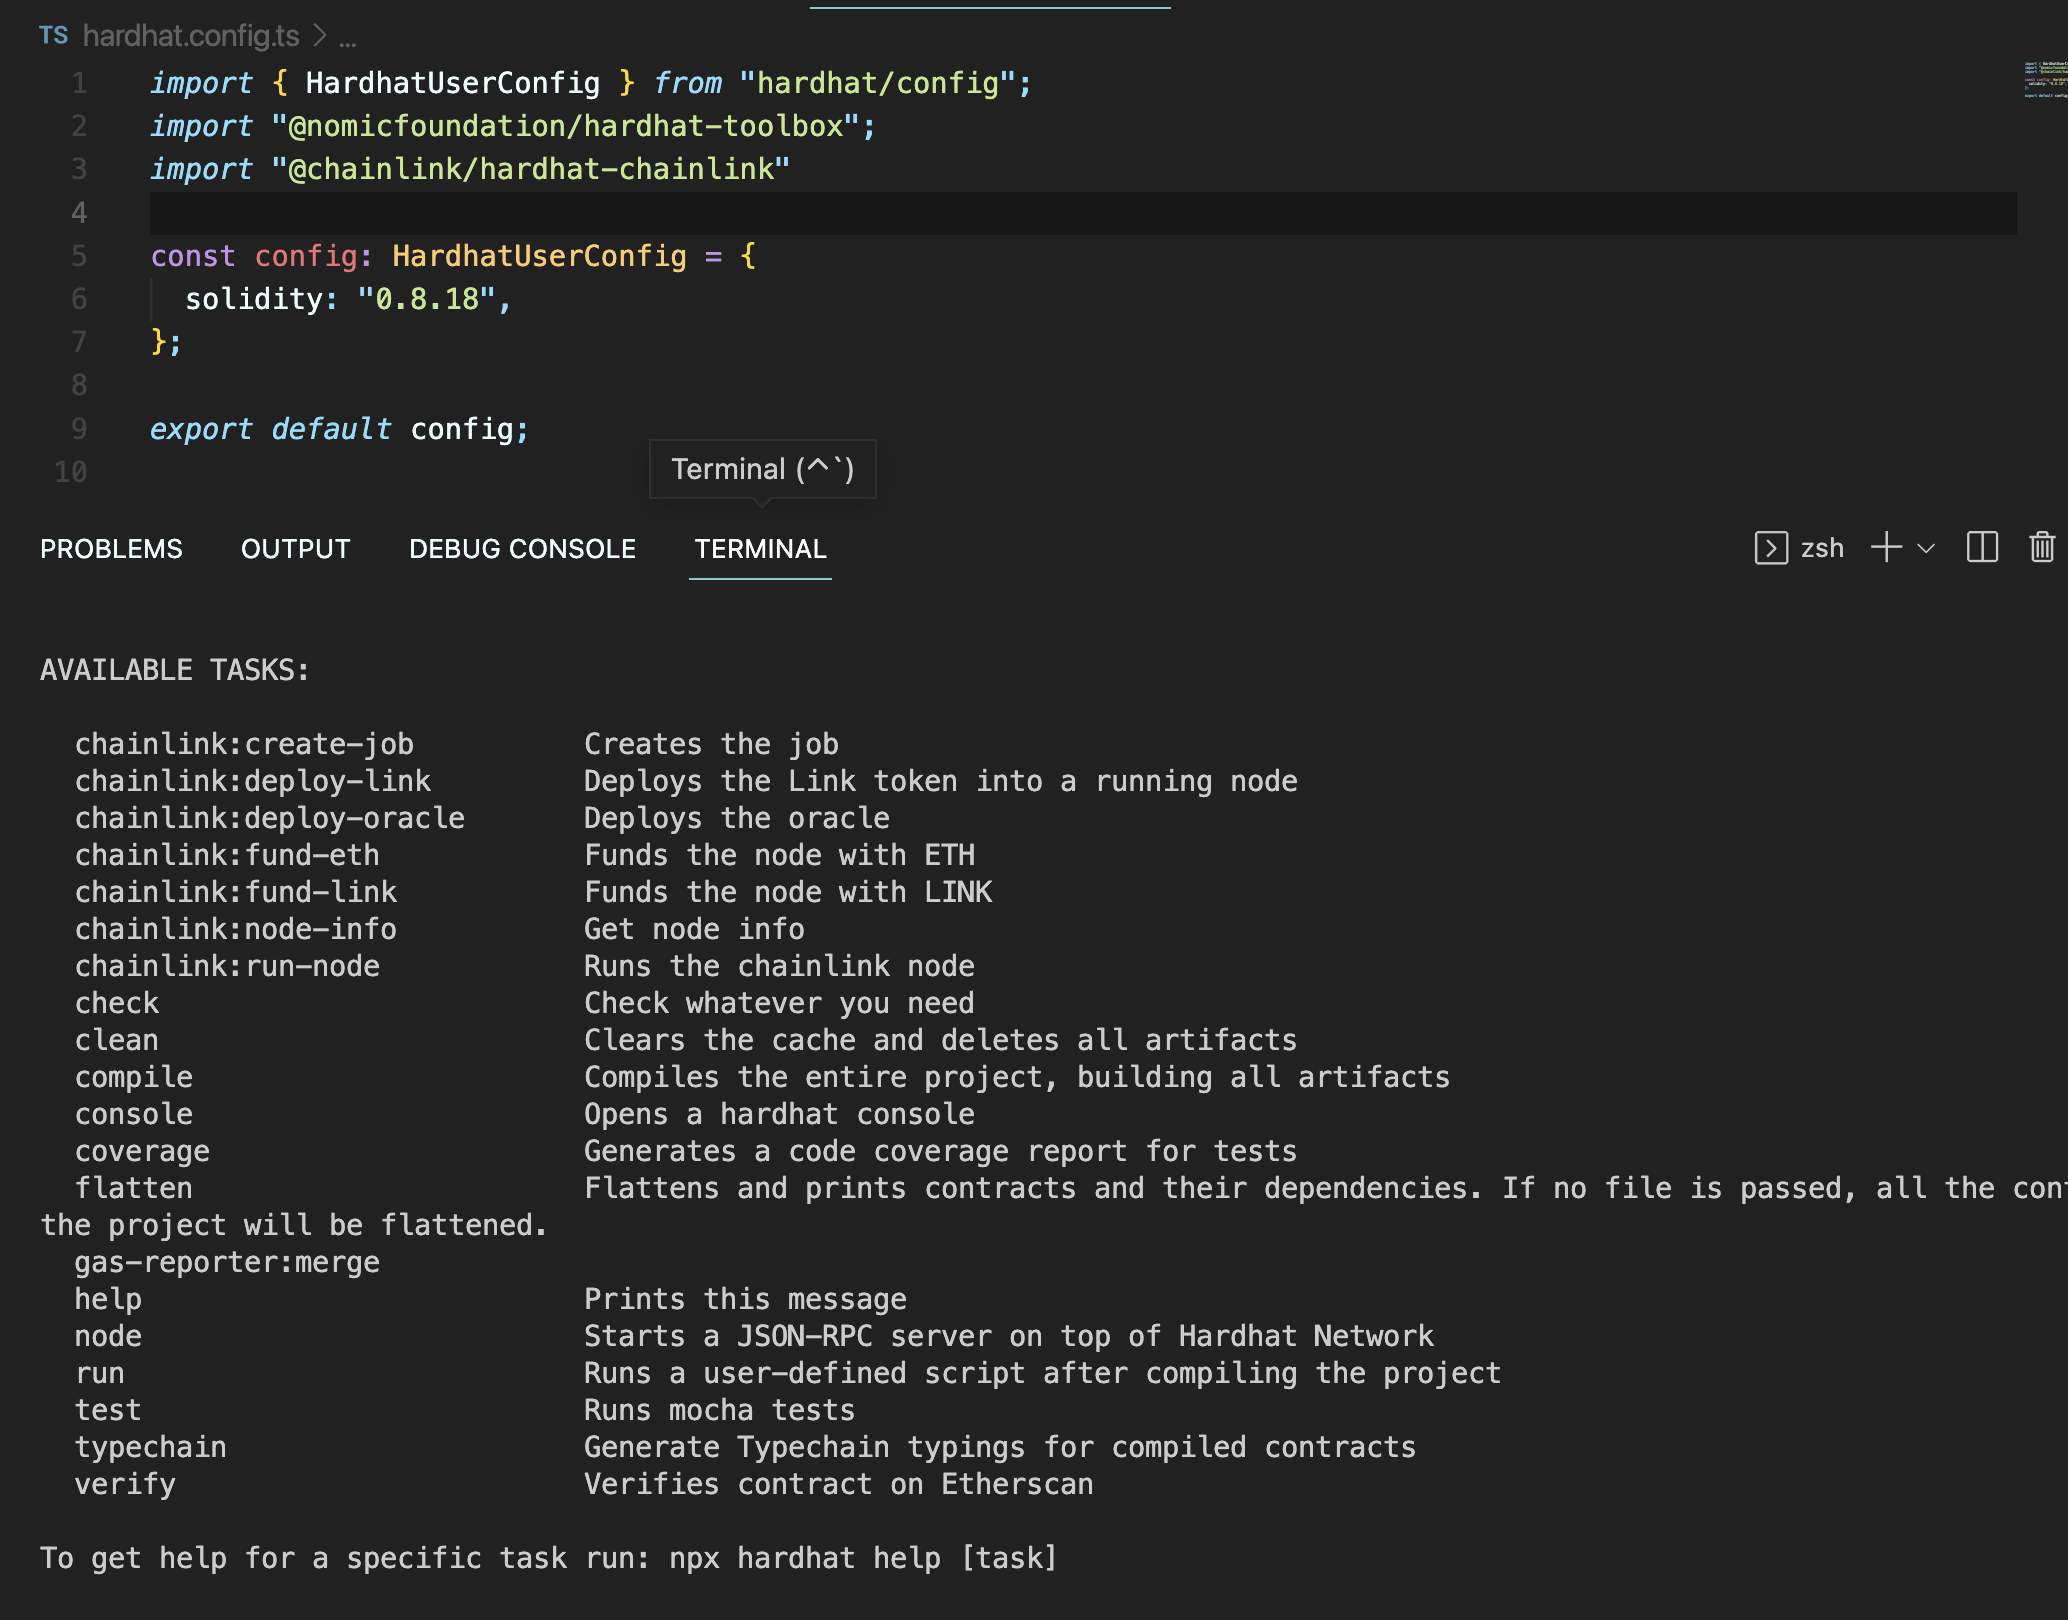
체인링크에서 제공하는 명령어들이 추가 되었다.
먼저
npx hardhat node로 기본 hardhat 네트워크에서 rpc-url 서버를 시작하고 노드들을 생성하자.
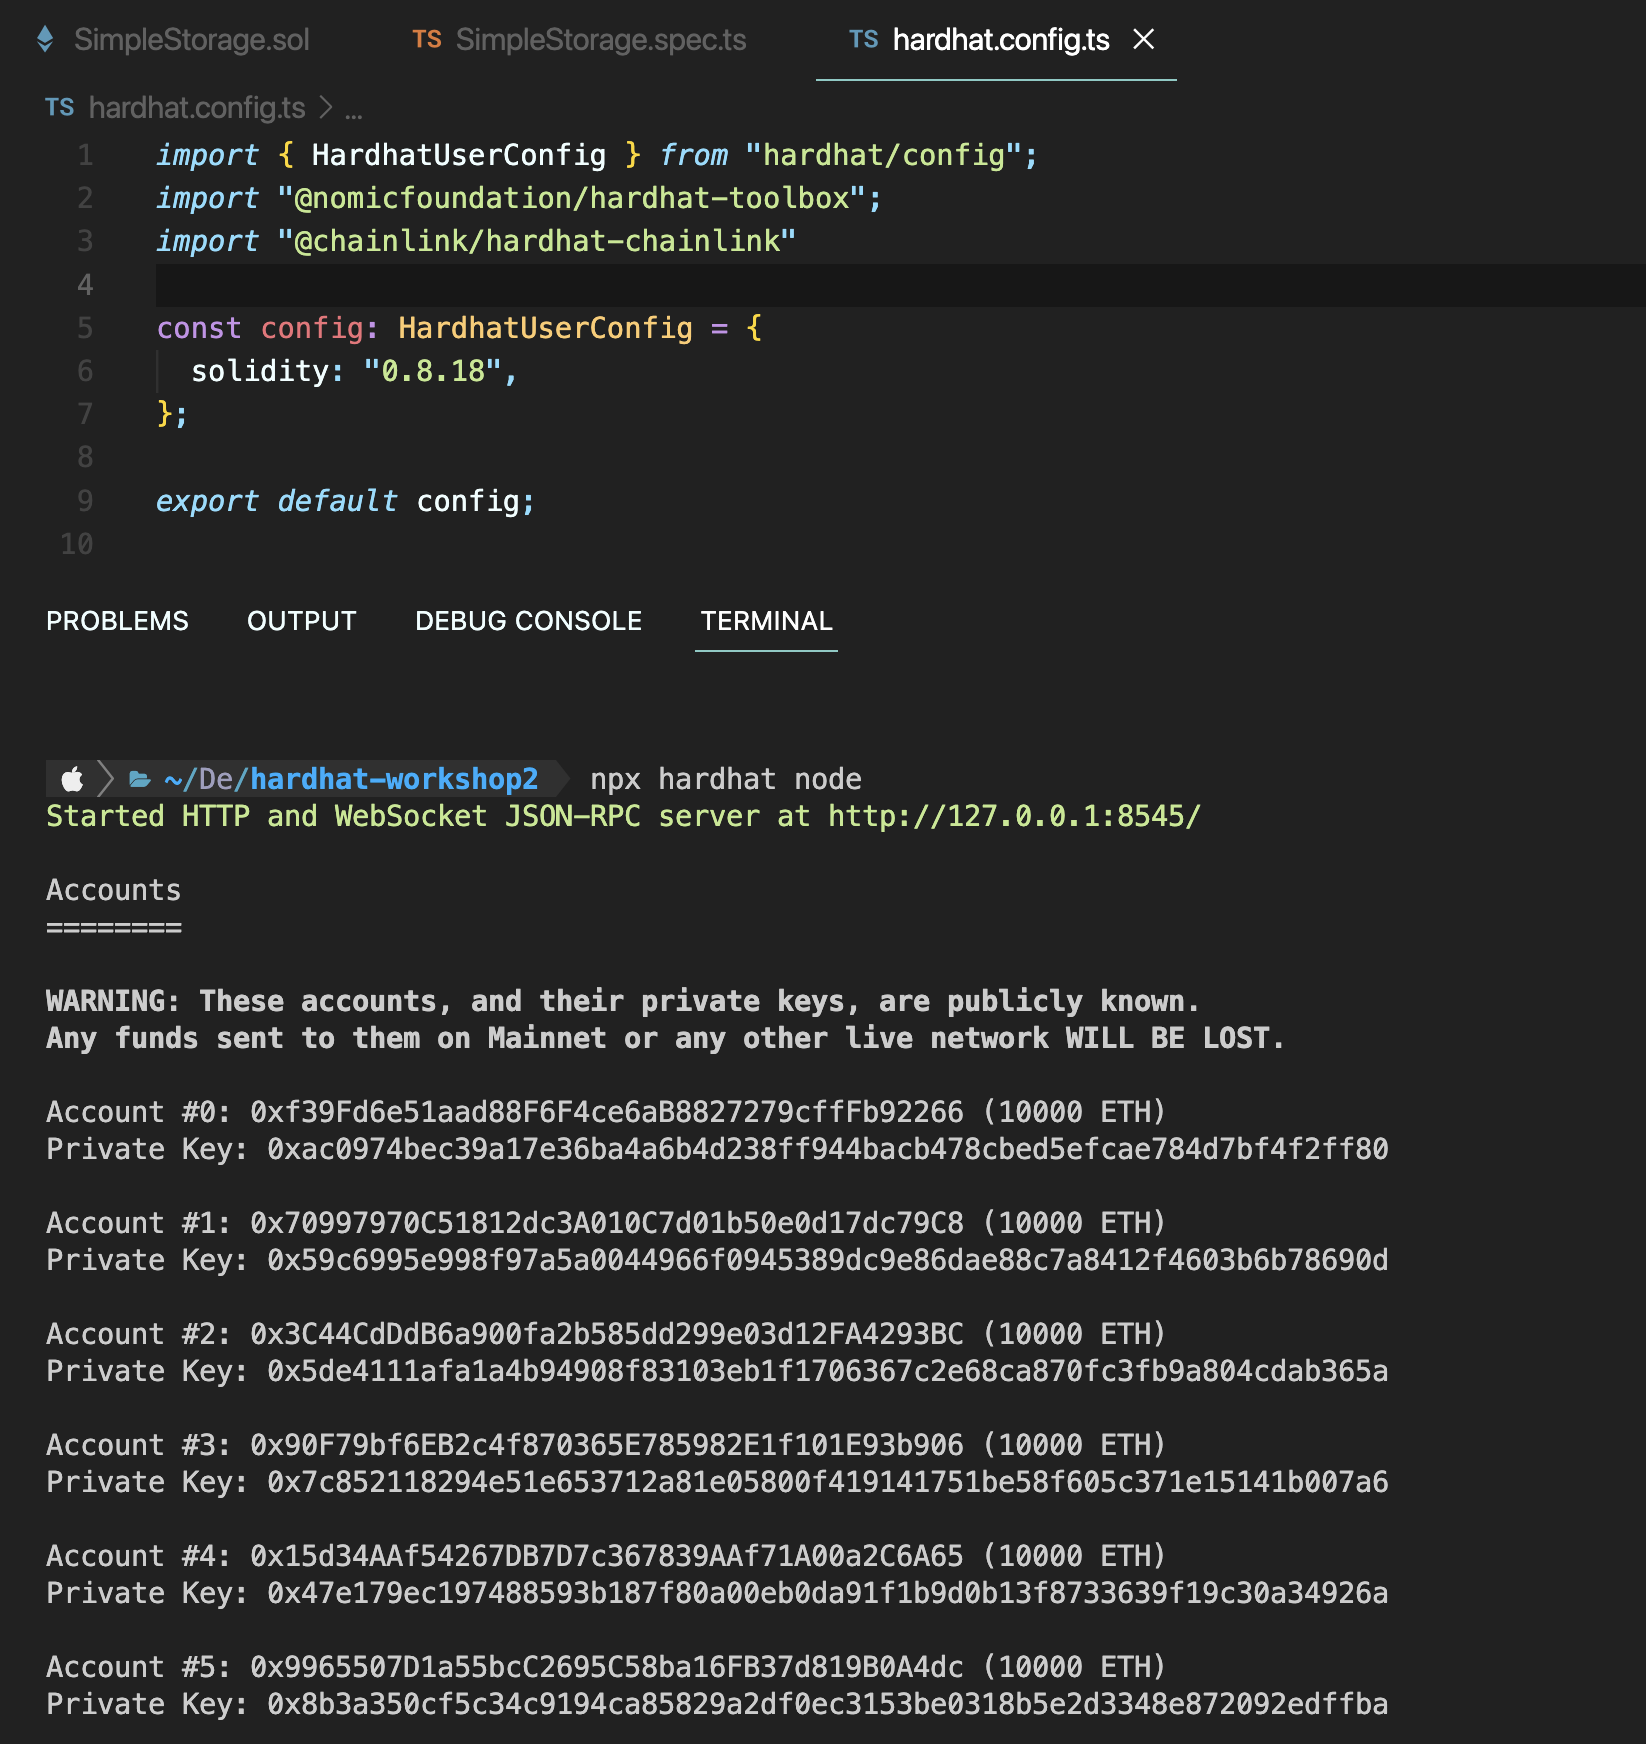
가나슈에서 생성되는 10개의 지갑이라고 생각하자.
도커를 실행하고,
npx hardhat chainlink:run-node
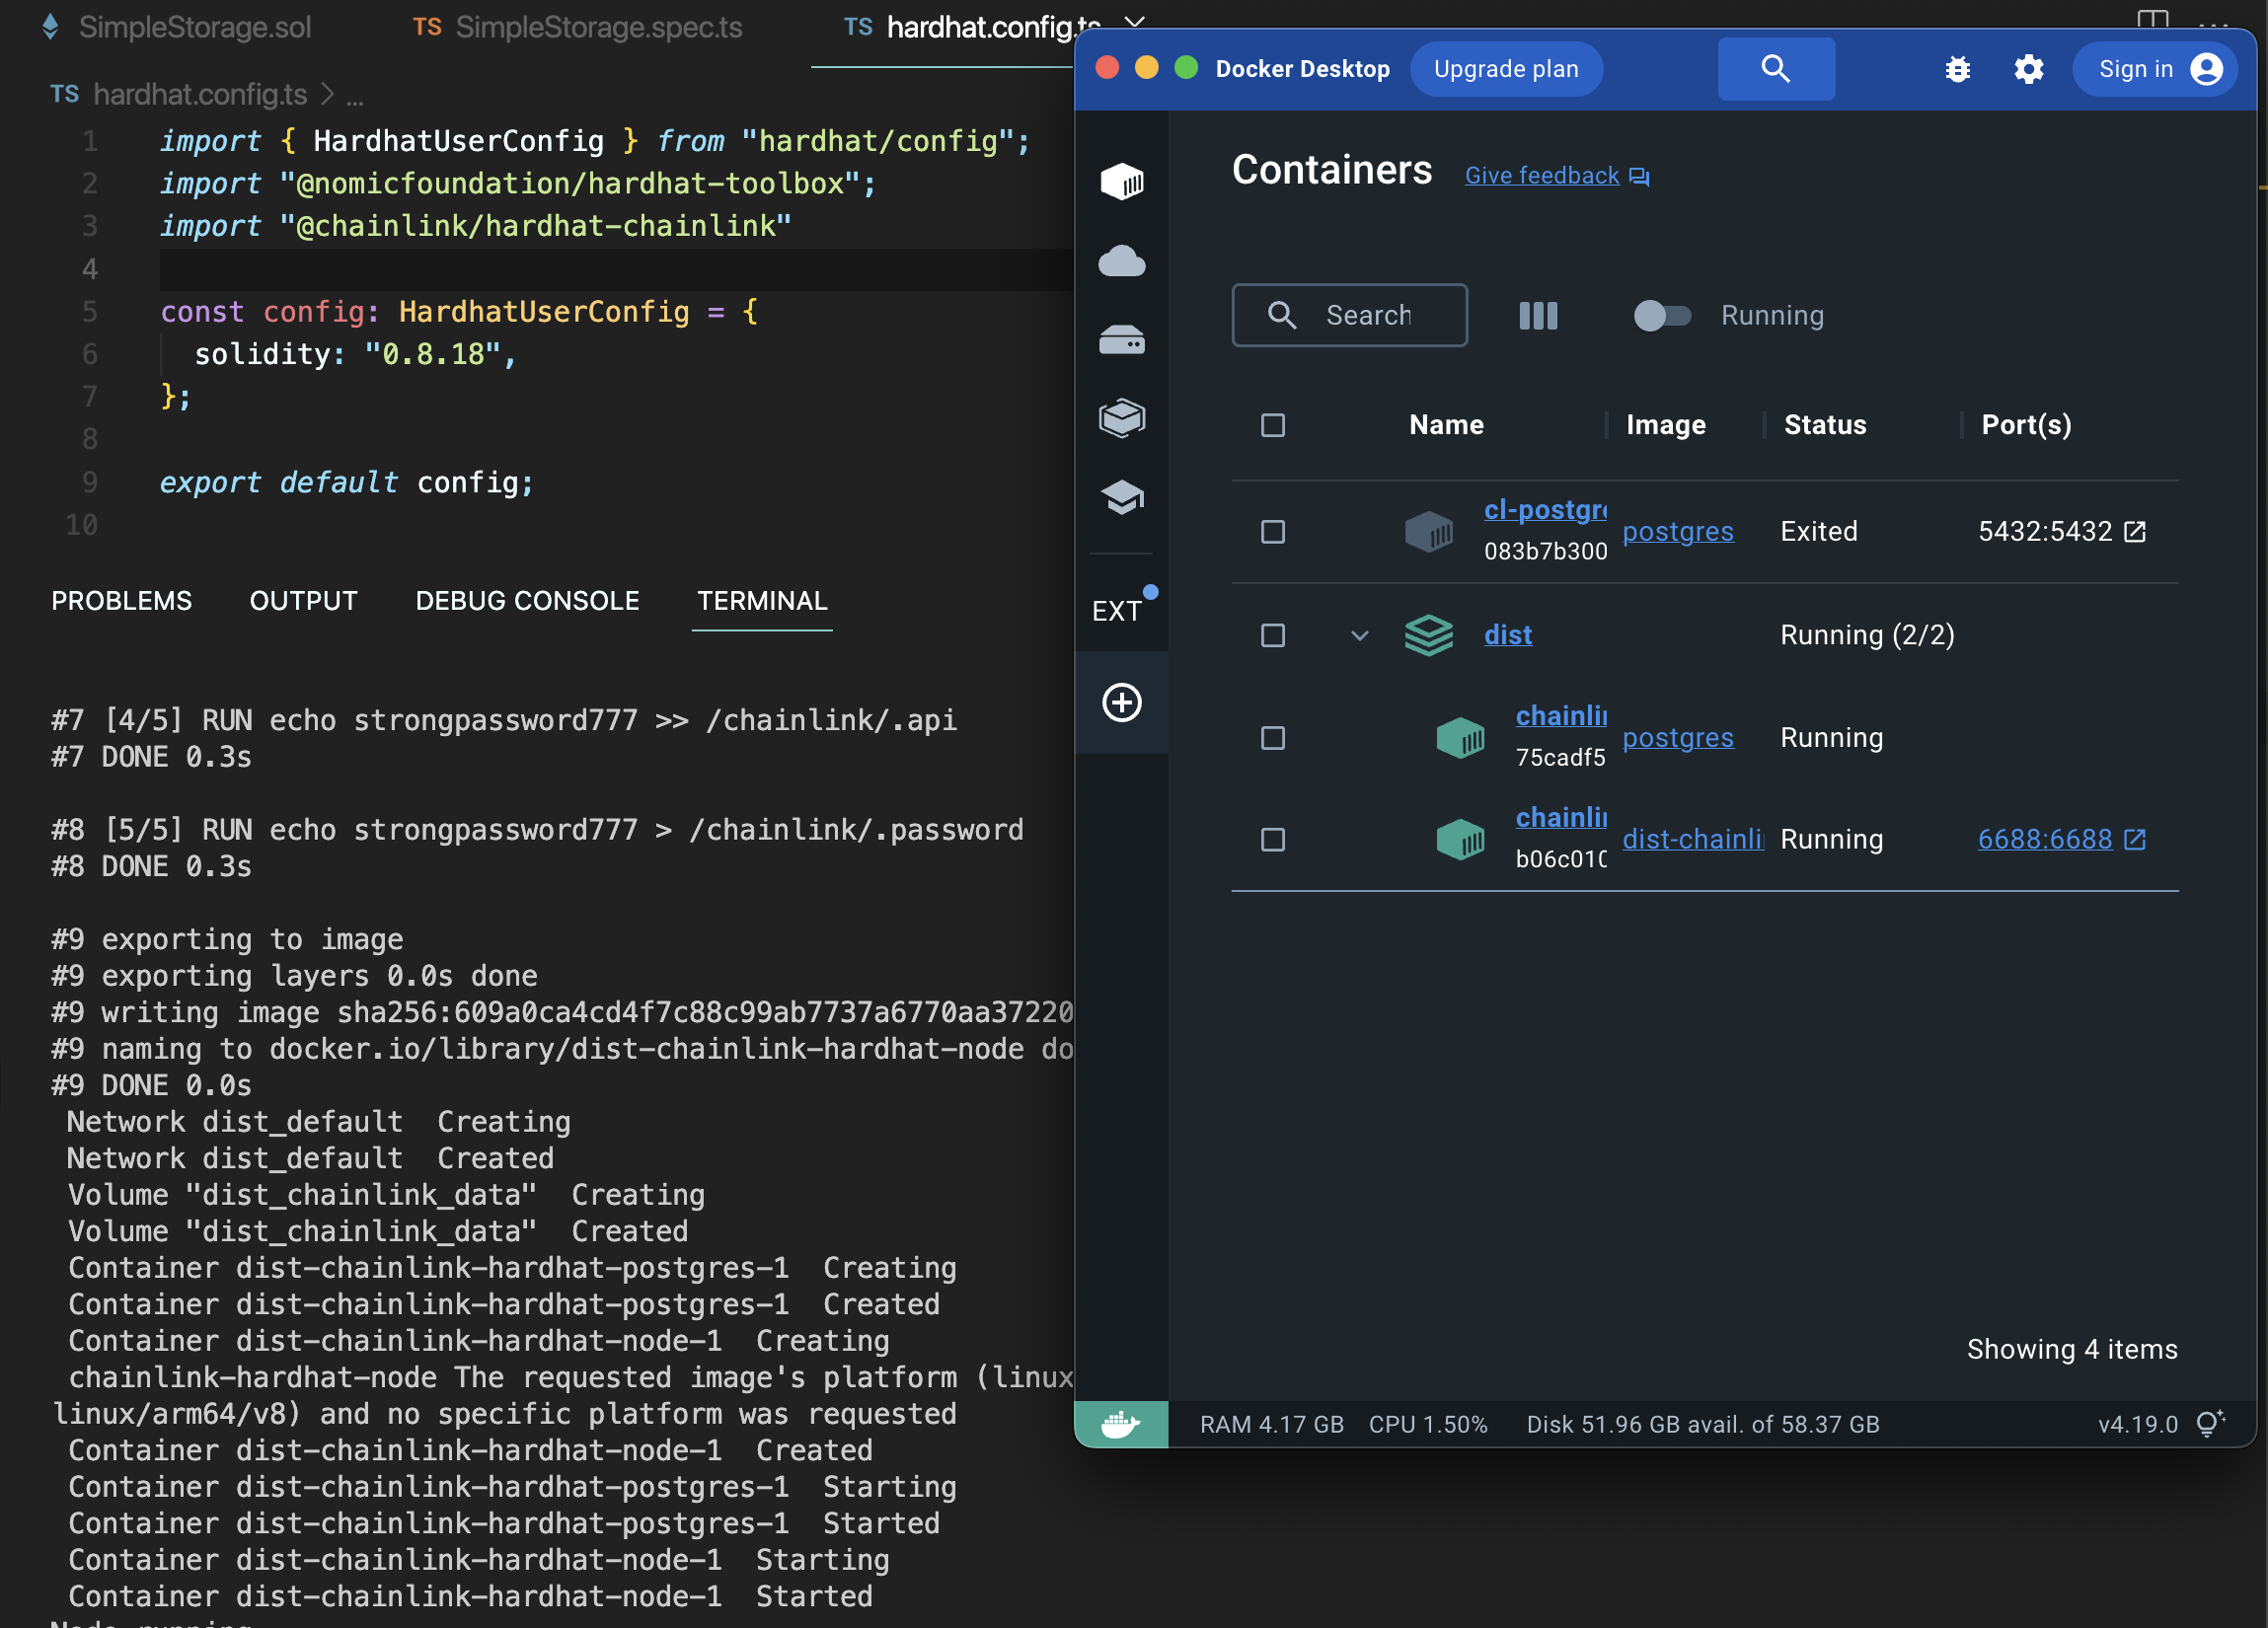
이제 체인링크 노드가 돌아간다.
에 접속하면
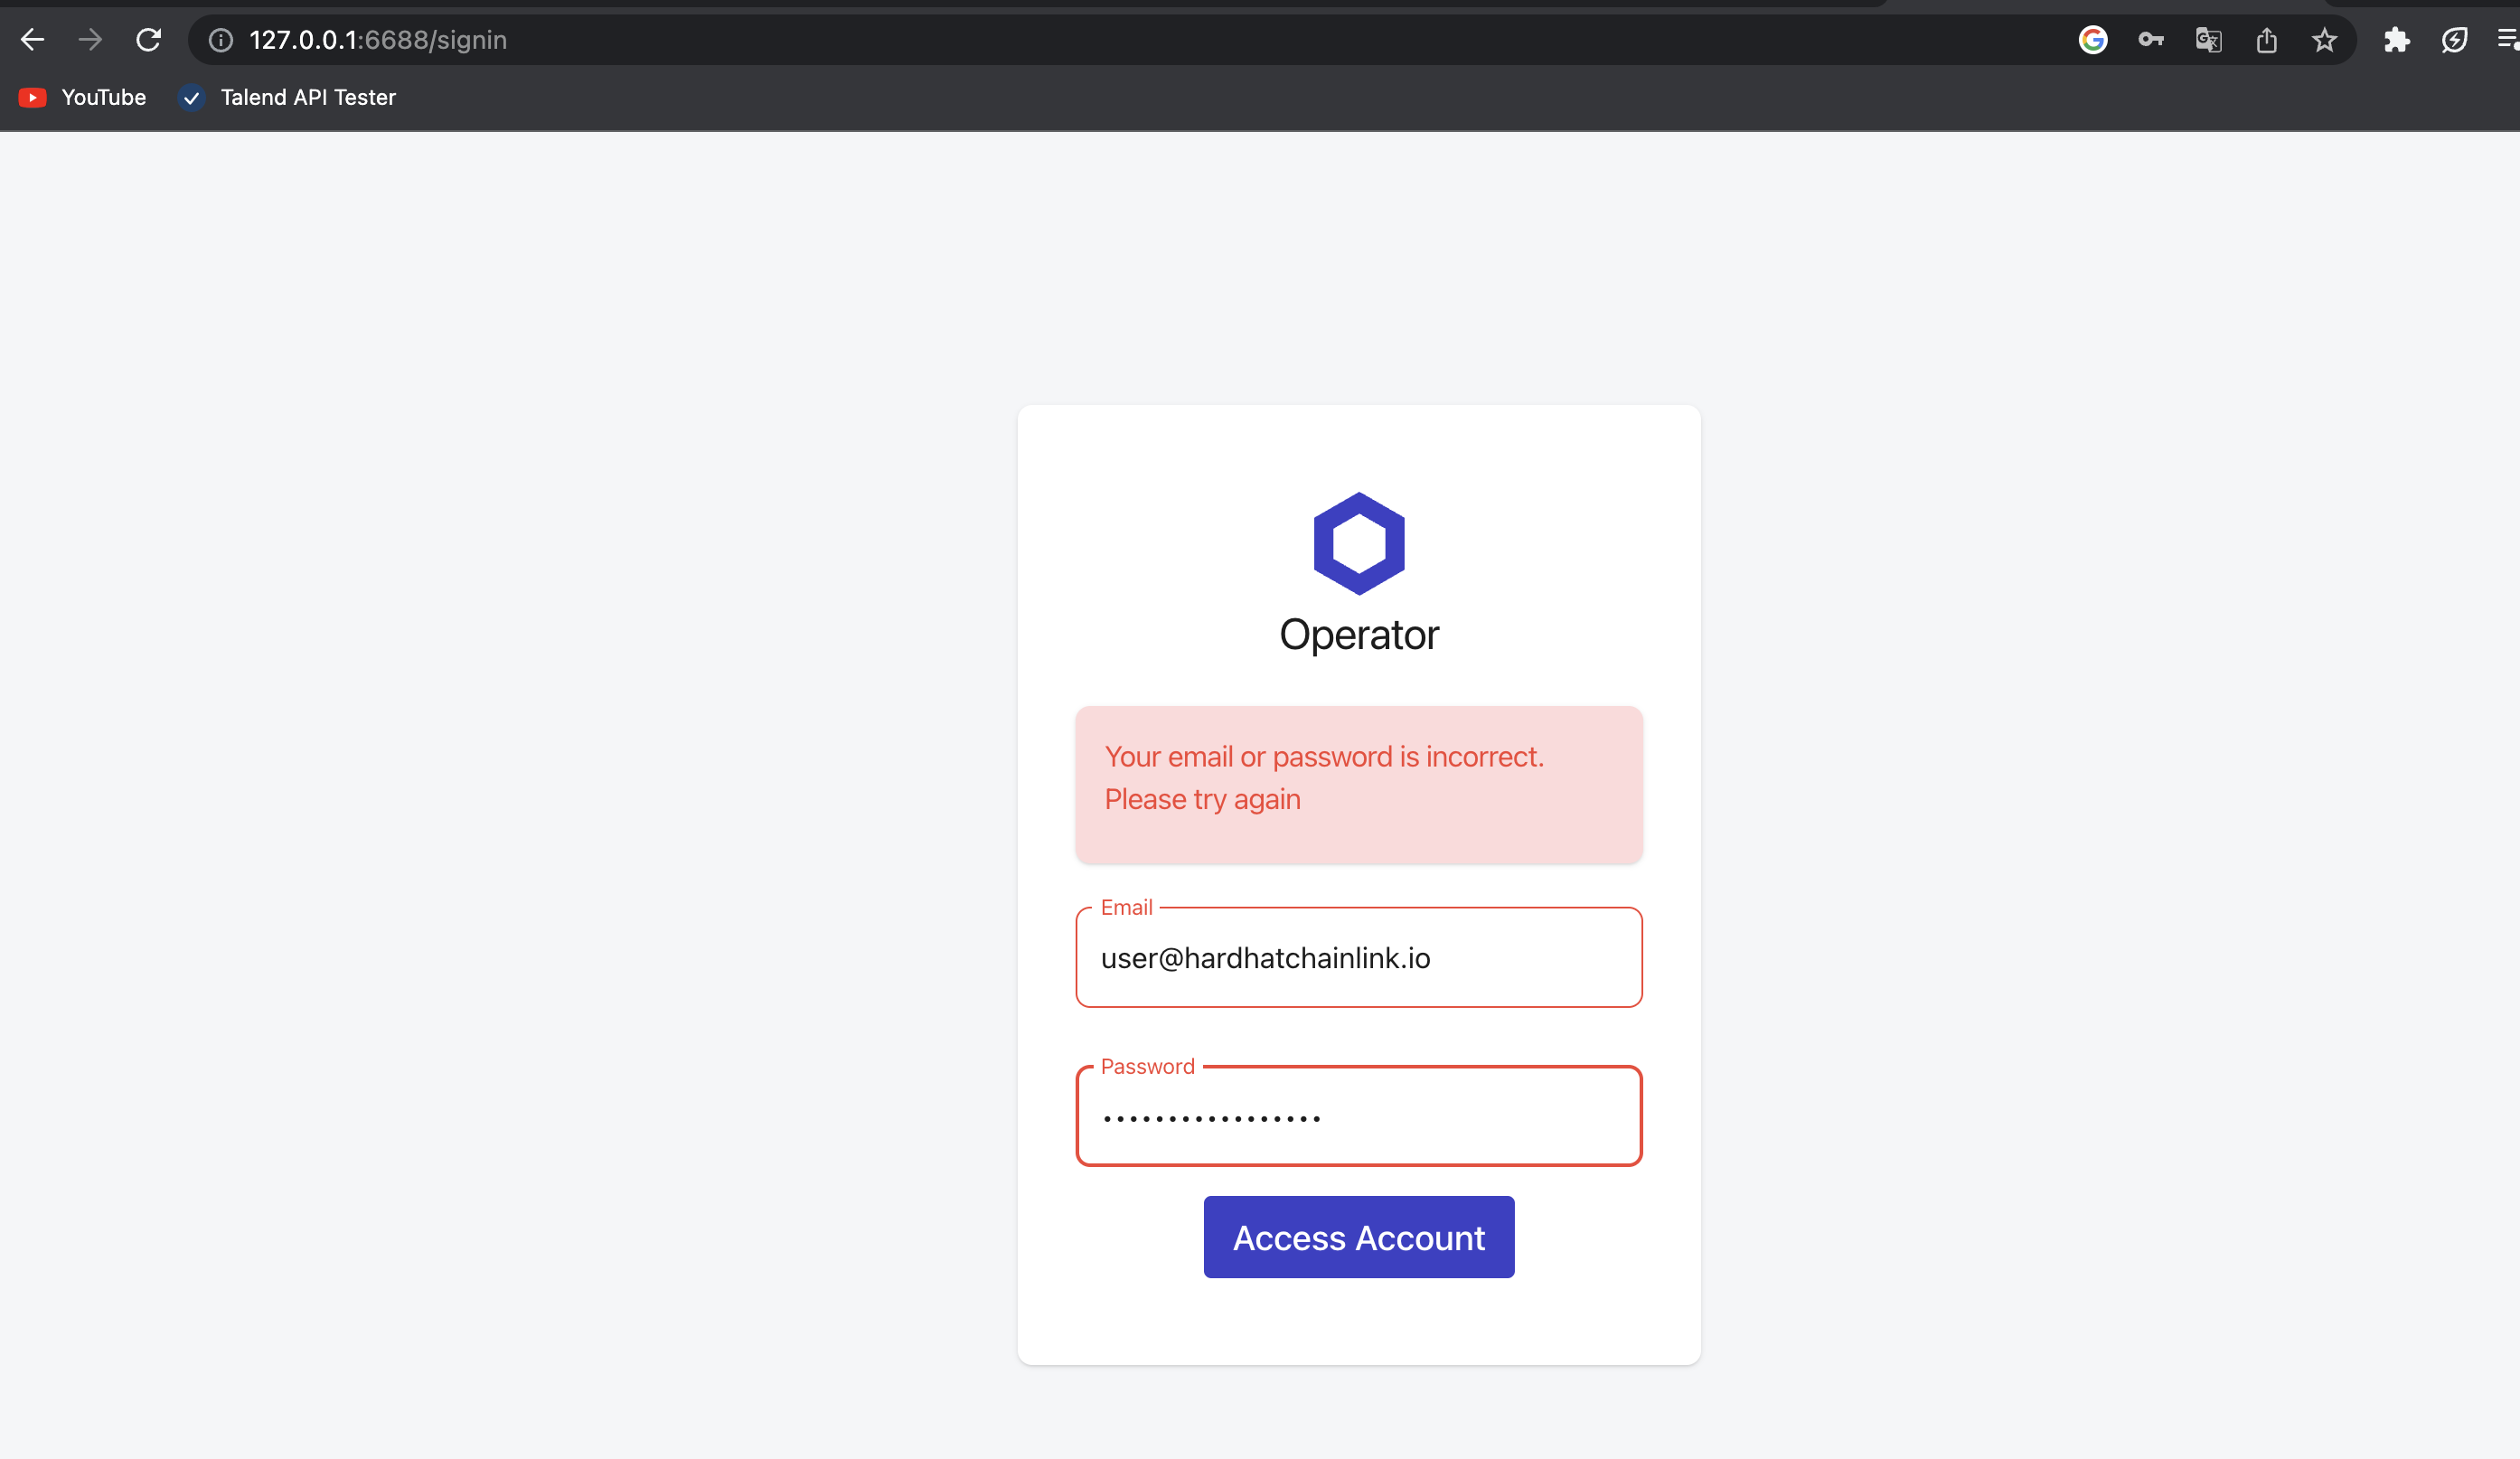

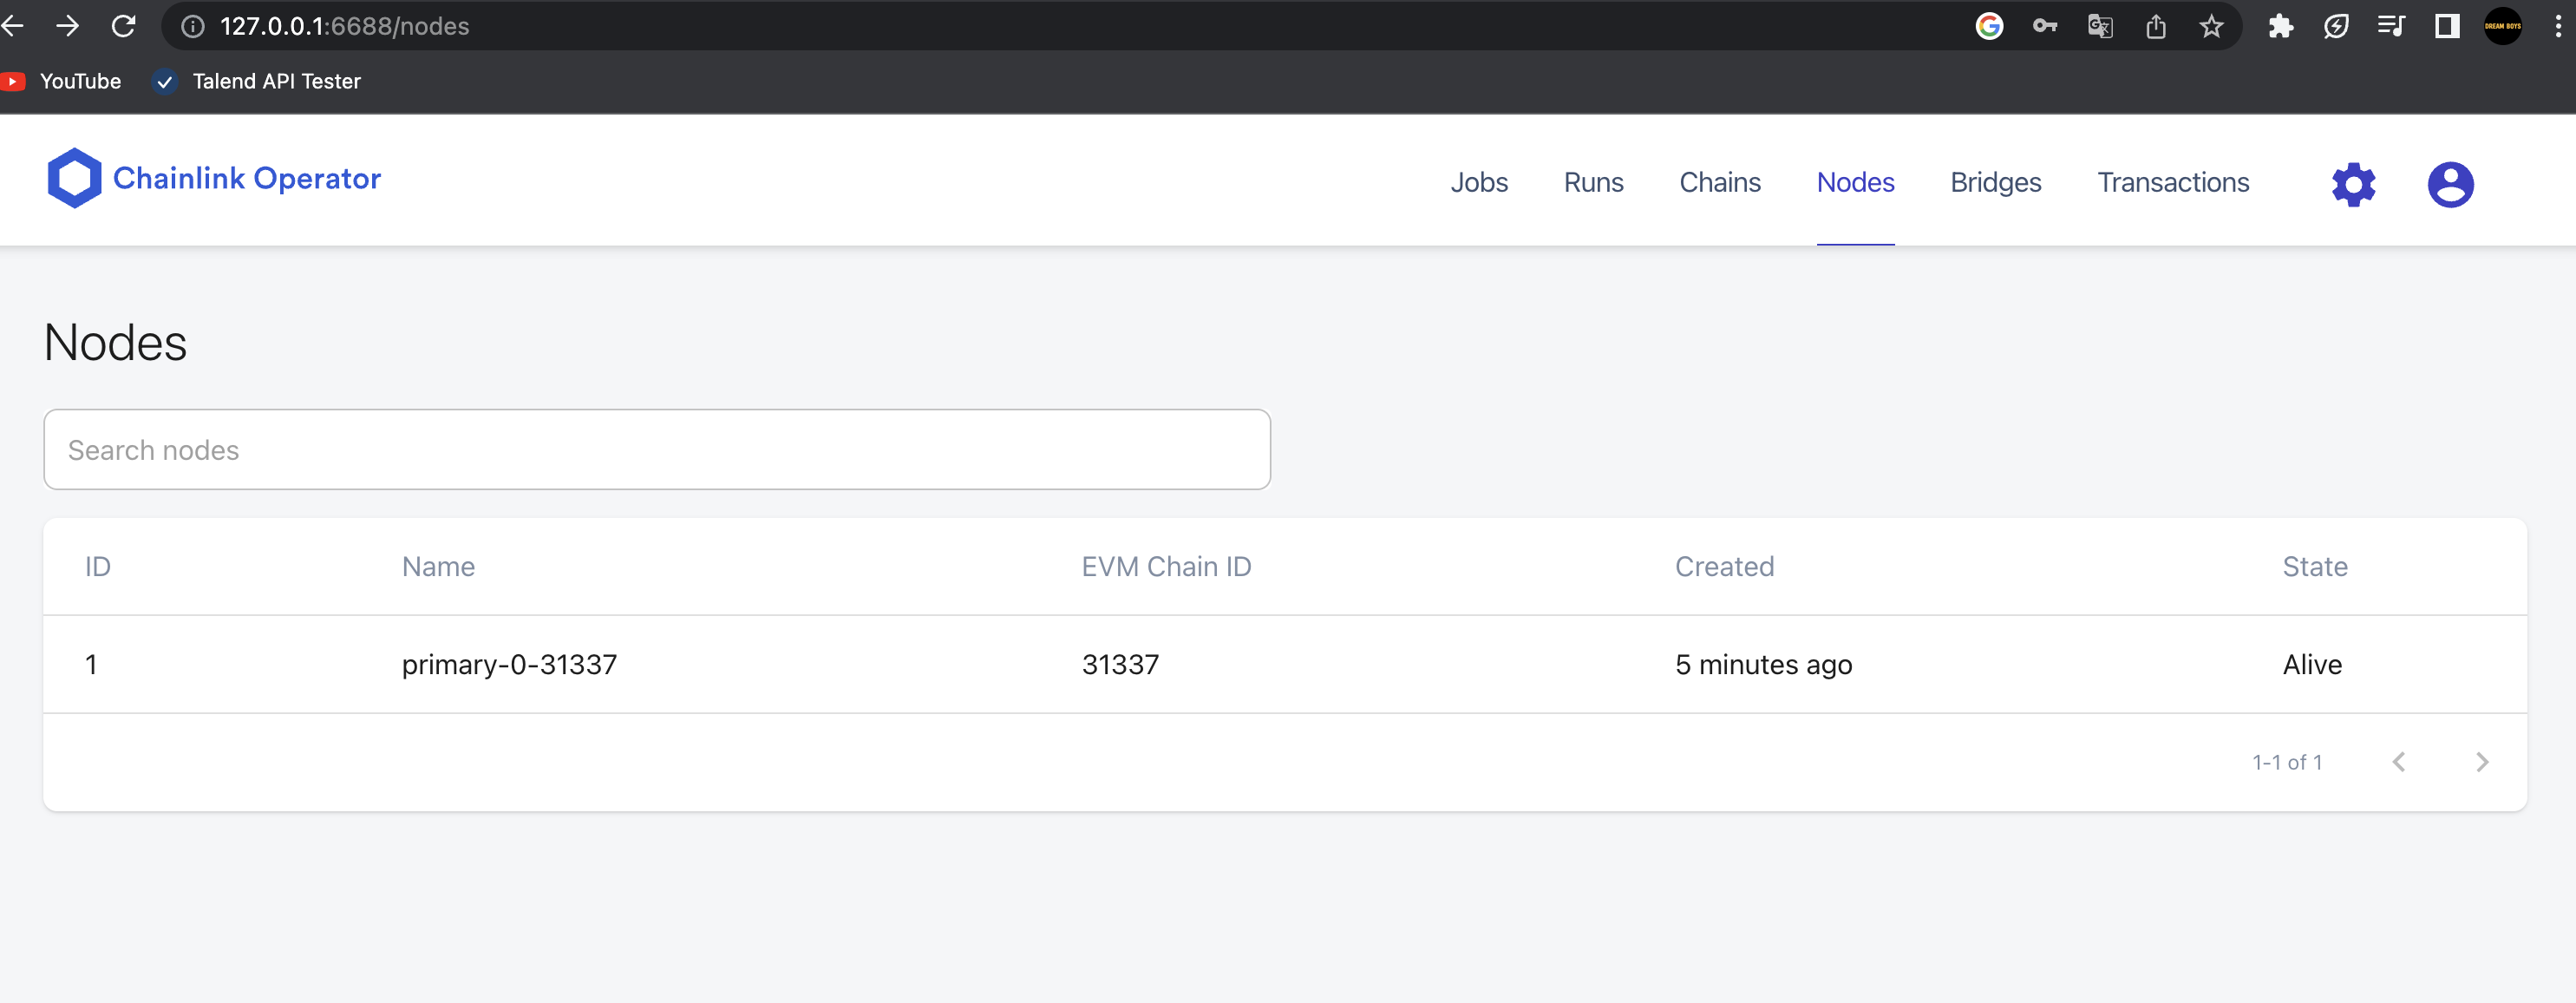
이렇게 체인과 노드들을 확인할 수 있다.
번외 : hardhat-starter-kit
시간 없으면, 이거 클론해서 그대로 쓰면 개꿀이다. 앵간한 체인링크 기능들이 코드로 다 짜져 있다.
랜덤, 오토메이션, 데이터피드 등 시간없으면 이거 쓰란다 ㄷㄷ