아키텍처 설계
💡 CloudFront란?
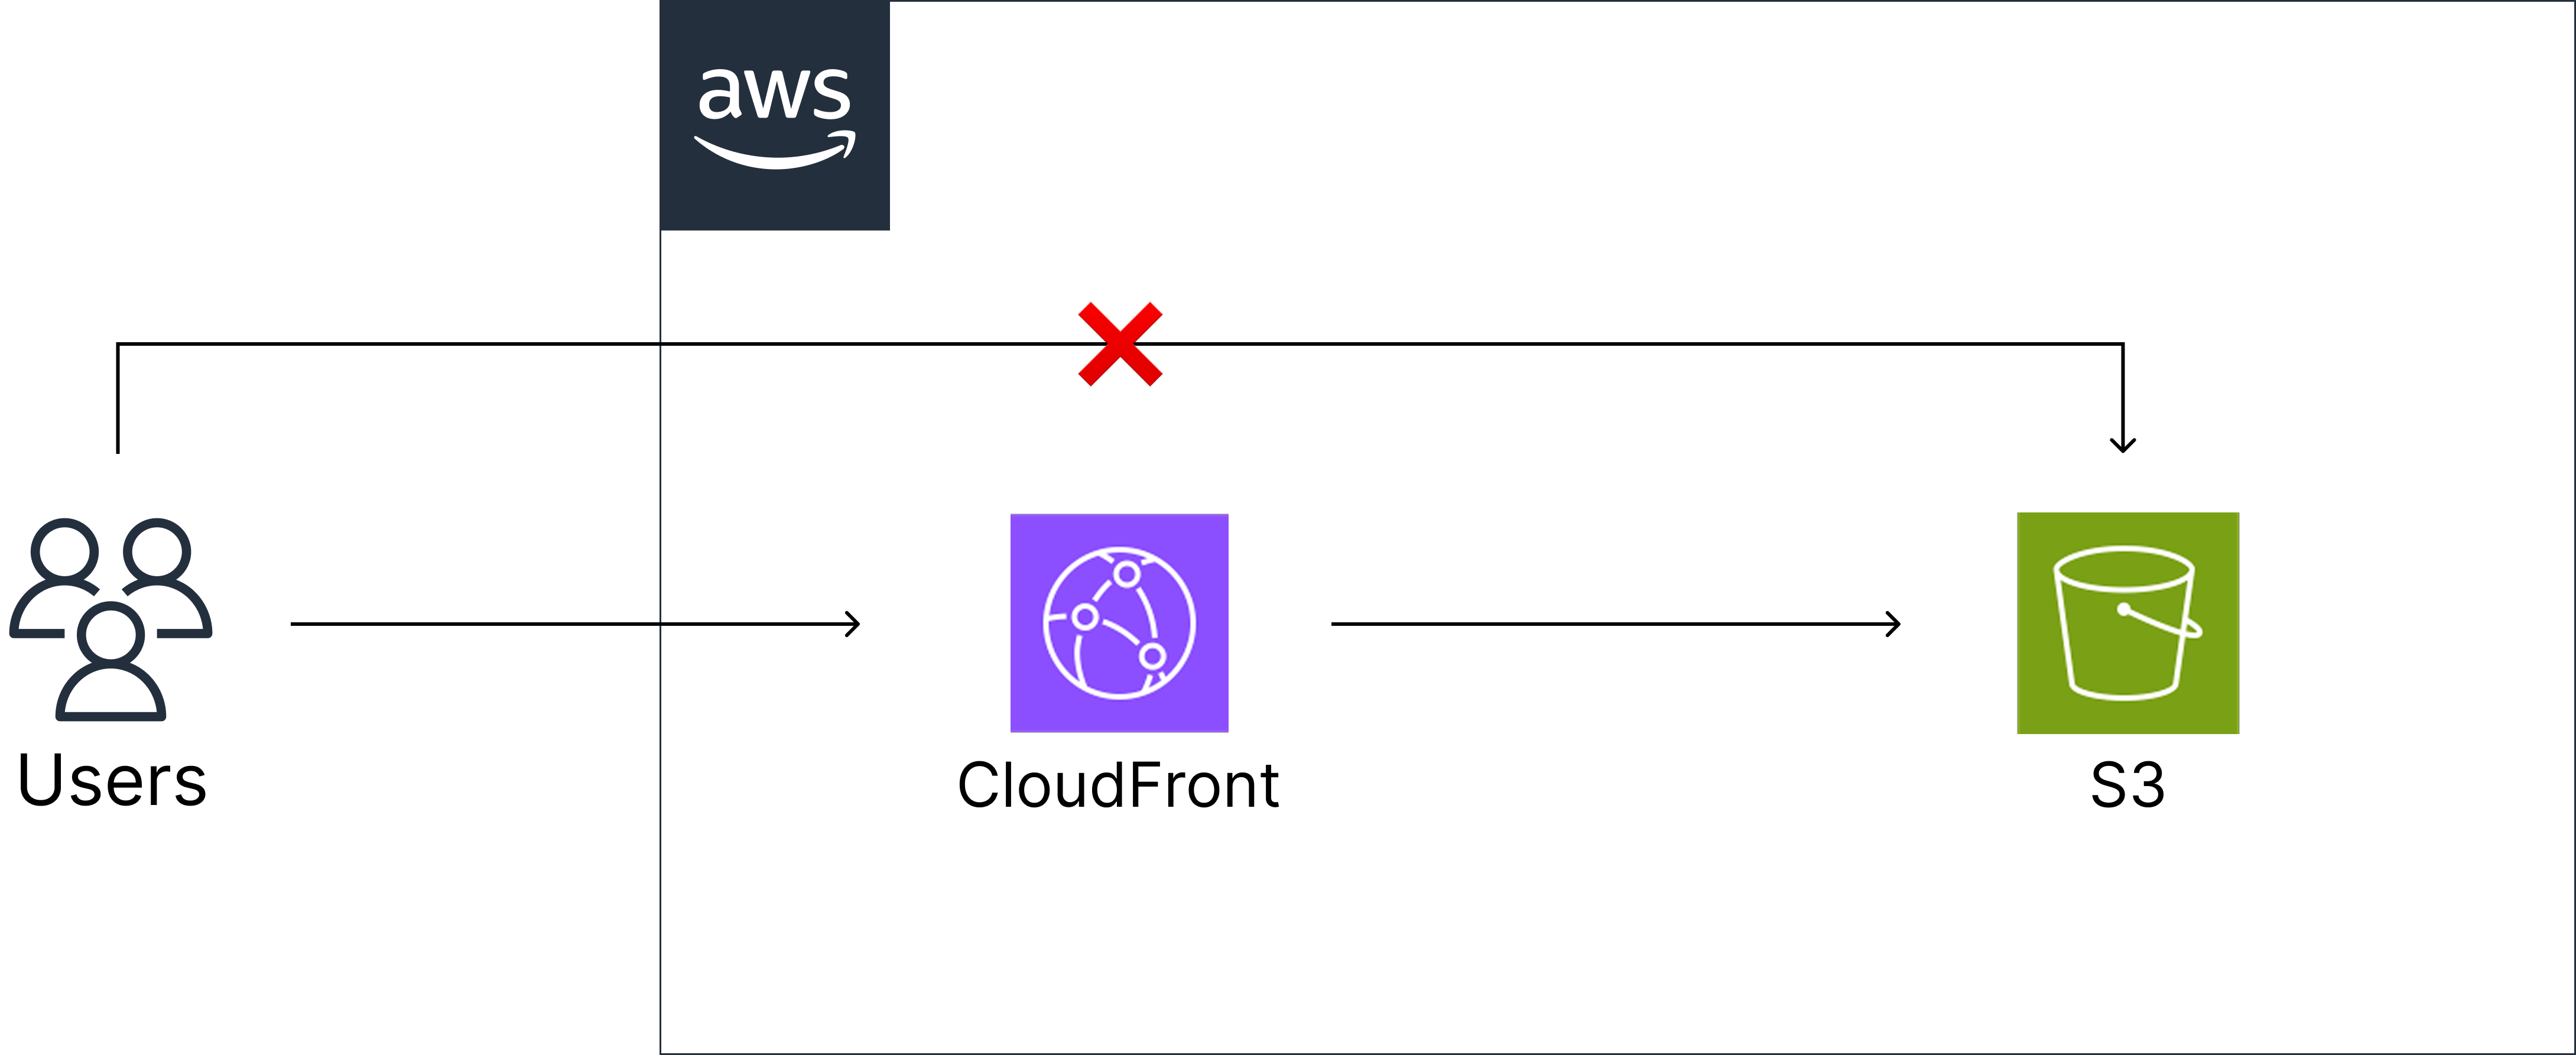
CloudFront는 AWS에서 제공하는 전 세계 CDN(Content Delivery Network) 서비스로, 정적 및 동적 콘텐츠를 빠르고 안전하게 사용자에게 전달해 줍니다.
사용자가 콘텐츠를 요청하면 가장 가까운 엣지 로케이션에서 응답하고, 캐시에 없을 경우에만 S3 등 오리진에서 데이터를 가져와 지연 시간과 오리진 부하를 줄입니다.
Terraform 모듈 구조
modules/
├── s3/
│   ├── main.tf         # S3 버킷 및 정적 파일 업로드
│   ├── locals.tf       # MIME 타입 매핑
│   ├── variables.tf    # 입력 변수
│   └── outputs.tf      # 출력값
└── cloudfront/
    ├── main.tf         # CloudFront 배포 설정
    ├── variables.tf    # 입력 변수
    └── outputs.tf      # 출력값
❕ 구현한 전체 코드는 GitHub에서 확인할 수 있습니다.
S3 버킷 설정
1) 버킷 생성
resource "aws_s3_bucket" "web" {
  bucket = "${var.prefix}-web-bucket-${random_string.suffix.result}"
  tags   = merge(var.common_tags, { Name = ... })
}
❕ 버킷 이름은 리전 내에서 유일해야 하므로 랜덤 문자열을 붙여주었습니다.
2) 보안 설정
# 서버 측 암호화
resource "aws_s3_bucket_server_side_encryption_configuration" "web" {
  bucket = aws_s3_bucket.web.id

  rule {
    apply_server_side_encryption_by_default {
      sse_algorithm = "AES256"
    }
  }
}

# 퍼블릭 액세스 차단
resource "aws_s3_bucket_public_access_block" "web" {
  bucket = aws_s3_bucket.web.id

  block_public_acls       = true
  block_public_policy     = true
  ignore_public_acls      = true
  restrict_public_buckets = true
}
❕ S3 버킷이 외부에 공개되지 않도록 막아 보안을 강화하기 위해 퍼블릭 액세스를 차단하였습니다. CloudFront를 통해서만 접근하게 하고, URL 접근은 차단합니다.
3) 정적 웹사이트 호스팅
resource "aws_s3_bucket_website_configuration" "web" {
  bucket = aws_s3_bucket.web.id

  index_document {
    suffix = "index.html"
  }

  error_document {
    key = "error.html"
  }
}
❕ 이 설정을 통해 S3 버킷에 업로드된 정적 파일을 브라우저에서 접근할 수 있습니다.
index_document기본 페이지로 사용할 페이지 지정error_document오류 발생 시 표시할 페이지 지정
4) 정적 파일 업로드
resource "aws_s3_object" "static_files" {
  for_each = var.source_files_path != null ? fileset(var.source_files_path, "**/*.*") : []

  bucket = aws_s3_bucket.web.id
  key    = each.value
  source = "${var.source_files_path}/${each.value}"

  content_type = lookup(local.mime_types, regex("\\.[^.]+$", each.value), "application/octet-stream")
  etag         = filemd5("${var.source_files_path}/${each.value}")
}- 파일 확장자에 따라 Content-Type이 자동으로 지정
- etag를 활용해 변경된 파일만 업로드
❗️ 테스트를 위해 디렉토리 내에 임시 프론트엔드 파일을 커서로 🤭 생성하여 S3에 업로드했습니다. 운영 환경에서는 프론트 빌드 결과물을 CI/CD나 자동 배포 방식으로 대체할 수 있습니다.
CloudFront 설정
1) Origin Access Control (OAC)
resource "aws_cloudfront_origin_access_control" "web" {
  name                              = "${var.prefix}-oac"
  description                       = "Origin Access Control for S3 website"
  origin_access_control_origin_type = "s3"
  signing_behavior                  = "always"
  signing_protocol                  = "sigv4"
}
💡 OAC란?
OAC는 S3를 비공개로 유지하면서 CloudFront로만 안전하게 접근할 수 있게 해주는 보안 기능입니다. CloudFront 배포 시 OAI 대신 OAC 사용이 권장됩니다. OAC 기반 접근 제어를 사용함으로써 S3를 퍼블릭으로 만들지 않고도 CloudFront를 통한 안전한 요청만 허용할 수 있습니다.
2) S3 버킷 정책
resource "aws_s3_bucket_policy" "web" {
  bucket = var.s3_bucket_id

  policy = jsonencode({
    Version = "2012-10-17"
    Statement = [
      {
        Sid    = "AllowCloudFrontServicePrincipal"
        Effect = "Allow"
        Principal = {
          Service = "cloudfront.amazonaws.com"
        }
        Action   = "s3:GetObject"
        Resource = "${var.s3_bucket_arn}/*"
        Condition = {
          StringEquals = {
            "AWS:SourceArn" = aws_cloudfront_distribution.web.arn
          }
        }
      }
    ]
  })
}
❕ CloudFront의 특정 배포 ID만 접근할 수 있도록 제한
3) CloudFront 설정
resource "aws_cloudfront_distribution" "web" {
  enabled             = true
  is_ipv6_enabled     = true
  default_root_object = "index.html"

  price_class = "PriceClass_All"

  origin {
    domain_name              = var.s3_bucket_regional_domain_name
    origin_access_control_id = aws_cloudfront_origin_access_control.web.id
    origin_id                = "S3-${var.s3_bucket_name}"
  }

  default_cache_behavior {
    allowed_methods  = ["GET", "HEAD"]
    cached_methods   = ["GET", "HEAD"]
    target_origin_id = "S3-${var.s3_bucket_name}"

    forwarded_values {
      query_string = false
      cookies {
        forward = "none"
      }
    }

    viewer_protocol_policy = "allow-all"
    min_ttl                = 0
    default_ttl            = 3600
    max_ttl                = 86400
  }

  custom_error_response {
    error_code         = 403
    response_code      = "200"
    response_page_path = "/index.html"
  }

  custom_error_response {
    error_code         = 404
    response_code      = "200"
    response_page_path = "/index.html"
  }

  viewer_certificate {
    cloudfront_default_certificate = var.acm_certificate_arn == null
    acm_certificate_arn            = var.acm_certificate_arn
    ssl_support_method             = "sni-only"
    minimum_protocol_version       = "TLSv1.2_2021"
  }

  restrictions {
    geo_restriction {
      restriction_type = "none"
    }
  }
}- origin: S3 버킷을 오리진으로 지정하고 OAC로 보안 접근 설정
- default_cache_behavior: GET/HEAD 요청만 허용하며, 쿼리스트링 및 쿠키 전달 없이 캐싱 최적화
- custom_error_response: SPA를 위한 에러 처리 (403/404 → index.html)
- viewer_certificate: HTTPS 적용, ACM 인증서 또는 기본 인증서 사용
- geo_restriction: 지역 제한 없이 전 세계에서 접근 가능
배포 및 테스트
terraform init    # 초기화
terraform plan    # 계획 확인
terraform apply   # 리소스 생성
결과 확인
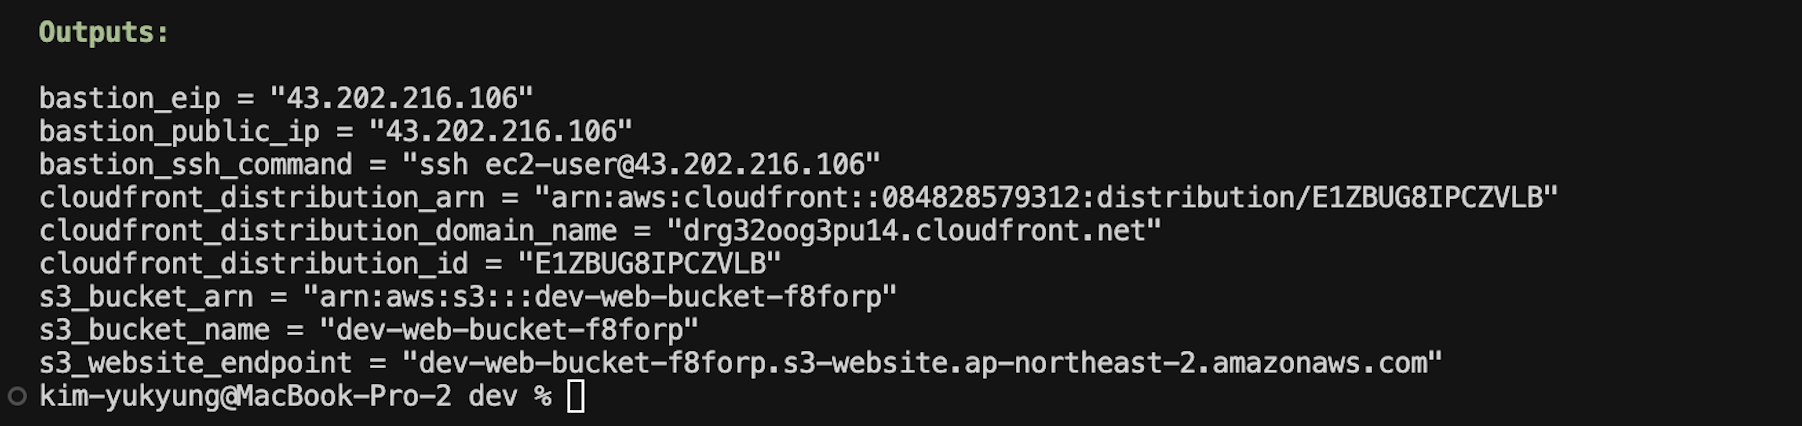
정상적으로 배포가 완료되면, 출력된 cloudfront_distribution_domain_name 주소로 접속해 확인할 수 있습니다.

🥳 해당 URL에 접속하면 정적 웹사이트가 잘 배포된 것을 확인할 수 있습니다.