순수 리액트로 jsonplacholder 데이터 가져오기
axios
- axios는 브라우저, Node.js를 위한 Promis API를 활용하는 HTTP 비동기 통신 라이브러리입니다.
- backend, frontend 통신을 쉽게 하기 위해 Ajax와 더불어 사용합니다.
- 자바스크립트에는 fetch API가 있지만, 프레임워크에서 ajax를 구현할때는 axios를 사용합니다.
axios 설치
npm install axios
yarn add axios
예시
import React, { useEffect } from "react";
import axios from "axios";
function App() {
useEffect(() => {
axios
.get("https://jsonplaceholder.typicode.com/posts")
.then((response) => console.log(response.data))
.catch((error) => console.log(error));
}, []);
return (<><>);
}
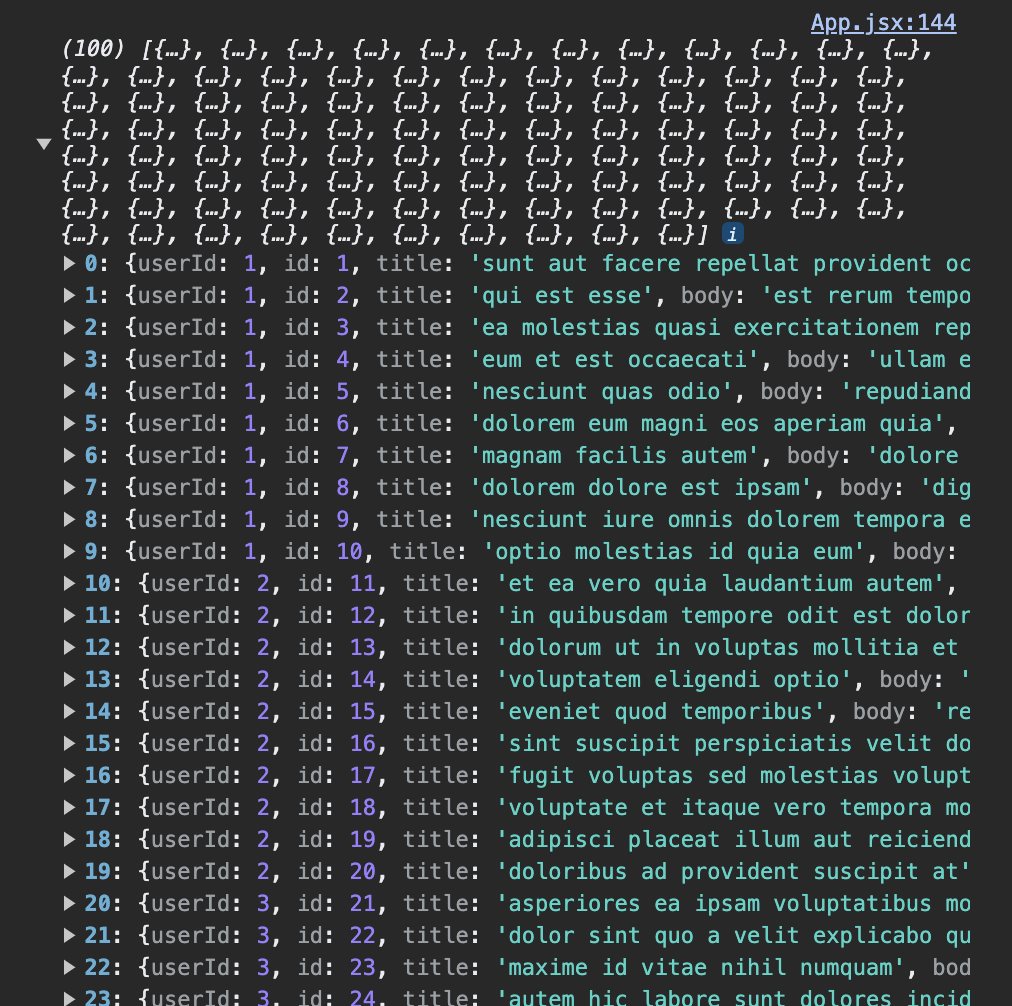
export default App;console.log에 respons.data확인
이제 데이터들을 화면에 뿌려주면되는데 어떻게하면 화면에 보일지 생각해봅시다.
- state가 필요
- response.data를 state에 담기
- state가 완성됐을 테니, state.map으로 하나씩 보여주기
import React, { useState, useEffect } from "react";
import axios from "axios";

function App() {
  const [posts, setPosts] = useState([]);

  useEffect(() => {
    axios
      .get("https://jsonplaceholder.typicode.com/posts")
      .then((response) => setPosts(response.data))
      .catch((error) => console.log(error));
  }, []);

  return (
    <div>
      <h1>Posts</h1>
      {posts.map((post) => (
        <div key={post.id}>
          <h2>{post.title}</h2>
          <p>{post.body}</p>
        </div>
      ))}
    </div>
  );
}

export default App;
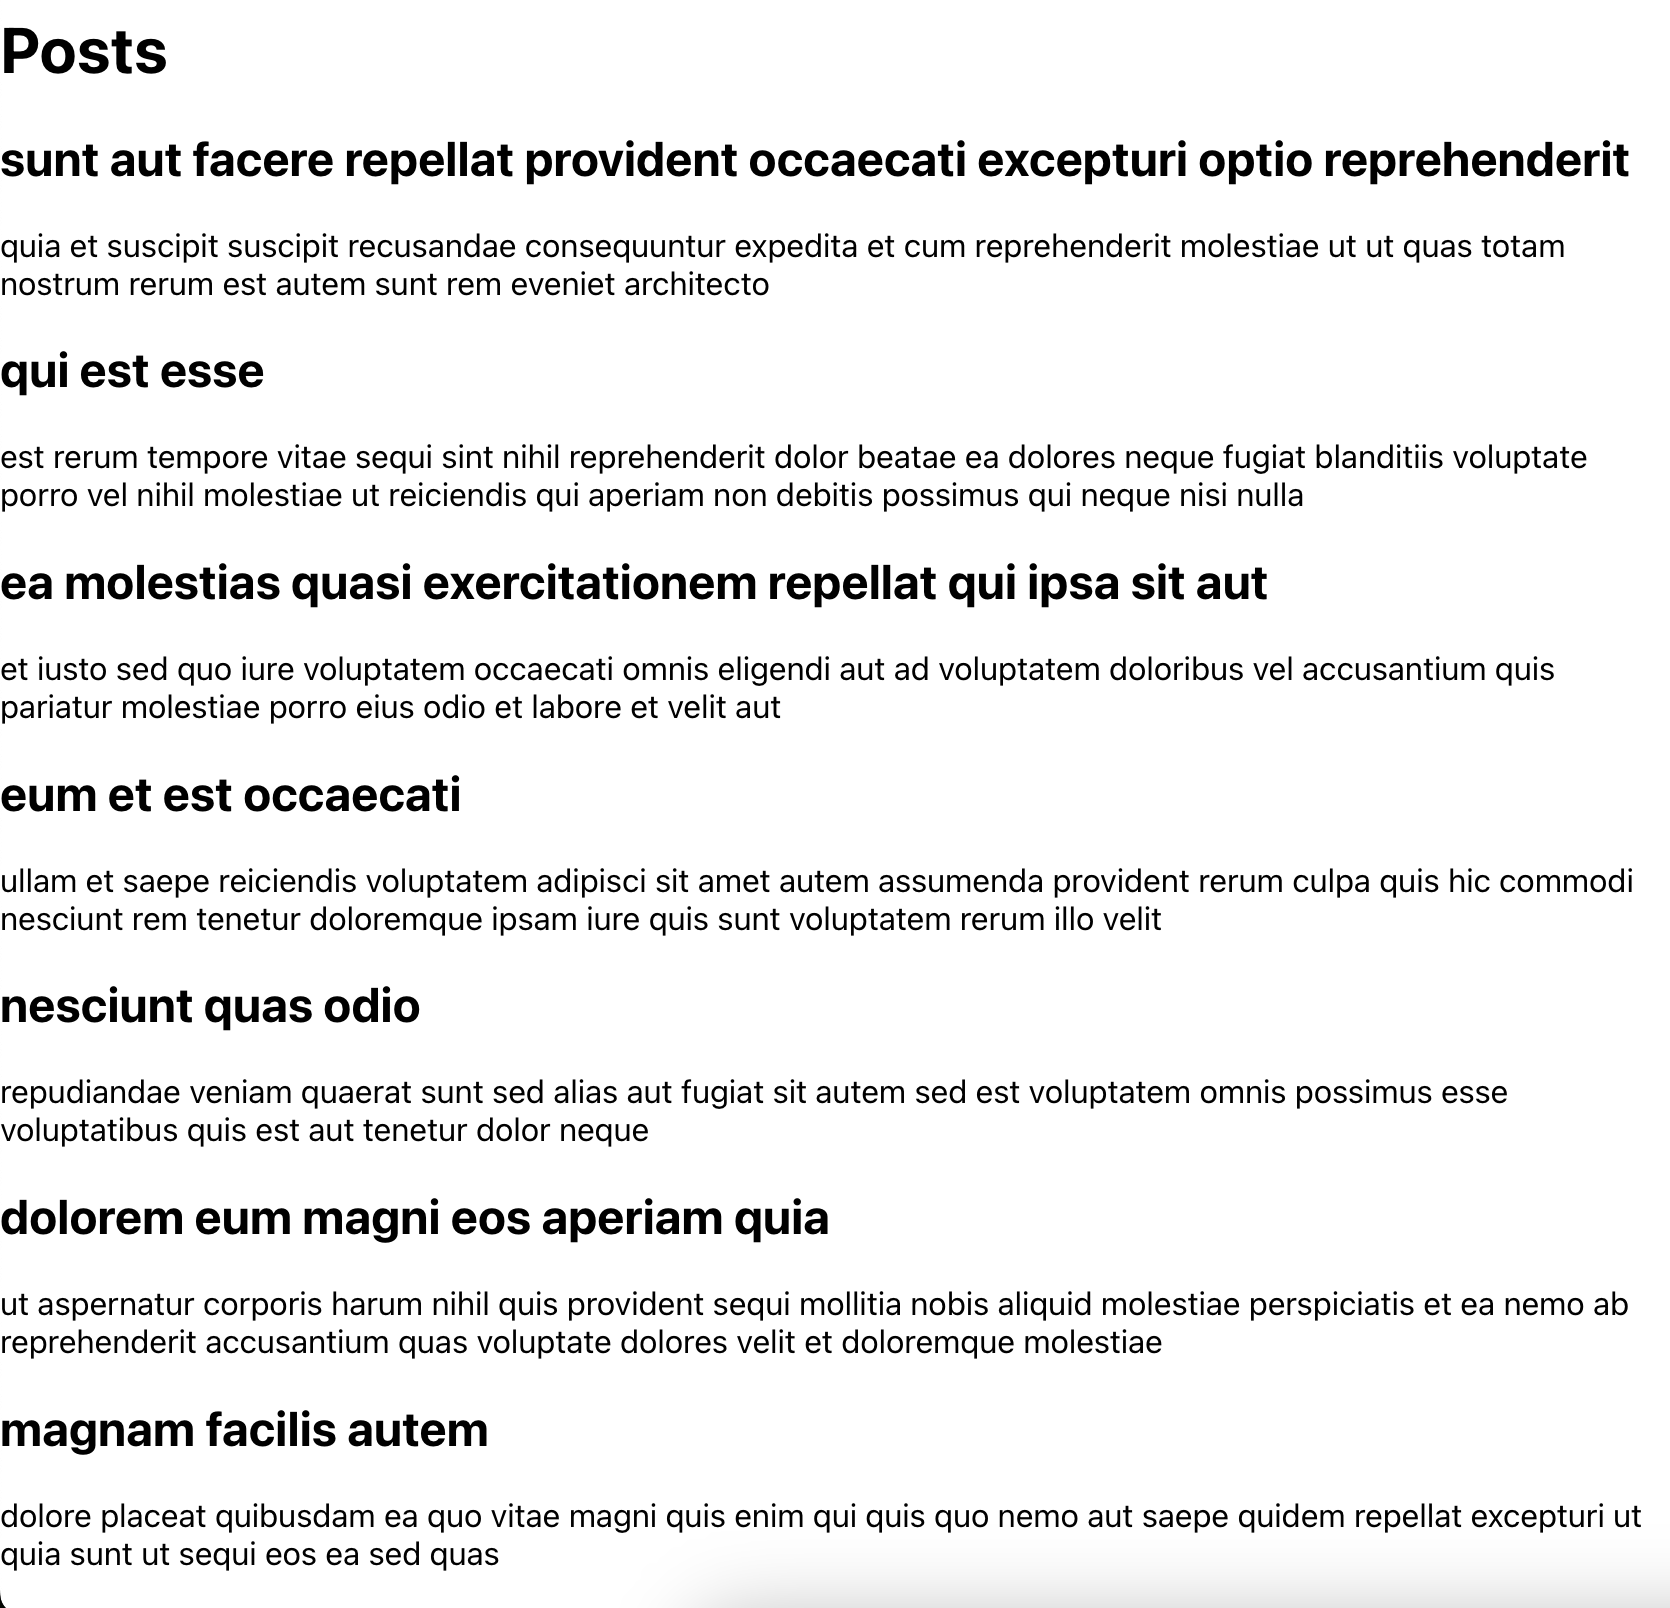
브라우저에 response.data가 잘 나오는 것을 확인 할 수 있습니다.
async - await
function 앞에 async / promise 객체 앞에 await
async 함수 내에서 try - catch를 사용 (반드시 await를 통해서 동기식으로 만들어주어야 합니다)
  useEffect(() => {
    const fetchData = async () => {
      try {
        const response = await axios.get(
          "https://jsonplaceholder.typicode.com/posts"
        );
        setPosts(response.data);
      } catch (error) {
        console.log(error);
      }
    };
    fetchData();
}, []);에러 처리(error handling)
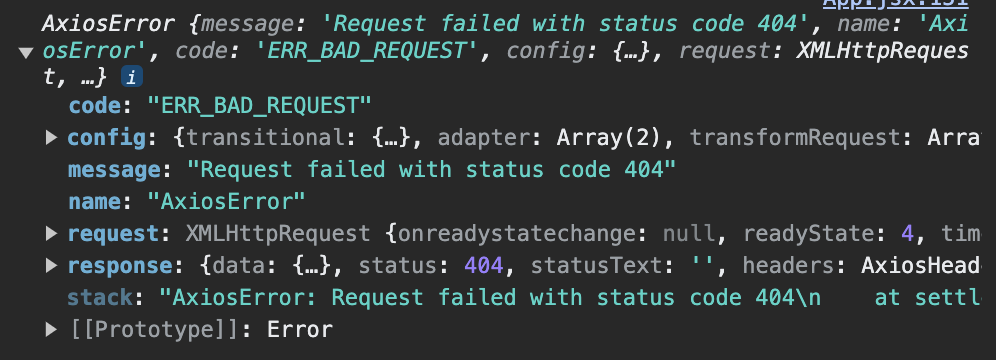
주소값을 변경하면 error를 console로 확인
에러안에 message를 에러가 나면 화면에 노출시켜봅시다.
import React, { useState, useEffect } from "react";
import axios from "axios";

function App() {
  const [posts, setPosts] = useState([]);
  const [isError, setIsError] = useState("");

  useEffect(() => {
    const fetchData = async () => {
      try {
        const response = await axios.get(
          "https://jsonplaceholder.typicode.com/post"
        );
        setPosts(response.data);
      } catch (error) {
        console.log(error);
        setIsError(error.message);
      }
    };
    fetchData();
  }, []);

  return (
    <div>
      {isError ? <div>{isError}</div> : <h1>Posts</h1>}
      {posts.map((post) => (
        <div key={post.id}>
          <h2>{post.title}</h2>
          <p>{post.body}</p>
        </div>
      ))}
    </div>
  );
}

export default App;
- error
메모리 부족, 스택오버플로우 등 프로그램 코드에 의해서 수습될 수 있는 심각한 오류 발생시 프로그램이 비정상 종료된다 - error Handling
프로그램 내에서 에러가 발생한 상황에 대해 대응하고 이를 복구하는 과정
Loding
import React, { useState, useEffect } from "react";
import axios from "axios";

function App() {
  const [posts, setPosts] = useState([]);
  const [isError, setIsError] = useState("");
  const [isLoding, setIsLoding] = useState(false);

  useEffect(() => {
    const fetchData = async () => {
      try {
        setIsLoding(true);
        const response = await axios.get(
          "https://jsonplaceholder.typicode.com/post"
        );
        setIsLoding(false);
        setPosts(response.data);
      } catch (error) {
        console.log(error);
        setIsError(error.message);
      }
    };
    fetchData();
  }, []);

  return (
    <div>
      {isError ? <div>{isError}</div> : <h1>Posts</h1>}
      {posts.map((post) => (
        <div key={post.id}>
          <h2>{post.title}</h2>
          <p>{post.body}</p>
        </div>
      ))}
      {isLoding ? (
        <div
          style={{
            width: "100px",
            height: "100px",
            background:
              'url("https://media.tenor.com/8XDuSXYfdqsAAAAd/춘식-춘식이.gif")',
            backgroundPosition: "center",
            backgroundSize: "cover",
          }}
        ></div>
      ) : null}
    </div>
  );
}

export default App;
이렇게 data를 받아와서 화면에 출력하고 혹시 error가 발생한다면 error문구 노출이 되며 loding도 표현해보았닷....!!
요약
function 앞에 async를 추가하면 두가지 효과가 있다
1. 함수는 언제나 프라미스를 반환
2. 함수 안에서 await를 사용
프라미스 앞에 await를 붙이면 자바스크립트는 프라미스가 처리될 때까지 대기한다. 처리가 완료되면 조건에 따라 아래와 같은 동작이 이루어진다.
1. 에러 발생 - 예외가 생성됨(에러가 발생한 장소에서 throw error를 호출한 것과 동일)
2. 에러 미발생 - 프라미스 객체의 result값을 반환
async-await를 사용하면 promis.then-catch가 거의 필요 없다. 하지만 가끔 가장 바깥 스코프에서 비동기 처리가 필요할 때 promis.then-catch를 써야만 하는 경우가 생기기 때문에 async-await가 프라미스를 기반으로 한다는 사실을 알고있어야 한다.