Router를 사용하기 위해서는 여러가지 방법이 있지만, Vue CLI를 사용할때는 add 하면 vue 안에서 오버라이드 해주기 때문에 (파일 백업 준비를 해둬야한다)
vue add router
명령어를 사용하면 된다
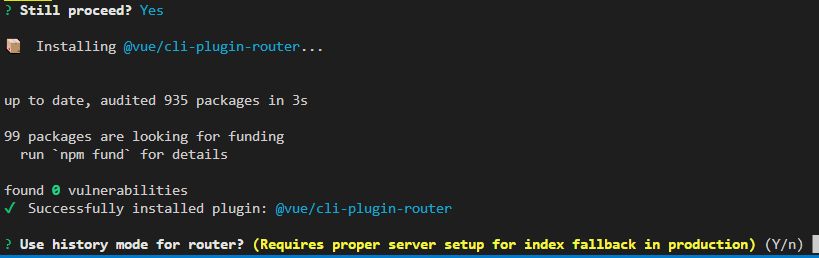
- 명령어를 실행하면 레포지토리에 변화가 있는데 진행하겠는지 묻는다

- history 모드를 사용할 것인지 묻는다(defalut는 hash 모드이다)
history.pushState- 일반적으로 history 모드를 사용한다
📍 Dynamic route
✔ path 뒤에 params로 접근할 수 있도록 만들어주기
- index.js
import Vue from 'vue'
import VueRouter from 'vue-router'
import HomeView from '../views/HomeView.vue'
import Board from '../views/Board.vue'


Vue.use(VueRouter)

const routes = [
  {
    path: '/',
    name: 'home',
    component: HomeView
  },
  {
    path: '/about',
    name: 'about',
    // route level code-splitting
    // this generates a separate chunk (about.[hash].js) for this route
    // which is lazy-loaded when the route is visited.
    component: () => import(/* webpackChunkName: "about" */ '../views/AboutView.vue')
  },
  {
    path: '/board/:id',
    name: 'Board',
    component: Board
  }
]

const router = new VueRouter({
  mode: 'history',
  base: process.env.BASE_URL,
  routes
})

export default router
- app.js
<template>
  <div id="app">
    <nav>
      <router-link to="/">Home</router-link> |
      <router-link to="/about">About</router-link> |
      <router-link to="/board">게시판</router-link>
    </nav>
    <router-view/>
  </div>
</template>

<style>
#app {
  font-family: Avenir, Helvetica, Arial, sans-serif;
  -webkit-font-smoothing: antialiased;
  -moz-osx-font-smoothing: grayscale;
  text-align: center;
  color: #2c3e50;
}

nav {
  padding: 30px;
}

nav a {
  font-weight: bold;
  color: #2c3e50;
}

nav a.router-link-exact-active {
  color: #42b983;
}
</style>
-
개발자 코드를 통해서 보면 $route 객체가 추가 되어 있고 route에 대한 정보를 찾을 수 있다
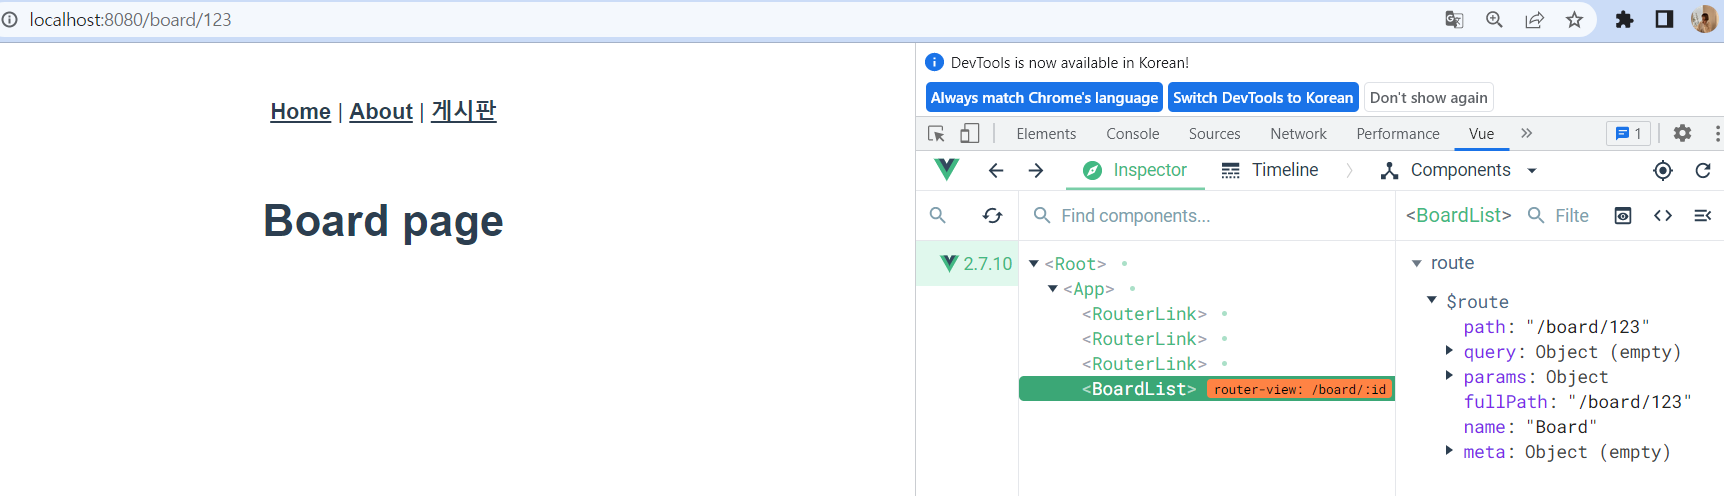
-
아래와 같은 코드를 추가하면 $route.params를 통해 값을 가져올 수 있다
<template>
  <div class="board">
    <h1>이곳은 {{boardName}} 게시판 입니다</h1>
  </div>
</template>
<script>
// @ is an alias to /src

  export default {
    name: "BoardList",
    data (){
      return {
        boardName:""
      }
    },
    created(){
      this.boardName = this.$route.params.id
    }
  }
  </script>
- 간단하게 변경도 가능하다
<template>
  <div class="board">
    <h1>이곳은 {{$route.params.id}} 게시판 입니다</h1>
  </div>
</template>
<script>
// @ is an alias to /src

  export default {
    name: "BoardList",
  }
  </script>
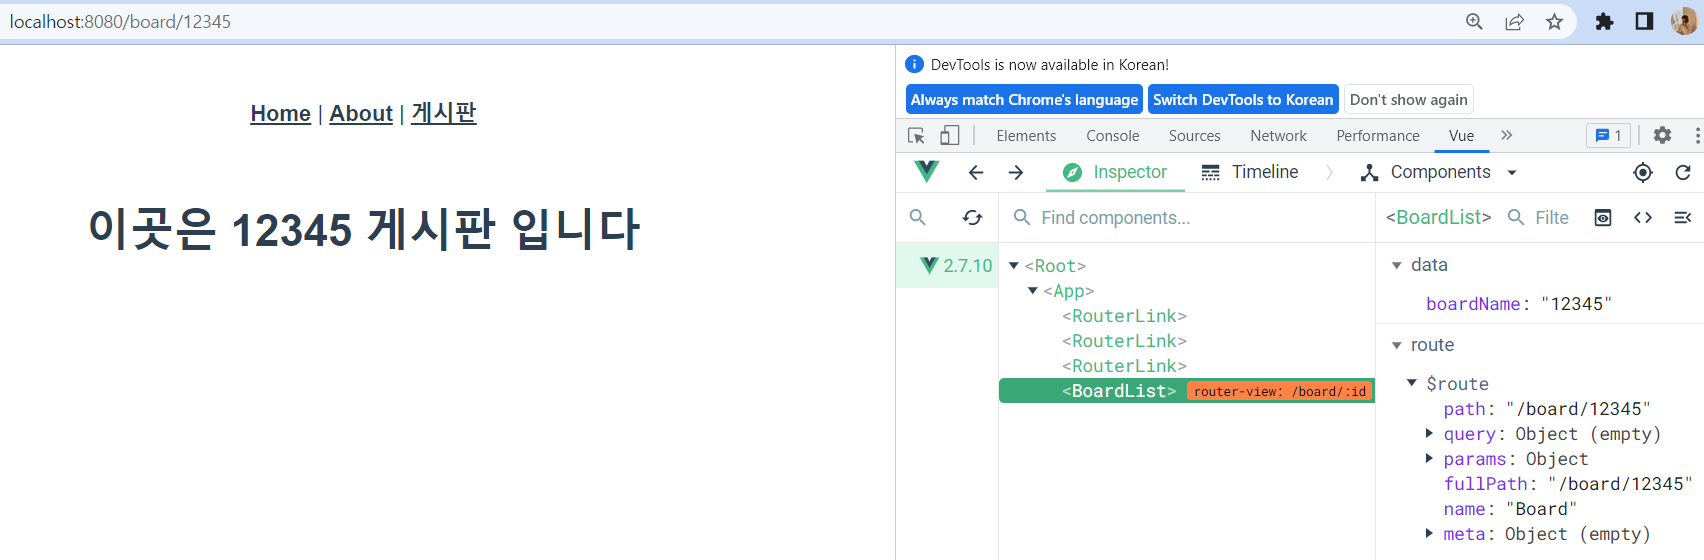
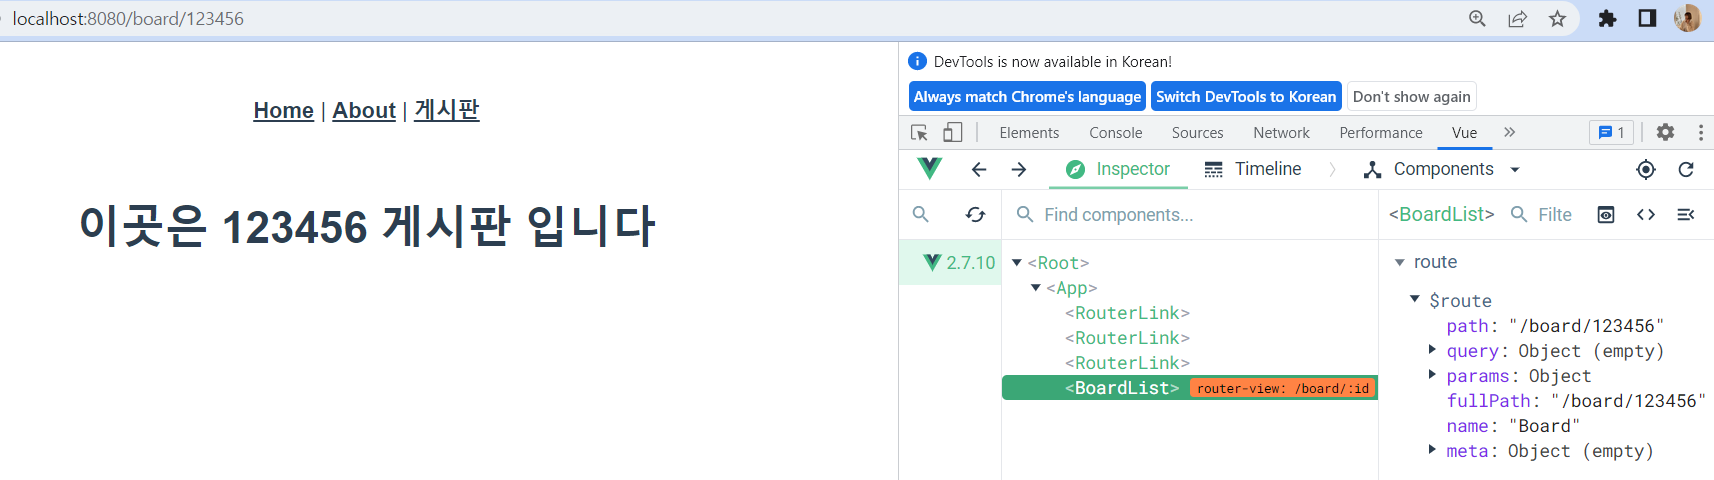
- 위에처럼 코드를 변경할시에는 this를 붙이지 않고 $route.params.id 이렇게만 써도 값을 가져올 수 있다
아래 사진과 같이 값 가져오는 건 동일하게 받아온다
✔ path 뒤에 쿼리스트링으로 접근할 수 있도록 만들어주기
<template>
  <div class="board">
    <h1>이곳은 {{$route.query.id}} 게시판 입니다</h1> // $route.params.id를 변경
  </div>
</template>
<script>
// @ is an alias to /src

  export default {
    name: "BoardList",
  }
  </script>
✔ to 값을 path로 하지 말고 객체로
- App.vue
<template>
  <div id="app">
    <nav>
      <router-link :to="{name:'home'}">Home</router-link> |
      <router-link :to="{name:'about'}">About</router-link> |
      <router-link :to="{name:'Board', params: {id:'news'}, query:{id:'검색어'}}">게시판</router-link>
    </nav>
    <router-view/>
  </div>
</template>- 위와 같이 객체형으로 작성해준다면 path가 변경이 되더라도 알아서 바뀌기 때문에 문제가 생기지 않는다
📍 Nested route
- 주소가 여러개로 감싸져있다 ex)/user/:id/profile...
- index.js 중
import User from '../views/User.vue'
import UserProfile from '../views/UserProfile.vue'
import UserPost from '../views/UserPosts.vue'

...

,
  {
    path: '/user/:id',
    component: User,
    children:[
      {
        path:"profile",
        component:UserProfile
      },
      {
        path:"posts",
        component:UserPost
      }
    ]
}- User.vue
<template>
  <div class="user">
    사용자
    <router-view></router-view> // 자녀 path를 위해서
  </div>
</template>
<script>
// @ is an alias to /src

  export default {
    name: "userPage",
  }
  </script>