HTML / CSS #1
이번 방학에 할 게 너무 많아서 코테이토 3기에서는 프론트엔드 스터디만 듣기로 했다.
노마드코더 강의 들어보고 싶었는데 다른 강의들보다 덜 지루하긴 한 거 같다. 물론 2배속으로 듣는 건 참을 수 없음
HTML CSS XML JS(조금) 다 학교 수업으로 듣긴 했는데 졸프를 위해 복습해보는 걸로
그래서 많이 정리는 안 하고 까먹을 것 같거나 중요한 것만 적어보려고^~^
내가 스터디원들한테 블로그 하자고 했는데 내가 제일 대충할 듯
📌 시작
-
폴더명, 파일명은 항상 소문자로 작성한다.
-
tag 사이에 text (content)를 넣어서 작성한다.
<tag> content </tag>🌻 브라우저에게 얘는 이런 종류야~~ 알려주는 것!
-
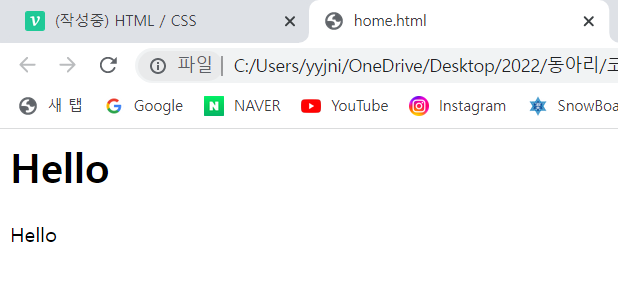
태그 사이에 위치한 텍스트는 다르게 나타난다.
<h1>Hello</h1>
Hello
-
타이틀을 표시하는 태그는 h1~h6까지 있고 크기는 점점 작아진다.
<h1>Hello 1</h1>
<h2>Hello 2</h2>
<h3>Hello 3</h3>
<h4>Hello 4</h4>
<h5>Hello 5</h5>
<h6>Hello 6</h6>
<h7>Hello 7</h7>
✔ List
- 리스트에는 ordered list(순서o) 와 unordered list(순서x)가 있다.
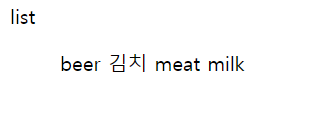
unordered list(순서x)를 작성하려면 < ul > 태그를 사용하면 된다.
<ul>
    beer
    김치
    meat
    milk
</ul>
이렇게 작성하면
그냥 이렇게 나온다. 브라우저는 생각보다 멍청이기 때문.. 그래서
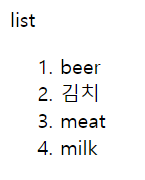
👉 < li > 태그로 목록의 항목으로 만들어 주어야 한다.list <ul> <li>beer</li> <li>김치</li> <li>meat</li> <li>milk</li> </ul>이렇게 해야
원하던 대로 나온다.
다음으로 ordered list(순서o)는 < ol > 태그로만 수정해주면 된다.
TIP. 수정할 태그 클릭하고 ctrl+d 하고 수정하면 닫힘 태그까지 같이 수정된다.list <ol> <li>beer</li> <li>김치</li> <li>meat</li> <li>milk</li> </ol>
TIP. vsc 확장프로그램 중에 prettier 설치하면 저장할 때 틀린 문법 알아서 고쳐준다.
✔ < a >
a 태그는 anchor(닻)을 의미하는데 링크를 떠올리면 된다.
- a 태그에는 부가적인 정보, 즉 attribute(속성)를 추가해주어야 한다.
- href (http reference / hyperlink reference) : 이동할 곳을 알려준다.
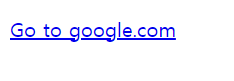
<a href="http://google.com">Go to google.com</a>색상과 밑줄이 생기고 링크가 이어지게 된다.
-
다른 태그들에도 속성을 추가할 수 있지만 브라우저는 이해하지 못한다.
< h1 href="http~~~" > 이런 식으로 넣을 수는 있지만 링크가 생기지는 않는 것이다. -
다른 attribute의 예시로는 target이 있다.
default 값인 _self로 설정했을 때는
<a href="http://google.com" target="_self">Go to google.com</a>원래 자신의 창(home.html)에서 구글로 이동하지만,
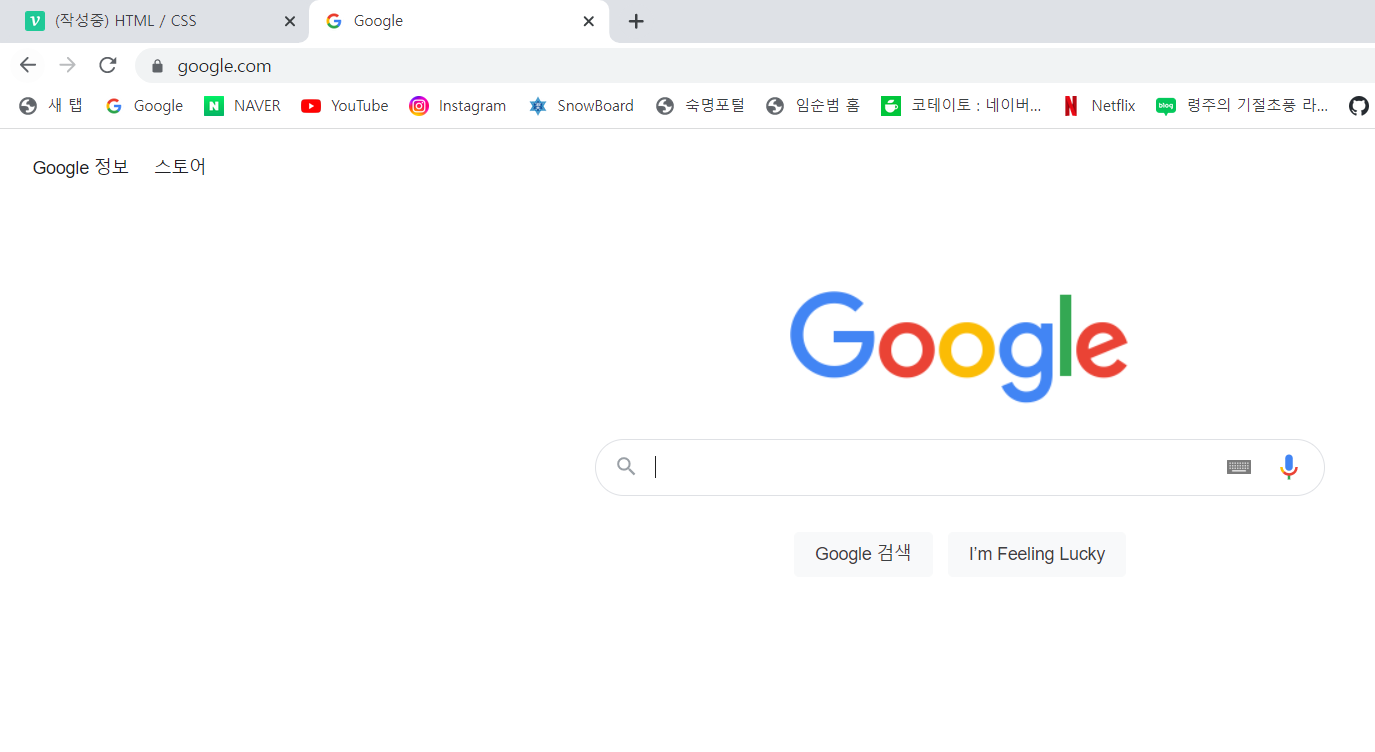
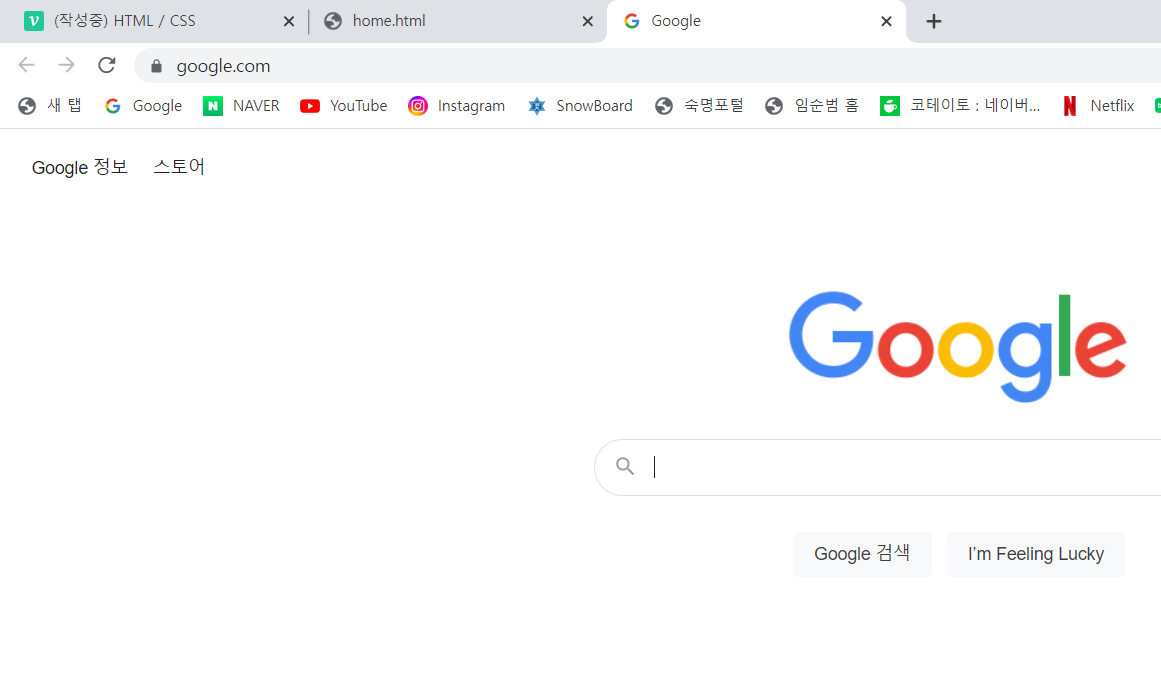
target 값을 _blank로 바꾸면
<a href="http://google.com" target="_blank">Go to google.com</a>새로운 창에서 구글이 열린 것을 알 수 있다.
✔ img
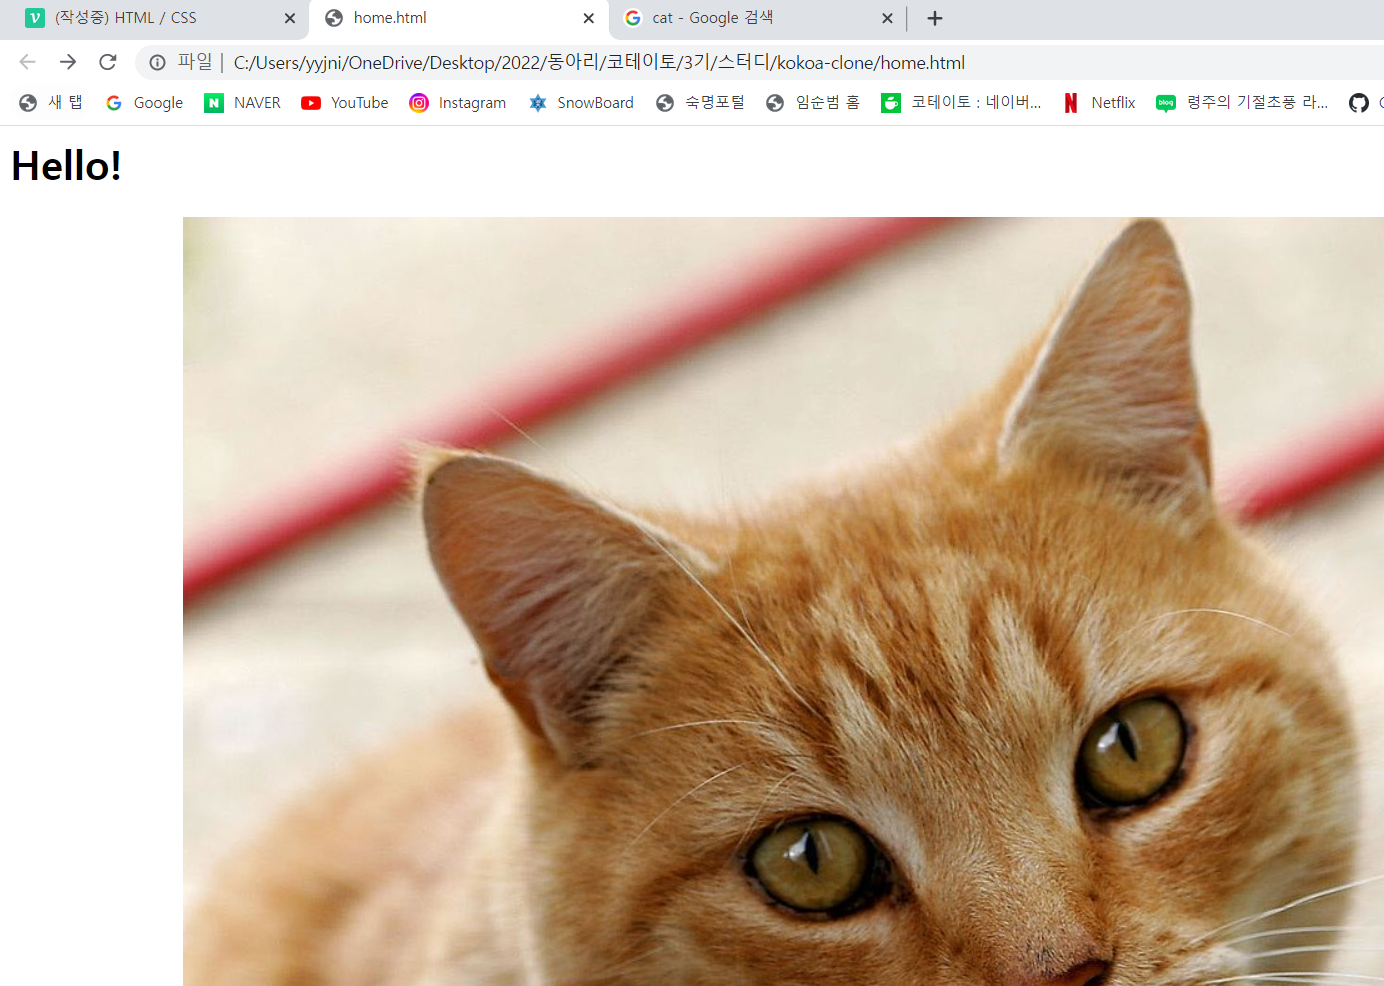
img 태그는 이미지를 의미하며 self-closing tag (자체 닫기 태그) 이다.
- < img > < /img > 형식이 아니라 < img /> 형식으로 사용한다.
- src 라는 attribute를 사용한다.
<img src="https://upload.wikimedia.org/wikipedia/commons/thumb/3/3a/Cat03.jpg/1200px-Cat03.jpg"/>
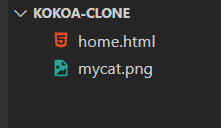
- 로컬 저장소에 있는 이미지도 사용할 수 있다.
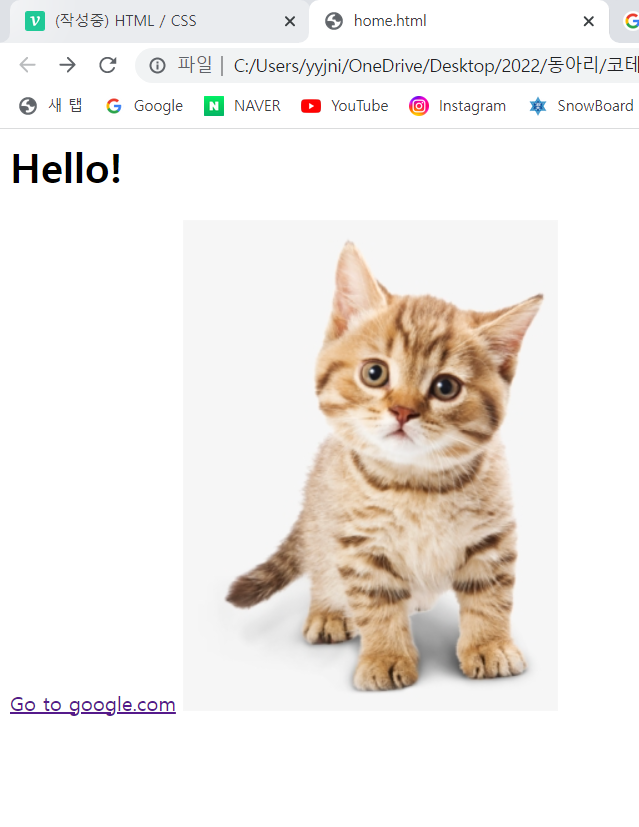
<img src="mycat.png"/>
html 파일과 같은 폴더 안에 위치해야 하며 확장자까지 파일명을 정확히 적어주어야 한다.
만약 다른 폴더에 이미지 파일이 들어있다면,
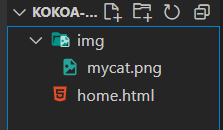
폴더명이 들어가도록 src를 수정해야한다.(경로표기법)
<img src="img/mycat.png"/>✔ HTML 문서의 형태
html 문서에는 지켜야 할 형식들이 있다.
1. 반드시 < !DOCTYPE html > 으로 시작해야 한다.
- 브라우저에게 이 파일은 텍스트 파일이 아닌 html 파일임을 알려주는 것이다.
닫힘 태그는 필요하지 않다.
2. < html > 태그 안에 < head >와 < body > 태그로 나누어야 한다.
- 웹사이트의 환경을 설정하는 head 부분
- 사용자가 볼 수 있는 content를 보여주는 body 부분
먼저 body 부분에 위에서 작성한 코드를 넣어보면
<!DOCTYPE html>
<html>
    <body>
        <h1>Hello!</h1>
        <a href="http://google.com" target="_blank">Go to google.com</a>
        <img src="mycat.png"/>
    </body>
</html>
변한 부분 없이 잘 작동한다.
다음으로 head 부분에서 title을 알아보자.
- title은 웹사이트의 제목이다.
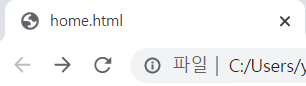
그냥 파일 이름으로 나타나있는 title을 설정해주면
<!DOCTYPE html>
<html>
    <head>
        <title>Home - ryeongjoo</title>
    </head>
    <body>
        <h1>Hello!</h1>
        <a href="http://google.com" target="_blank">Go to google.com</a>
        <img src="mycat.png"/>
    </body>
</html>
원하는 대로 바꿀 수 있다.
- head 태그에 속한 모든 태그는 보여지지 않는다.
✔ 보이지 않는 태그
넷플릭스를 구글에 검색해보면 다음과 같다.

넷플릭스에 접속하여 코드를 보면


구글이 사이트에서 title과 description을 가져온다는 것을 알 수 있다.
구글 검색에서도 이 태그들을 이용한다.
meta 태그
-
meta 태그는 self-closing tag 이다.
-
meta 태그는 attribute 를 가지고 있다.
(meta: 부가적인 정보)- content, name
- charset : 브라우저에게 text를 어떻게 그려달라고 요청
<!DOCTYPE html>
<html>
    <head>
        <title>Home - ryeongjoo</title>
        <meta name="description" content="This is my website"/>
        <meta charset="utf-8" />
    </head>
html 태그
html 태그에서는 lang 속성을 사용할 수 있다.
우리 사이트에서 사용되는 언어가 무엇인지 말해주어 검색엔진들에게 도움을 준다.
<!DOCTYPE html>
<html lang="kr">
link 태그
head 안에 link 태그도 사용할 수 있다.
rel, sizes, href 속성으로 shortcut icon 를 설정해주면
<!DOCTYPE html>
<html lang="kr">
    <head>
        <link
        rel="shortcut icon"
        sizes="16x16 32x32 64x64"
        href="https://nomadcoders.co/m.png"
        />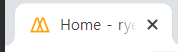
title tab 옆에 아이콘이 들어간 것을 알 수 있다.
기타 다른 태그들
TIP. 구글에 html,css,javascript 검색할 때 mdn 붙여서 검색할 것!
Mozilla developer Network라는 firefox 브라우저를 만드는 회사가 제공하는 web에 관한 정보들을 정리한 문서이다.
한국어 번역도 지원함.
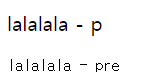
< p > : paragraph 길이가 긴 텍스트에 사용
< pre > : pre-formatted text 타자기 글씨 같음
< abb > : abbreation 약칭의 의미를 적어주고 마우스를 올리면 나타남
<p>My name is <abbr title="Ryu Yeong Joo">RYJ</abbr></p>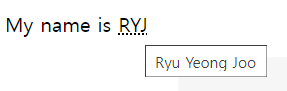
< cite > : 기울여진 글자
< code > : 코드처럼 보임
< mark > : 마크 표시
    <body>
        <cite>Hello! cite</cite><br/>
        <code>Hello! code</code>
        <p>I like <mark>South Korea</mark></p>
    </body>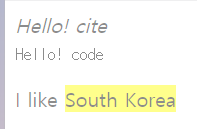
그 밖에 strong, sub, sup 등
    <body>
        <p>I like <strong>South Korea</strong></p>
        <p>I like <sub>South Korea</sub></p>
        <p>I like <sup>South Korea</sup></p>
        <p>2 <sup>5</sup></p>
    </body>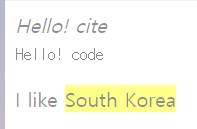
다양한 태그들 외우지 말고 찾아볼 것!
form 태그
< input > 은 self-closing tag로 어느 웹사이트에서나 사용된다.
input에는 다양한 타입이 있다.
<body>
        <form>
            <input type="color" />
            <input type="password" />
        </form>
    </body>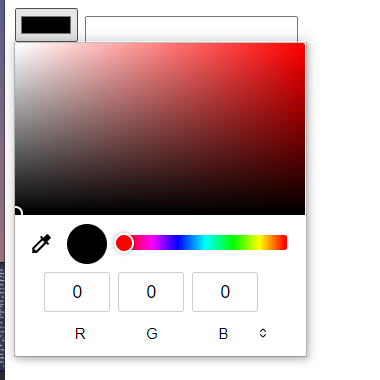
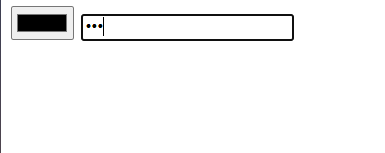
placeholder 속성으로 입력값을 올바르게 입력하도록 할 수 있다.
<form>
            <input placeholder="Name" type="text" />
            <input placeholder="Last Name" type="text" />
            <input placeholder="Username" type="text" />
            <input placeholder="Password" type="password" />
        </form>
type을 submit으로 설정하면 form을 전송할 수 있으며 value 속성으로 버튼에 적힌 글자를 바꿀 수 있다.
<input type="submit" value="Create Account" />
disabled 속성을 입력하면 버튼이나 input을 사용할 수 없게 된다.
<input placeholder="Password" disabled type="password" />
            <input type="submit" disabled value="Create Account" />
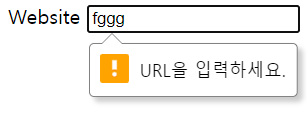
required를 사용하면 form을 validation(검증)할 수 있다.
<input required placeholder="Name" type="text" />
minlength: 최소 길이
<input placeholder="Password" type="password" minlength="10" />
file 타입 accept 속성 : 형식 설정
pdf만 / 이미지 파일 모두 / 둘 다
<input type="file" accept=".pdf"/>
<input type="file" accept="image/*" />
<input type="file" accept="image/*, .pdf" />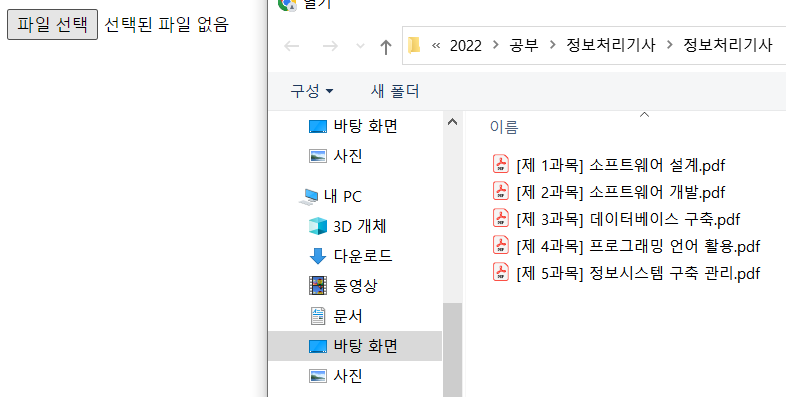
< label > 은 < input >과 함께 사용되어야 한다.
label에는 for 속성을, input 에는 id 속성을 넣어준다.
<label for="website">Website</label>
            <input id="website" required placeholder="Name" type="url" />

            <label for="email">Email</label>
            <input id="email" required placeholder="Name" type="email" />

type을 range와 date로 바꾸면
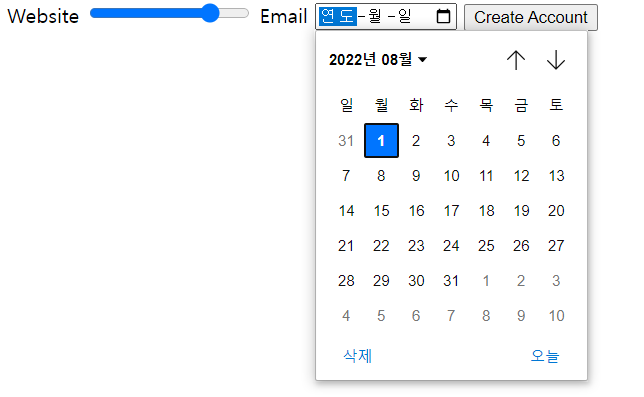
- id는 모든 태그에 넣을 수 있는 고유식별자이며 element 당 하나만 가질 수 있다.
사용은 하지만 아무런 의미가 없는 태그들
< div > : division 박스라고 생각하면 됨
일자로 되어있던 form을 나누어 줌
<form>
            <div>
            <label for="website">Website</label>
            <input id="website" required placeholder="Name" type="range" />
            </div>
            <div>
            <label for="email">Email</label>
            <input id="email" required placeholder="Name" type="date" />
            </div>
            <input type="submit" value="Create Account" />
        </form>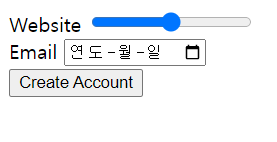
div 대신 header 등을 사용하여 작성하면 div와 같은 기능을 가지지만 읽기만 해도 의미를 짐작할 수 있다.
<body>
<header>
<h1>The Nico Times</h1>
</header>
<main>
<p>hello!</p>
</main>
<footer>
© 2022 RYJ
</footer>
</body>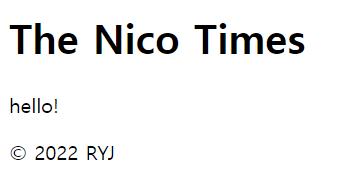
< span > : 짧은 text에 적합
< address > : 주소
여기까지가 HTML!