Javascript #1
자바스크립트 스터디
노마드 코더 < 바닐라 JS로 크롬앱 만들기 >
Why JS
- 자바스크립트는 1995년 12월에 10일의 개발 기간만에 탄생했다.
- 프론트엔드로 쓸 수 있는 유일한 언어이다.
- 모든 브라우저에 내장되어 있다.
- 3D, 머신러닝, 백엔드, 앱까지 구현할 수 있다.
First JS Project
브라우저의 console로 자바스크립트를 다룰 수 있다.
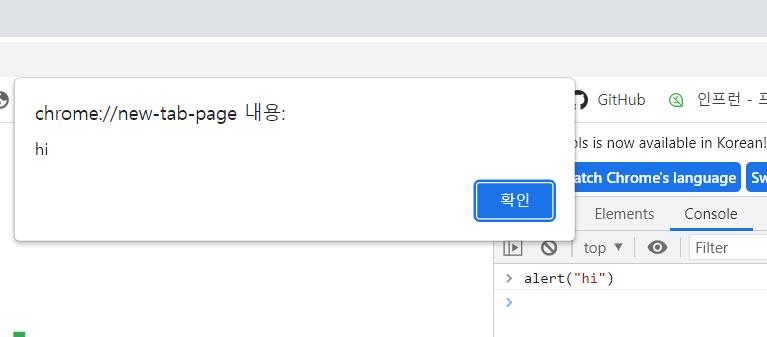
하지만 긴 코드 작성을 위해서는 js 파일을 만들어 주는 것이 좋다.
momentum 폴더를 만들고 VSCode에서 app.js, style.css, index.html을 작성해준다.
app.js나 style.css을 브라우저에서 열면 코드가 실행되는 것이 아니라 작성한 코드가 그대로 나오는 것을 알 수 있다.
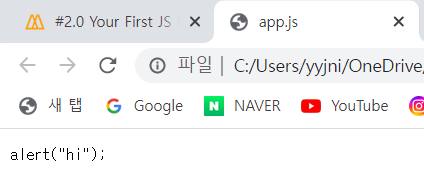
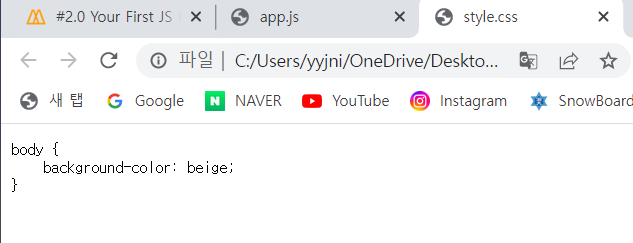
기본적으로 html 파일이 접착제라는 것을 이해해야 한다.
- js나 css 파일이 아니라 html 파일을 브라우저에서 여는 것이다.
html 파일이 js와 css 파일을 가져온다.
index.html
<!DOCTYPE html>
<html lang="en">
    <head>
        <meta charset="UTF-8">
        <meta http-equiv="X-UA-Compatible" content="IE=edge">
        <meta name="viewport" content="width=device-width, initial-scale=1.0">
        <link rel="stylesheet" href="style.css">
        <title>Momentum</title>
    </head>
    <body>
        <script src="app.js"></script>
    </body>
</html>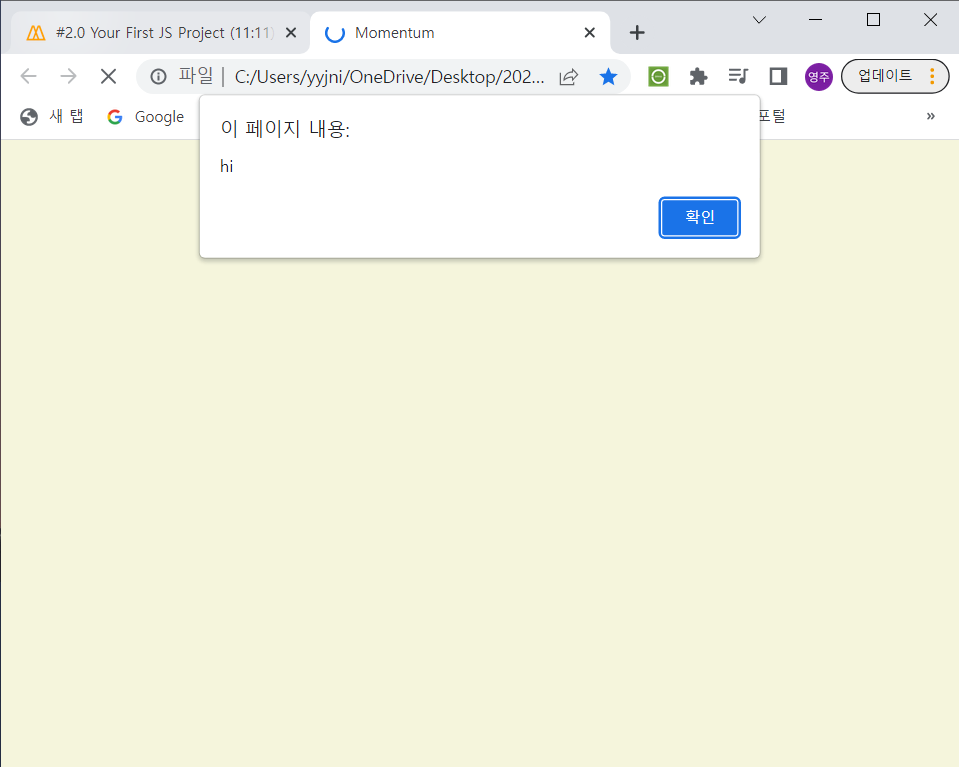
Basic Data Type
콘솔창에 2+2를 입력하면 4라는 값을 얻을 수 있다.
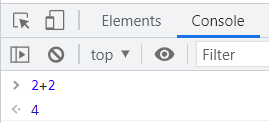
브라우저가 2를 숫자, 즉 integer로 인식하기 때문이다.
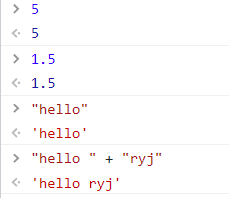
자바스크립트가 이해하는 데이터 타입
- 숫자: integer, float
- 문자: string
Varibles
- console.log()
콘솔에 log 또는 print하는 일을 하는 코드
console.log(54545);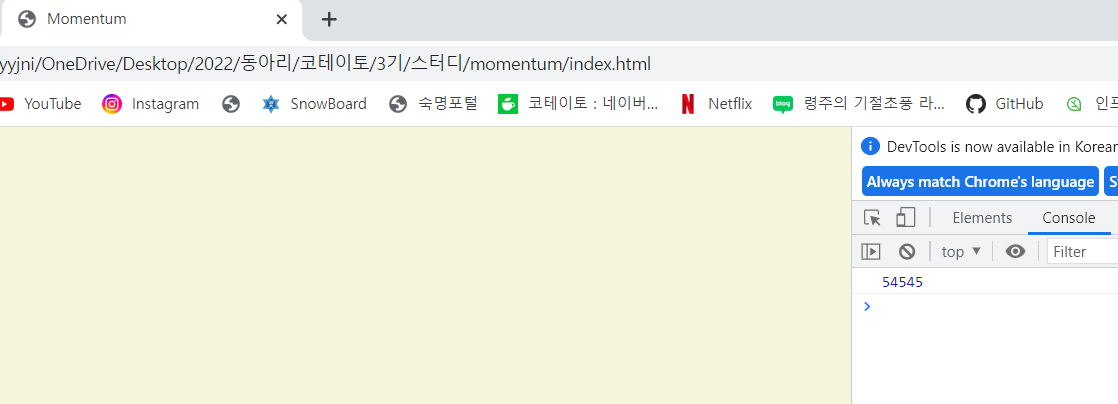
console.log(5 + 2);
console.log(5 * 2);
console.log(5 / 2);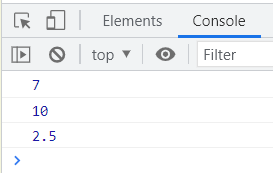
- 변수(variable): 값을 저장하거나 유지하는 역할
변수 설정법 1. const 사용 (constant: 상수)
const a = 5;
const b = 2;

console.log(a + b);
console.log(a * b);
console.log(a / b);- 변수 이름에는 공백을 사용할 수 없다. 긴 변수명을 사용할 경우 대문자를 이용할 것
ex) veryLongValName
변수 설정법 2. let 사용 (constant: 상수)
let으로 변수를 생성하면 수정이 가능하다.
let a = 5;
let b = 2;
let myName = "ryeongjoo"

console.log(a + b);
console.log(a * b);
console.log(a / b);
console.log("hello"+myName);

myName = "ryu"

console.log("new name is "+myName);
대부분 const를 사용하고 업데이트가 필요한 변수에 let을 사용한다.
과거에는 var을 사용했는데 어디서든 업데이트할 수 있었다. 지금도 var을 이해하지만 const와 let을 사용하는 것이 좋다.
Data types
- Boolean: true false를 표현하는 데이터 타입
const amIFat = false;
console.log(amIFat);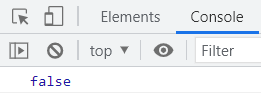
- null: 아무 값이 "비어있음"을 나타냄
변수는 있지만 값이 "비어있음"을 확실히 하기 위해 사용 - undefined: 값을 정의하지 않음
변수의 메모리는 있지만 값이 없음
const amIFat = null;
let something;
console.log(amIFat);
console.log(something);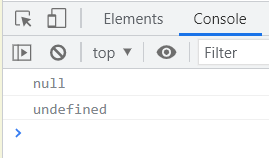
데이터 구조
- array(배열): 여러 값을 리스트로 정리하여 사용하는 것
[ ]를 사용하여 생성
const mon = "mon";
const tue = "tue";
const wed = "wed";
const thu = "thu";
const fri = "fri";
const sat = "sat";
const sun = "sun";

const daysOfWeek = [mon, tue, wed, thu, fri, sat, sun];
const nonsense = [1, 2, "hello", false, null, true, undefined, "nico"]

console.log(daysOfWeek, nonsense);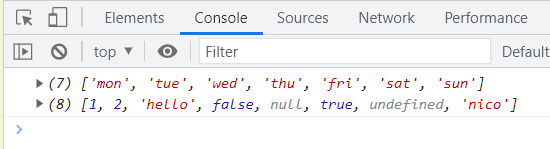
-
배열에서 원하는 값을 찾고 싶을 때: 배열명[index]
단, 인덱스는 0부터 시작한다. -
배열에 새로운 값을 추가하고 싶을 때: push()
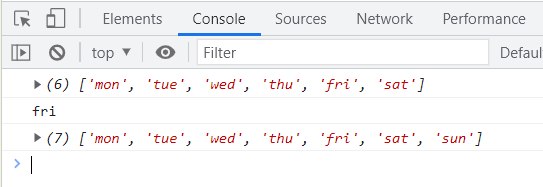
const daysOfWeek = ["mon", "tue", "wed", "thu", "fri", "sat"];

console.log(daysOfWeek);

//Get Item from Array
console.log(daysOfWeek[4]);

//Add one more day to the array
daysOfWeek.push("sun");

console.log(daysOfWeek);
Objects
어떤 대상에 대한 특성을 일일이 변수로 정의하는 것은 비효율적이다.
배열로 나타낸다면 순서에 따라 무엇을 의미하는지를 따로 알려주어야 할 것이다.
이런 경우 Object를 사용하는 것이 좋다.
Object를 만들 때는 {}를 사용하고 그 안에 property : value 을 넣어준다.
const player = {
    name: "nico",
    points: 10,
    far: true,
};

console.log(player);
console.log(player.name);
console.log(player["name"]);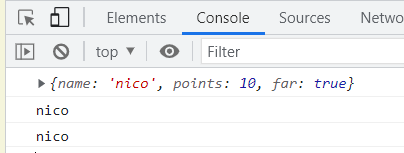
object를 업데이트 할 수도 있다.
const player = {
    name: "nico",
    points: 10,
    fat: true,
};

console.log(player);
player.fat = false;
player.lastname = "potato"
console.log(player);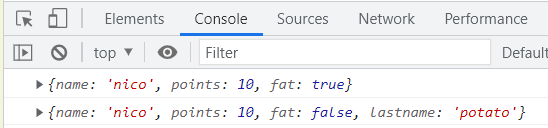
Functions
코드를 캡슐화해서 실행을 여러번 할 수 있게 해준다.
- 함수 생성:
function 함수명() {
코드
}
function sayHello(nameOfPerson) {
    console.log("Hello My name is " + nameOfPerson);
}

sayHello("nico");
sayHello("dal");
sayHello("lynn");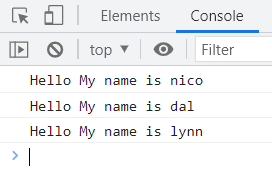
여러 매개변수 사용
function sayHello(nameOfPerson, age) {
    console.log("Hello My name is " + nameOfPerson + " and I'm " + age);
}

sayHello("nico", 10);
sayHello("dal", 23);
sayHello("lynn", 21);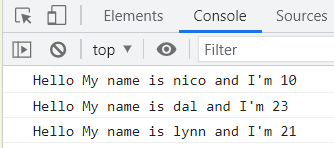
간단한 계산기
function plus(fistNum, secondNum) {
    console.log(fistNum + secondNum);
}

function divide(fistNum, secondNum) {
    console.log(fistNum / secondNum);
}

plus(8, 60);
divide(98, 20);
object 안에서도 함수를 사용할 수 있다.
const player = {
    name : "nico",
    sayHello: function(otherName) {
        console.log("hello! " + otherName);
    }
}

console.log(player.name);
player.sayHello("lynn");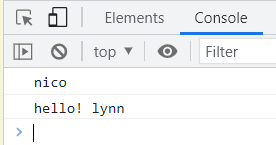
계산기 구현
const calculator = {
    add: function (a,b) {
        console.log(a + b);
    },
    min: function (a,b) {
        console.log(a - b);
    },
    div: function (a,b) {
        console.log(a / b);
    },
    mul: function (a,b) {
        console.log(a * b);
    },
    powerof: function (a,b) {
        console.log(a ** b);
    }
}

calculator.add(8,5);
calculator.min(8,5);
calculator.div(8,5);
calculator.mul(8,5);
calculator.powerof(8,5);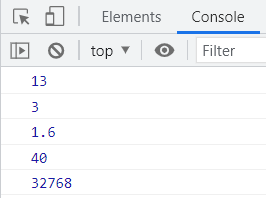
Returns
원하는 결과를 콘솔이 아닌 코드에서 얻기 위해 return 사용
함수가 함수 밖과 소통하는 방법
function 안에서 무언가를 return 하면 function을 호출하는 함수가 함수의 반환값으로 바뀐다.
const age = 96;

function calKrAge(ageOfForeigner) {
    return ageOfForeigner + 2;
}

const krAge = calKrAge(age);

console.log(krAge);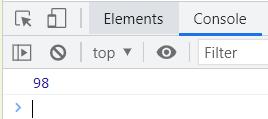
return을 사용하면 코드 안에서 결과값을 사용할 수 있다.
const calculator = {
    add: function (a,b) {
        return a + b;
    },
    min: function (a,b) {
        return a - b;
    },
    div: function (a,b) {
        return a / b;
    },
    mul: function (a,b) {
        return a * b;
    },
    powerof: function (a,b) {
        return a ** b;
    }
}

const addResult = calculator.add(8,5);
const minResult = calculator.min(addResult,5);
const divResult = calculator.div(minResult,5);
const mulResult = calculator.mul(divResult,5);
const powerofResult = calculator.powerof(mulResult,5);
Conditionals (조건문)
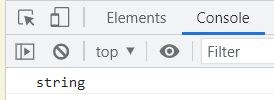
const age = prompt("How old are you?");
console.log(typeof age);
prompt: 사용자에게 창을 띄울 수 있도록 해줌, 2개의 argument(인자) message, default를 받음
typeof: 변수의 타입을 알려줌
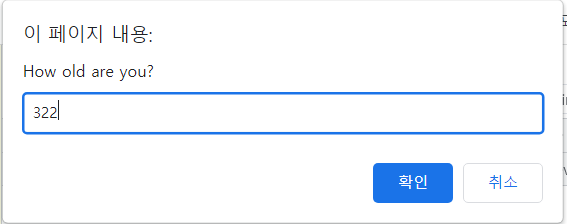
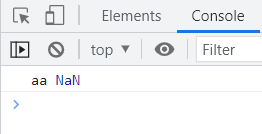
const age = prompt("How old are you?");
console.log(age, parseInt(age));-
type 변환
parseInt(): string을 int로 변환해준다
NaN: Not a Number - number 형태가 아니라는 것을 의미
-
입력받은 값을 변환
const age = paseInt(prompt("How old are you?"));- isNaN(): 숫자가 아닌 값 알려줌, Boolean 리턴
console.log(isNan(age));- if
if(condition){
   // condition == true
} else {
     // condition == false
}
conditions은 boolean으로 구별되어야 함.
const age = paseInt(prompt("How old are you?"));

if(isNaN(age)){
    console.log("Please write a number");
} else {
    console.log("Thank you");
}- 조건이 여러 개일 때 : else if
if ~ else if 중 하나만 실행, 위에서 아래로 -> 순서 중요
const age = paseInt(prompt("How old are you?"));

if(isNaN(age)){
    console.log("Please write a number");
} else if (age < 18) {
    console.log("You are too young.");
} else {
    console.log("You can drink.");
}- &&(and), || (or)
const age = paseInt(prompt("How old are you?"));

if(isNaN(age) || age < 0){
    console.log("Please write a real positive number");
} else if (age < 18) {
    console.log("You are too young.");
} else if (age >= 18 && age <= 50) {
    console.log("You can drink.");
} else if (age > 50 && age <= 80) {
    console.log("You should exercise.");
} else if (age > 80) {
    console.log("You can do whatever you want.");
}
and: 모두 다 true여야 true
or: 하나만 true여도 true
- 연산자
= : 값을 할당
=== : 값이 일치
!== : 값이 일치하지 않음
The Document Object
-
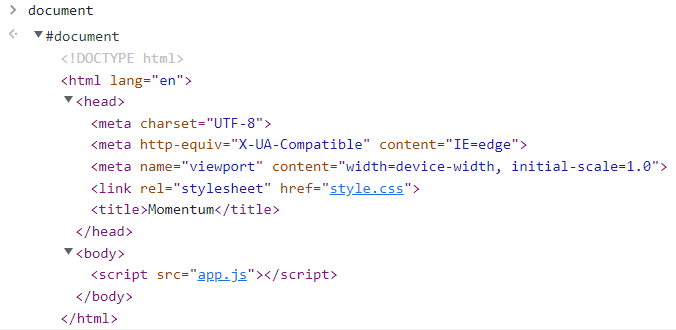
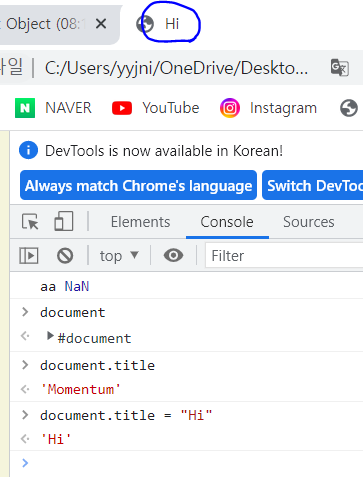
document: 접근할 수 있는 html을 가리키는, 브라우저에 이미 정의된 object
-
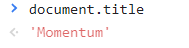
document를 통해 javascript에서 html에 접근하고 읽을 수 있다.
-
js에서 html을 변경할 수도 있다.
HTML in Javascript
- JS에서 html 가져오기
getElementById() : id로 element를 찾아온다
index.html
<!DOCTYPE html>
<html lang="en">
    <head>
        <meta charset="UTF-8">
        <meta http-equiv="X-UA-Compatible" content="IE=edge">
        <meta name="viewport" content="width=device-width, initial-scale=1.0">
        <link rel="stylesheet" href="style.css">
        <title>Momentum</title>
    </head>
    <body>
        <h1 id="title">Grab me!</h1>
        <script src="app.js"></script>
    </body>
</html>
app.js
const title = document.getElementById("title");

console.dir(title);
dir: element를 더 자세히 보여준다.
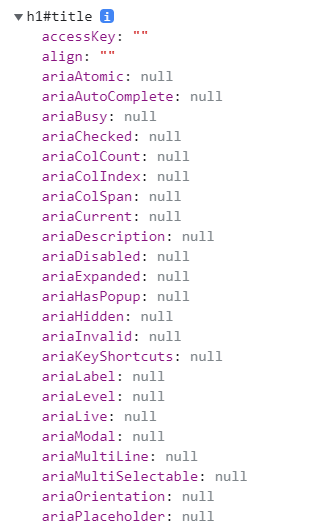


그 중 autofocus를 고쳐보자 
h1에 autofocus를 추가하면
<h1 autofocus id="title">Grab me!</h1>
class를 추가하면
<h1 autofocus class="hello" id="title">Grab me!</h1>
- JS로 html 수정하기
index.html
<!DOCTYPE html>
<html lang="en">
    <head>
        <meta charset="UTF-8">
        <meta http-equiv="X-UA-Compatible" content="IE=edge">
        <meta name="viewport" content="width=device-width, initial-scale=1.0">
        <link rel="stylesheet" href="style.css">
        <title>Momentum</title>
    </head>
    <body>
        <h1 id="title">Grab me!</h1>
        <script src="app.js"></script>
    </body>
</html>
app.js
const title = document.getElementById("title");

title.innerText = "Got you!";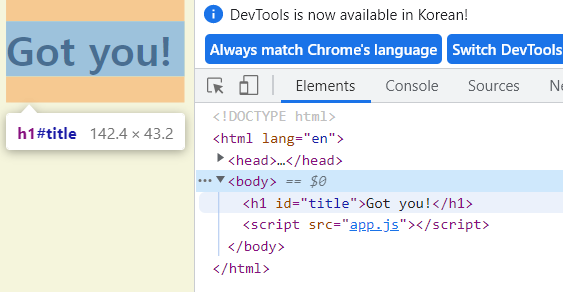
즉 JS 에서
1. document에서 항목들을 가지고 오고
2. 그 항목들을 변경한다.
Searching For Elements
- getElementsByClassName() -> array 반환
index.html
    <body>
        <h1 class="hello">Grab me!</h1>
        <h1 class="hello">Grab me!</h1>
        <h1 class="hello">Grab me!</h1>
        <h1 class="hello">Grab me!</h1>
        <h1 class="hello">Grab me!</h1>
        <script src="app.js"></script>
    </body>
app.js
const hellos = document.getElementsByClassName("hello");

console.log(hellos);
- getElementsByTagName() -> array 반환
index.html
        <div class="hello">
            <h1>Grab me!</h1>
        </div>
app.js
const title = document.getElementsByTagName("h1");

console.log(title);
- querySelector()
:element를 CSS 방식으로 검색할 수 있다
app.js
const title = document.querySelector(".hello h1");

console.log(title);
-> hello 클래스 내부에 있는 h1을 가지고 올 수 있다
class에 여러 element가 있는 경우
        <div class="hello">
            <h1>Grab me 1!</h1>
        </div>
        <div class="hello">
            <h1>Grab me 2!</h1>
        </div>
        <div class="hello">
            <h1>Grab me 3!</h1>
        </div>
querySelector는 가장 처음에 나온 하나만 가져온다.

- 여러 개를 모두 가져오고 싶다면 querySelectorAll을 사용한다
const title = document.querySelectorAll(".hello h1");Events
- 원하는 element를 선택하여 수정하기
const title = document.querySelector(".hello:first-child h1");

console.log(title);

title.innerText = "Hello";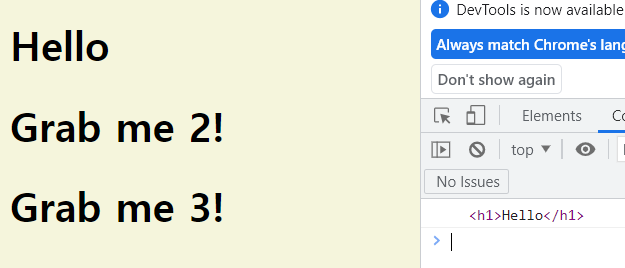
title.style.color = "blue";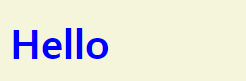
-
CSS까지 JS로 수정할 수 있지만 JS의 가장 큰 역할은 event를 listen 하는 것
-> addEventListener("이벤트종류",함수) -
click event
const title = document.querySelector(".hello:first-child h1");

function handleTitleClick() {
    console.log("title was clicked!");
}

title.addEventListener("click", handleTitleClick);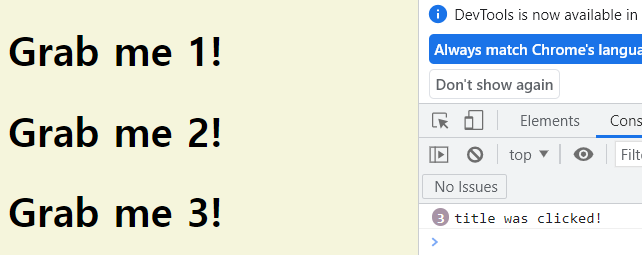
title.addEventListener("click", handleTitleClick)에서 handleTitleClick 뒤에 () 넣지 않는 것 중요
-> 클릭이 발생했을 때 JS가 실행시켜주도록 맡기는 것
-
이벤트 종류
알아보기- mouse enter event
const title = document.querySelector(".hello:first-child h1");

function handleTitleClick() {
    title.style.color = "blue";
}

function handleMouseEnter() {
    console.log("mouse is here!");
}

title.addEventListener("click", handleTitleClick);
title.addEventListener("mouseenter", handleMouseEnter);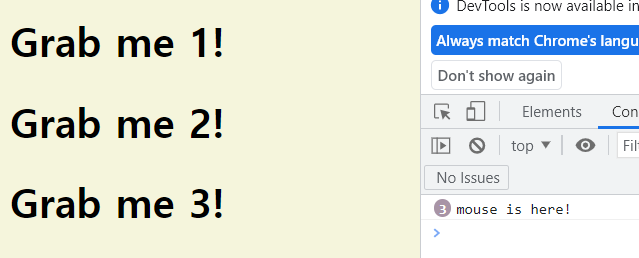
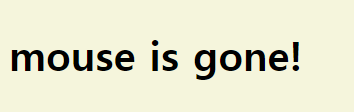
- mouse leave event
const title = document.querySelector(".hello:first-child h1");

function handleTitleClick() {
    title.style.color = "blue";
}

function handleMouseEnter() {
    title.innerText = "mouse is here!";
}

function handleMouseLeave() {
    title.innerText = "mouse is gone!";
}

title.addEventListener("click", handleTitleClick);
title.addEventListener("mouseenter", handleMouseEnter);
title.addEventListener("mouseleave", handleMouseLeave);

- 이벤트 리스너는 element.onevent = 함수; 형태로도 쓸 수 있다.
title.onclick = handleTitleClick;
title.onmouseenter = handleMouseEnter;
title.onmouseleave = handleMouseLeave;
window도 기본적으로 브라우저에서 제공된다
function handleWindowSize() {
    document.body.style.backgroundColor = "tomato"
}

window.addEventListener("resize", handleWindowSize);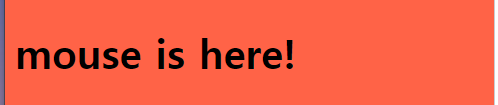
body, head 등의 element는 중요해서 이런식으로 가져올 수 있지만 나머지 element들은 querySelector나 getElementById 등으로 찾아와야 한다.
이 밖에도 copy, offline, online등 다양한 이벤트에 리스너를 추가할 수 있다.
CSS in JS
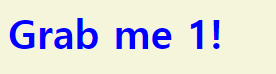
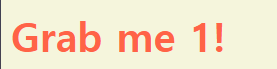
클릭하면 색깔이 바뀌는 예제
const h1 = document.querySelector(".hello:first-child h1");

function handleTitleClick() {
    if(h1.style.color === "blue") {
        h1.style.color = "tomato";
    } else {
        h1.style.color = "blue";
    }

}

h1.addEventListener("click", handleTitleClick);
변수를 넣어 더욱 깔끔하게 고쳐보면
const h1 = document.querySelector(".hello:first-child h1");

function handleTitleClick() {
    const currentColor = h1.style.color;
    let newColor;

    if( currentColor=== "blue") {
        newColor = "tomato";
    } else {
        newColor = "blue";
    }
    h1.style.color = newColor;
}

h1.addEventListener("click", handleTitleClick);
하지만 style들은 css에서 다루는 것이 더 좋다.
위 코드들을 html, css, js에 나누어서 작성해보자
html
<!DOCTYPE html>
<html lang="en">
    <head>
        <meta charset="UTF-8">
        <meta http-equiv="X-UA-Compatible" content="IE=edge">
        <meta name="viewport" content="width=device-width, initial-scale=1.0">
        <link rel="stylesheet" href="style.css">
        <title>Momentum</title>
    </head>
    <body>
        <div class="hello">
            <h1>Click me!</h1>
        </div>
        <script src="app.js"></script>
    </body>
</html>
css
body {
    background-color: beige;
}

h1 {
    color: cornflowerblue;
}

.acrive {
    color: tomato;
}
js
const h1 = document.querySelector(".hello:first-child h1");

function handleTitleClick() {
    if (h1.className === "active") {
        h1.className ="";
    } else {
        h1.className = "active";
    }
}

h1.addEventListener("click", handleTitleClick);
하지만 "active"를 두번 사용하는 것은 오타 등의 이유로 에러를 일으킬 수 있다. 따라서
const h1 = document.querySelector(".hello:first-child h1");

function handleTitleClick() {
    const clickedClass = "clicked"
    if (h1.className === clickedClass) {
        h1.className ="";
    } else {
        h1.className = clickedClass;
    }
}

h1.addEventListener("click", handleTitleClick);
const clickedClass 변수를 추가하면 코드가 더 깔끔해진다.
위 처럼 classname을 바꿔주는 형식은 기존의 className을 잃어버리게 되는 버그가 발생할 수 있다.
html
<!DOCTYPE html>
<html lang="en">
<head>
<meta charset="UTF-8">
<meta http-equiv="X-UA-Compatible" content="IE=edge">
<meta name="viewport" content="width=device-width, initial-scale=1.0">
<link rel="stylesheet" href="style.css">
<title>Momentum</title>
</head>
<body>
<div class="hello">
<h1 class="sexy-font">Click me!</h1>
</div>
<script src="app.js"></script>
</body>
</html>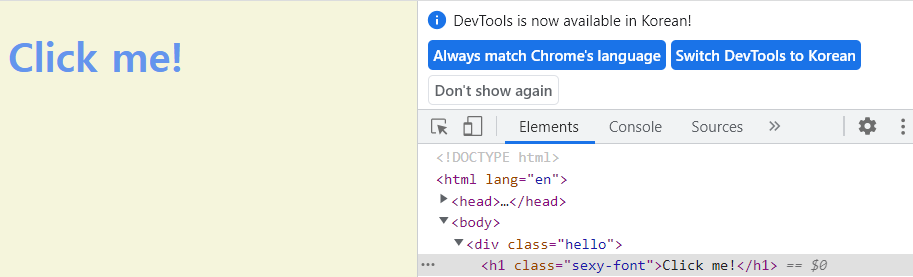 클릭 후
클릭 후 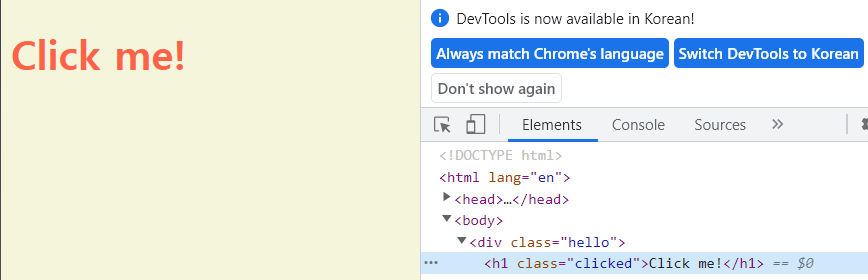
이 때 class들의 목록으로 작업할 수 있게끔 허용해주는 classList 를 사용할 수 있다.
const h1 = document.querySelector(".hello:first-child h1");

function handleTitleClick() {
    const clickedClass = "clicked"
    if (h1.classList.contains(clickedClass)) {
        h1.classList.remove(clickedClass);
    } else {
        h1.classList.add(clickedClass);
    }
}

h1.addEventListener("click", handleTitleClick);
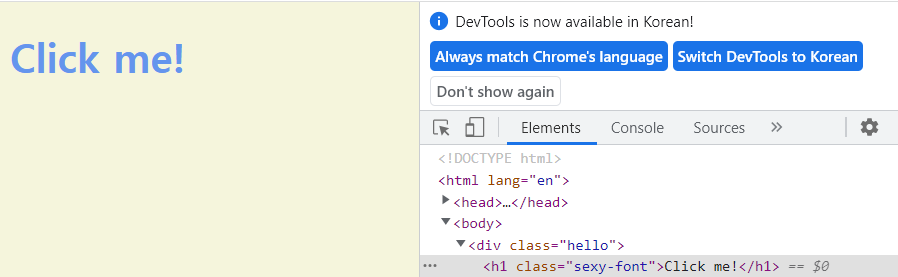 클릭 후
클릭 후 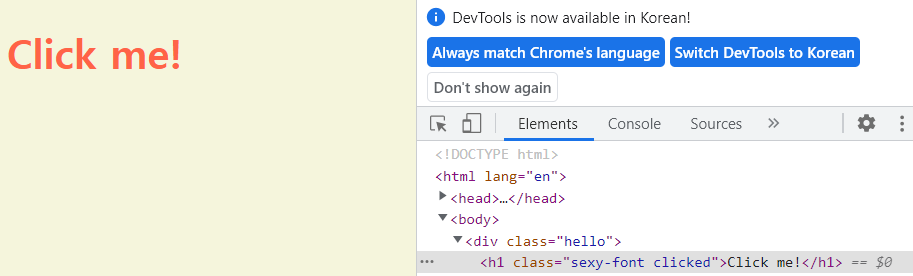
이런 작업은 매우 자주 쓰이게 된다. 이를 위해 흥미로운 함수들이 만들어져 있는데 그 중 하나가 toggle 이다.
	const clickedClass = "clicked"
    if (h1.classList.contains(clickedClass)) {
        h1.classList.remove(clickedClass);
    } else {
        h1.classList.add(clickedClass);
    }
이 코드들을 대신할 수 있는 것이
h1.classList.toggle("clicked");한 줄인 것이다.